Pumapeople: Frp 591 Comes To Life - Pumapeople

Jump to content

  • 12 Pages +
  • « First
  • 7
  • 8
  • 9
  • 10
  • 11
  • Last »
  • You cannot start a new topic
  • You cannot reply to this topic

Frp 591 Comes To Life panther black FRP Rate Topic: ***** 1 Votes

#161 User is offline   d170sam 

  • Group: Members
  • Posts: 1036
  • Joined: 23-June 05
  • Location:cornwall

Posted 27 November 2014 - 09:42 PM

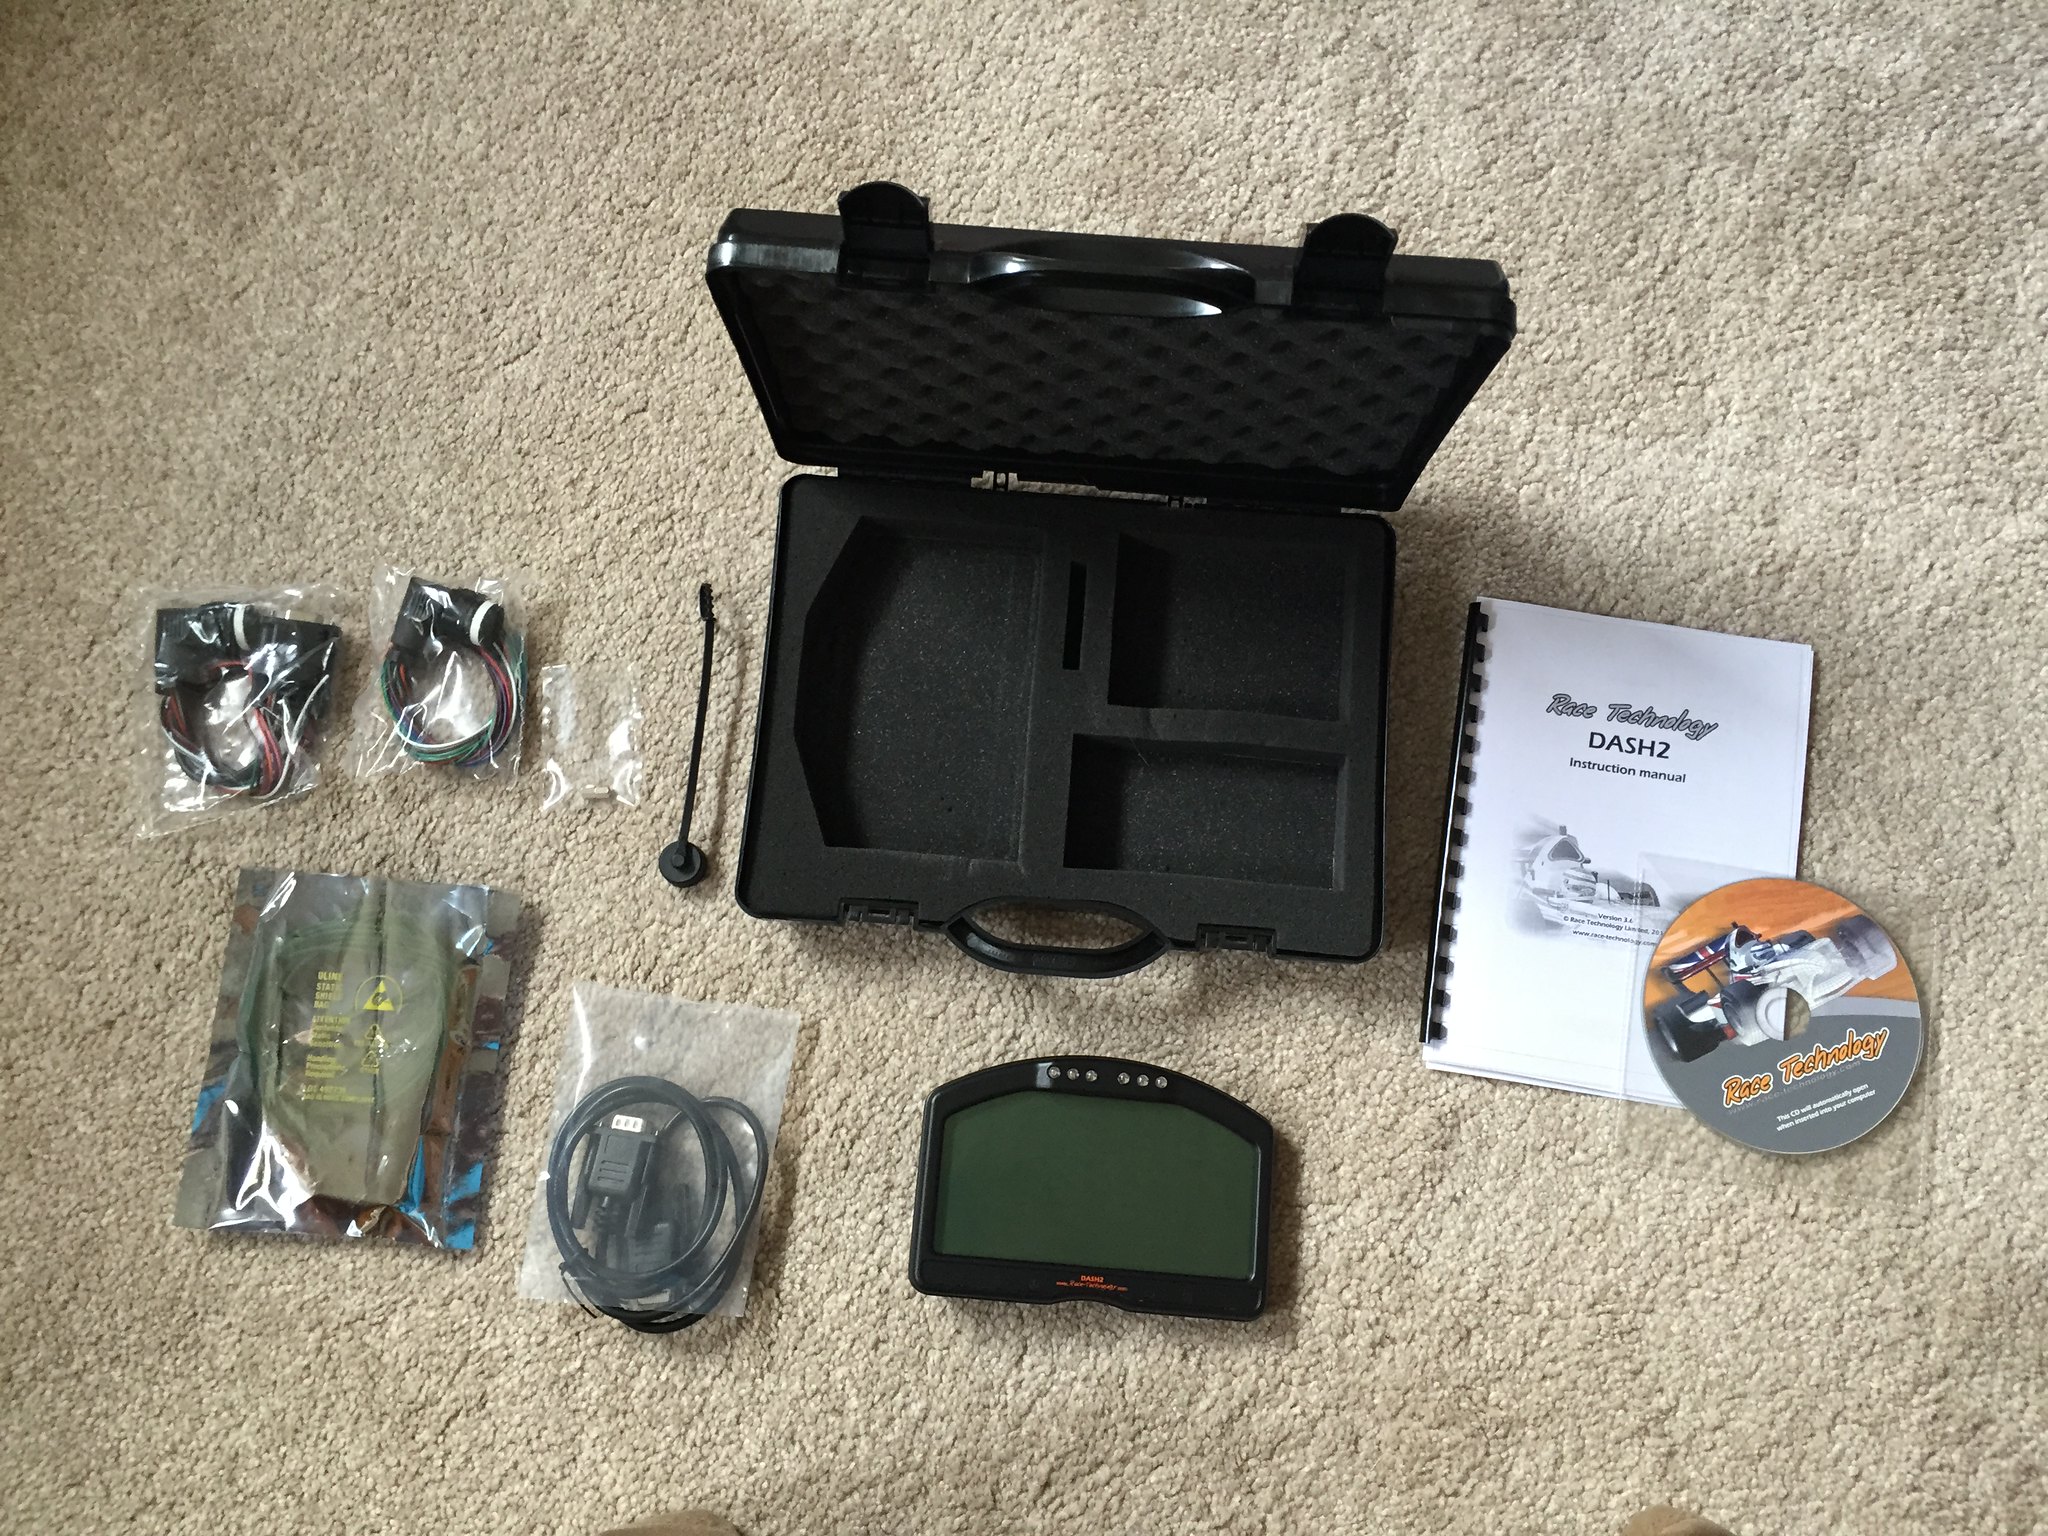
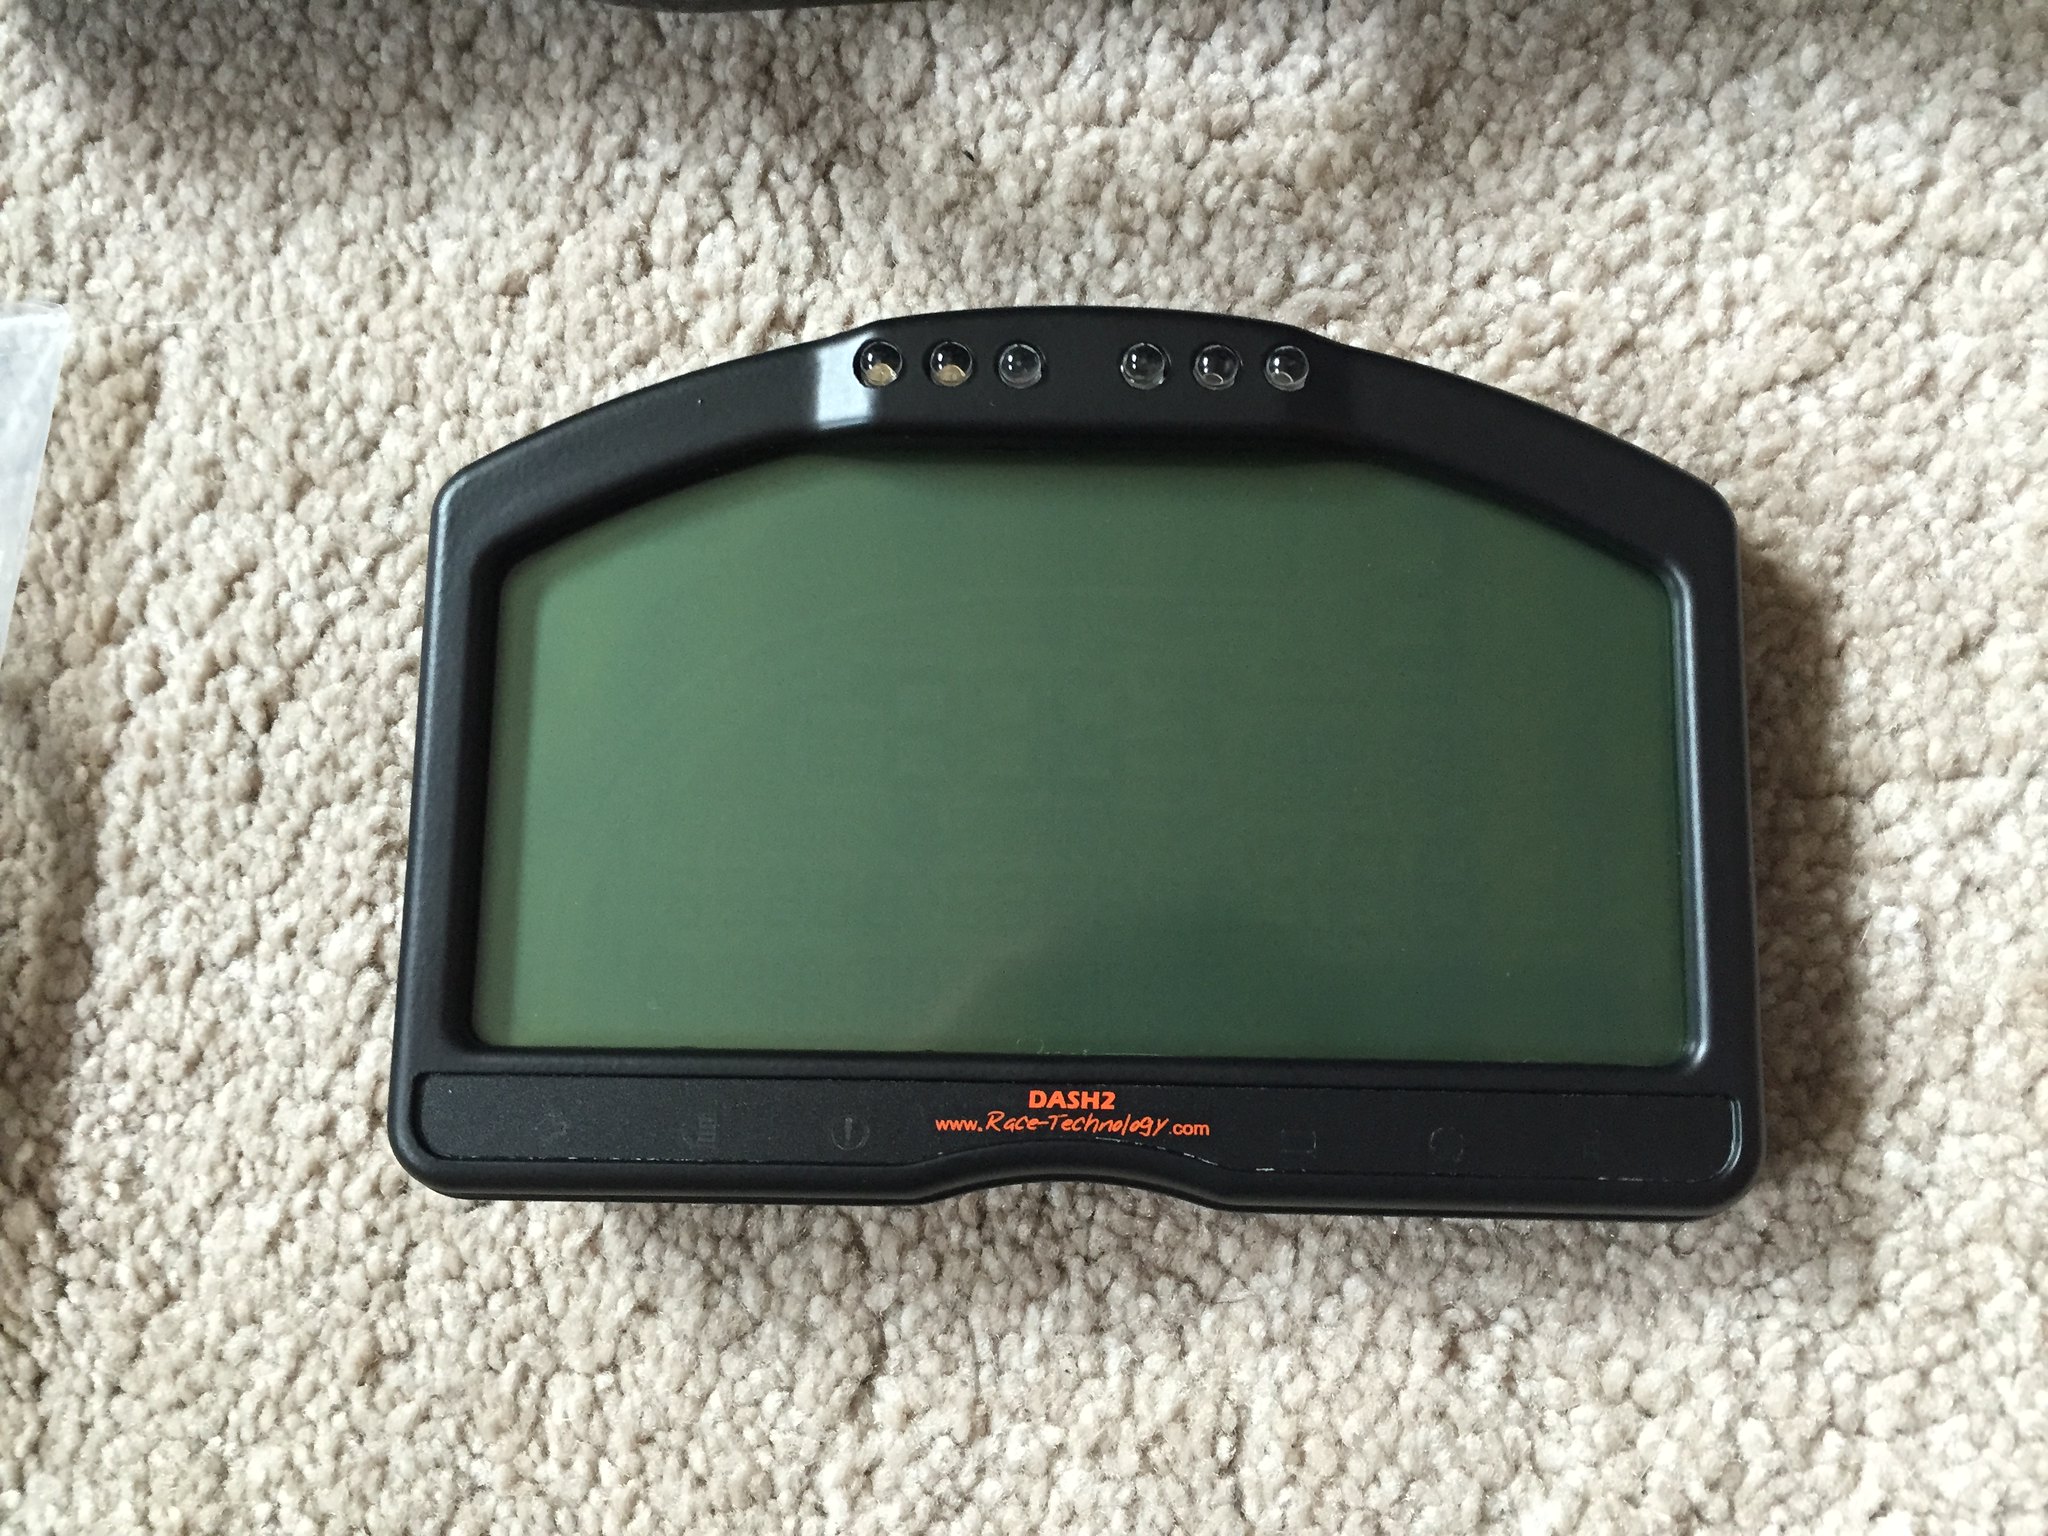
ok so a little update, managed to get a race technologies dash2 for a really good price, basically its a digital replacement dash board (for anyone who didn't know what it was) which means that i can still have a road legal car when the new engine goes in, the old dash wont fully work with the new Emerald ECU running the engine and having all the engine sensors plugged in to that, I will still have the old ECU running non essential bits, but this is a slight indulgence as its a proper race spec dash that can display all sorts of cool stuff, I think I need to do a whole lot of reading around this display and the Emerald ECU I'm hoping to get in January, any helpful tips or advice would be greatly appreciated, anyway here are a few pics

Posted Image

Posted Image
to the steel workers of america: keep reaching for that rainbow!

#162 User is offline   d170sam 

  • Group: Members
  • Posts: 1036
  • Joined: 23-June 05
  • Location:cornwall

Posted 24 January 2015 - 06:33 PM
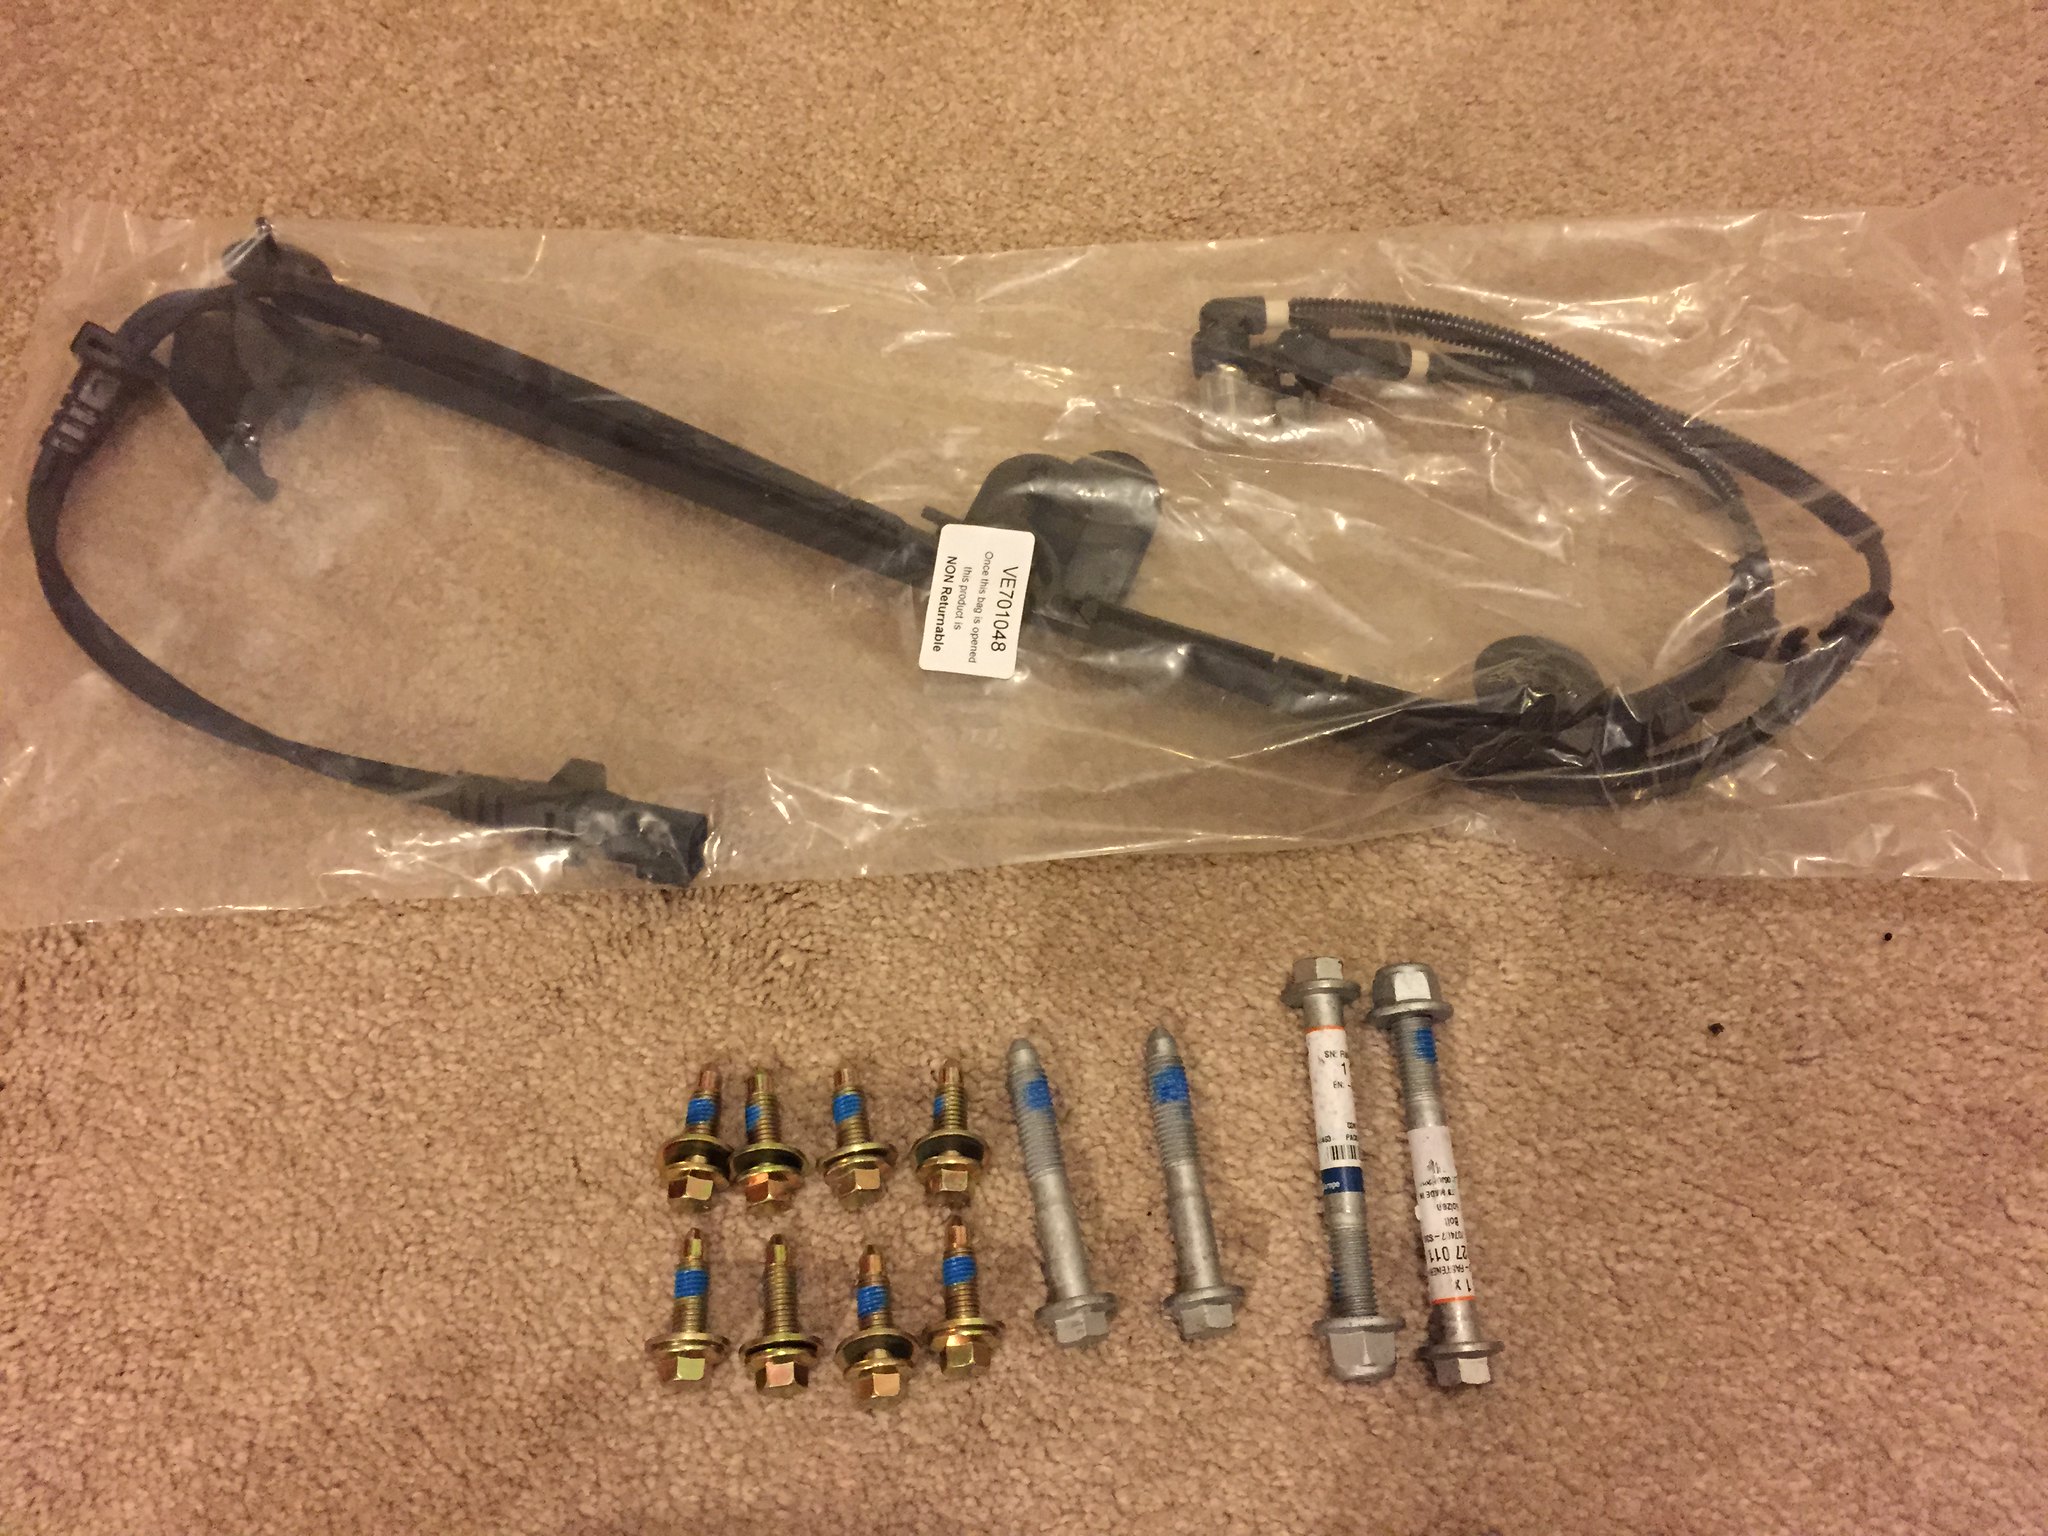
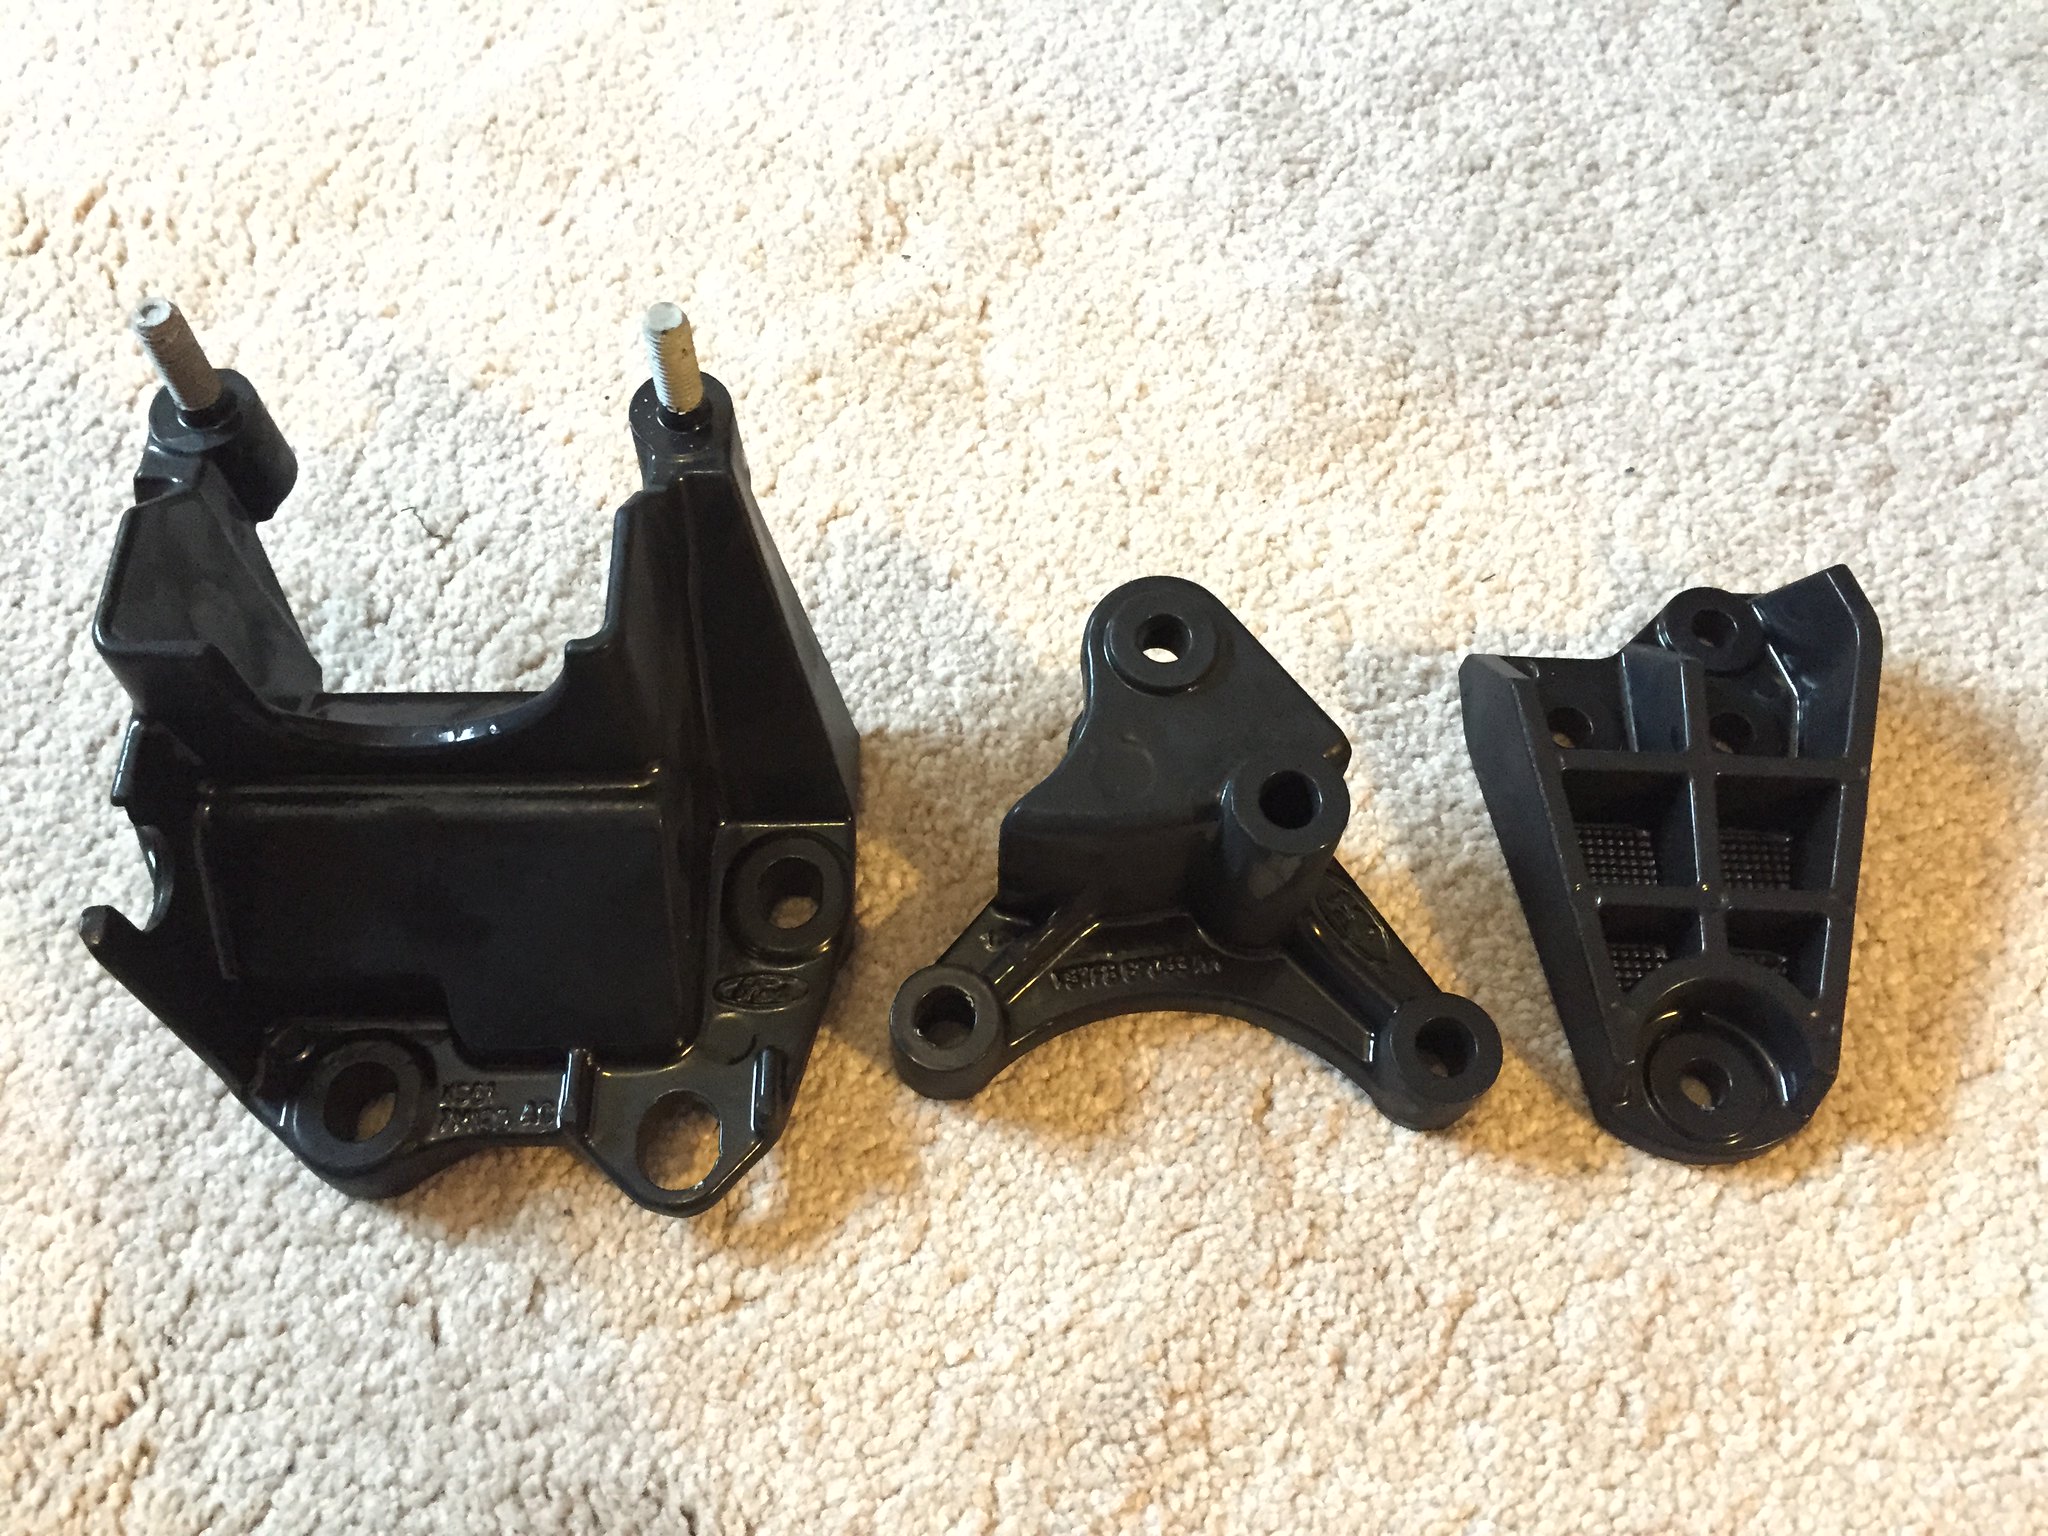
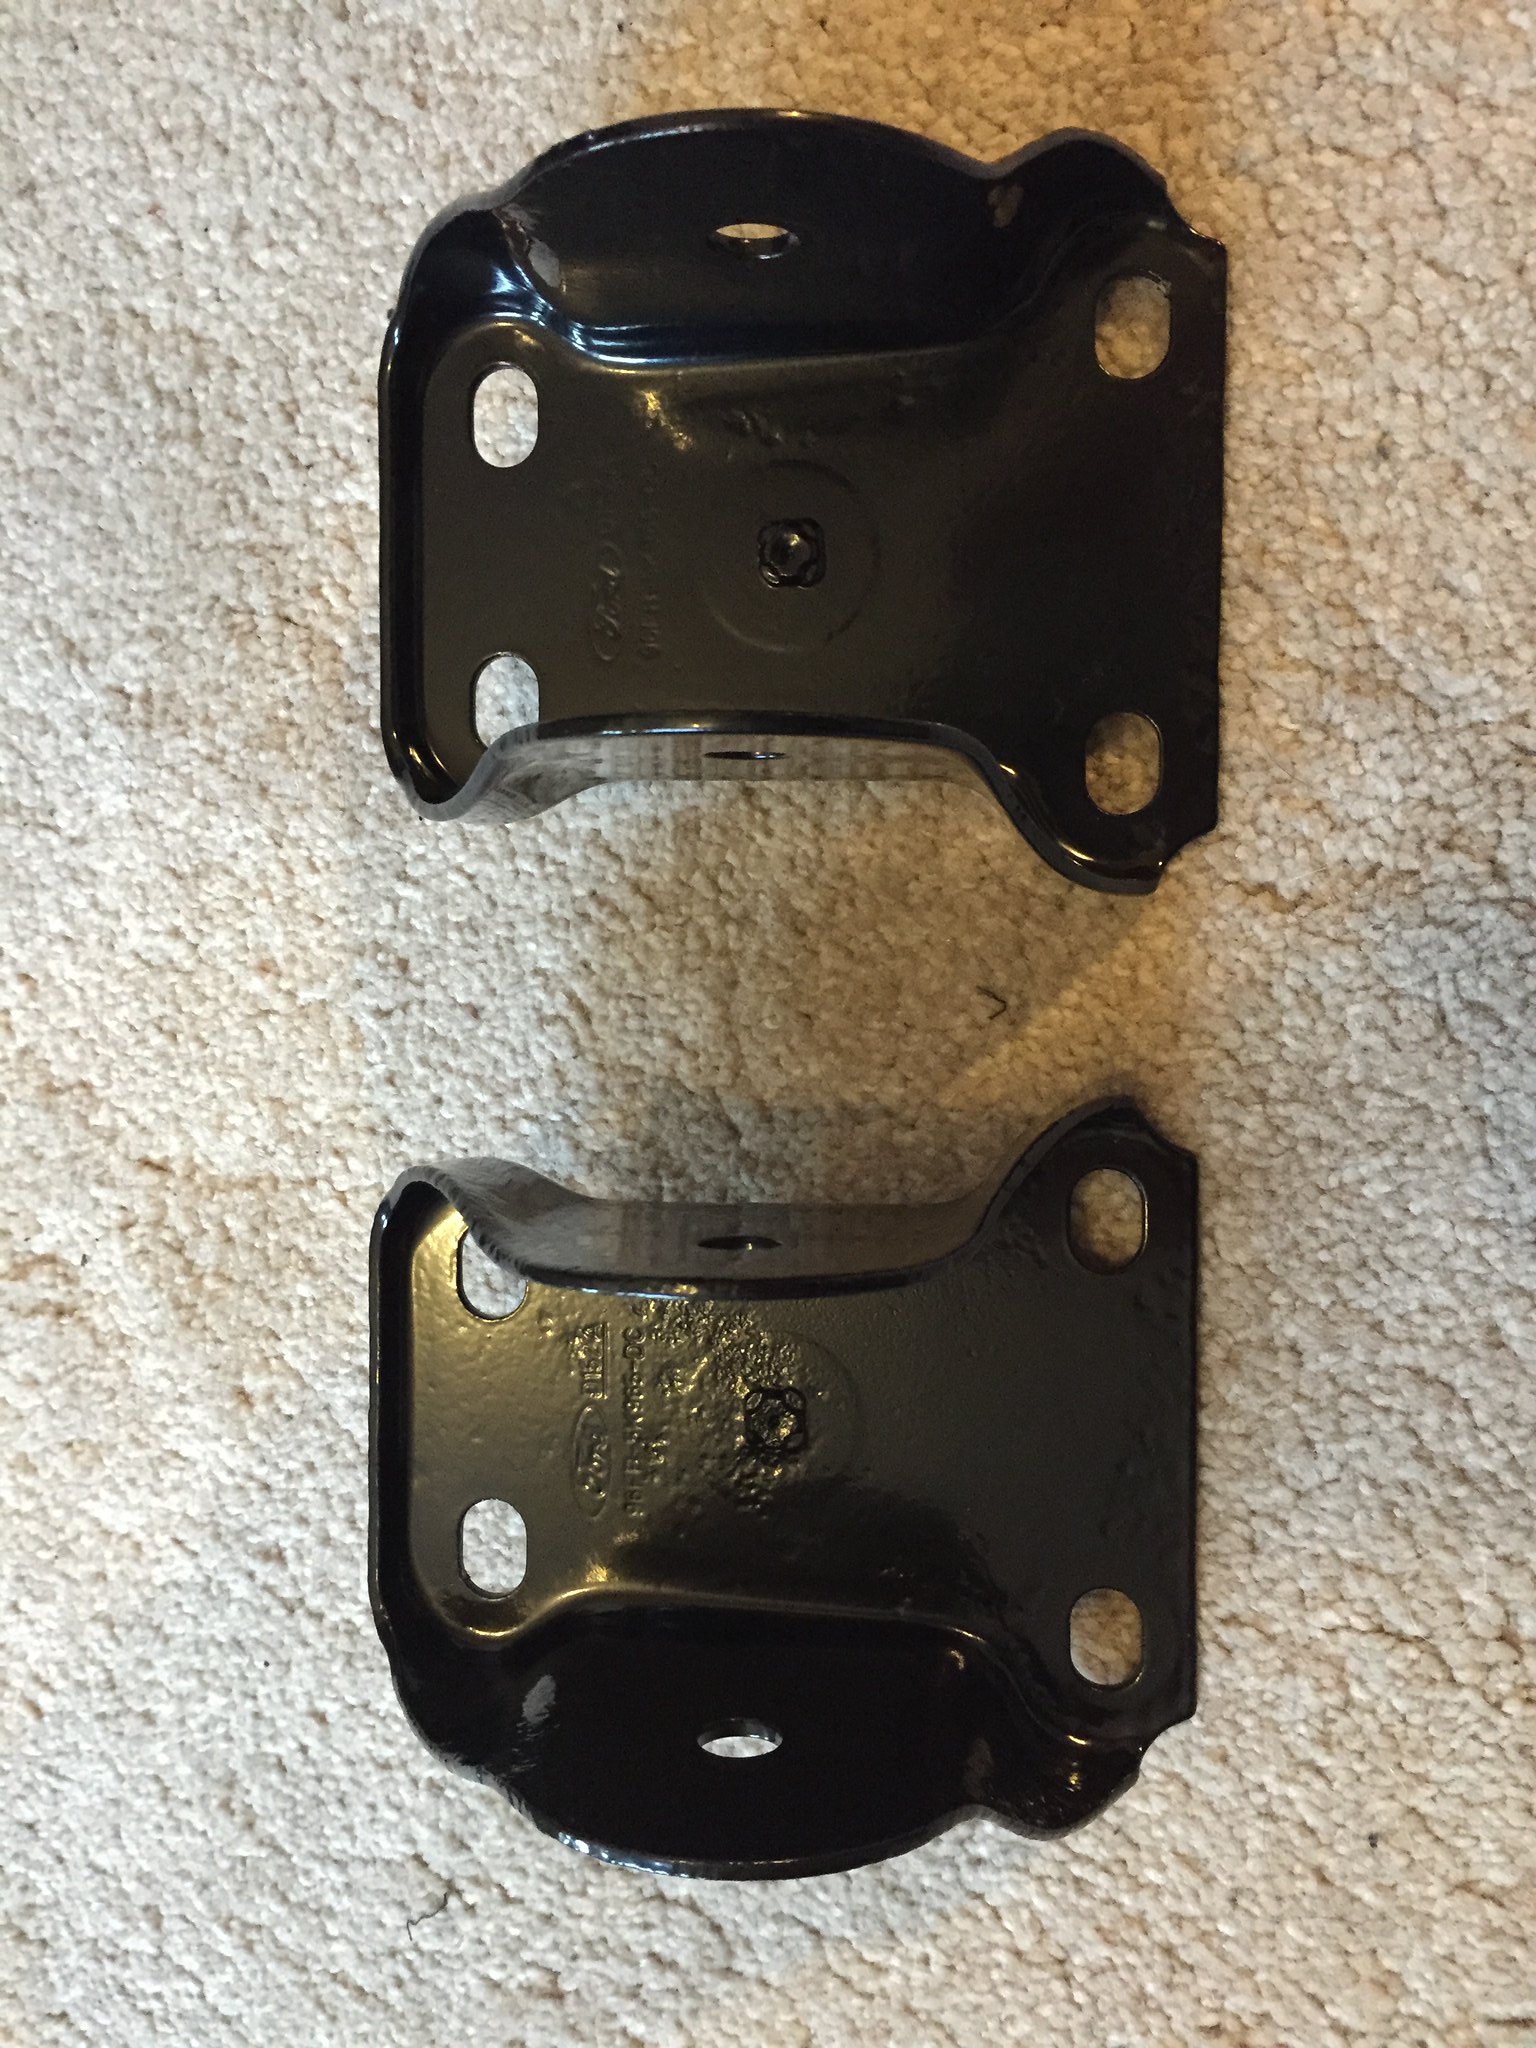
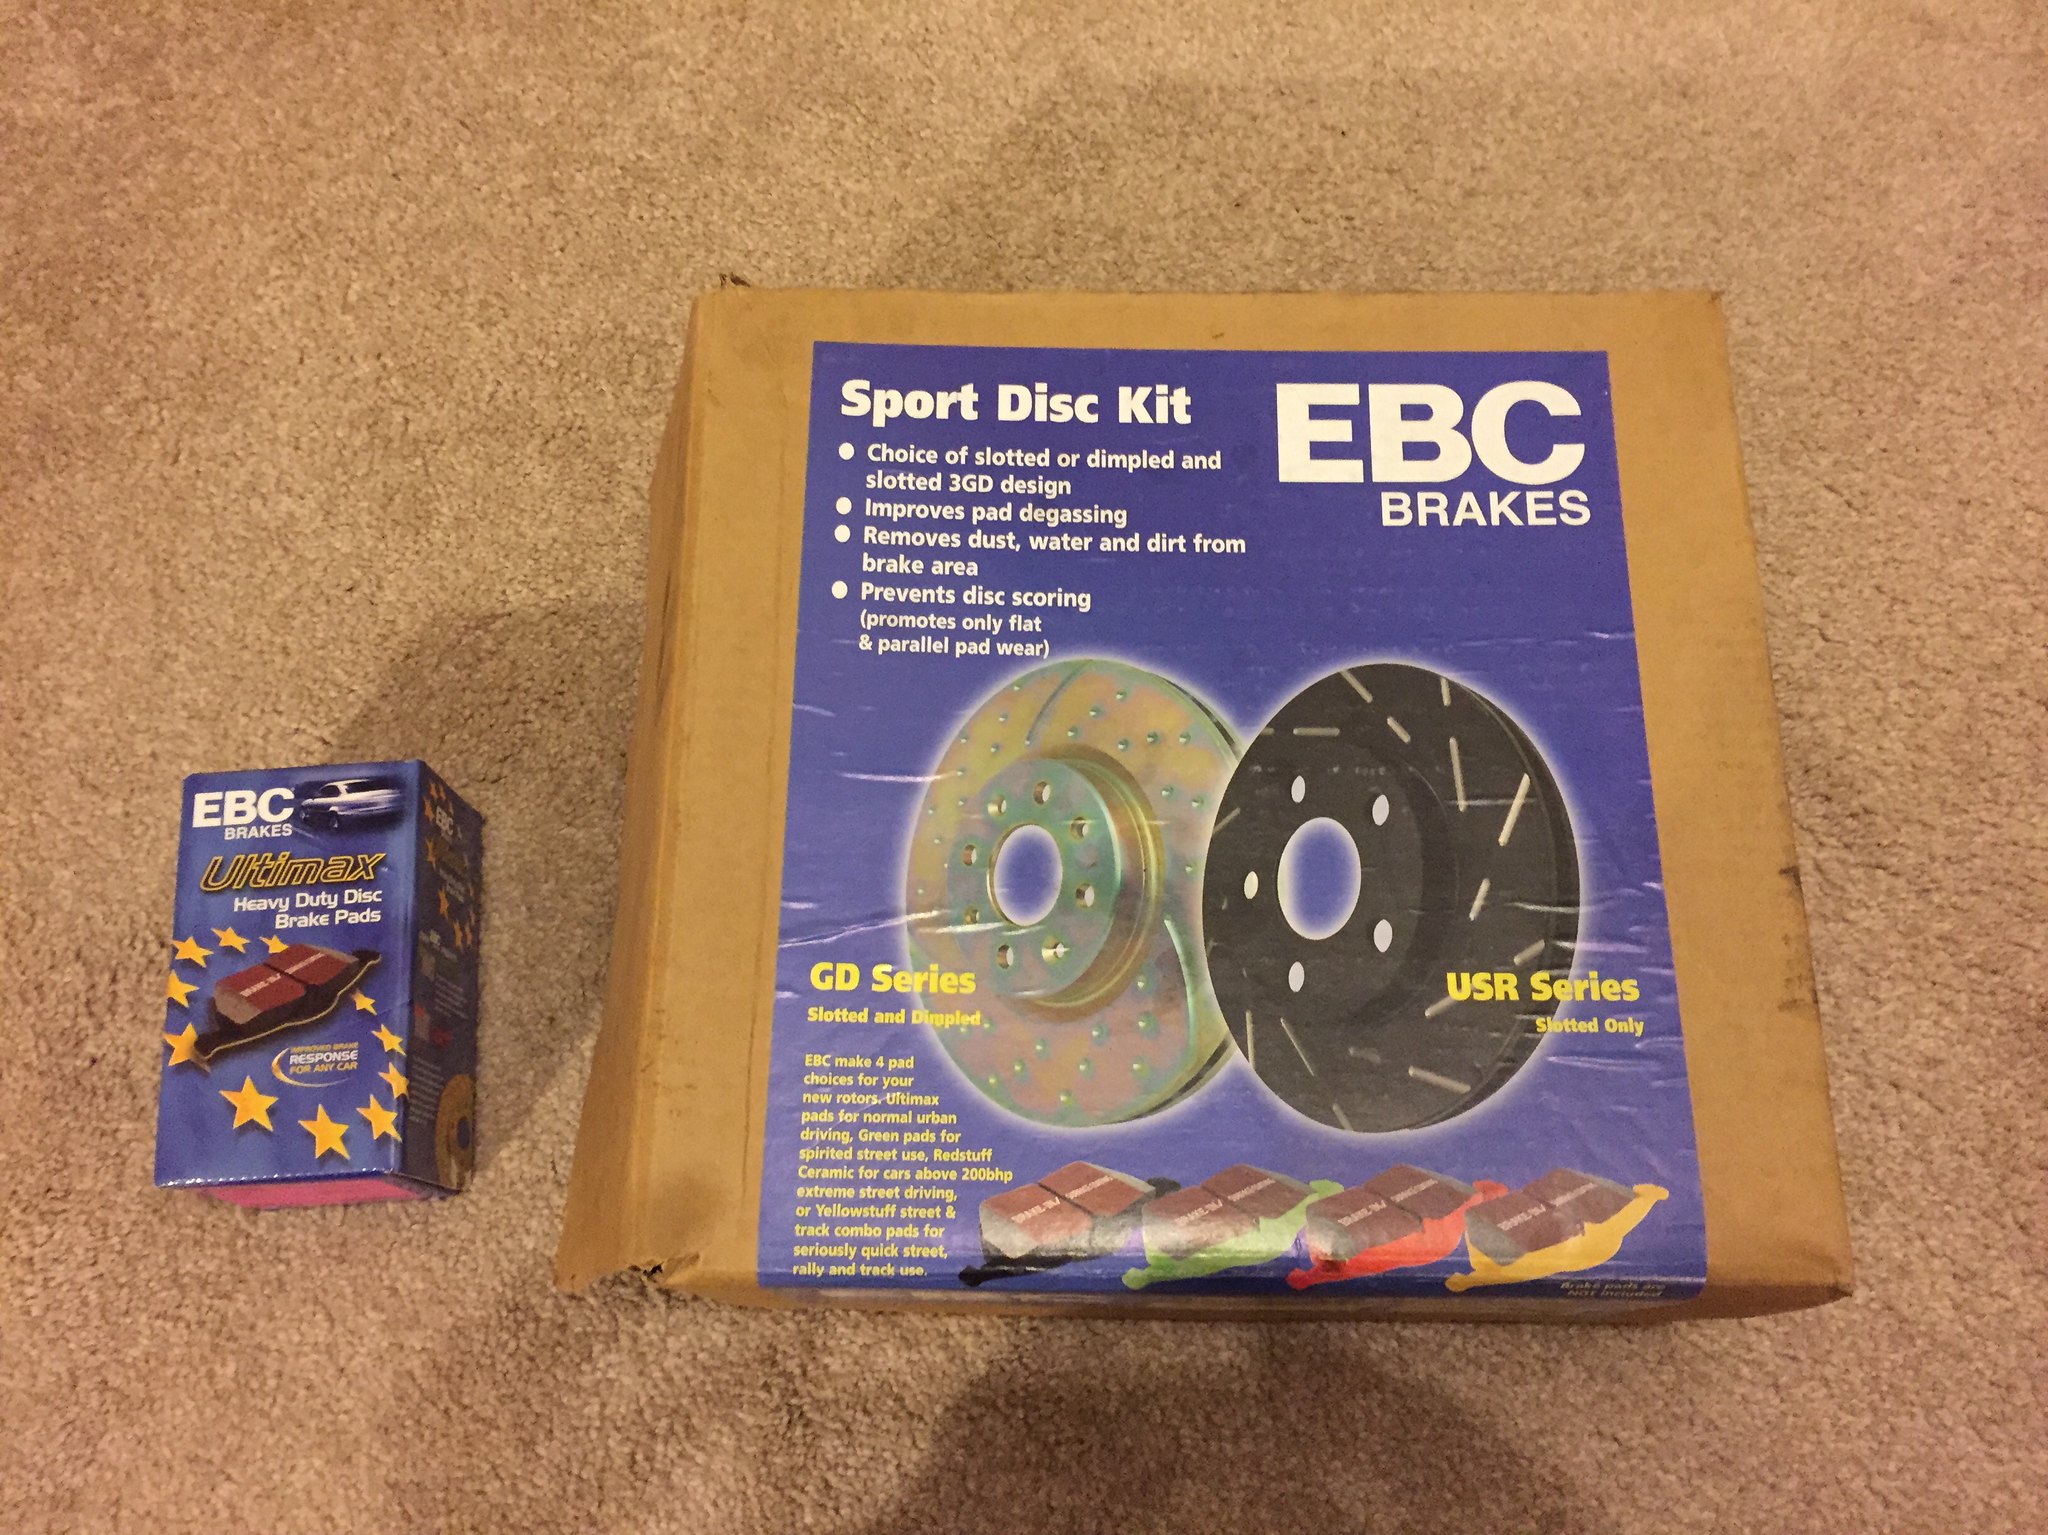
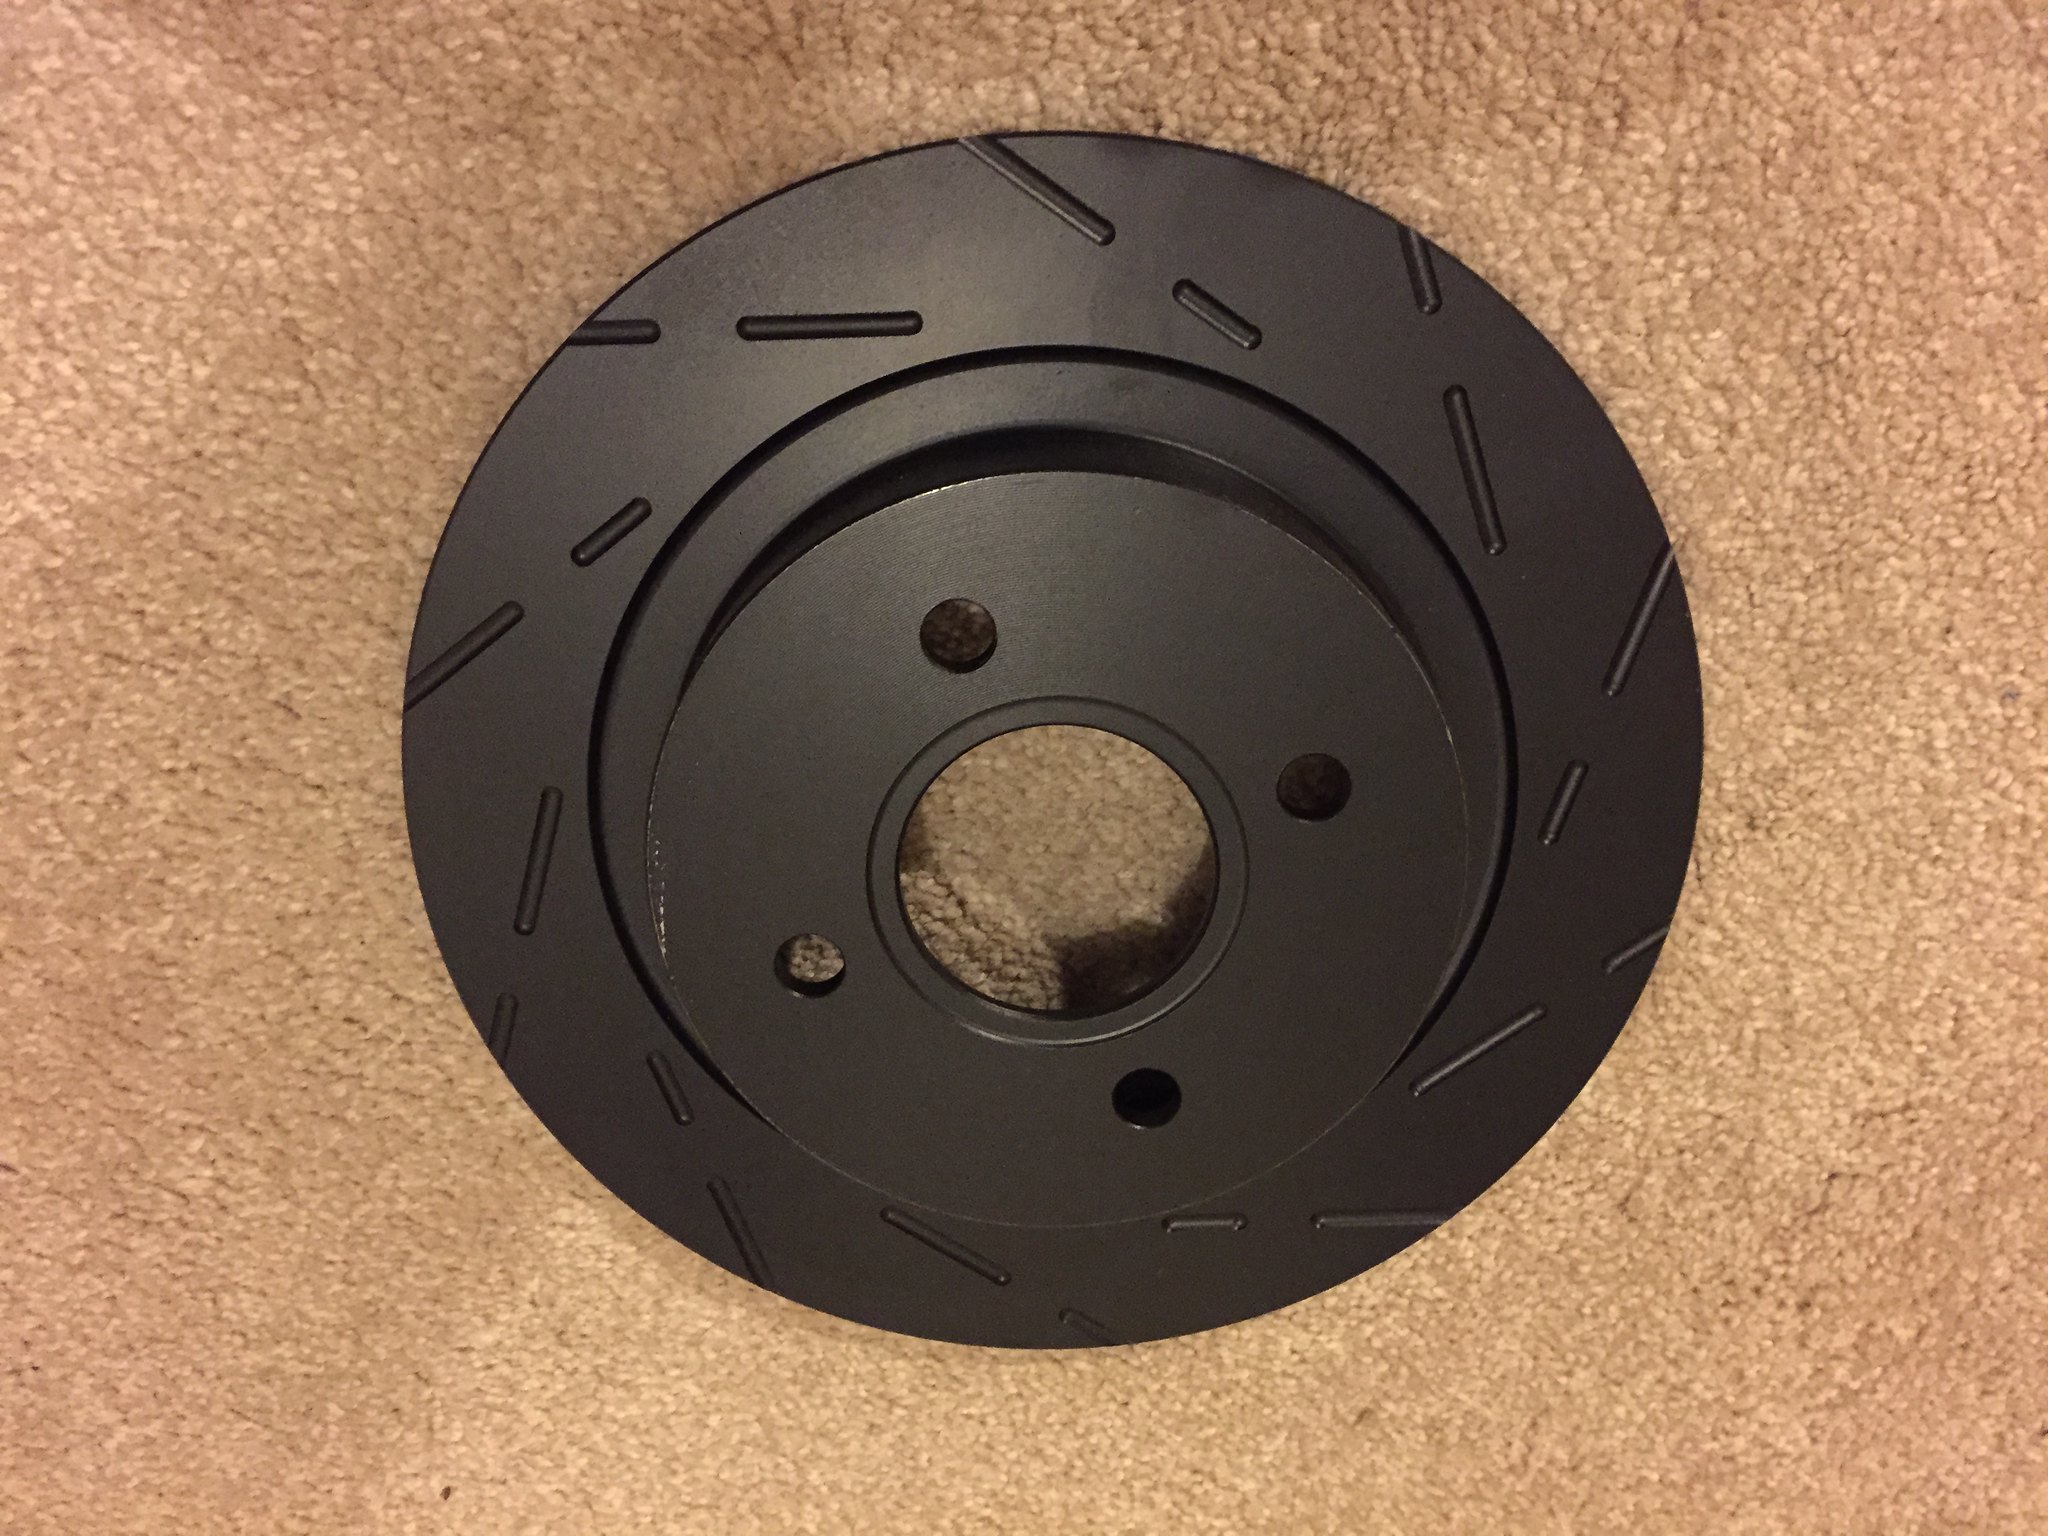
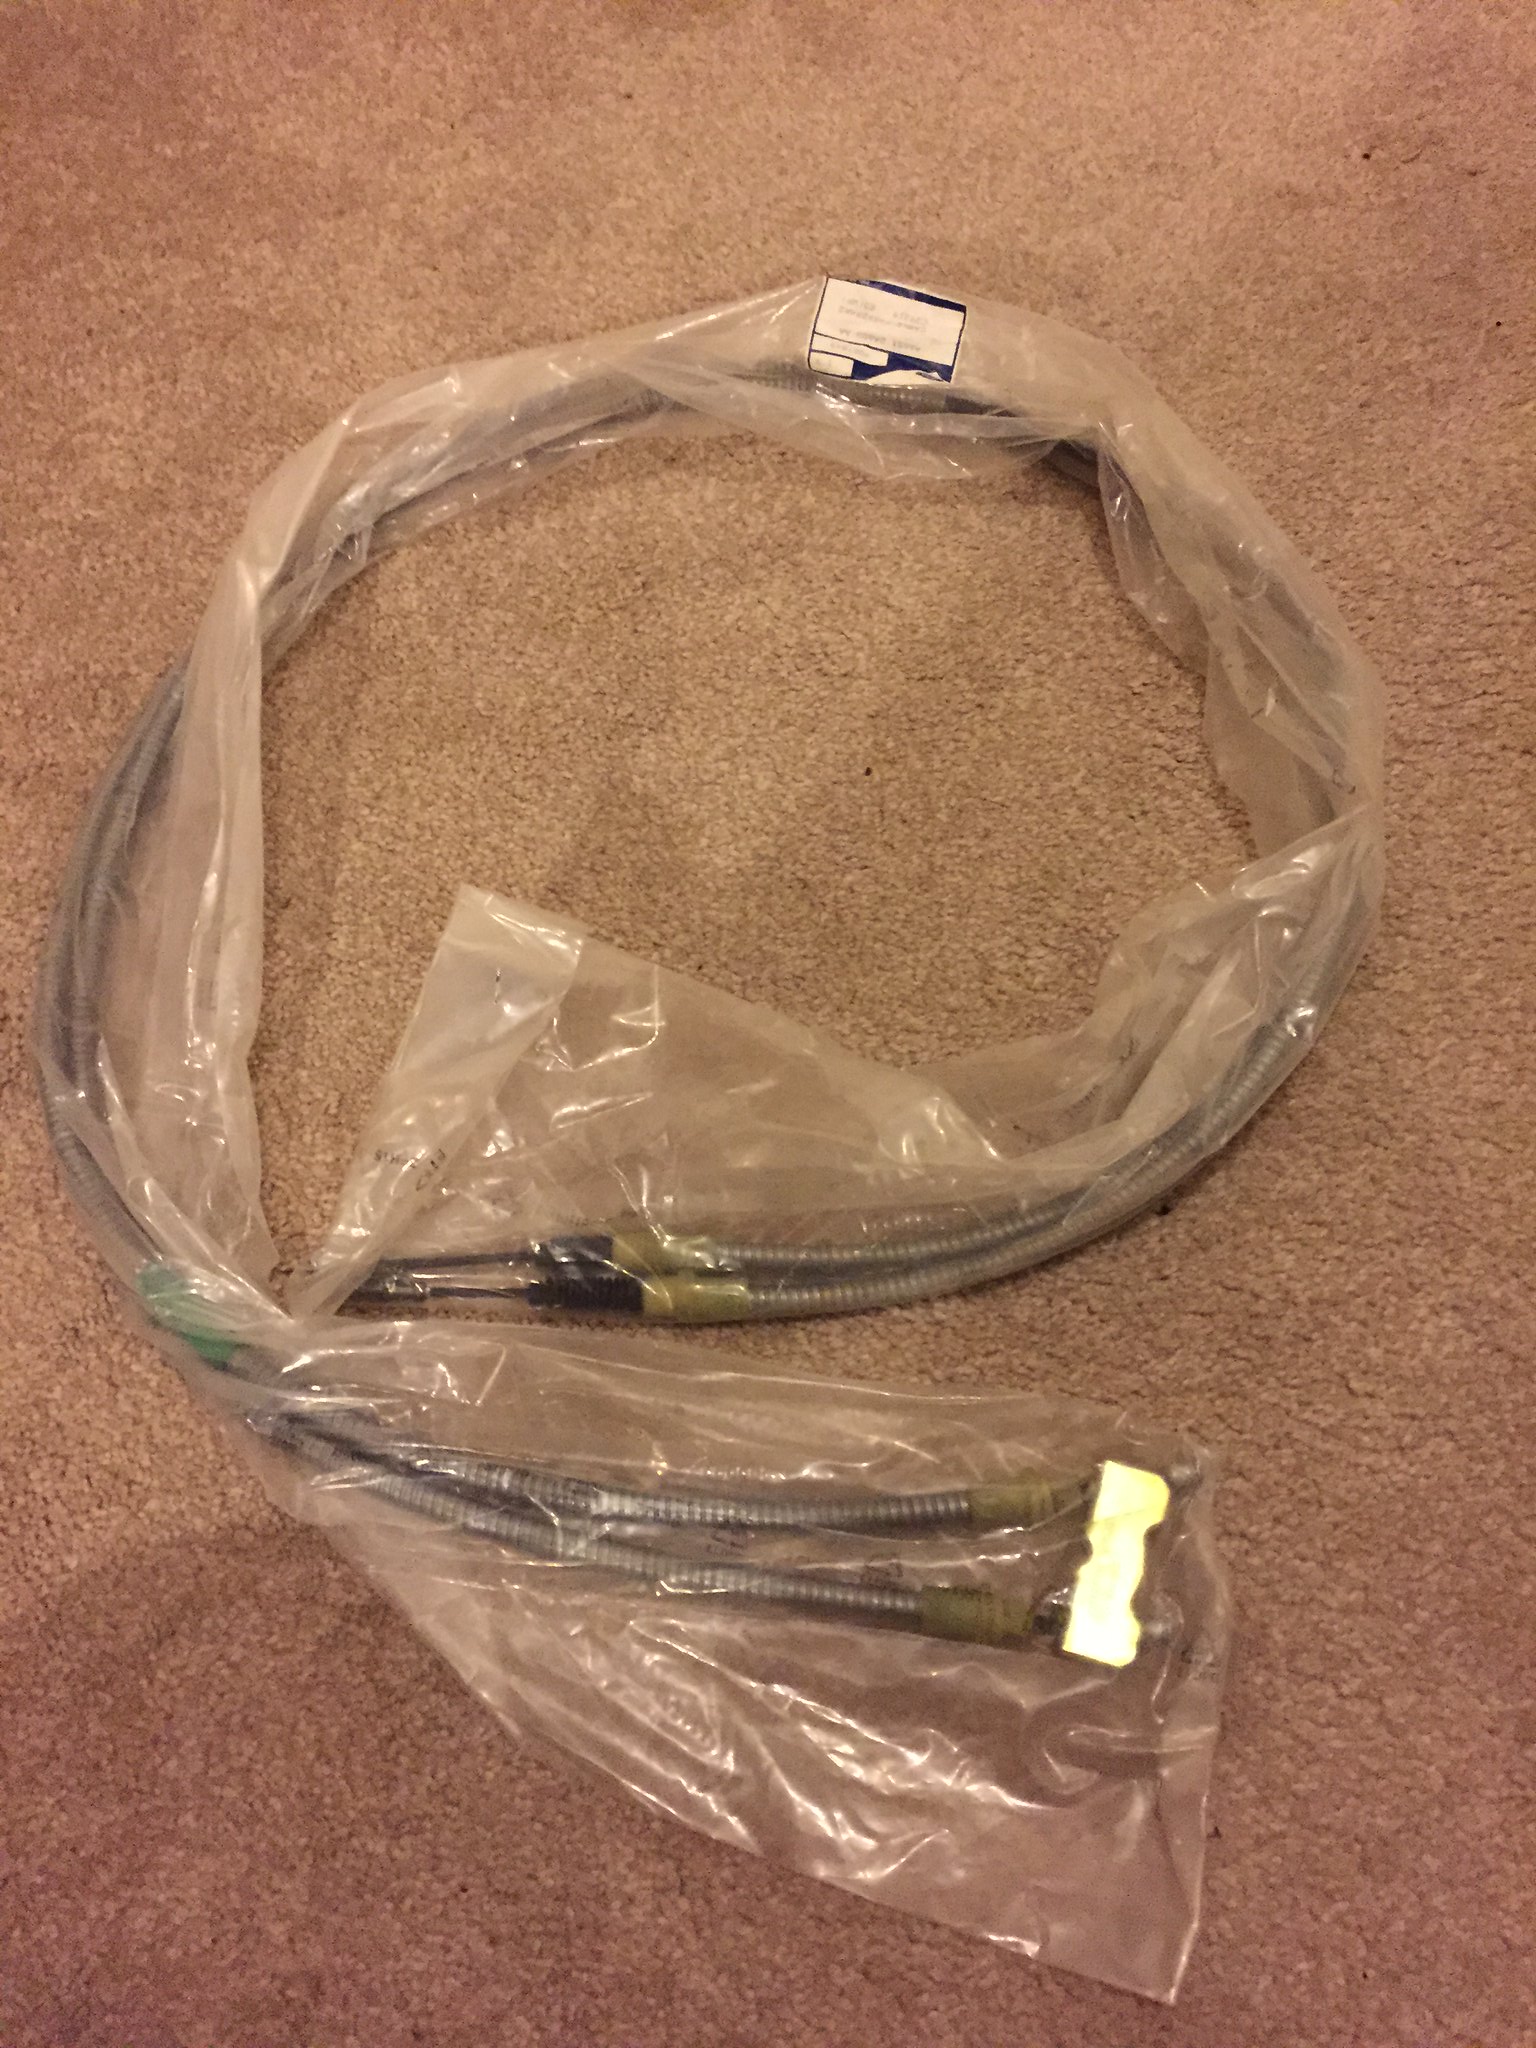
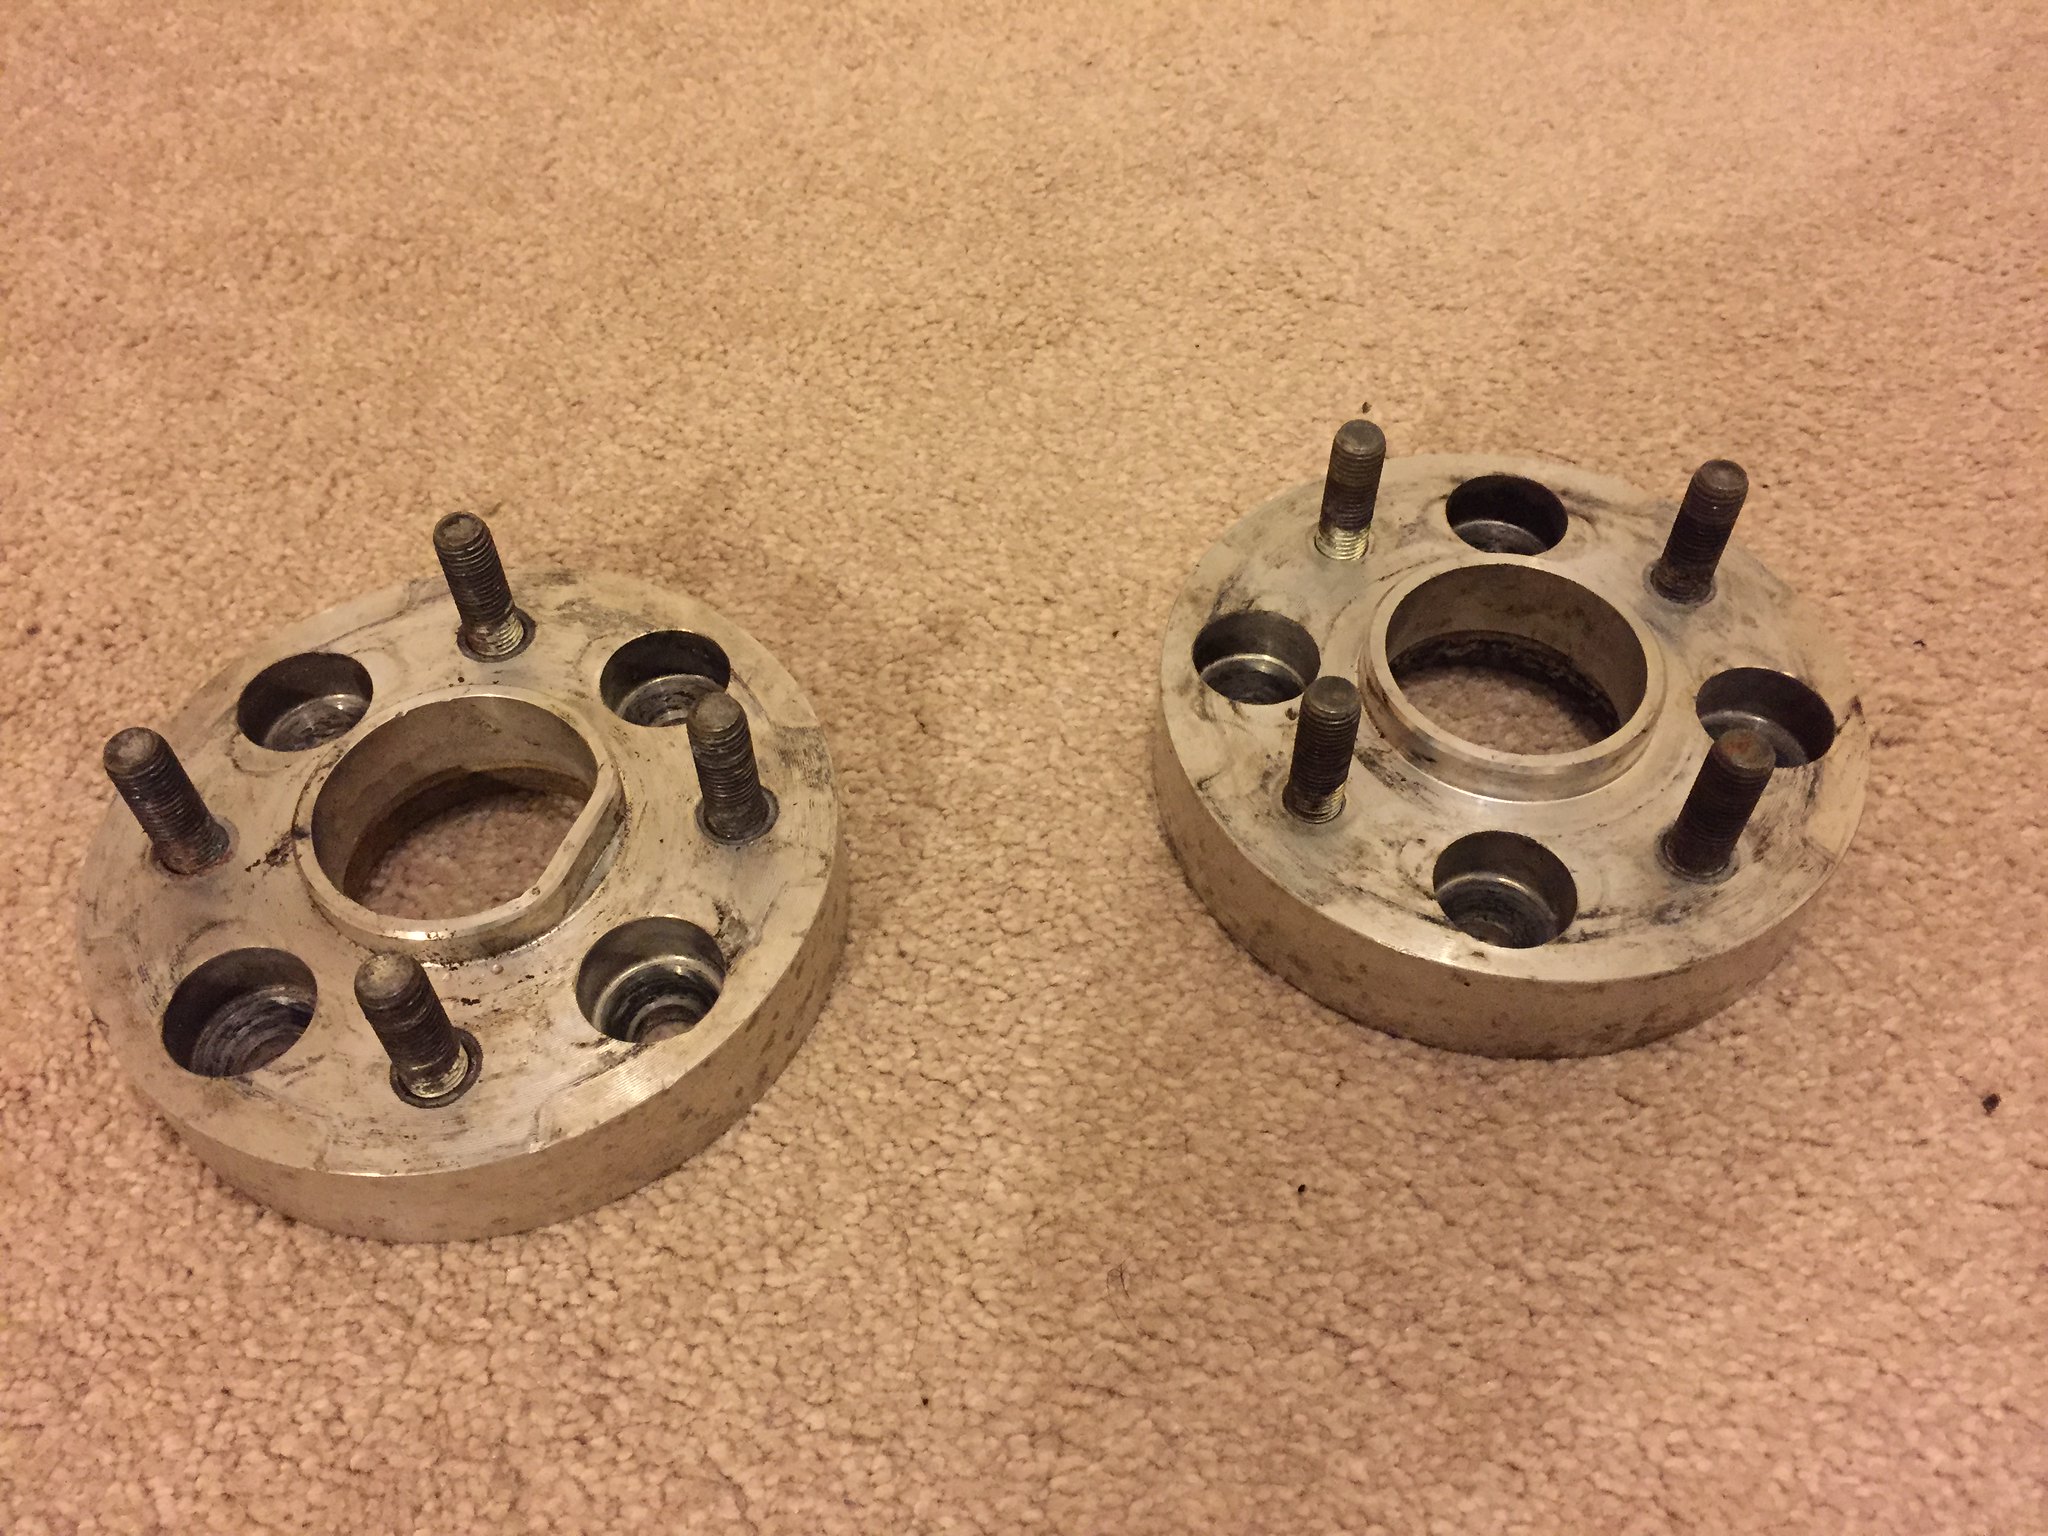
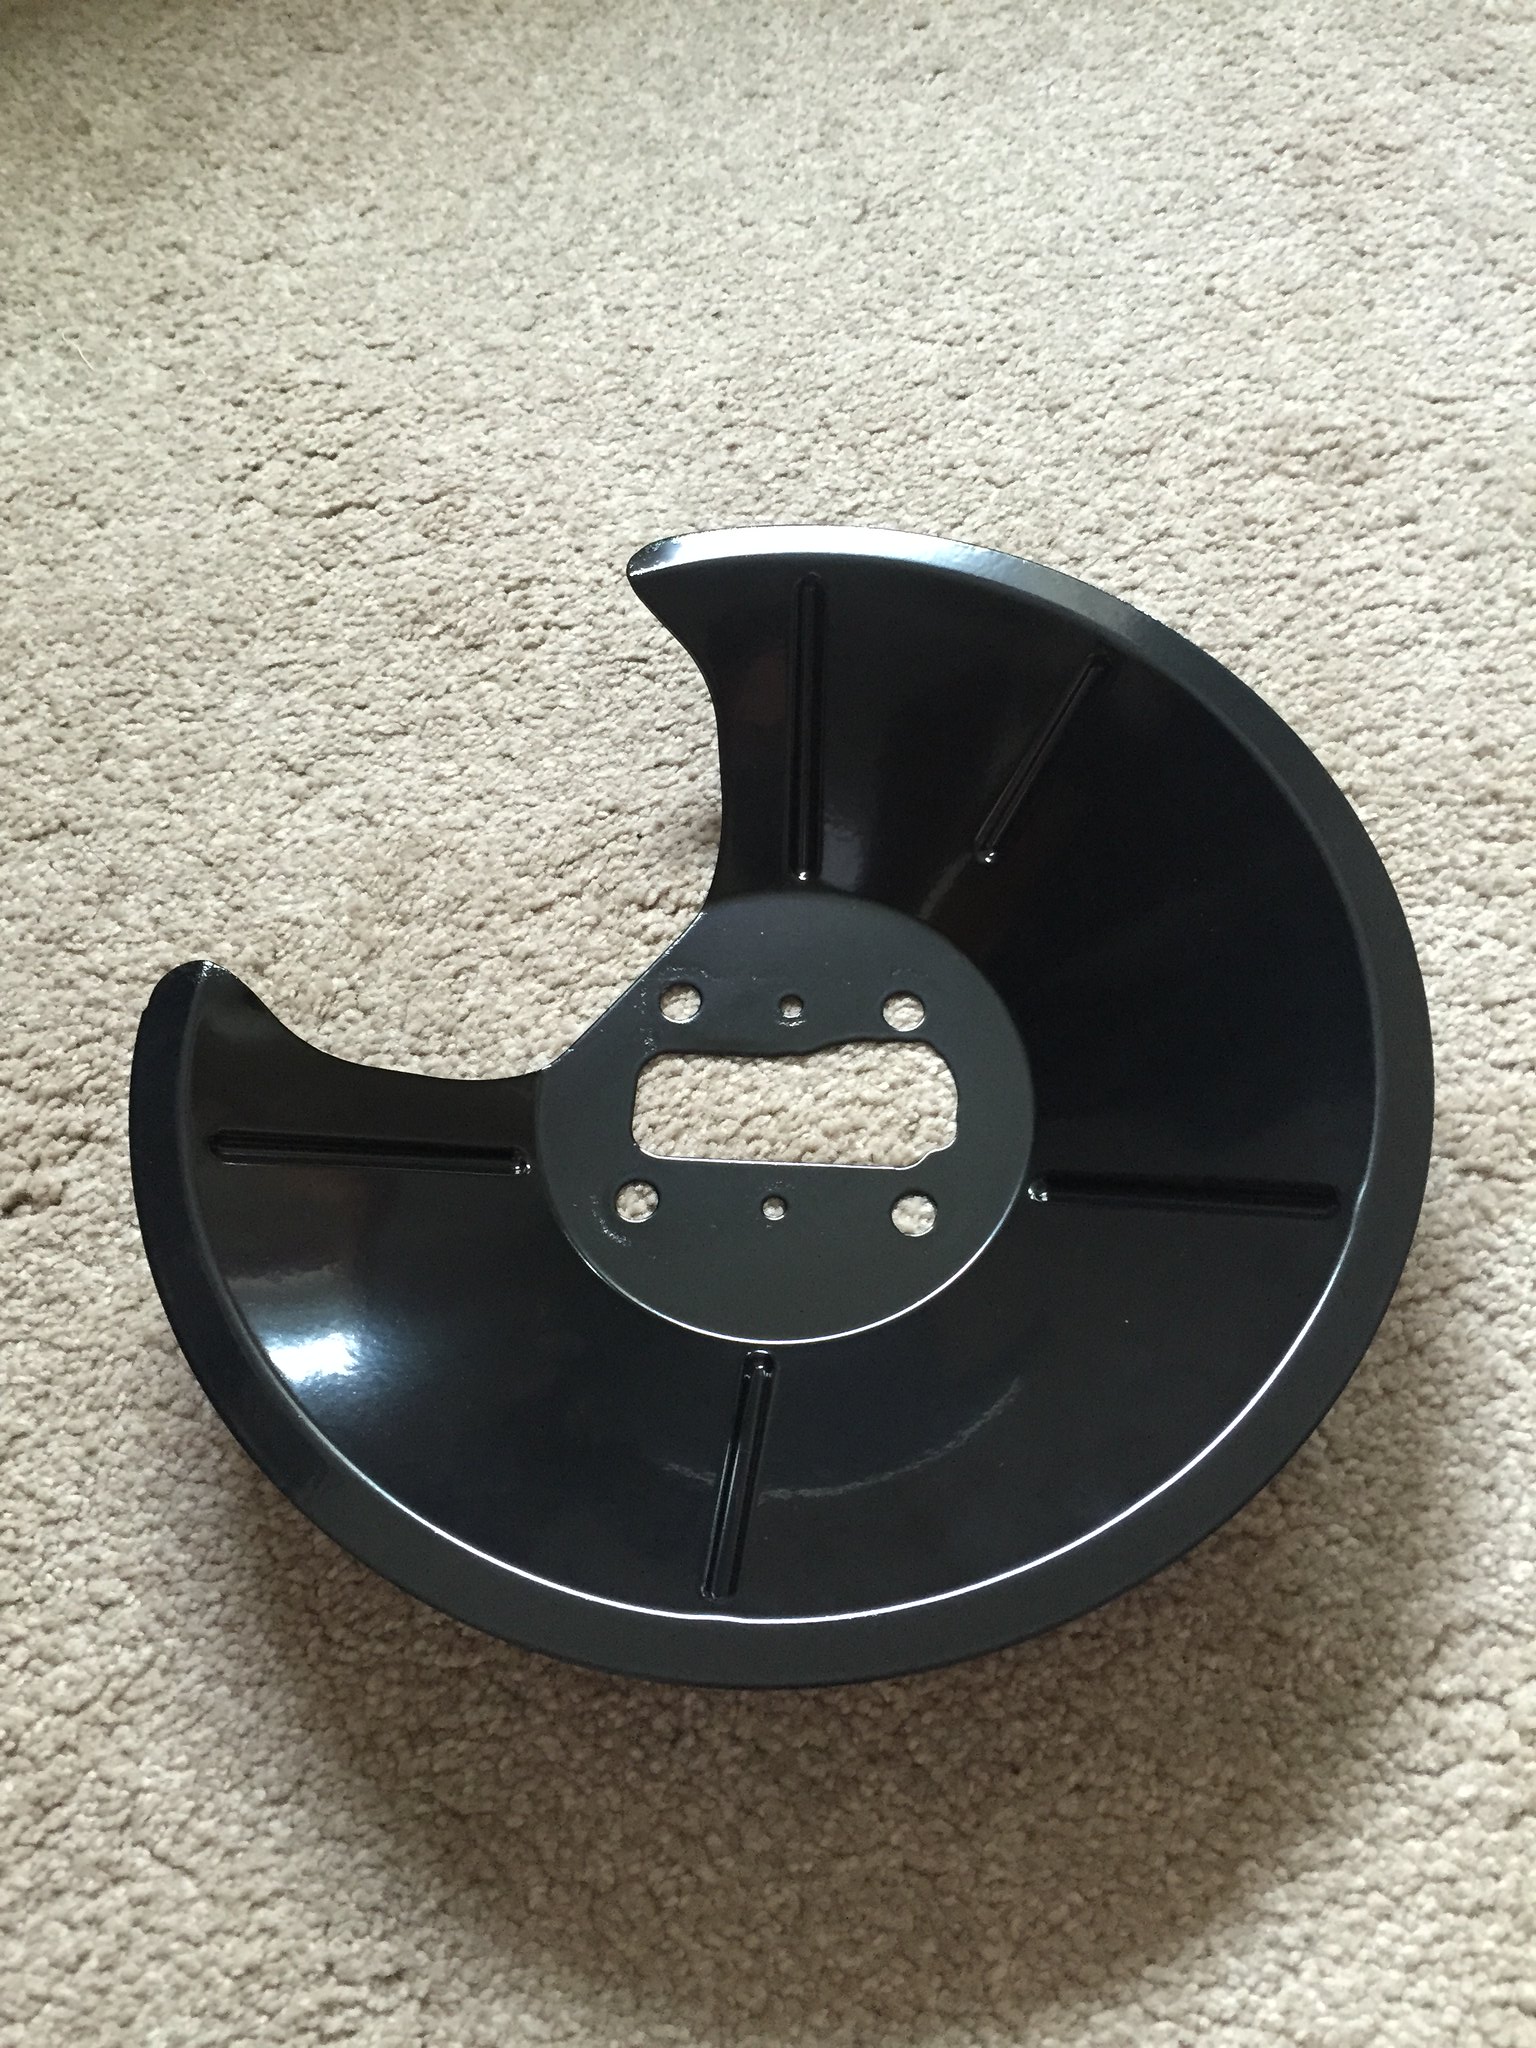
OK so I've been doing a lot of work on the car to get it ready for its MOT, unfortunately the expiry date has been and gone on the old MOT so the car is off the road for the next few weeks till its all tidied up and sorted, essentially there were a loads of jobs to do from last years MOT, but with the wedding and other stuff I never got round to it, the rear callipers are quite grotty and sticking plus the handbrake cable snapped just before I started work on the car, plus around the rear beam mounts the car is starting to get very crusty and rotten, so I thought I had better give it an almighty overhaul so I don't have to worry about it again for a while, so at the moment the car has had the rear beam/axles/brakes removed, the callipers i have sent off to be cleaned up and powder coated, i have had the rear beam sand blasted and powder coated gloss black, the rear hubs splash guards and axle spacers are going off next week to be sand blasted and powder coated and im fitting new hand brake cable (both front and rear section) new ABS sensors, discs, pads, new wheel bearings, and im going to get a new fuel tank (also powder coated silver) as they are quite cheap, whilst everything underneath is removed im going to clean it up and repair the rot, also i got a couple of other parts powder coated at the same time, any way here are some pics of the job so far

engine mounts

Posted Image

rear beam mounts

Posted Image

rear ABS sensor and all new beam/mount/shock bolts

Posted Image

New EBC Ultimax discs and pads to match the front

Posted Image

Posted Image

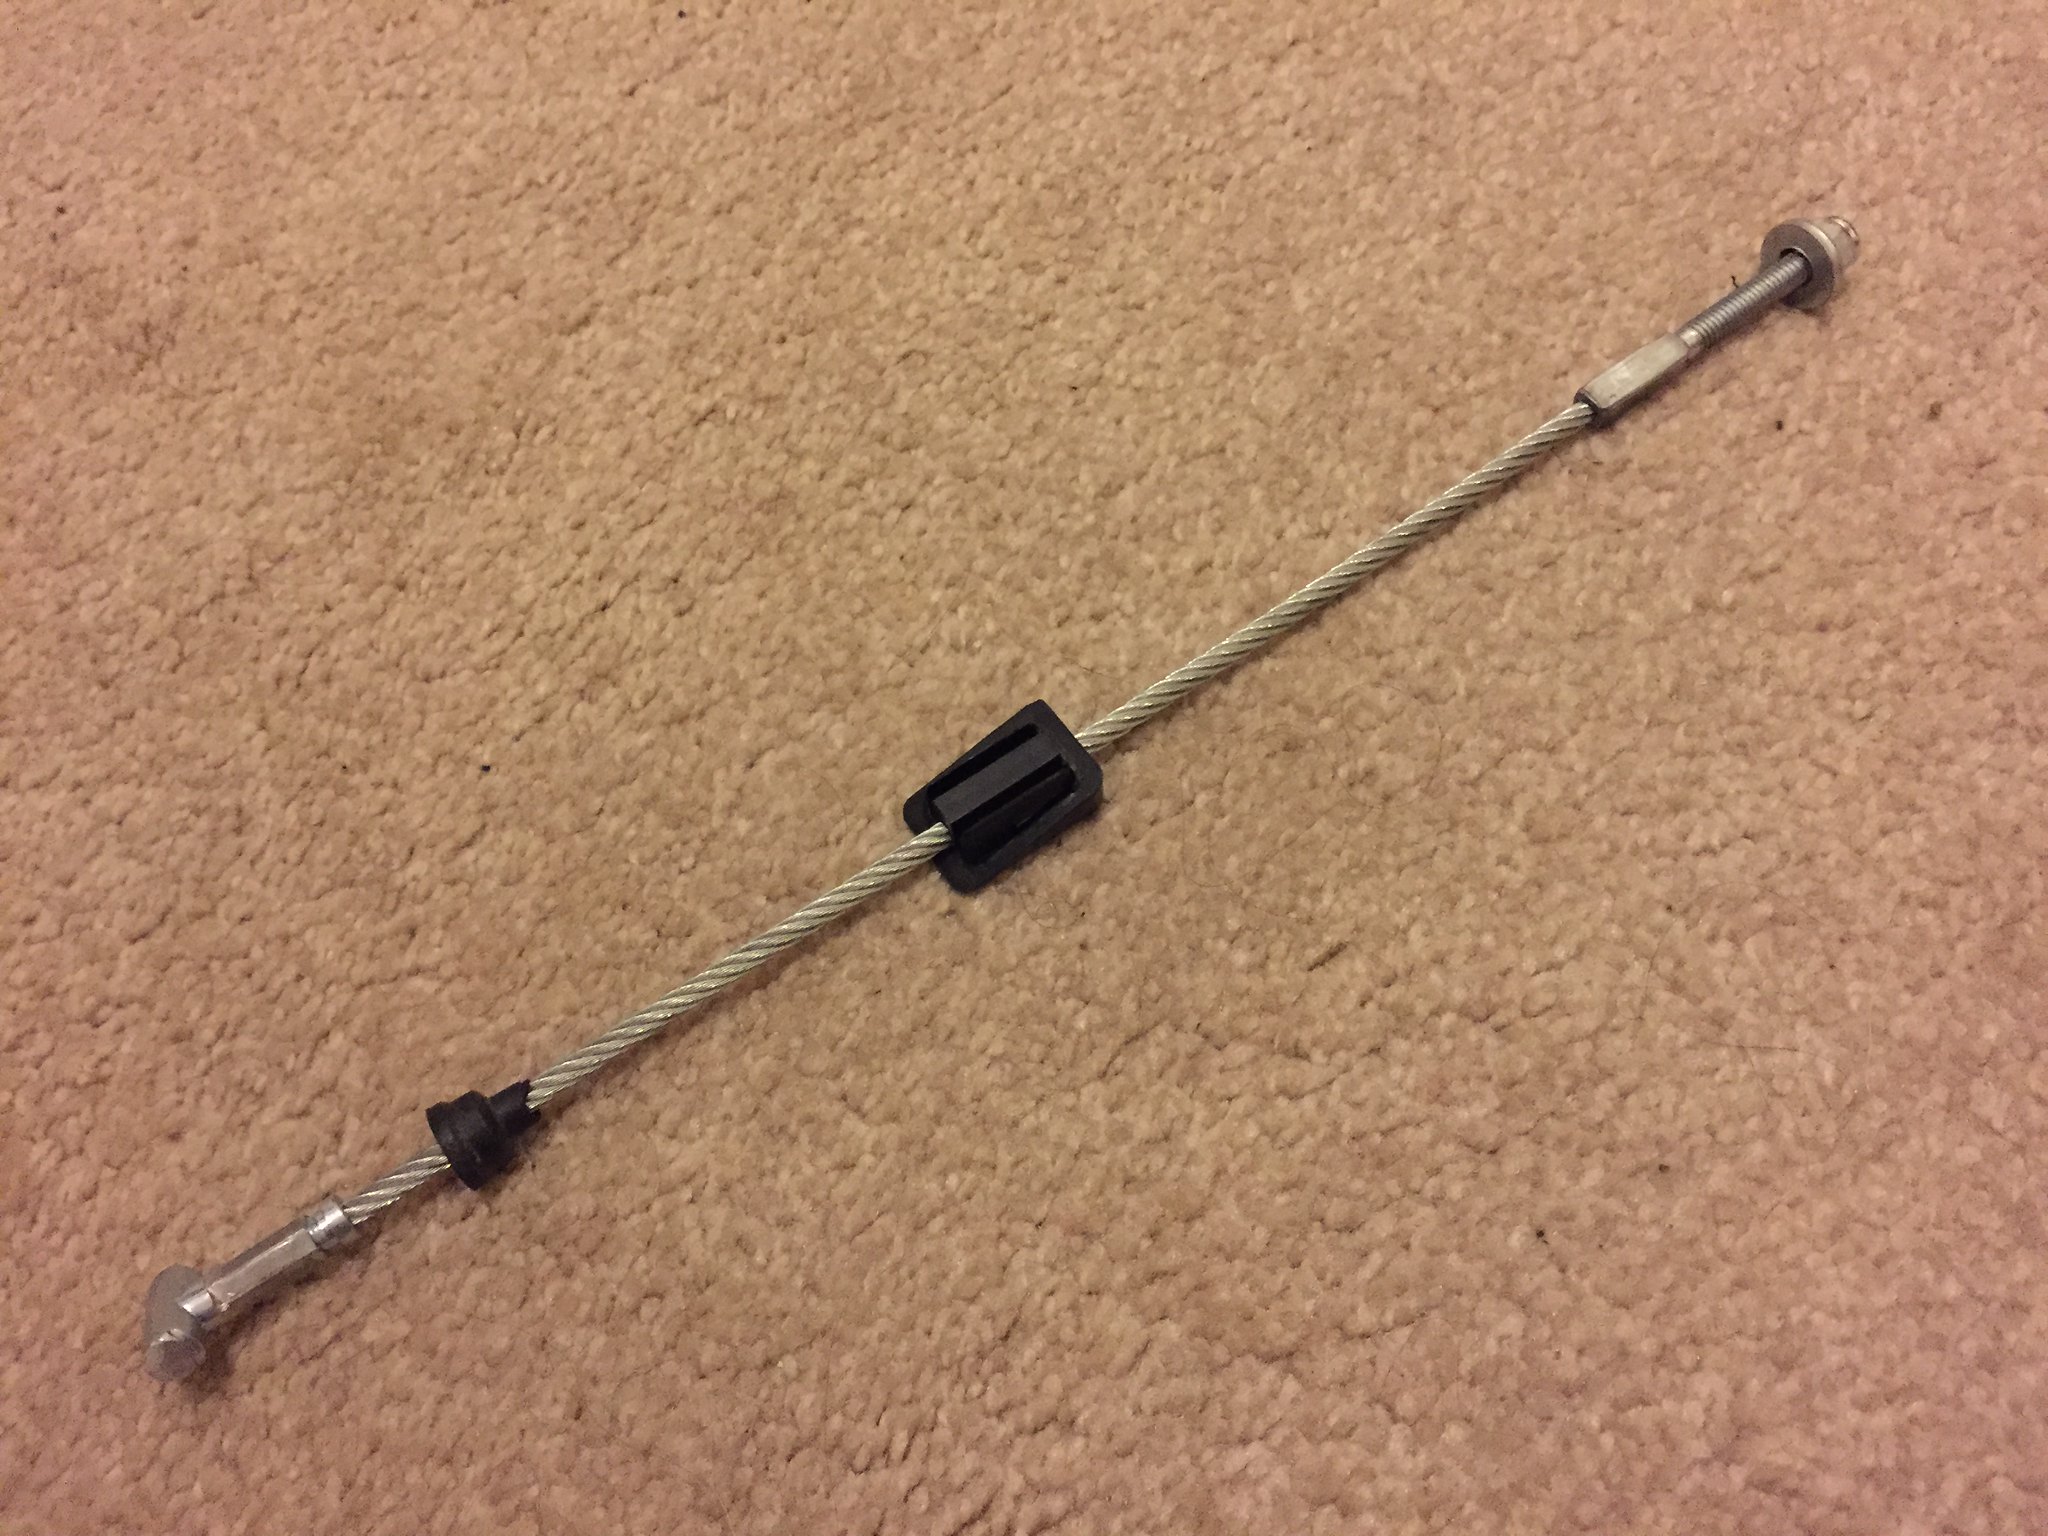
new hand brake cable courtesy of pumabuild

Posted Image

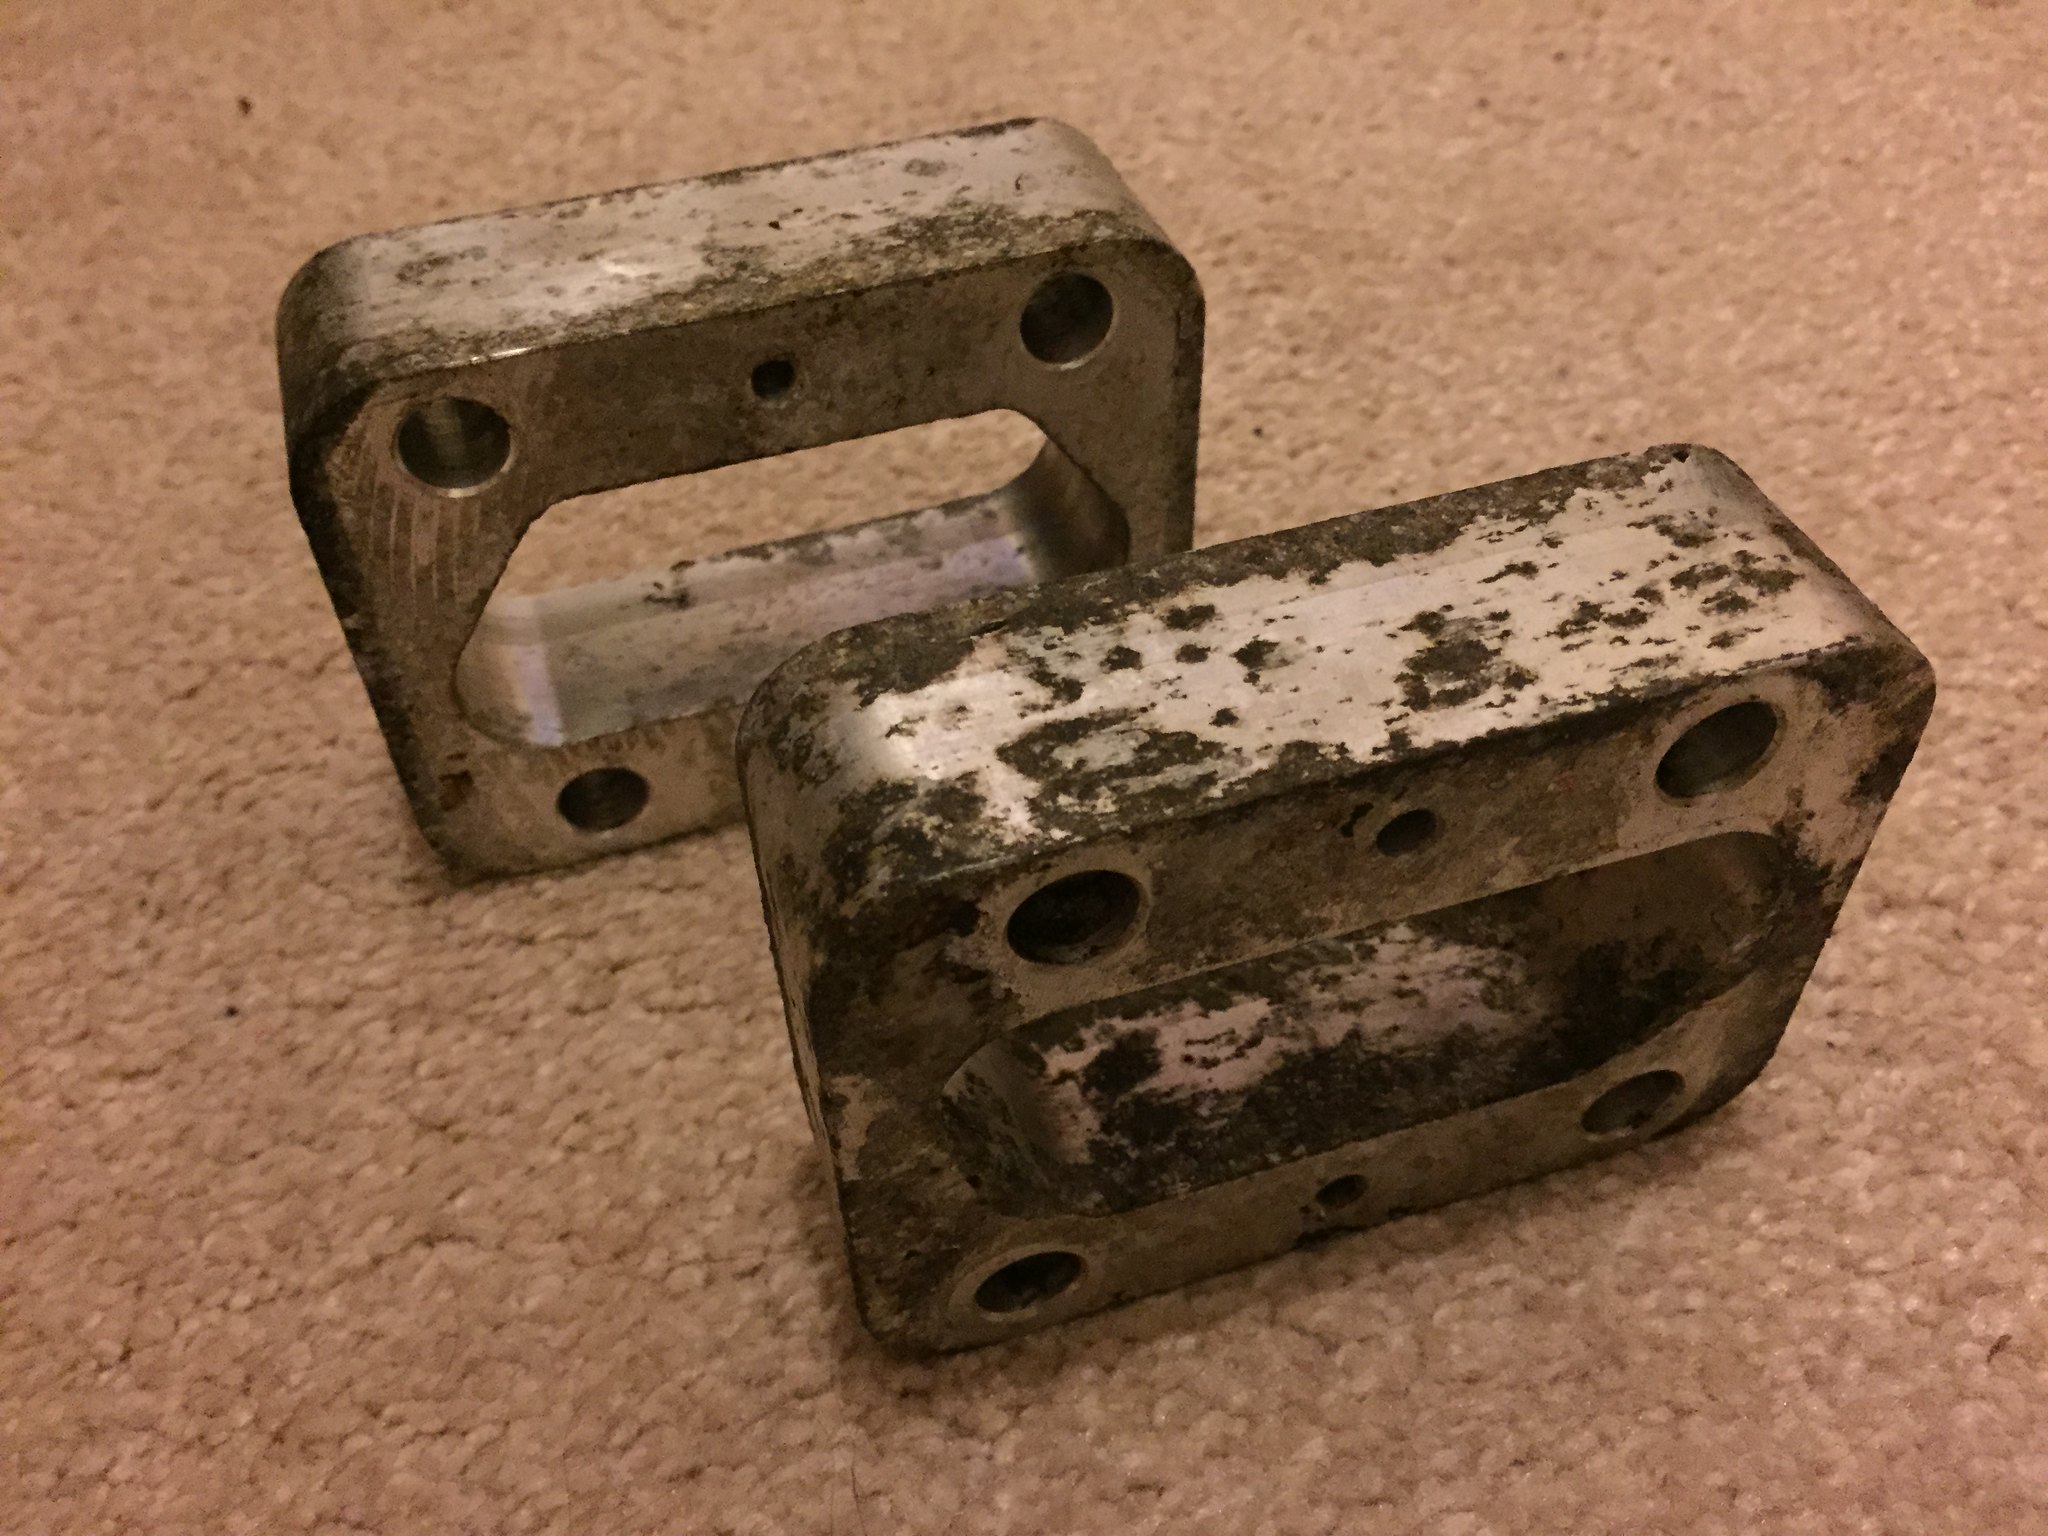
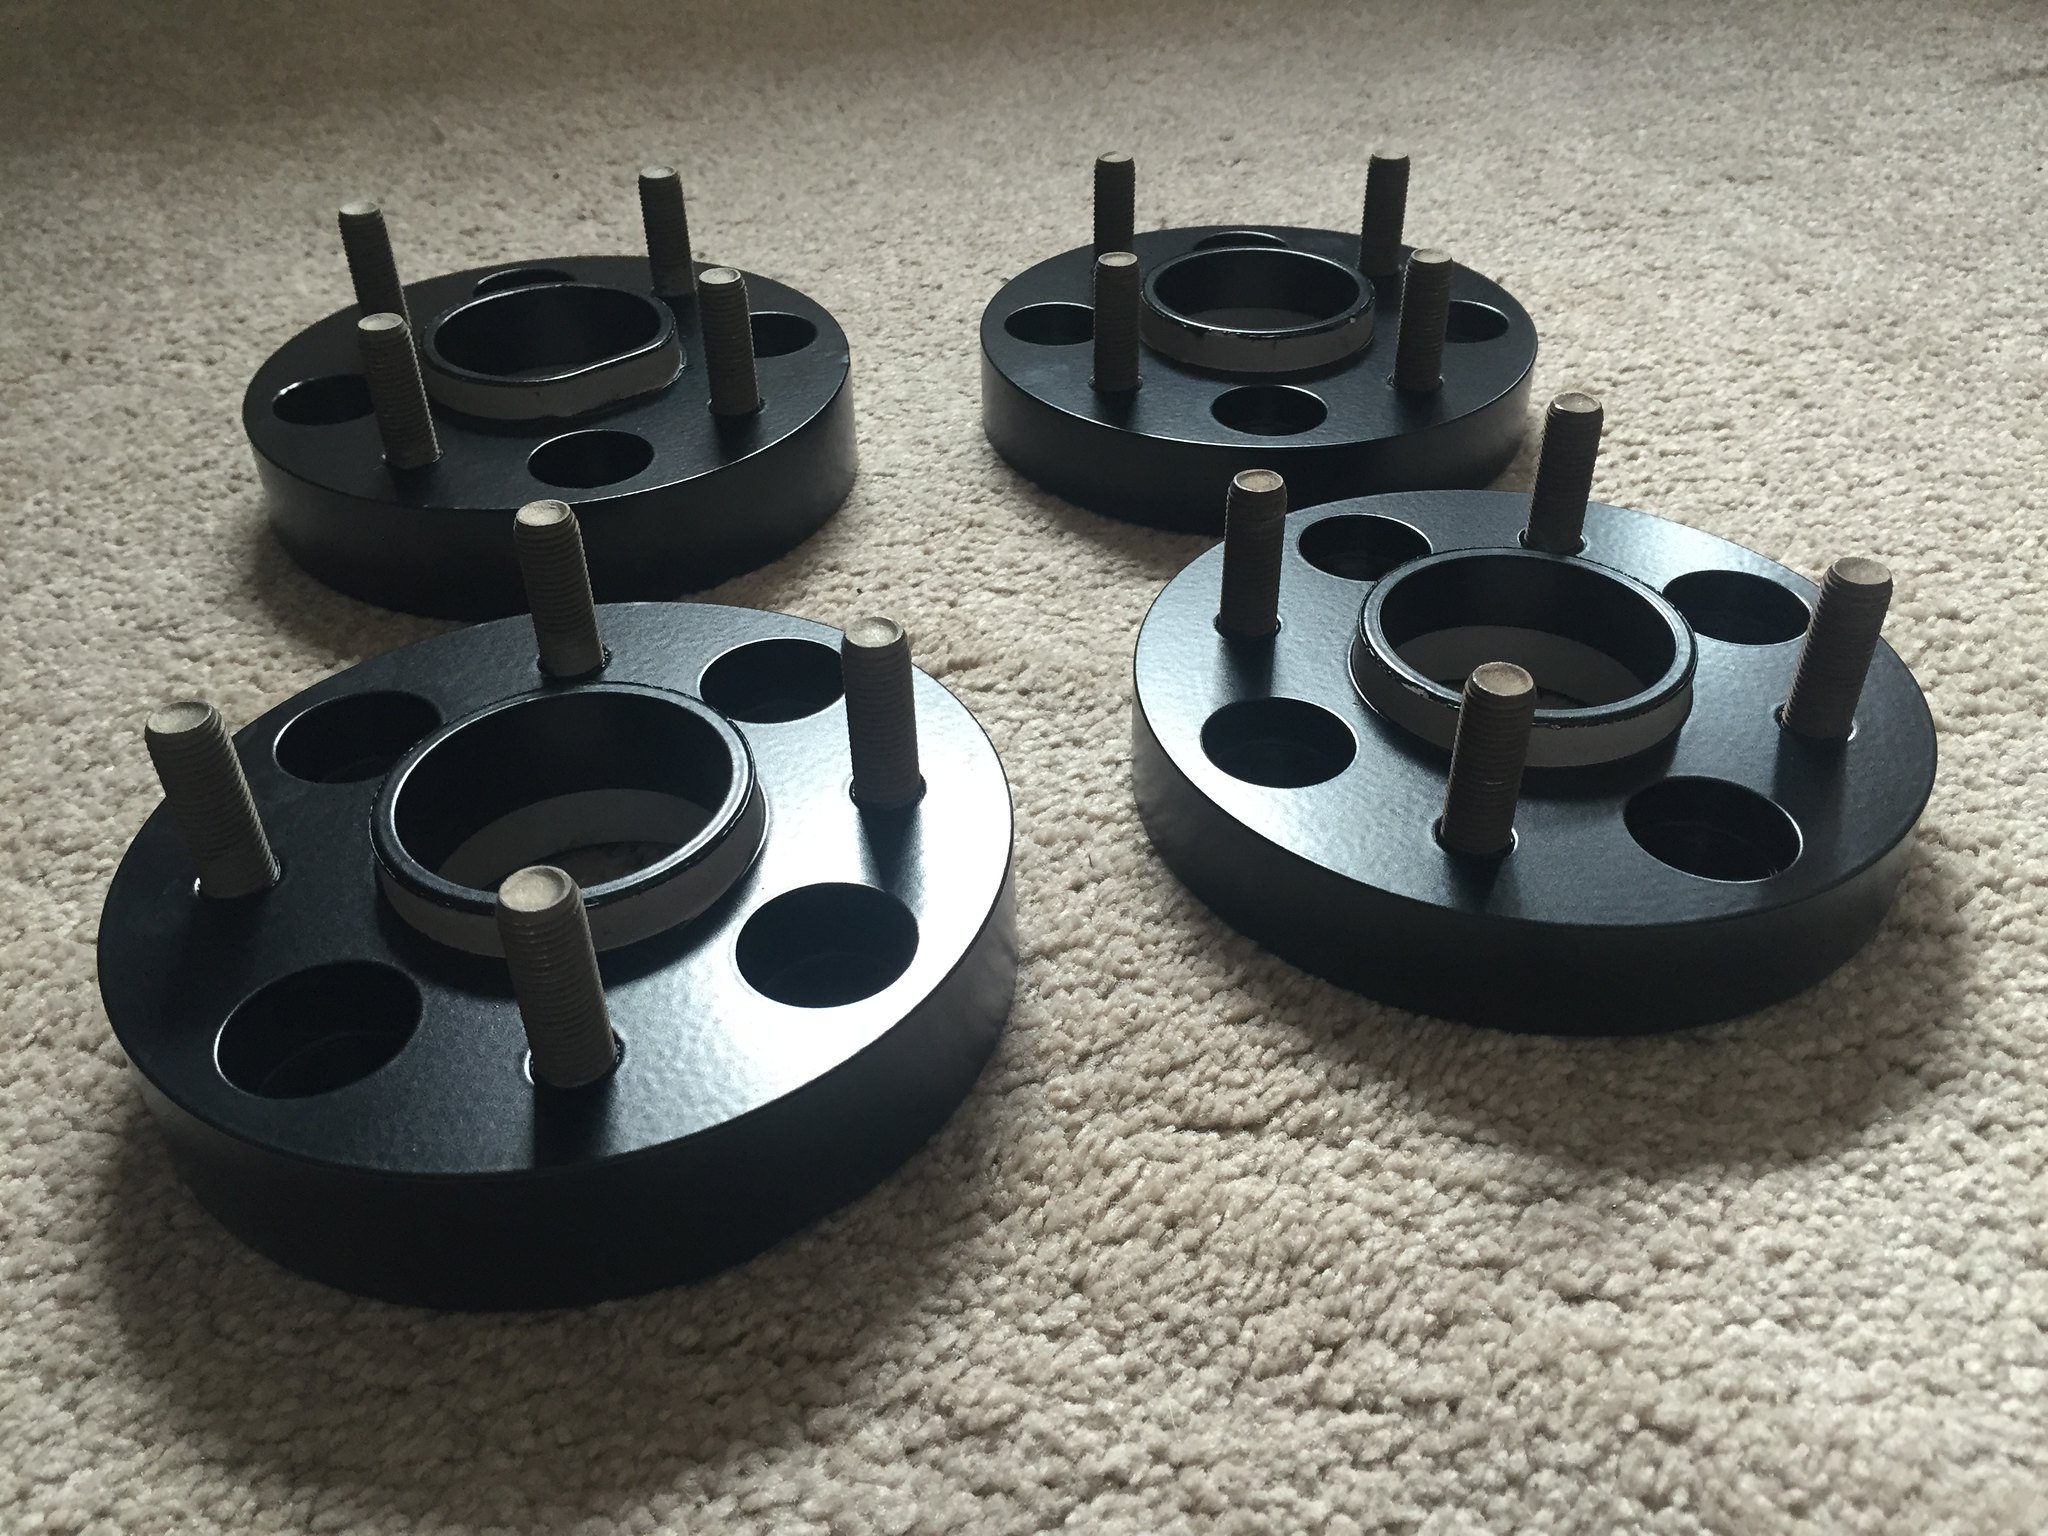
hub spacers are going to get powder coated satin black to match the wheels, these are the rears i need to get the fronts off yet

Posted Image

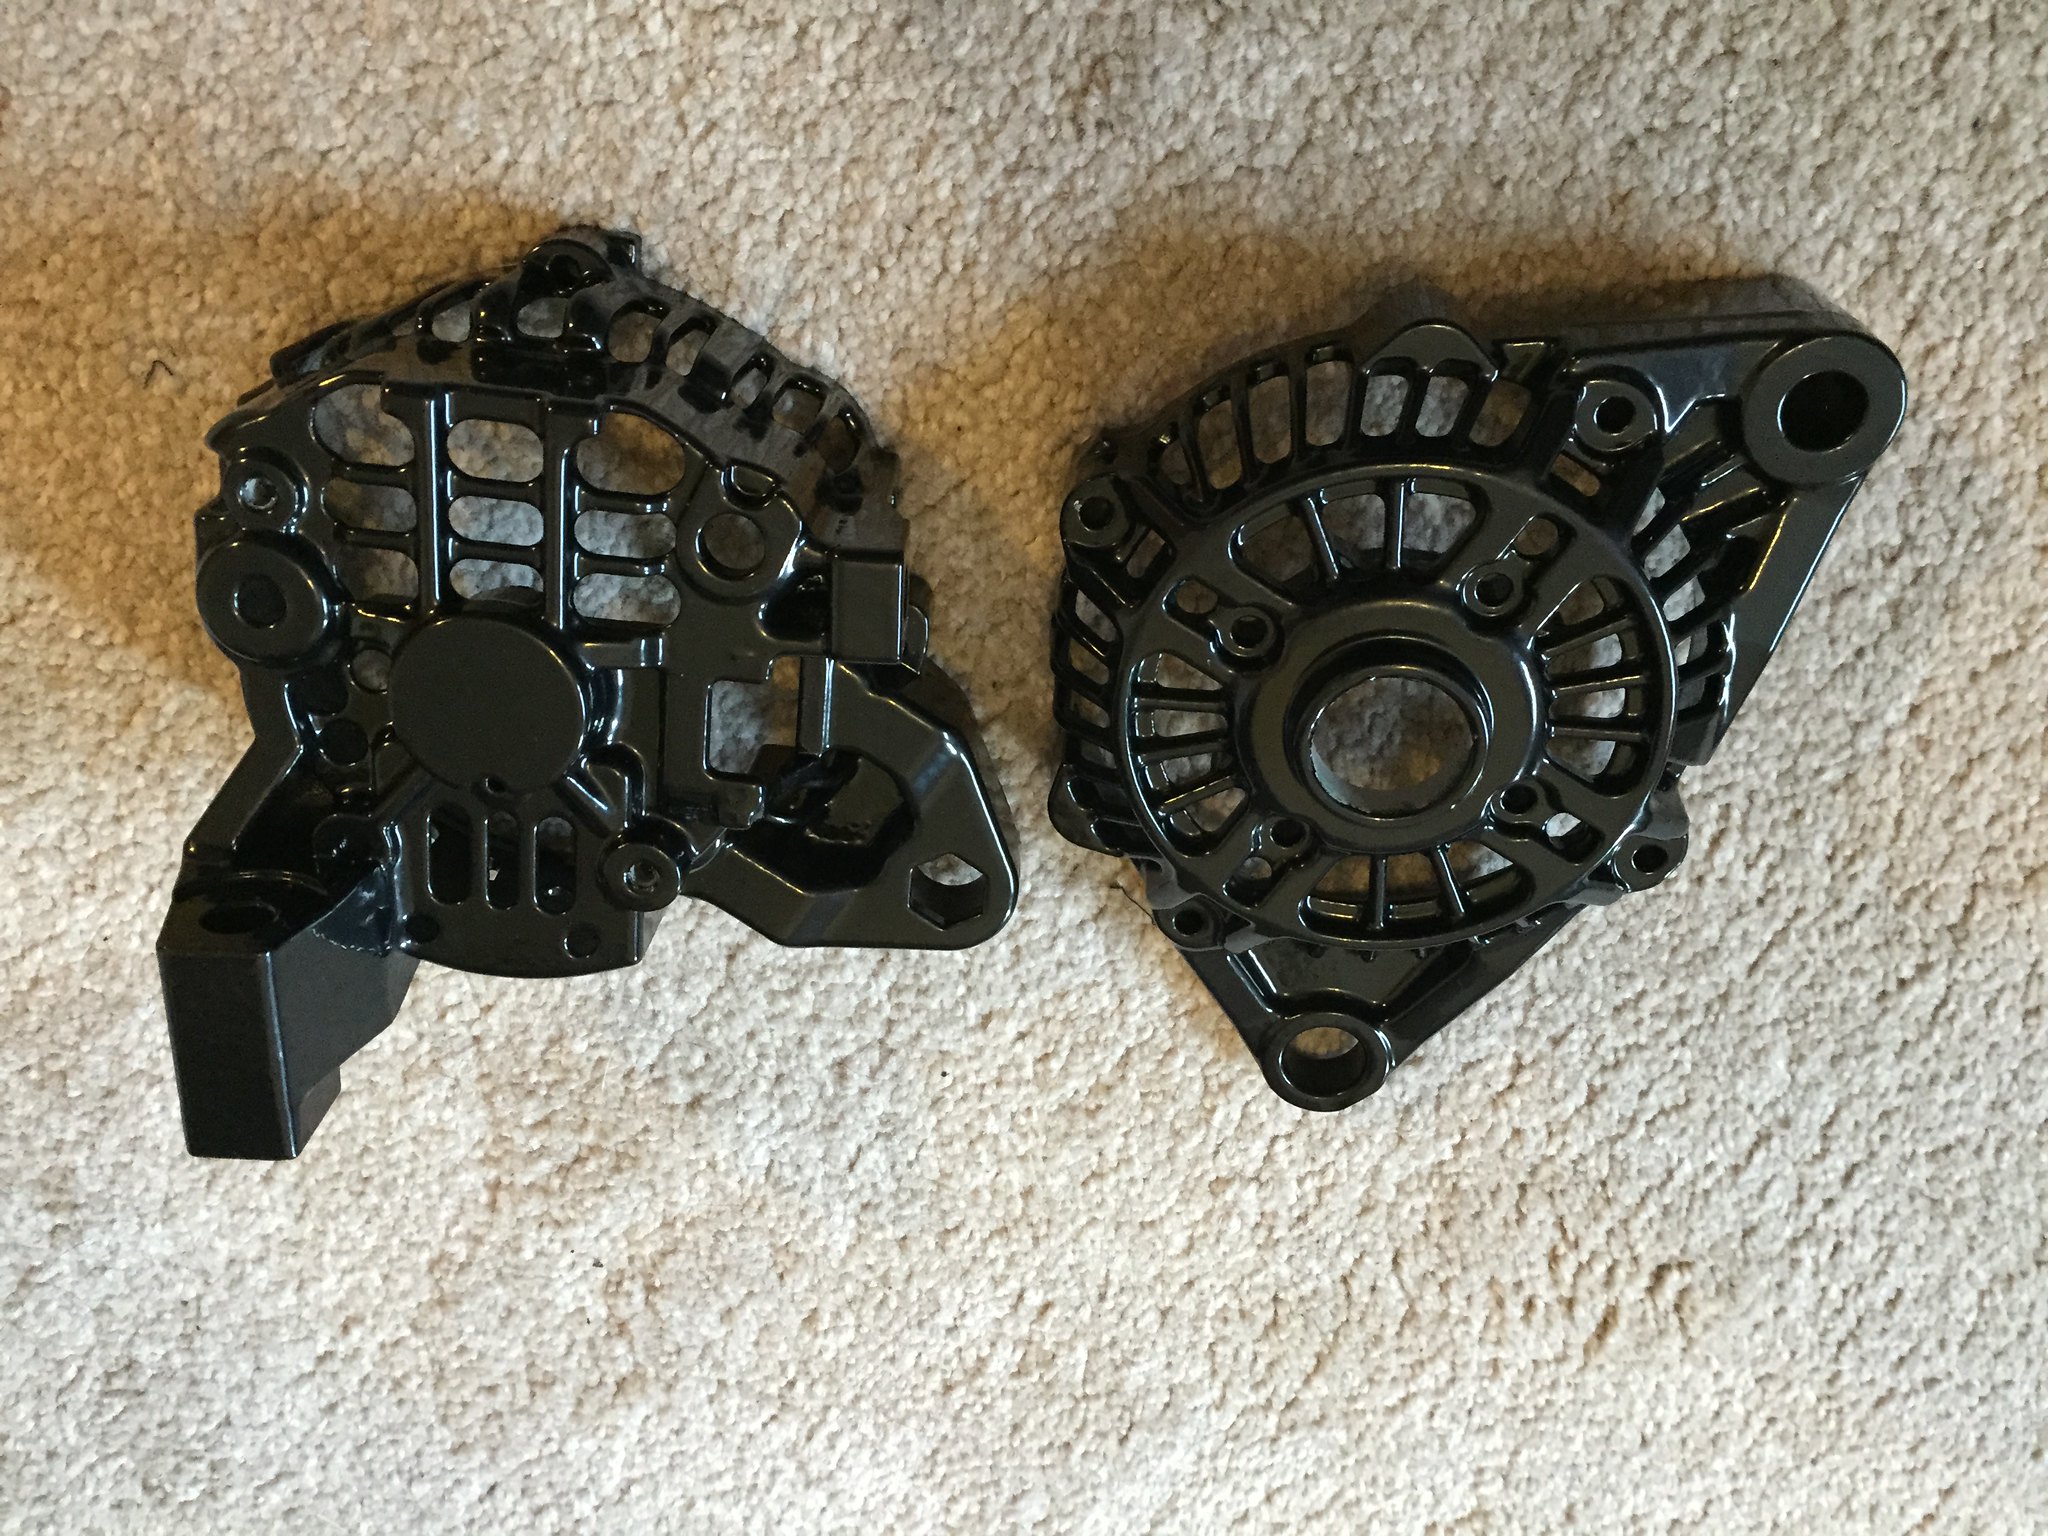
two halves of the alternator cage, it was originaly powder coated silver but the quality was pants so i got it redone at this new company i have found and they have done a much better job!

Posted Image

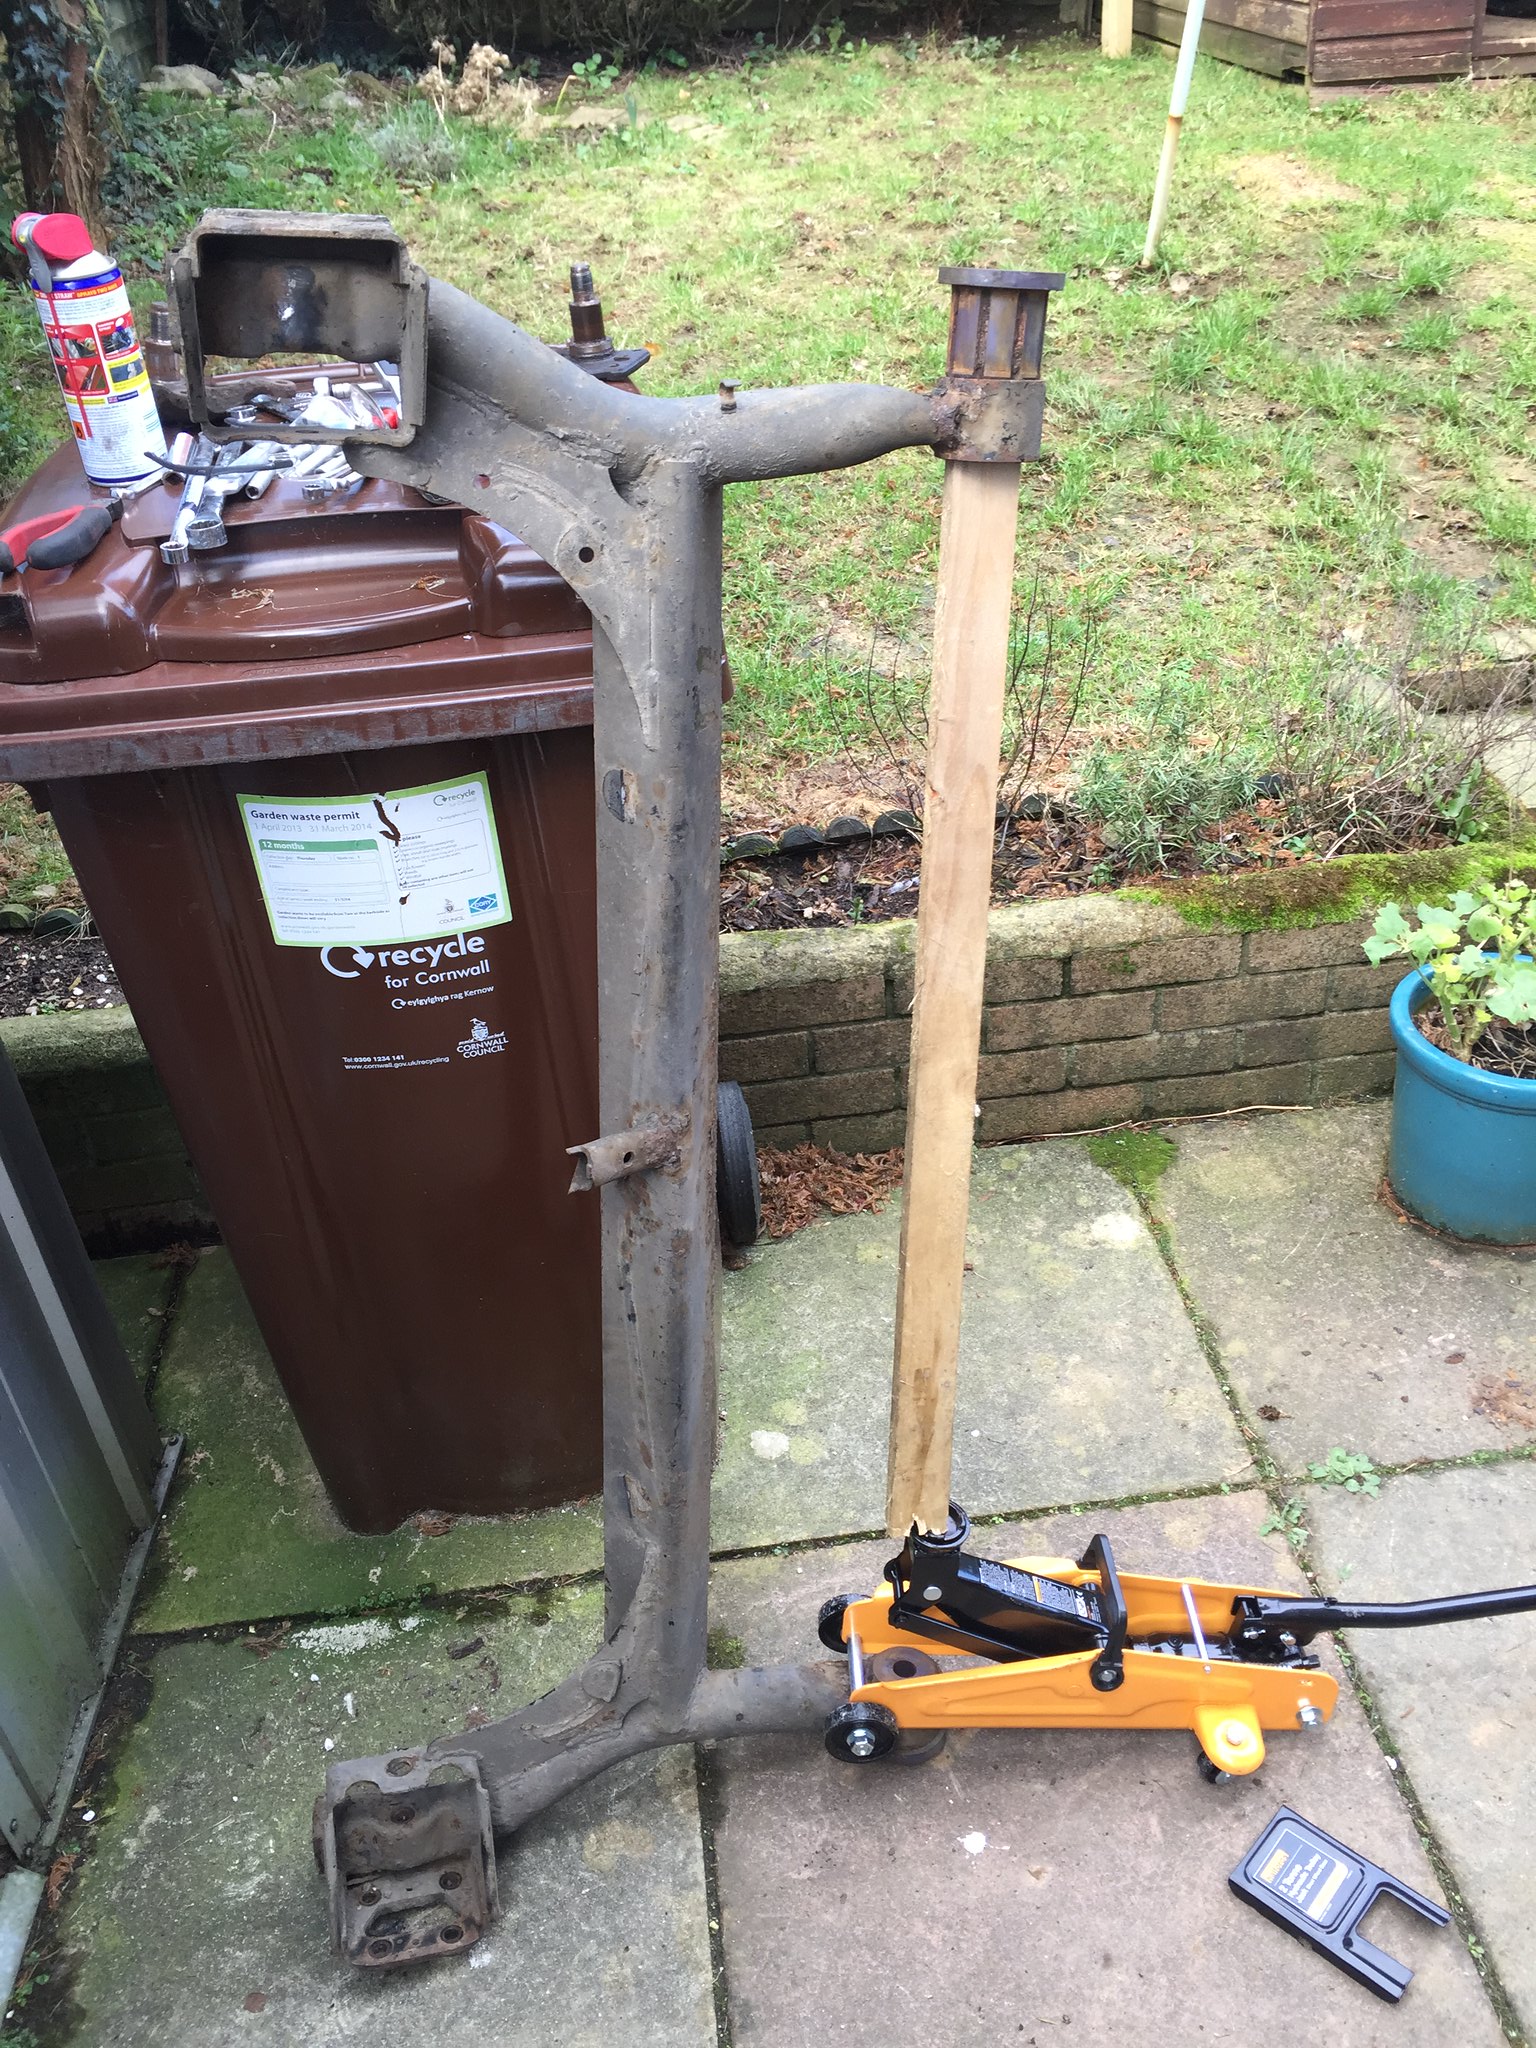
fresh rear beam

Posted Image

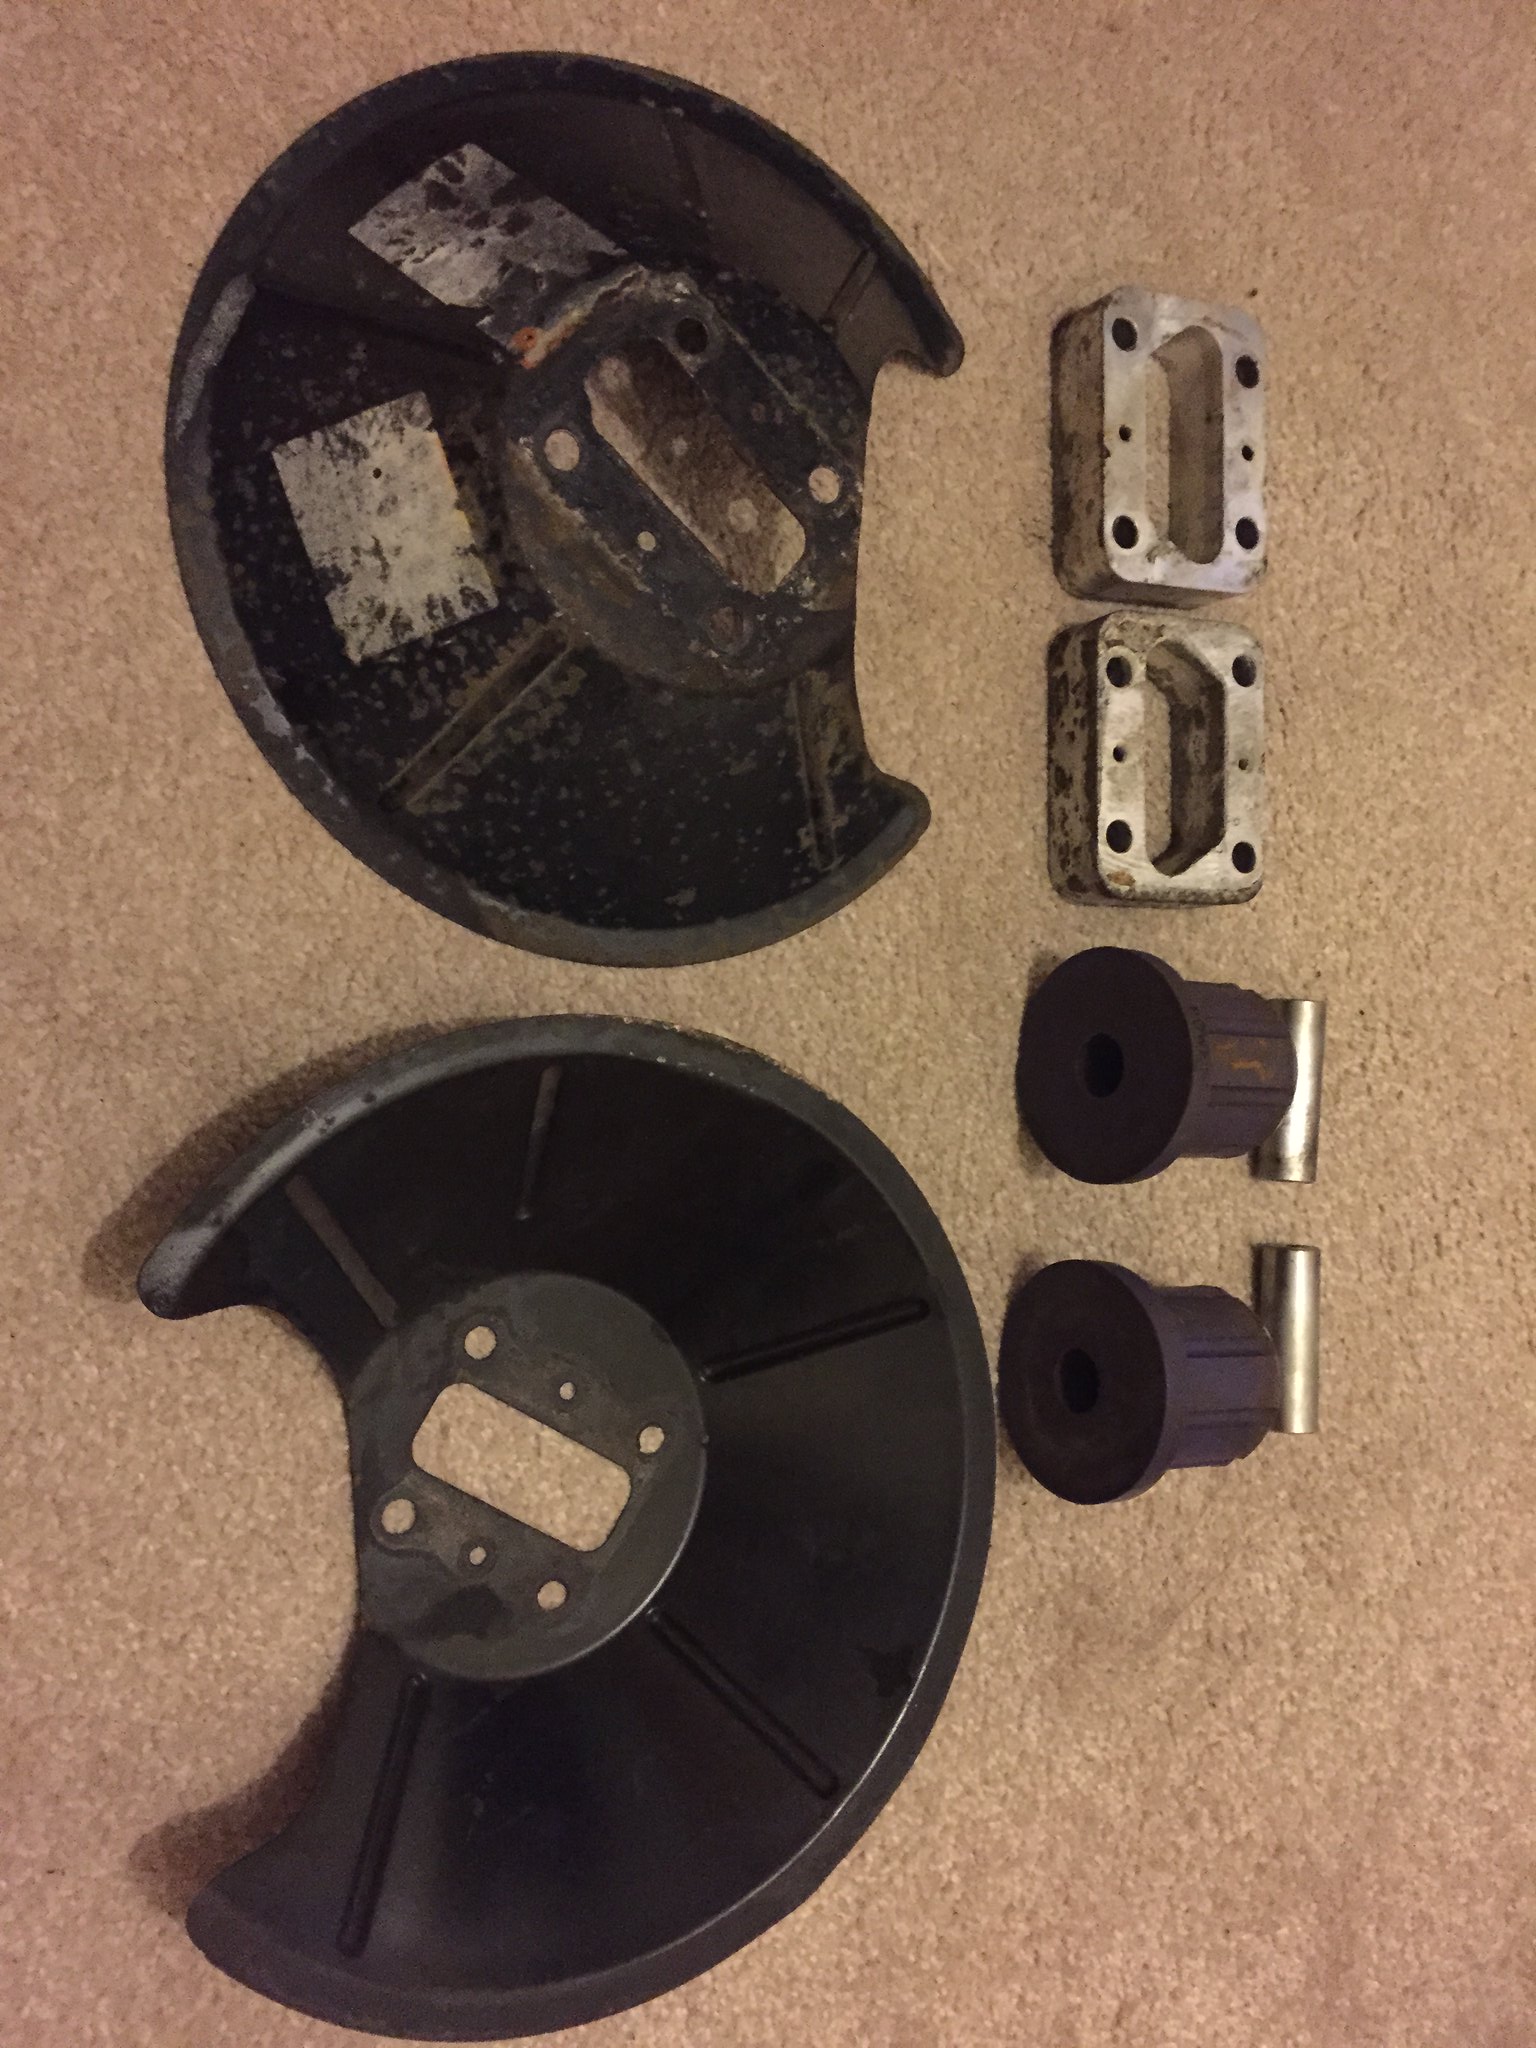
grotty old splash guards, axle spacersand rear powerflex bushes removed

Posted Image

rear spacers need some love!

Posted Image

front part of hand barke

Posted Image

i had to get creative to get the bushes out so i came up with this new tool for removal of powerflex bushes, note the crusty old beam before its make over

Posted Image

il post up some more pics over the next few weeks as i get time to work on her :)
to the steel workers of america: keep reaching for that rainbow!

#163 User is offline   ally frp364 

  • Group: Members
  • Posts: 760
  • Joined: 08-December 05
  • Location:kilmarnock

Posted 25 January 2015 - 10:14 PM

Would you not consider putting in genuine rear beam bushes?

I feel car handles better and not as skittery(when a fixed beam becomes too fixed and not enough flex over width of beam to compensate for uneven surfaces) and quality of ride is so much better.

Cheers

Ally

#164 User is offline   d170sam 

  • Group: Members
  • Posts: 1036
  • Joined: 23-June 05
  • Location:cornwall

Posted 25 January 2015 - 10:46 PM

I must admit Ally I have been thinking it would be nice to have a little more comfort, but then I drive the wife's car and I realize I like the puma the way it is, I am thinking of getting some gaz coil overs or maybe just try some lighter springs on my AP coil overs
to the steel workers of america: keep reaching for that rainbow!

#165 User is offline   ally frp364 

  • Group: Members
  • Posts: 760
  • Joined: 08-December 05
  • Location:kilmarnock

Posted 26 January 2015 - 08:31 PM

It's not just the comfort issue. They are just detrimental to the cars driving ability.

I am all for the powerflex in the front arm and FRP bush(the turn and sharpness of steering is greatly improved) but the rear does not help.

I had them in the rear then replaced with new genuine bushes as they were crap

#166 User is offline   happy-kat 

  • Group: Admin
  • Posts: 21811
  • Joined: 10-February 03

Posted 26 January 2015 - 10:48 PM

It's a bigger job though don't you have to take the rear beam off to fit the OEM ones?
searching is fruitful | I'm a sponge not a mechanic | please do try that if stuck with a Puma problem whilst waiting for a reply | For the Puma fan this read 'The Inside Story Book' is very nice to own sometimes still seen for sale

#167 User is offline   d170sam 

  • Group: Members
  • Posts: 1036
  • Joined: 23-June 05
  • Location:cornwall

Posted 26 January 2015 - 11:33 PM

Beam is already off so that's not a prob, think il stick with the powerflex bushes as it's costing me a bomb to get through MOT already so il reuse what I have to save at least a few quid
to the steel workers of america: keep reaching for that rainbow!

#168 User is offline   ally frp364 

  • Group: Members
  • Posts: 760
  • Joined: 08-December 05
  • Location:kilmarnock

Posted 27 January 2015 - 11:18 AM

View Posthappy-kat, on 26 January 2015 - 10:48 PM, said:

It's a bigger job though don't you have to take the rear beam off to fit the OEM ones?


No you don't need to take beam off to fit new ones. You only take beam off if you want to physically lift into a hydraulic press to fit bushes. They can be fitted in Situ with a small bush pressing tool.

Cheers

Ally

#169 User is offline   Fatttty 

  • Group: Members
  • Posts: 71
  • Joined: 07-October 11

Posted 14 February 2015 - 10:49 AM

Looking forward to more updates Sam :)

Alex

#170 User is offline   d170sam 

  • Group: Members
  • Posts: 1036
  • Joined: 23-June 05
  • Location:cornwall

Posted 17 February 2015 - 07:55 PM

Ok a little update for you, so far I have stripped the rear end completely:

- rear beam, including spindles,hubs, callipers, discs, splash guards, ABS sensor
- rear shocks
- fuel tank
- rear bumper
- fuel filler neck
- all plastic brackets, including the evap canister

iv'e washed and cleaned the whole rear end so far, next up is to get back to bare metal underneath and cut out/repair rust then I need to build up the protection layers:

- mastic 121 as a primary layer
- zinc acid etch primer
- stone guard
- repaint under side (probably anthracite)

iv'e already started cleaning up the plastic bits and treating them with plastic cleaner/polish and I have sent a few parts off for galvanising (fuel filler neck, and some bolts) a few parts for nickel plating (rear calliper cable brackets) and I am still waiting for a few parts to come back from the powder coaters (hubs, splash guards, axle spacers, new fuel tank) I am also going to rebuild the fuel pump assembly with a new pump and tidied up top plate/connectors
to the steel workers of america: keep reaching for that rainbow!

#171 User is offline   d170sam 

  • Group: Members
  • Posts: 1036
  • Joined: 23-June 05
  • Location:cornwall

Posted 17 February 2015 - 08:01 PM

couple of pics

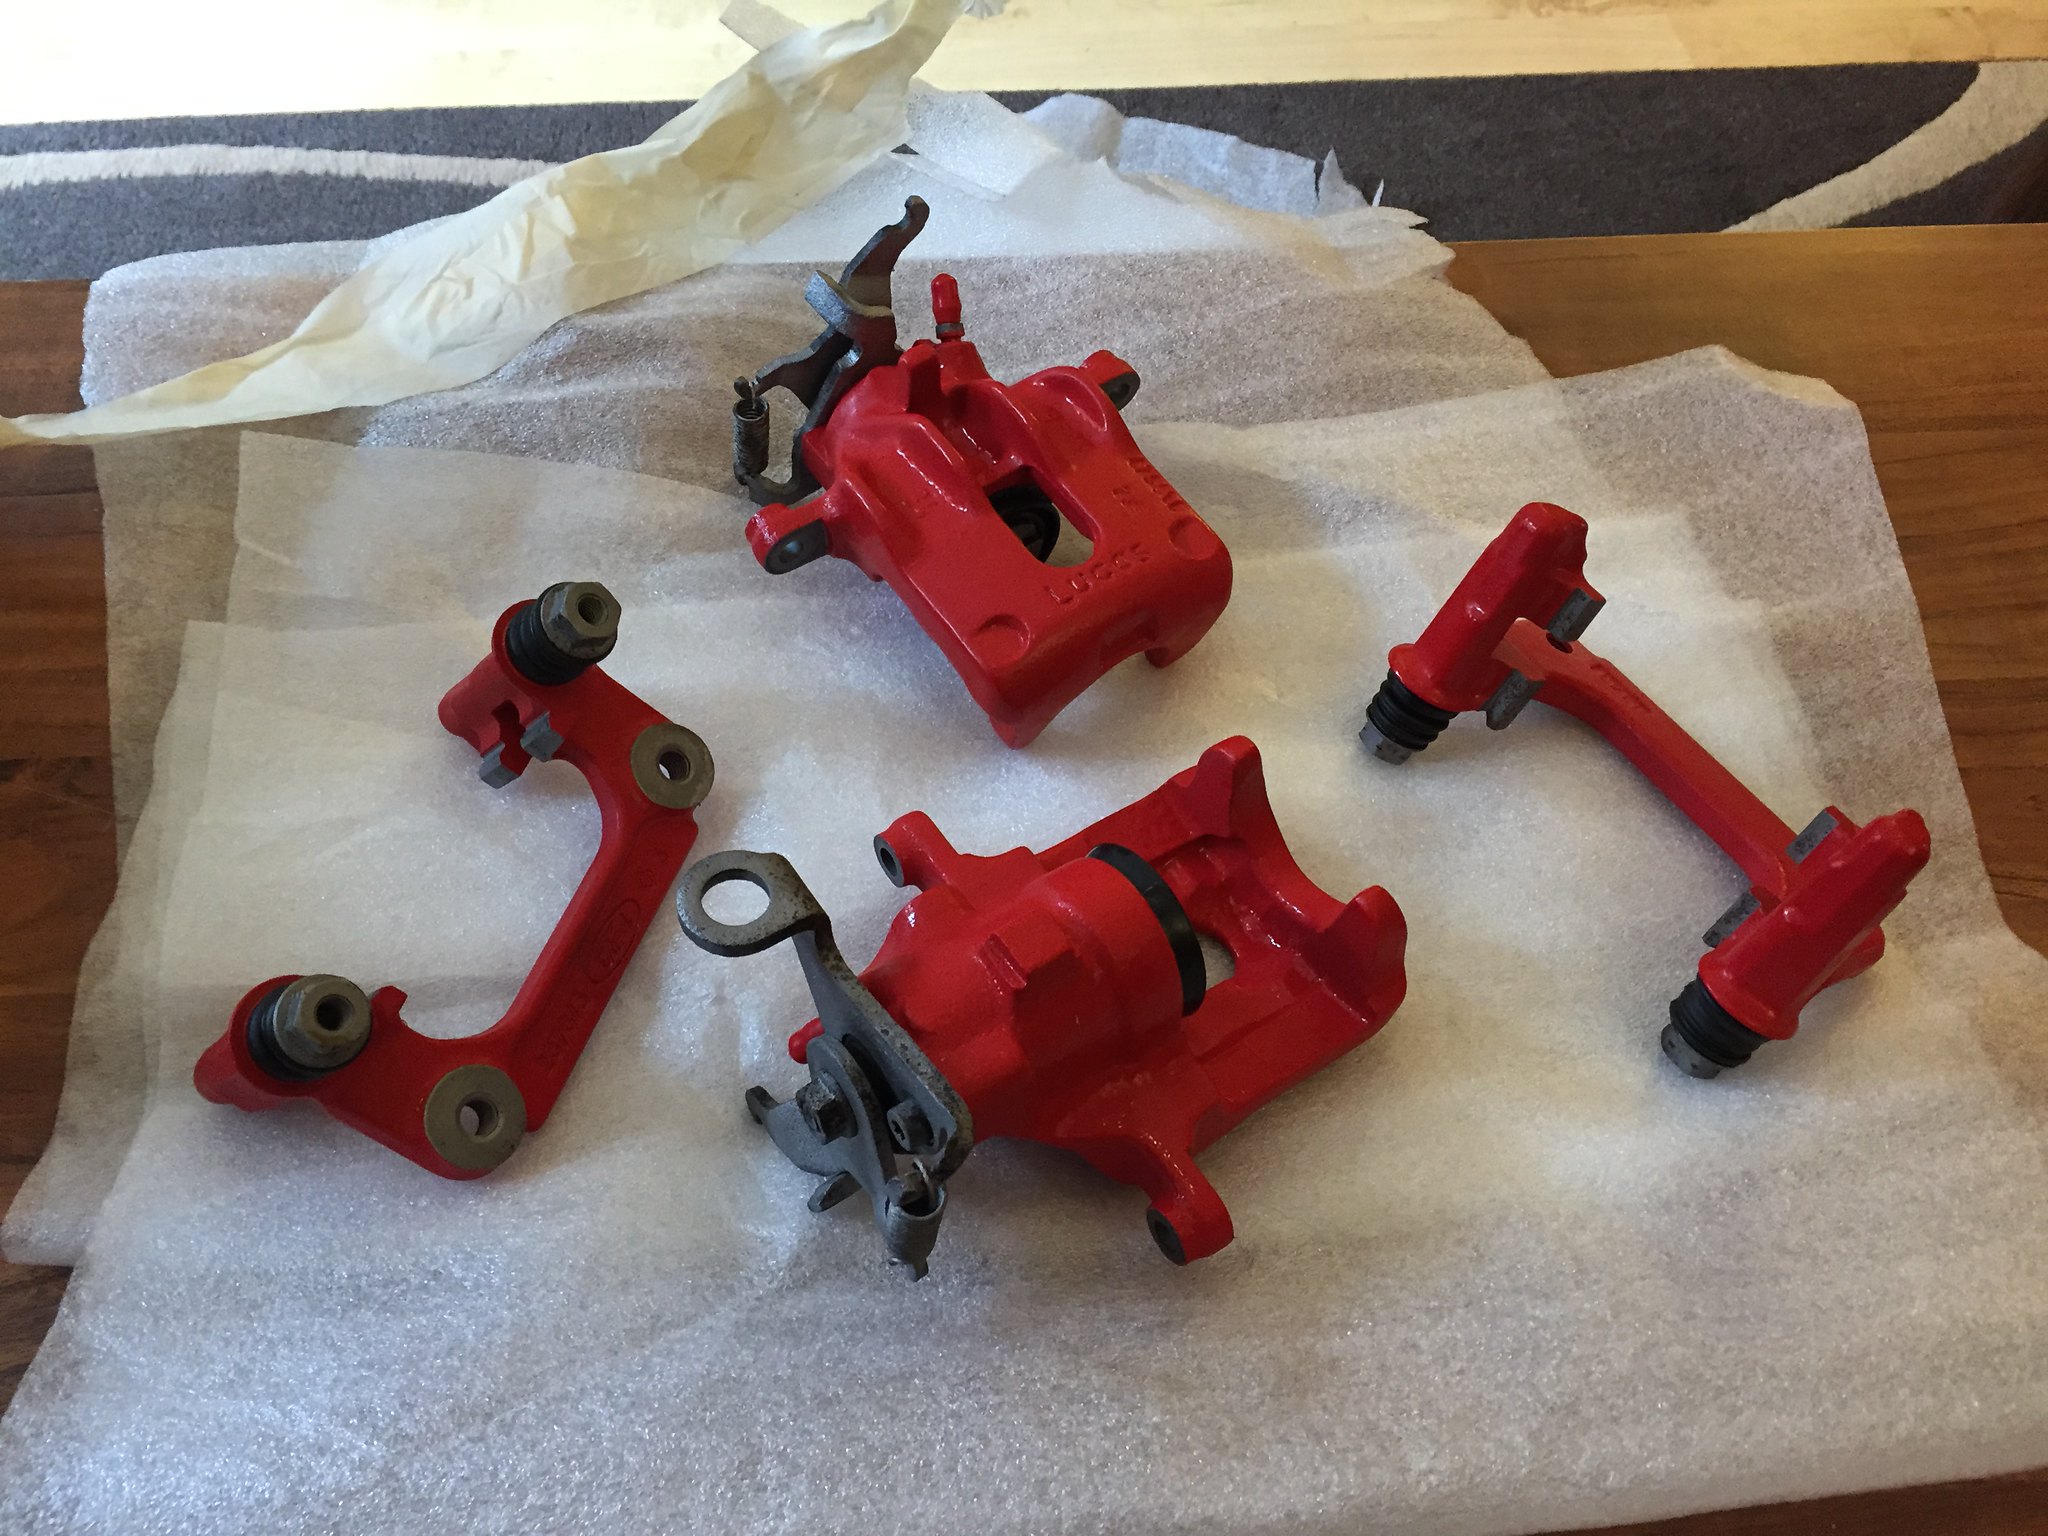
rear calipers powder coated

Posted Image

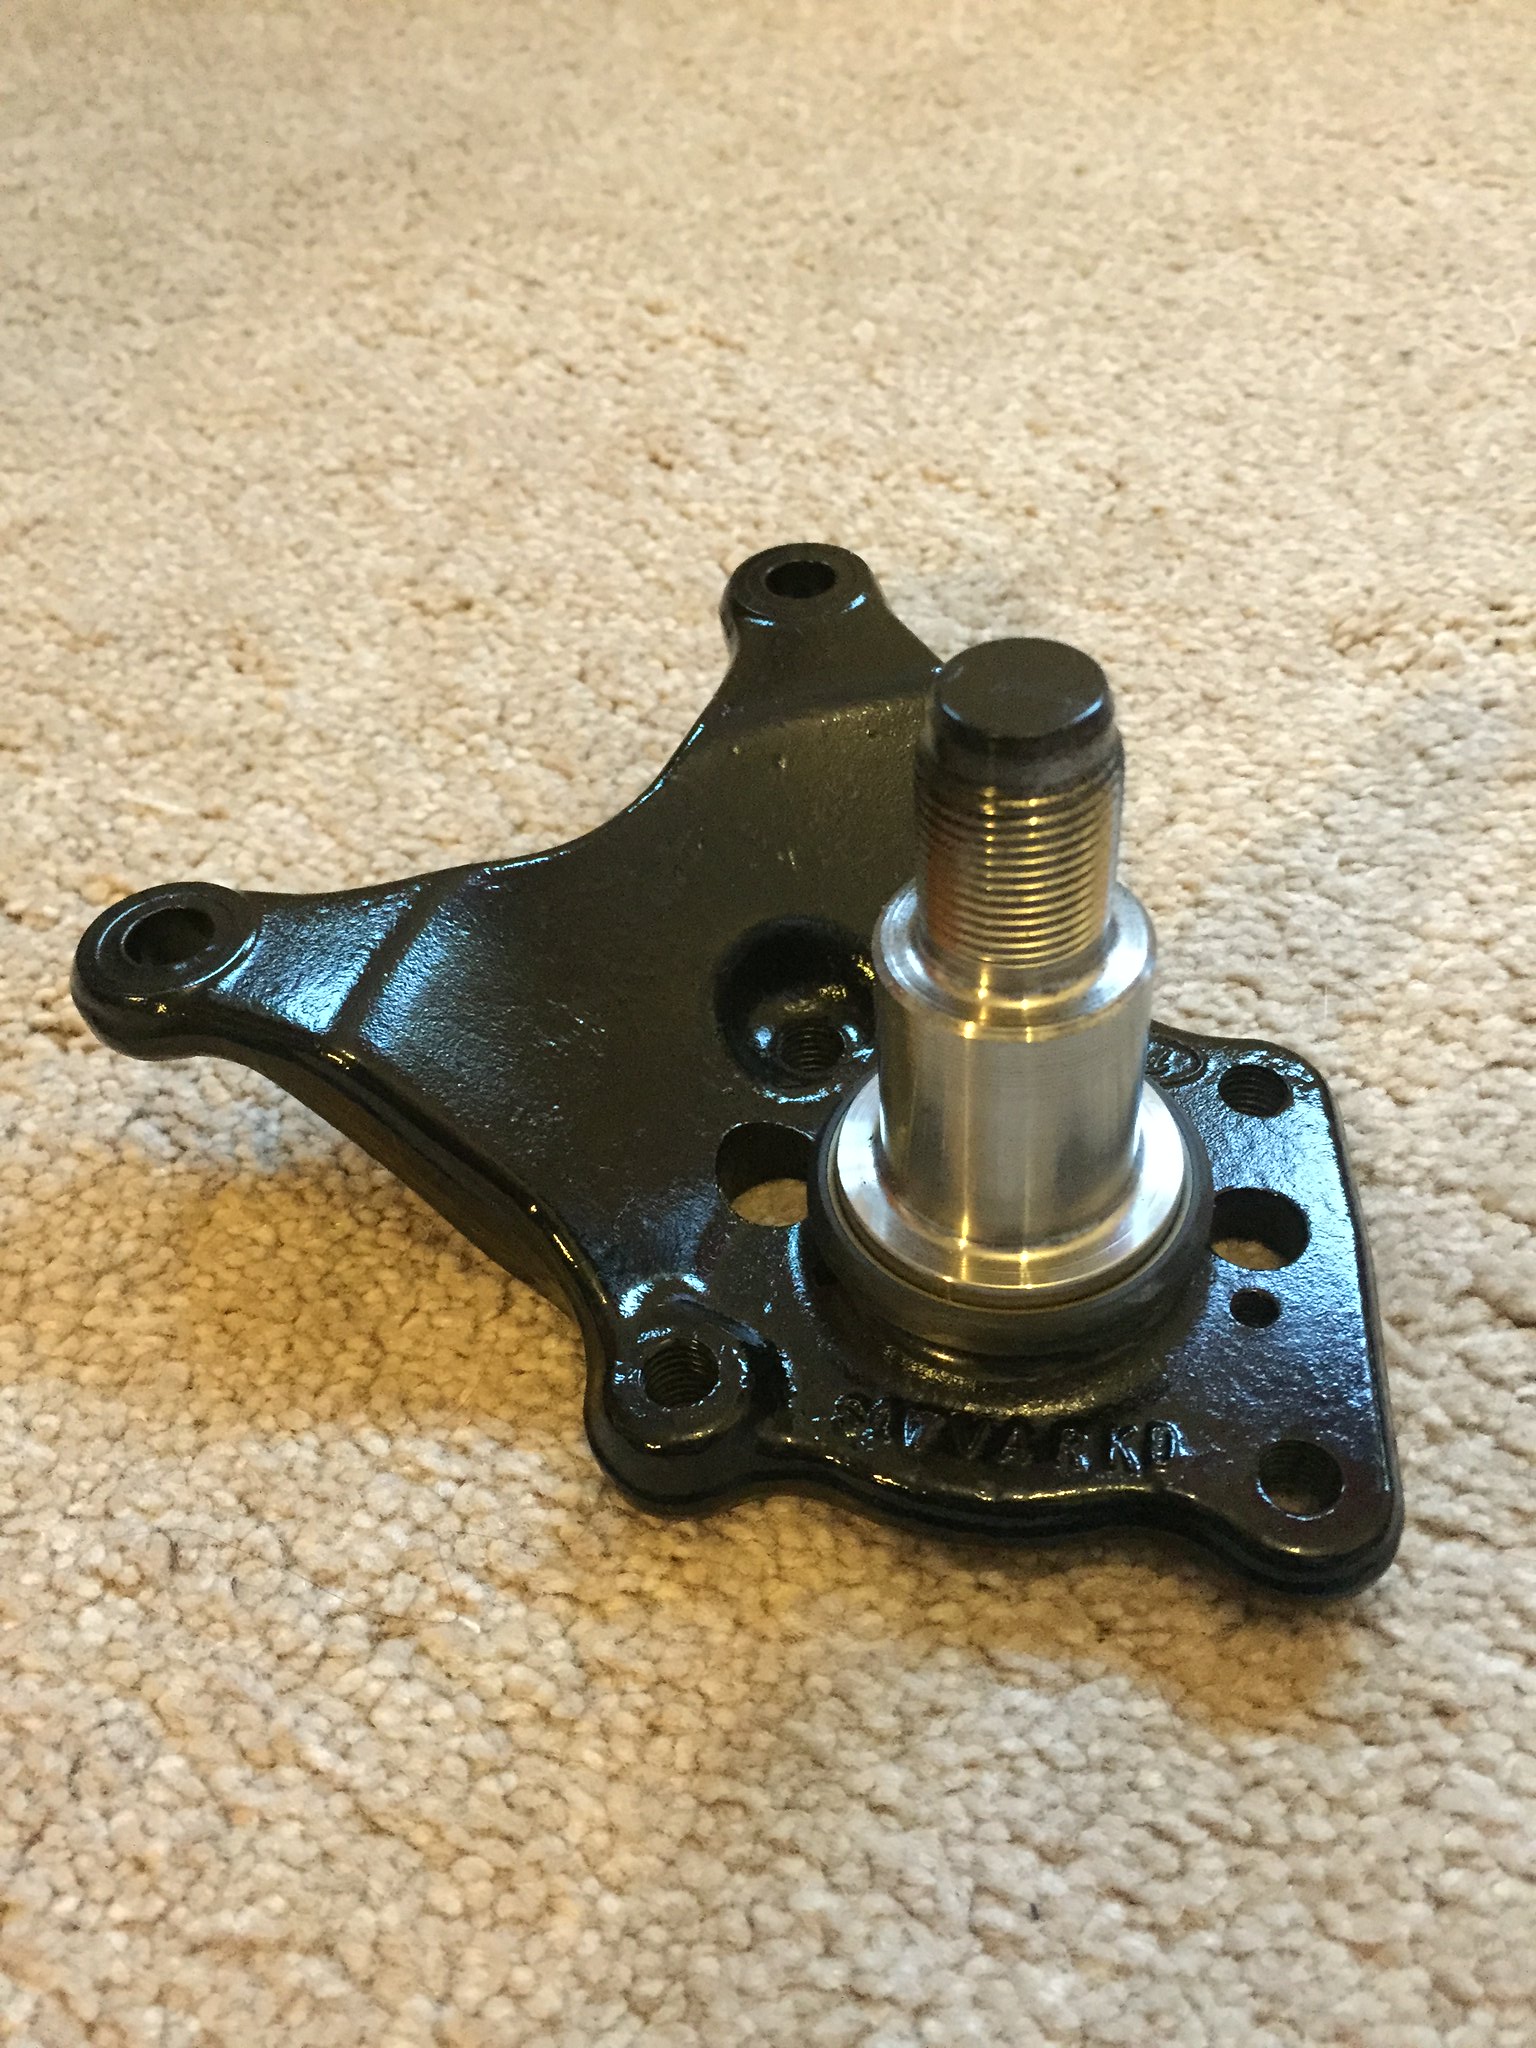
rear FRP spindle painted up

Posted Image

new fuel filler hose, exhaust clamps, exhaust rubbers

Posted Image
to the steel workers of america: keep reaching for that rainbow!

#172 User is offline   d170sam 

  • Group: Members
  • Posts: 1036
  • Joined: 23-June 05
  • Location:cornwall

Posted 17 February 2015 - 08:02 PM
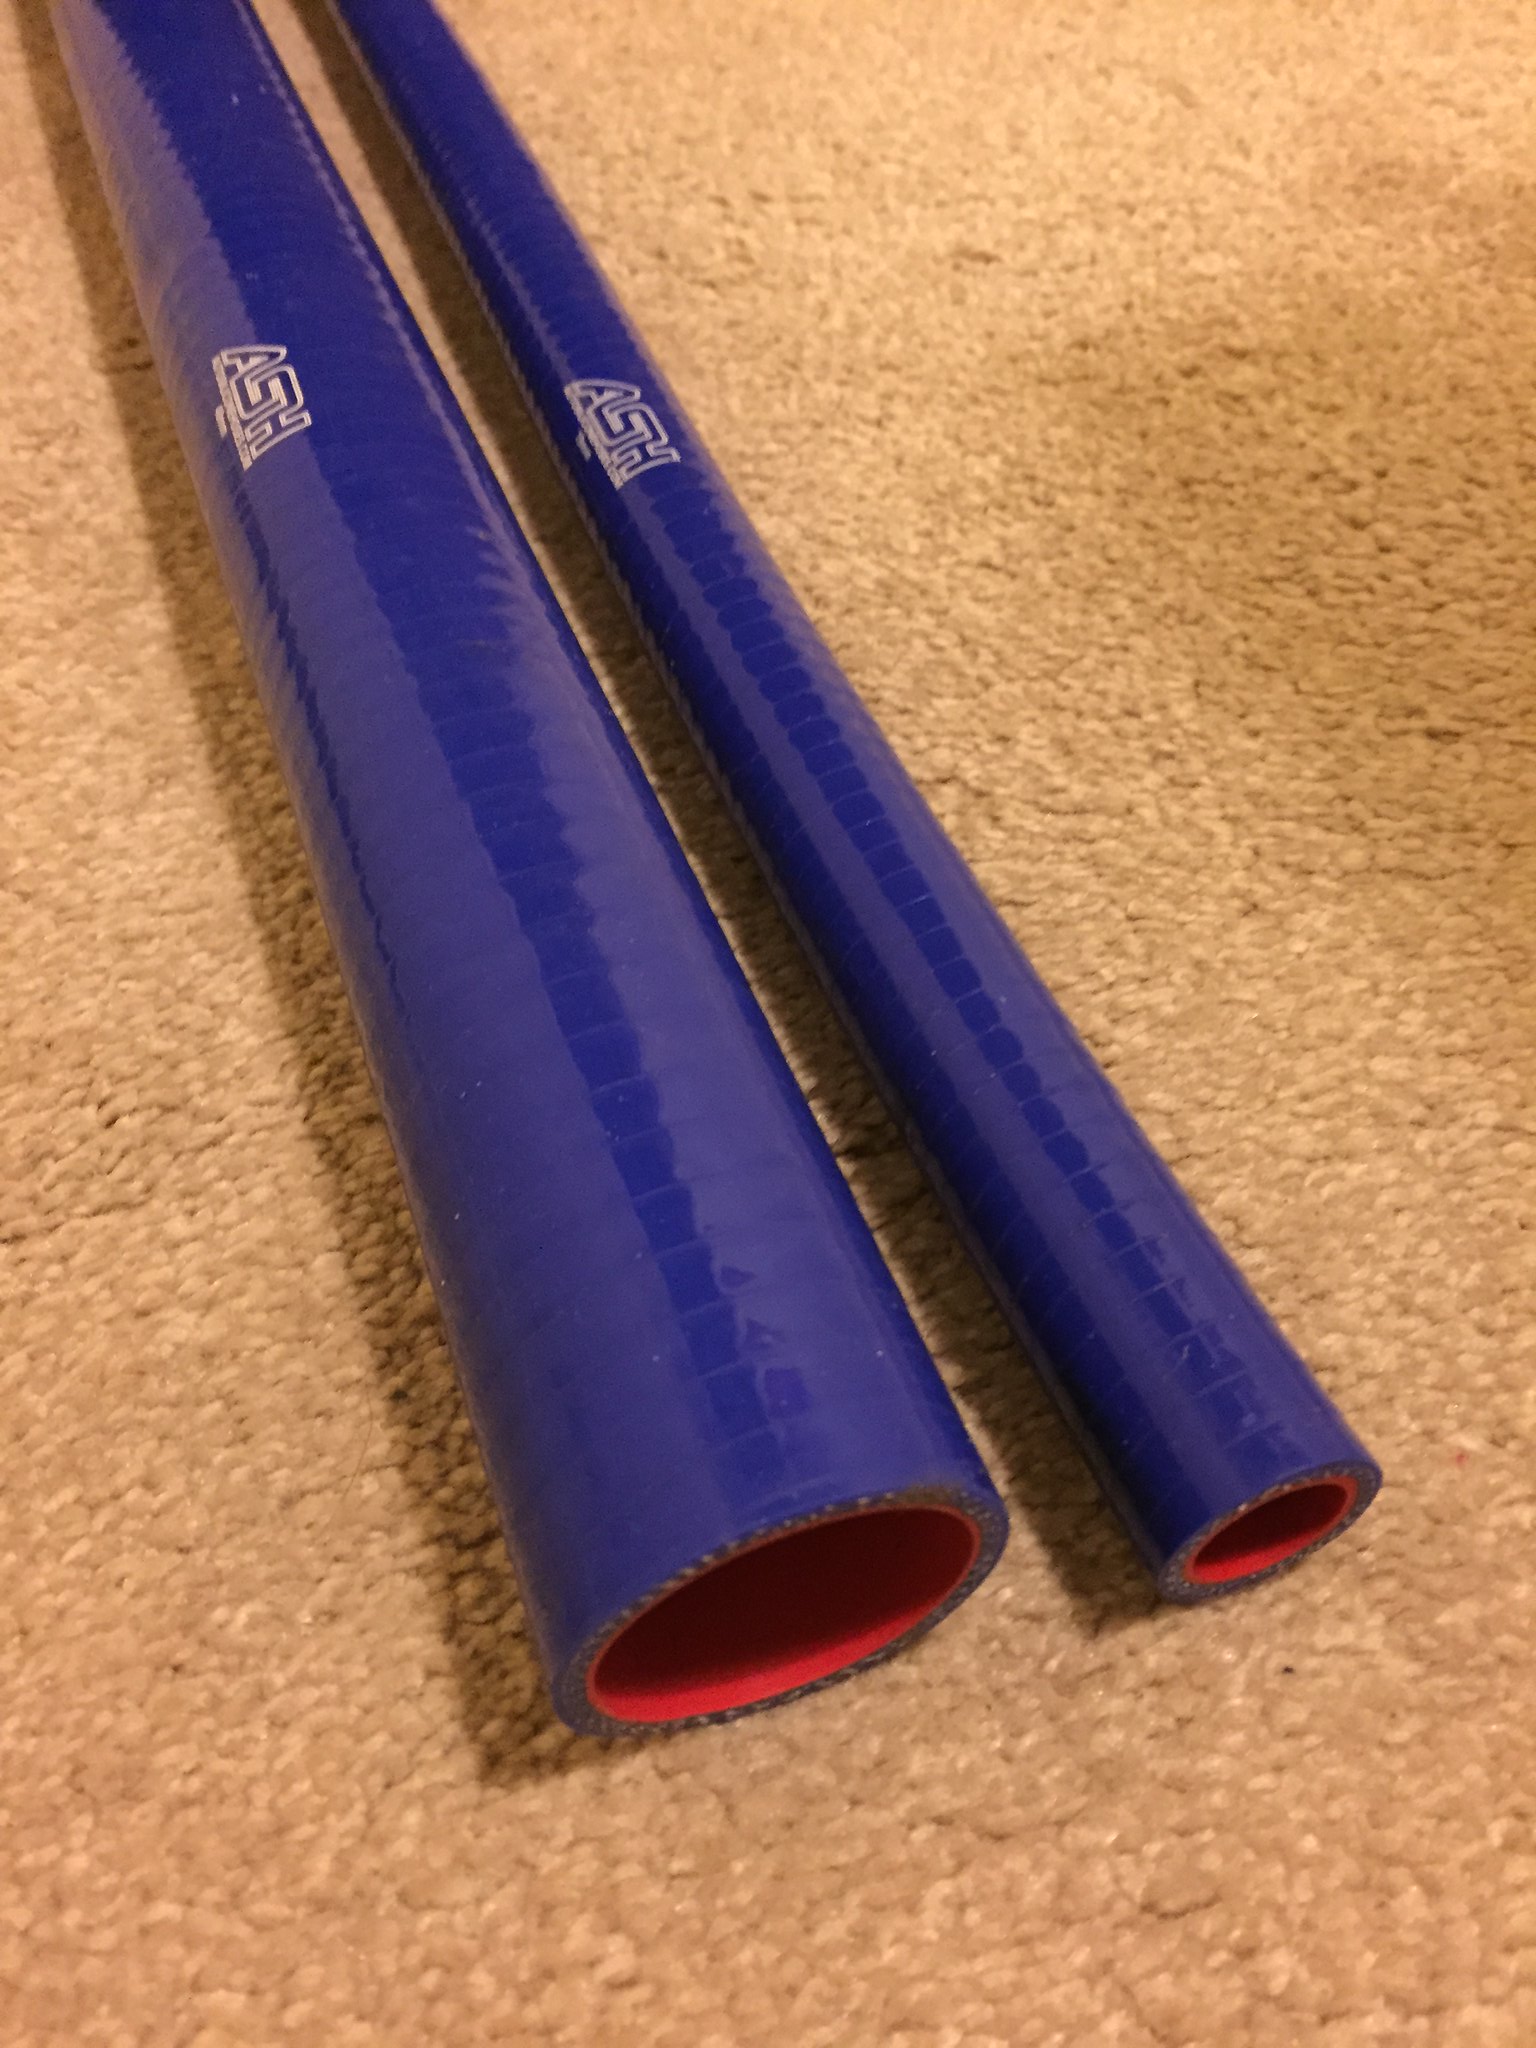
little bit more work done today, i got the other silicon hose in the post for my fuel filler

Posted Image

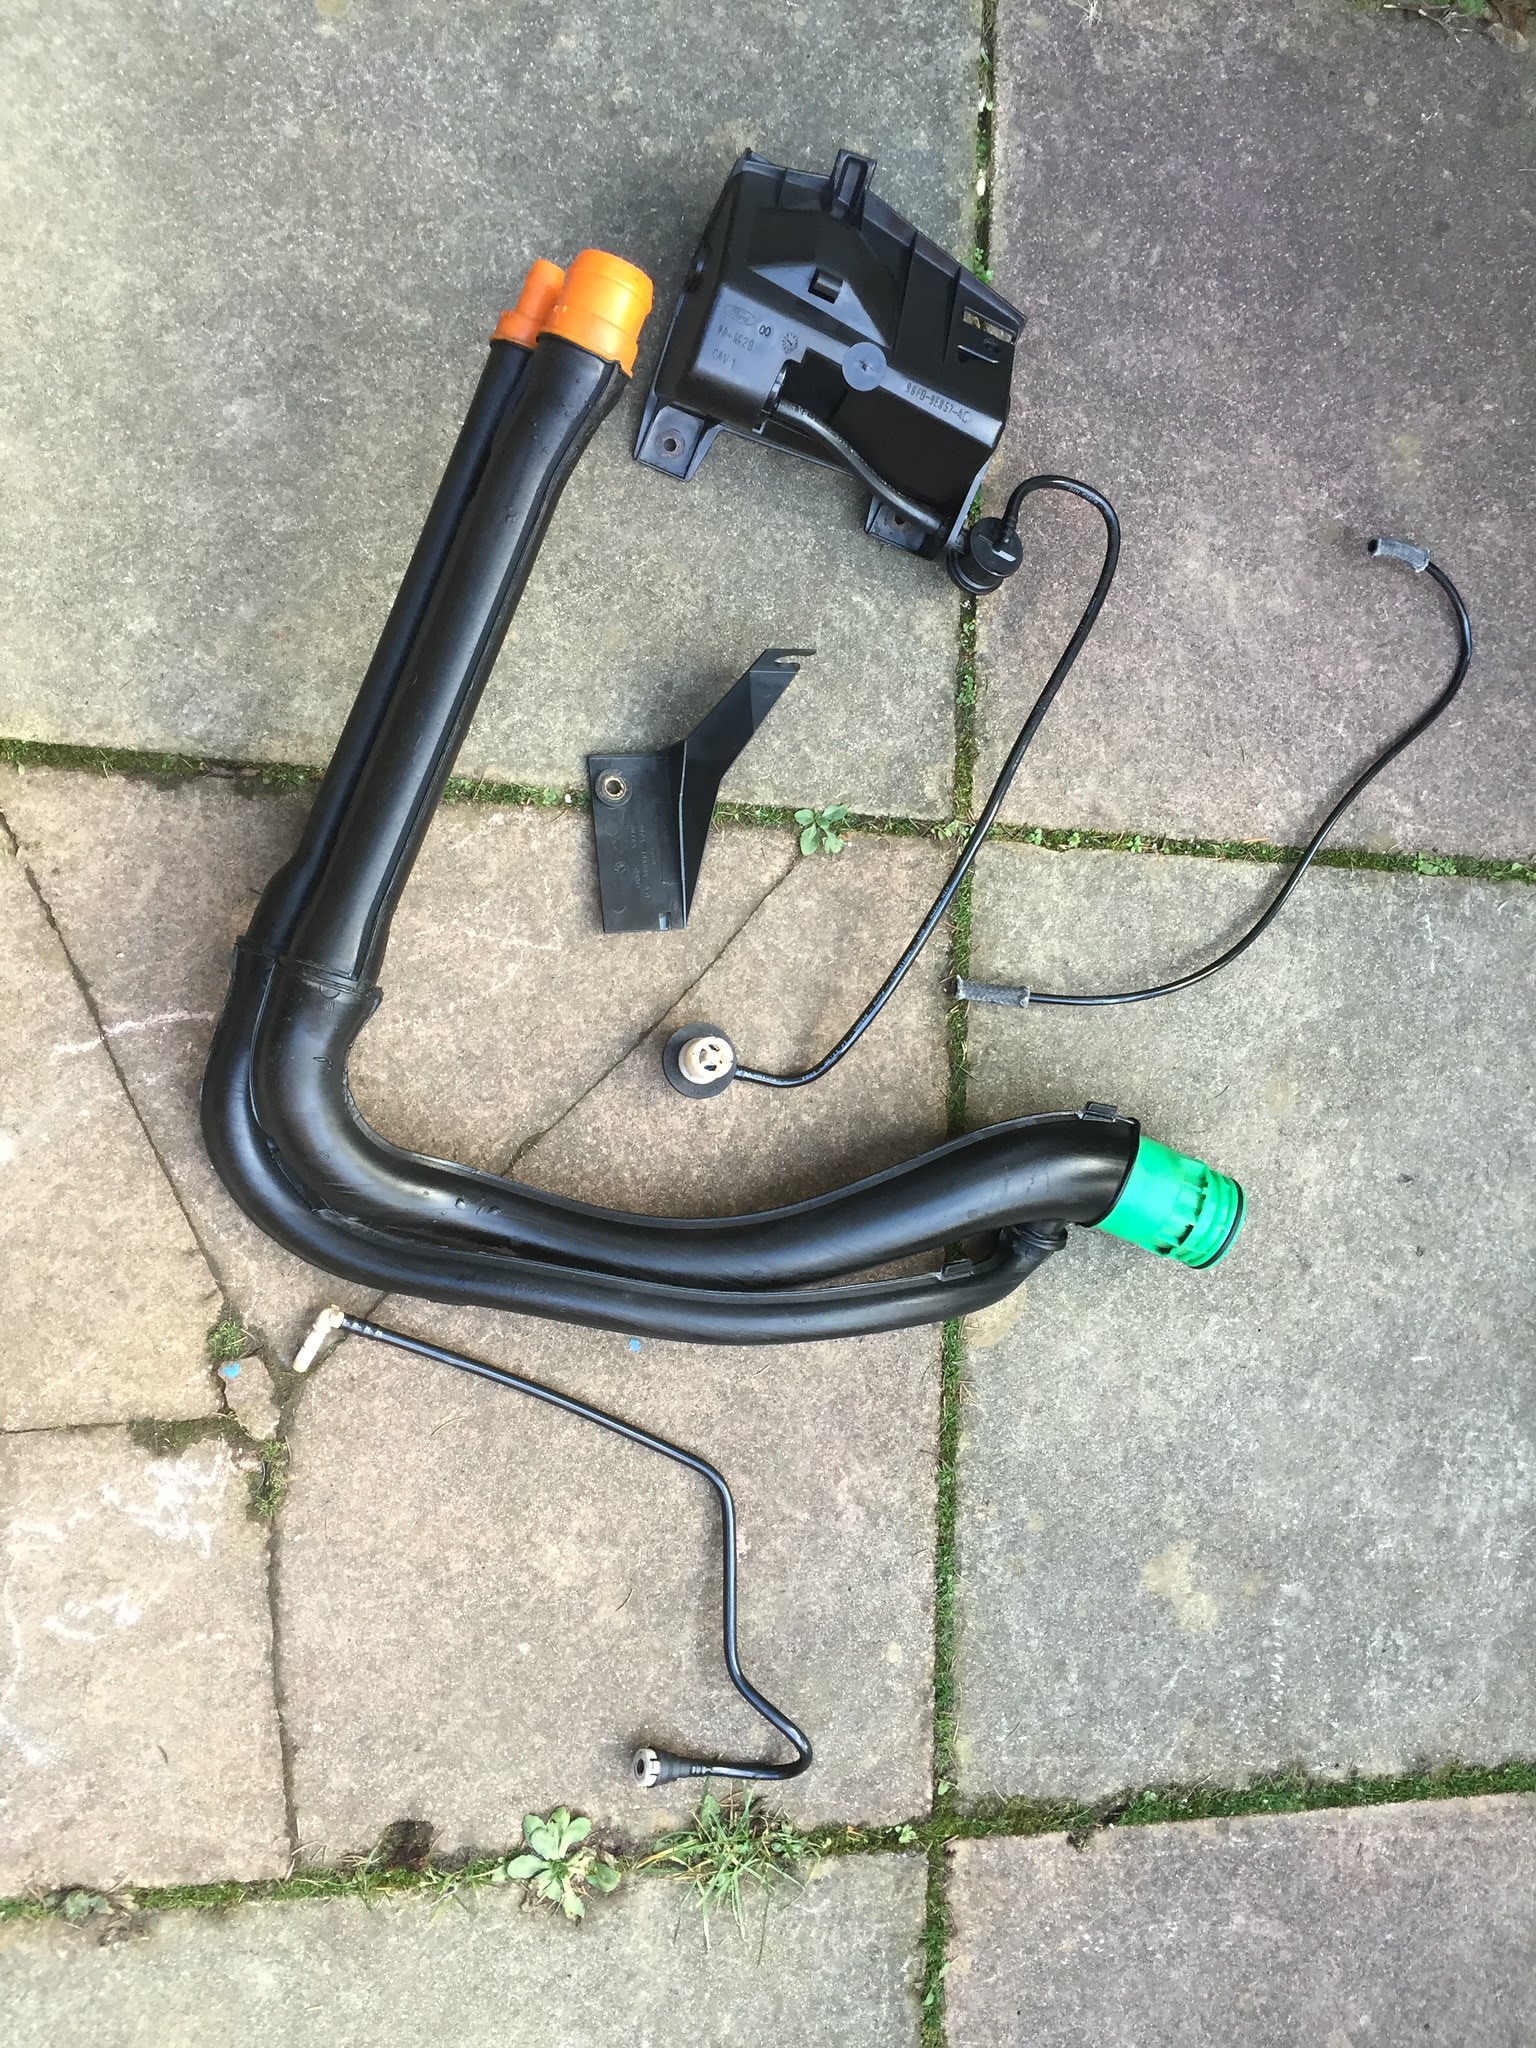
cleaned up and used some plastic polish on the filler neck and evap canister/bracket and hoses

Posted Image

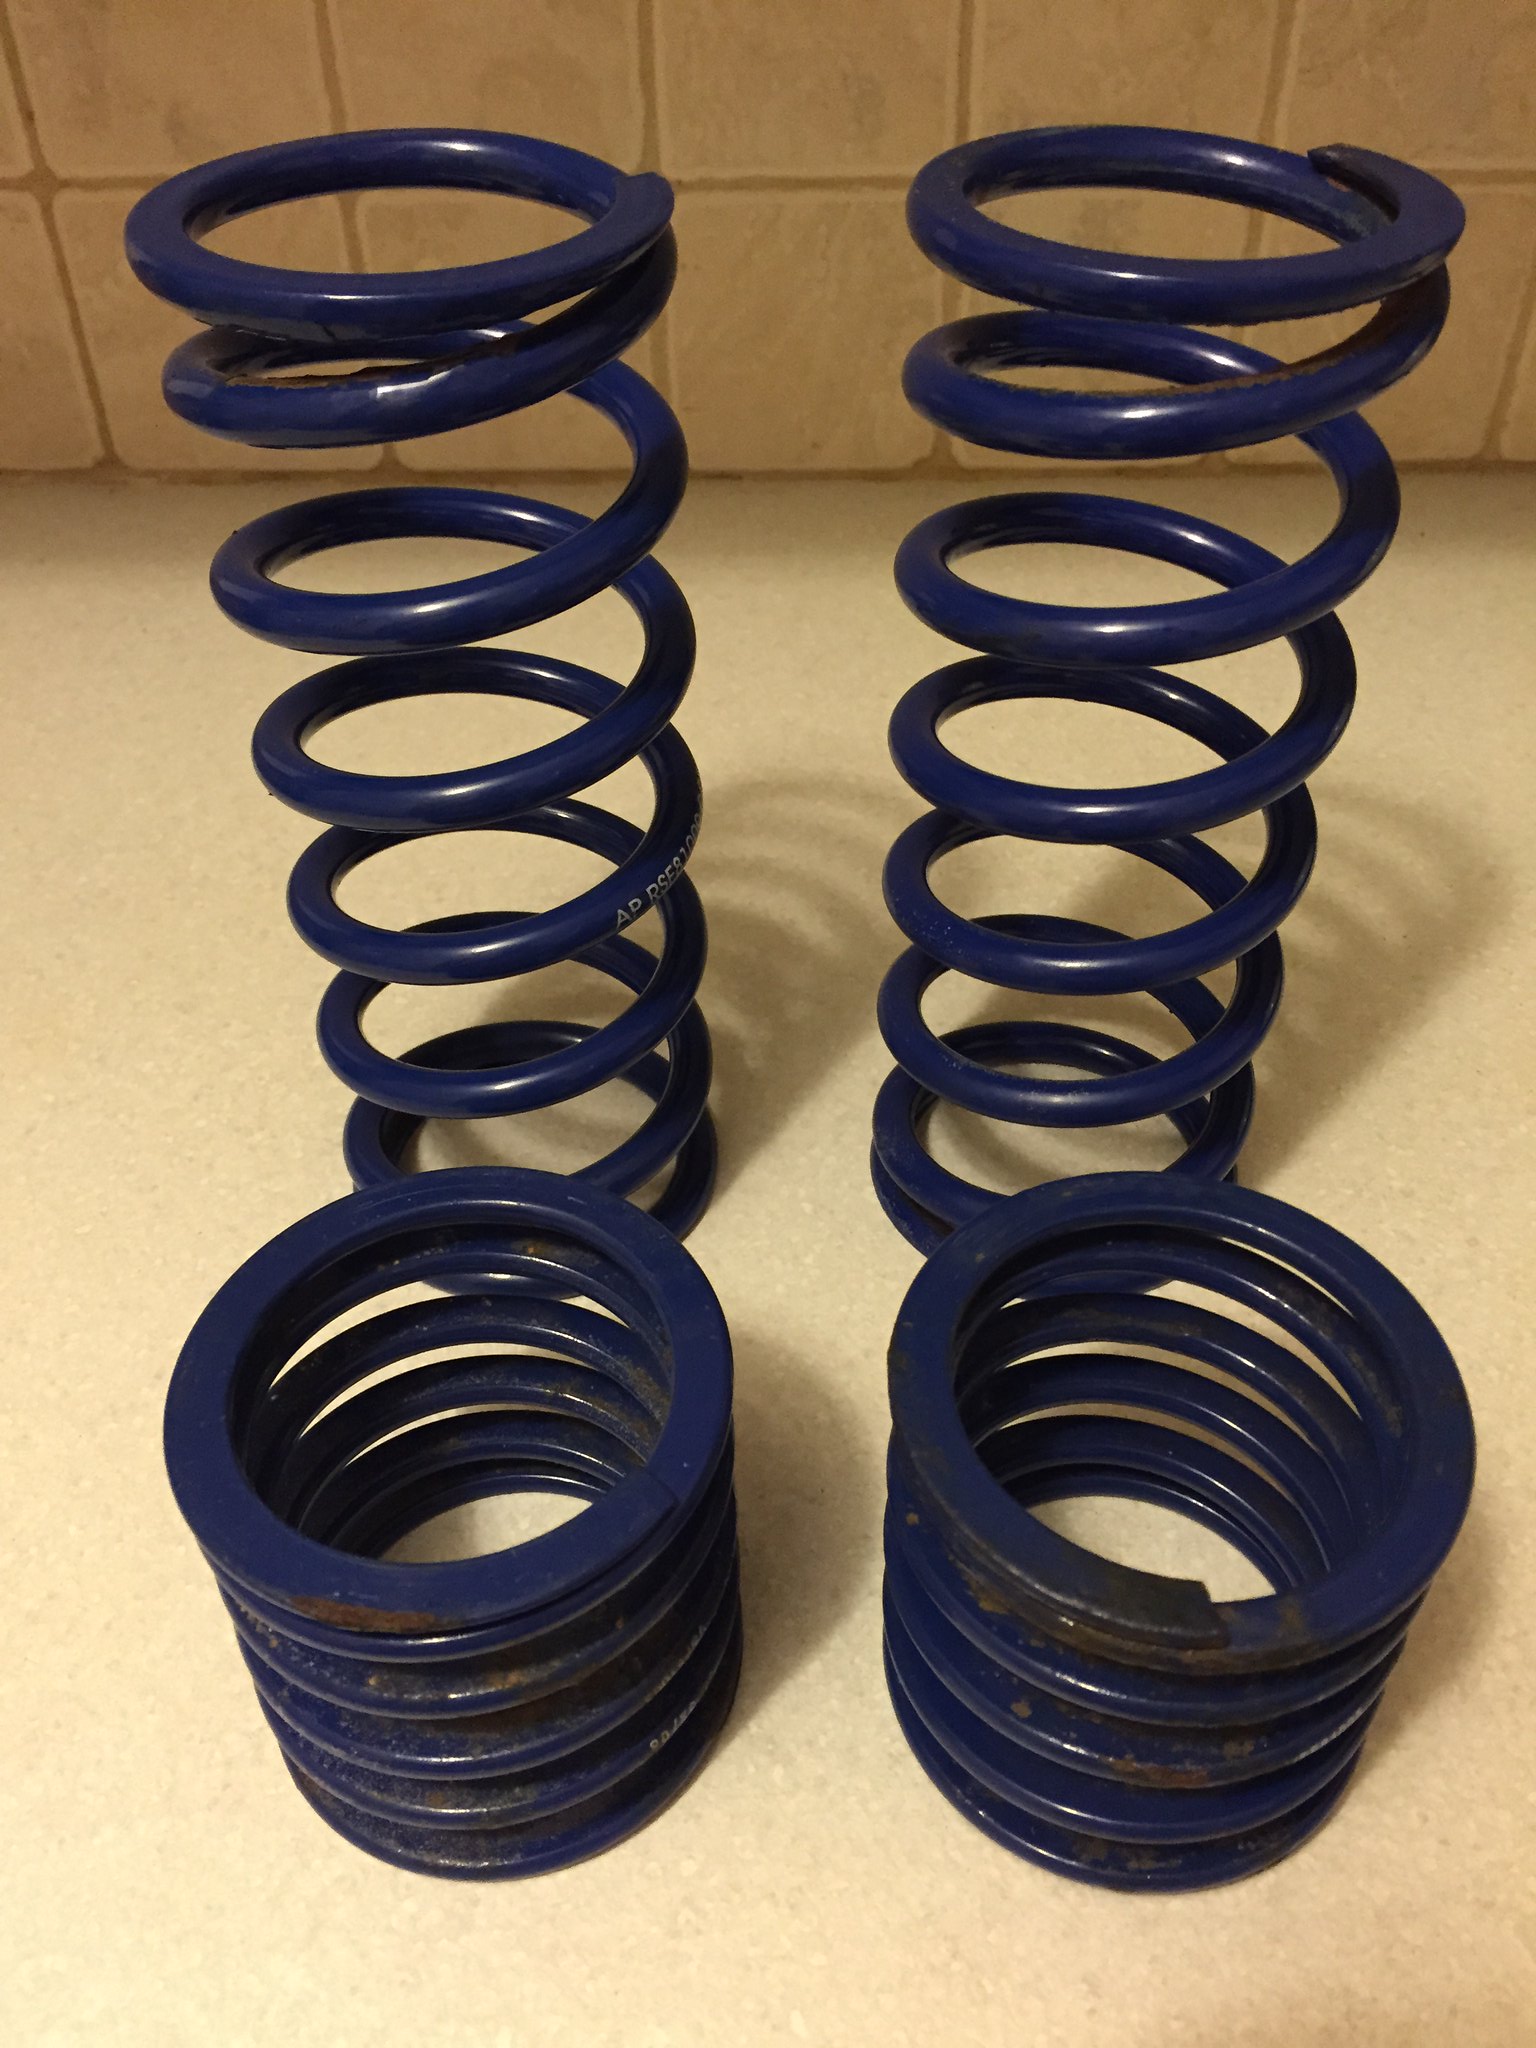
rear springs and helper springs are a little crusty, so off to the powder coaters they go

Posted Image

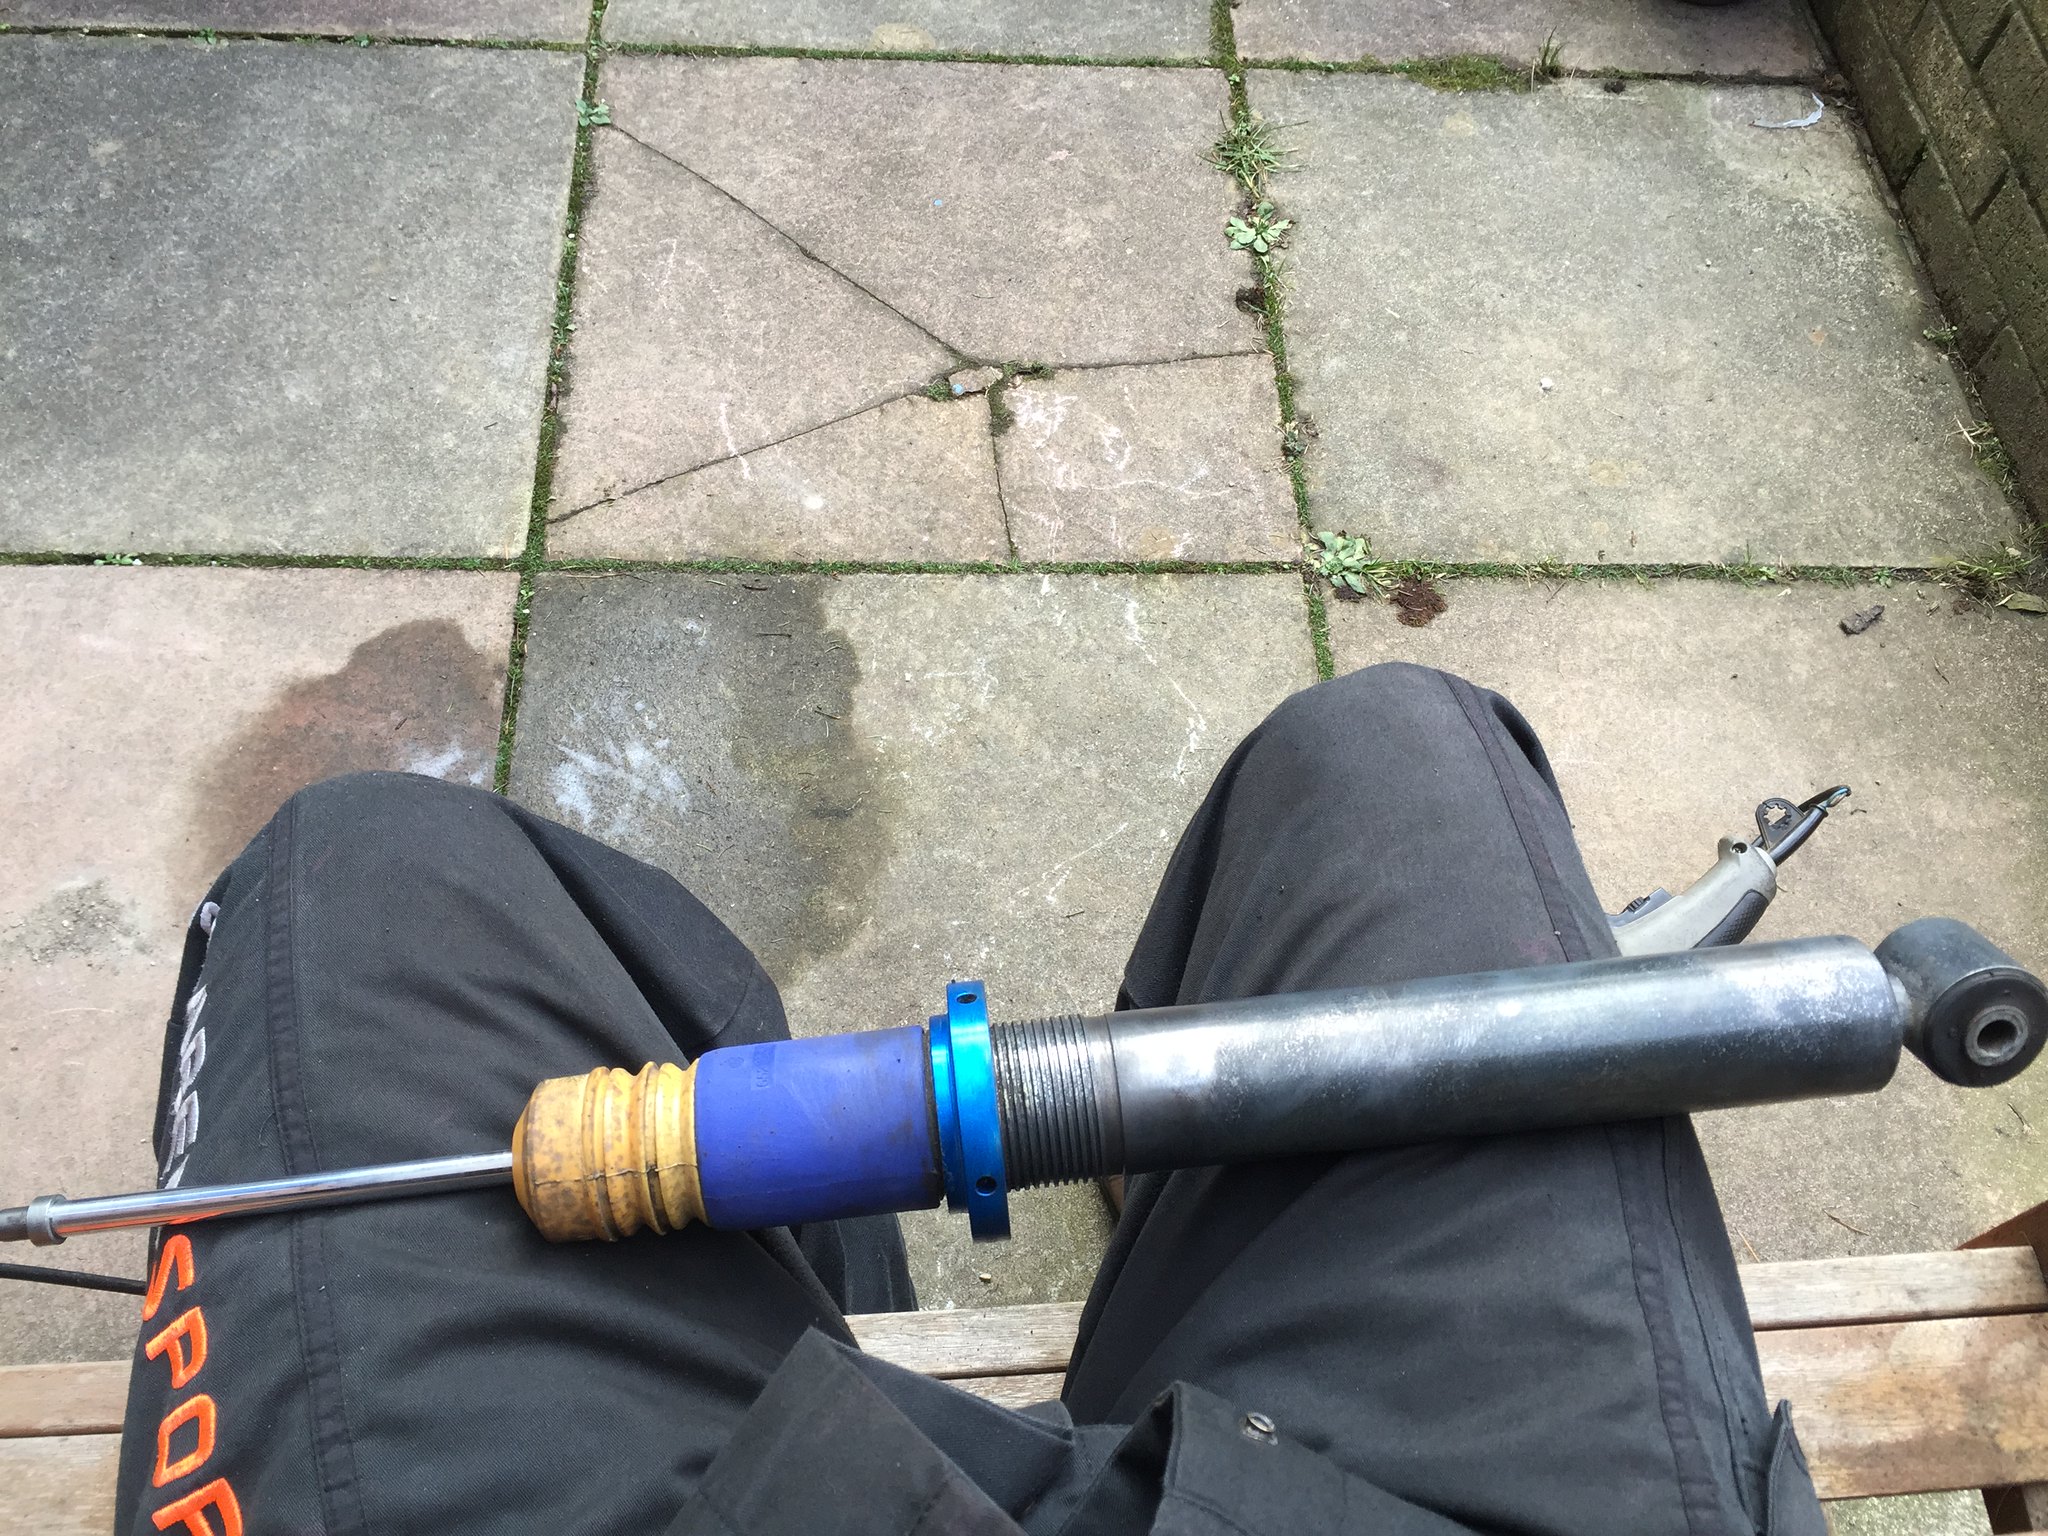
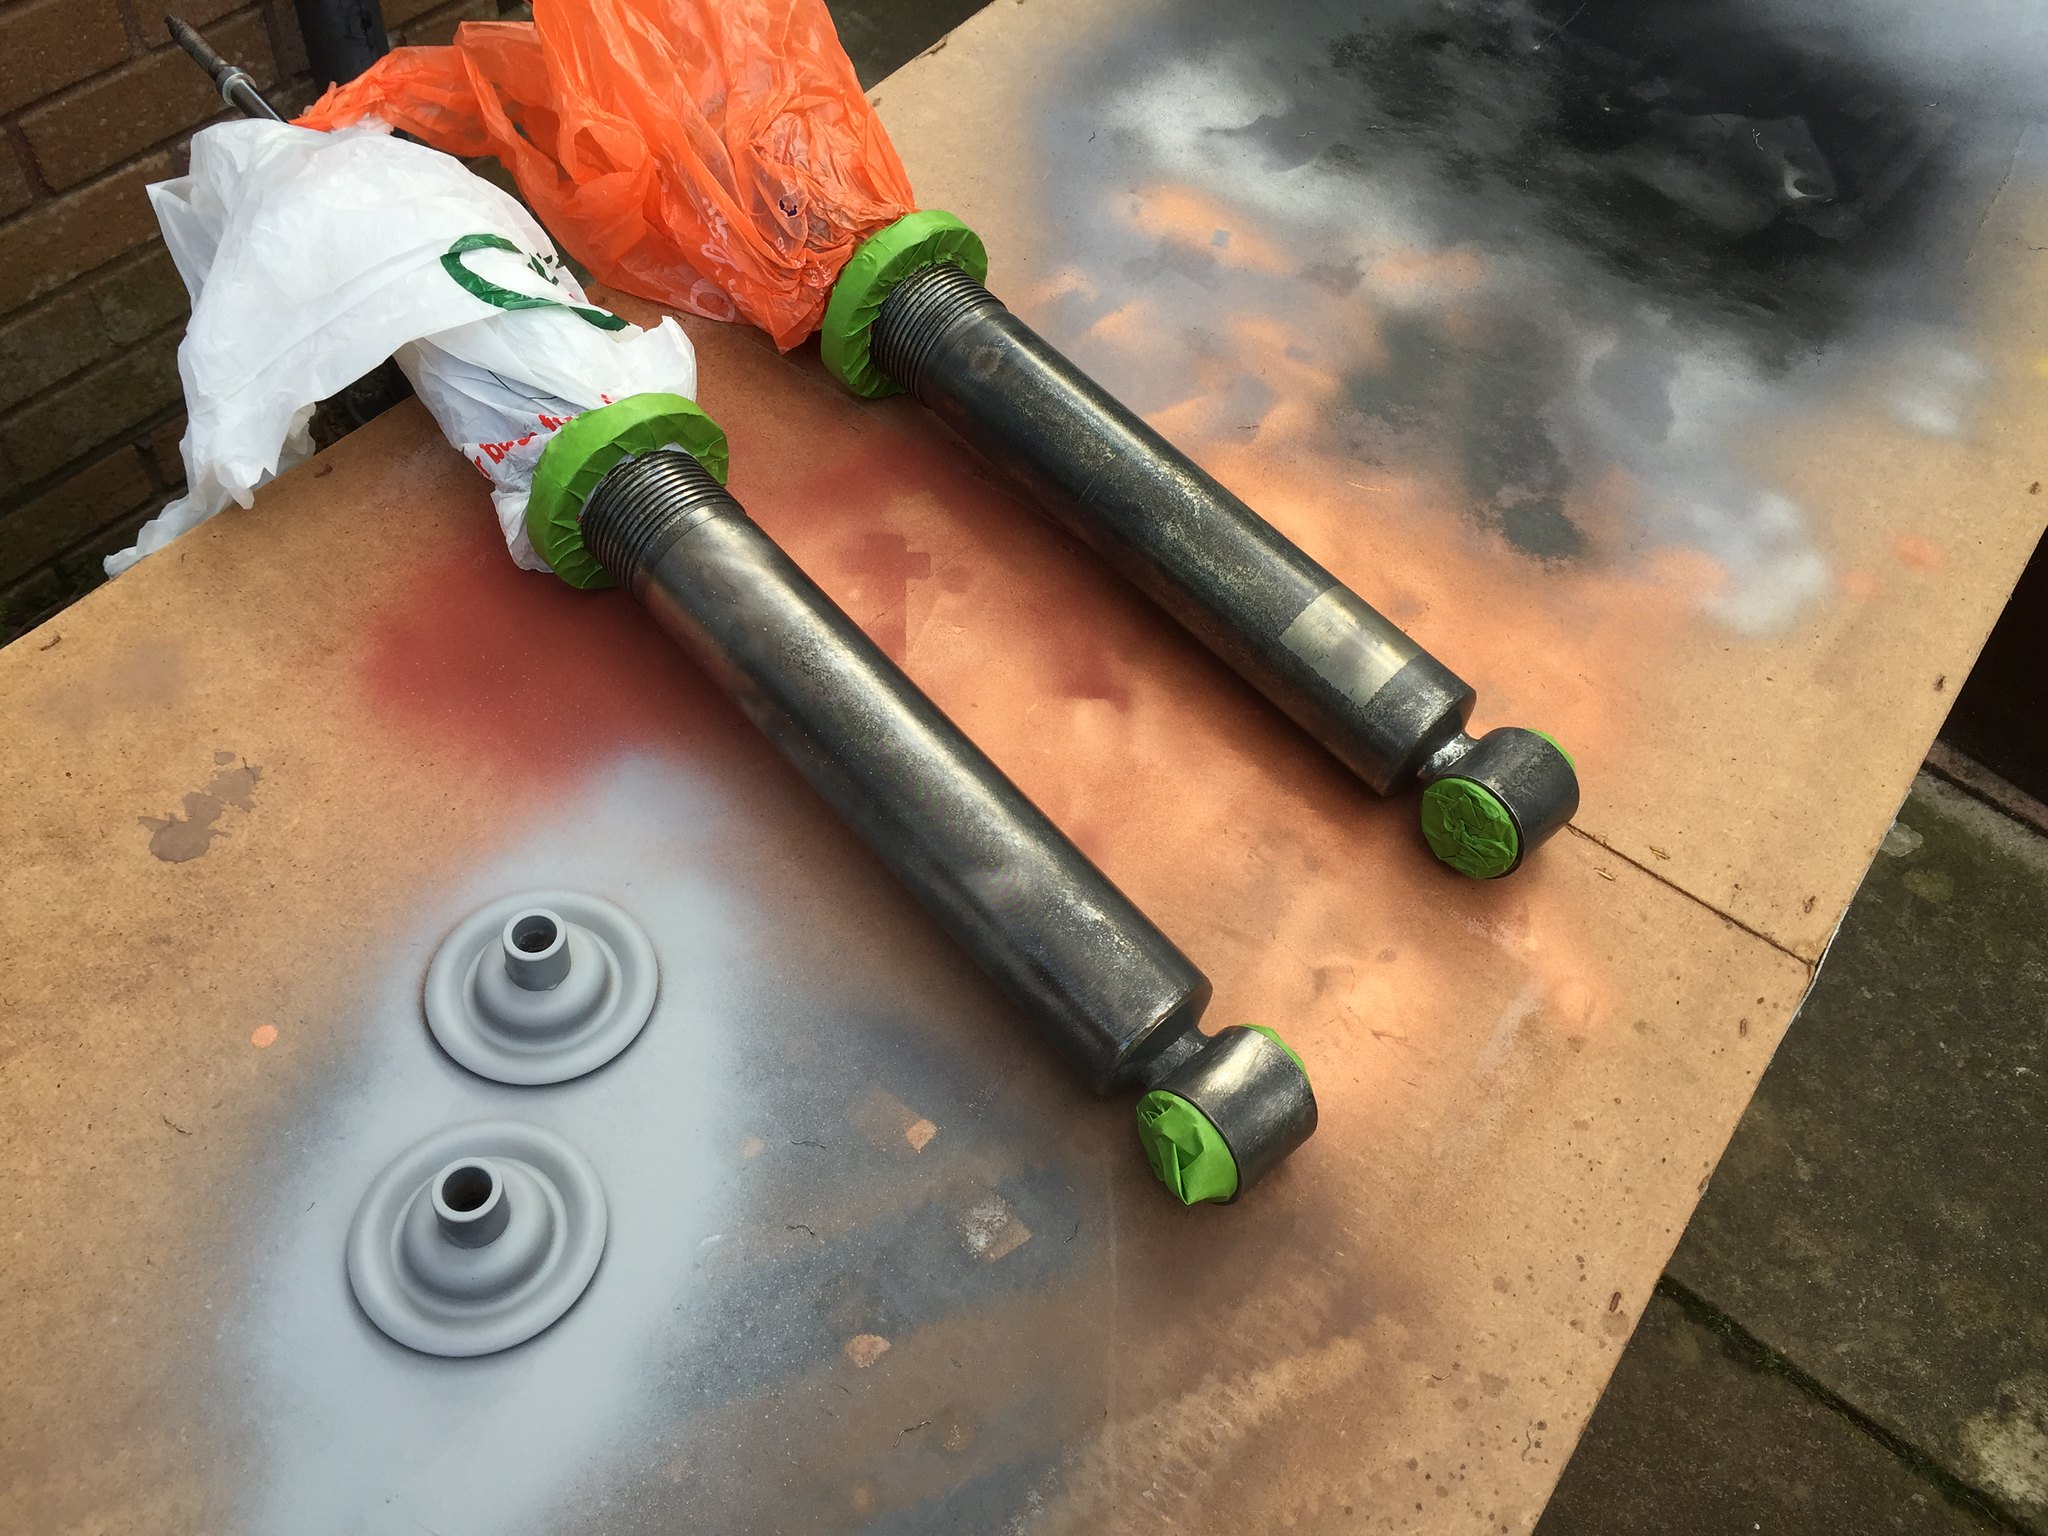
cleaned up the rear shocks with drill and wire attachment

Posted Image

masked them up for acid etch priming, il paint some gloss black on them tomorrow, also primered my shock top mounts

Posted Image
to the steel workers of america: keep reaching for that rainbow!

#173 User is offline   happy-kat 

  • Group: Admin
  • Posts: 21811
  • Joined: 10-February 03

Posted 17 February 2015 - 09:48 PM

Hadn't thought about that clean up work on my dampers, one to remember for the future. Yours look like they will finish off very nicely once painted.
searching is fruitful | I'm a sponge not a mechanic | please do try that if stuck with a Puma problem whilst waiting for a reply | For the Puma fan this read 'The Inside Story Book' is very nice to own sometimes still seen for sale

#174 User is offline   d170sam 

  • Group: Members
  • Posts: 1036
  • Joined: 23-June 05
  • Location:cornwall

Posted 17 February 2015 - 11:21 PM

Hopefully they will turn out ok Kate :)
to the steel workers of america: keep reaching for that rainbow!

#175 User is offline   d170sam 

  • Group: Members
  • Posts: 1036
  • Joined: 23-June 05
  • Location:cornwall

Posted 18 February 2015 - 04:05 PM
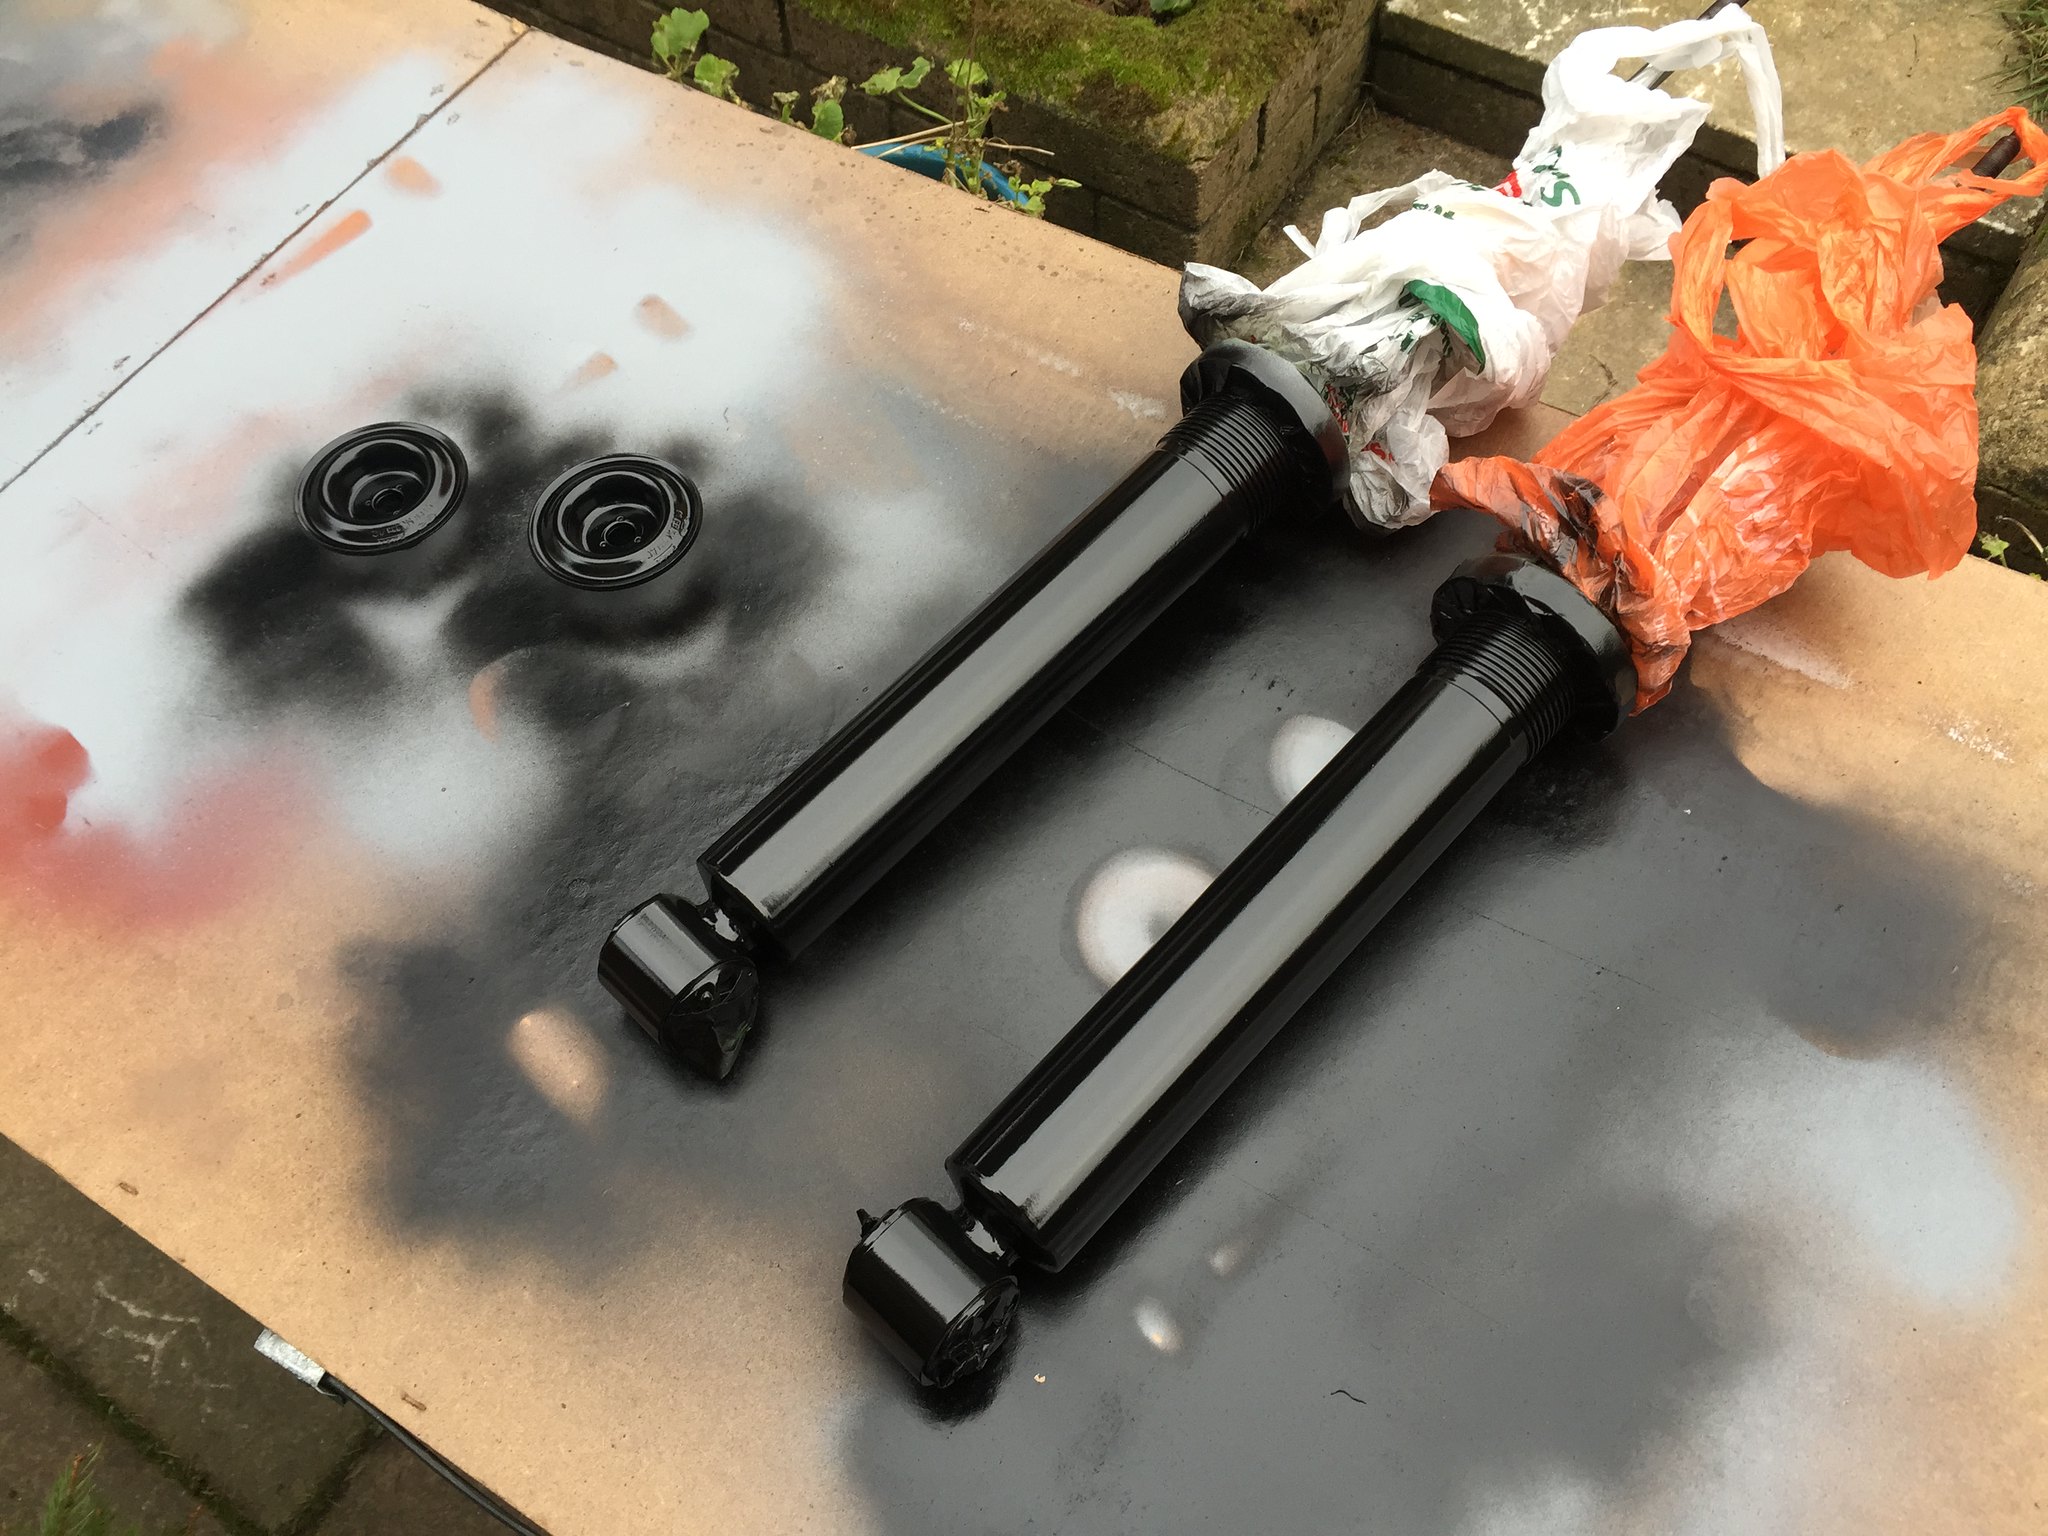
got some paint on the shocks today

Posted Image

got some parts back from powder coaters

all 4 hub spacers in satin black to match the wheels

Posted Image

axle spacers in gloss black

Posted Image

splash shields in gloss black

Posted Image

hubs in gloss black

Posted Image

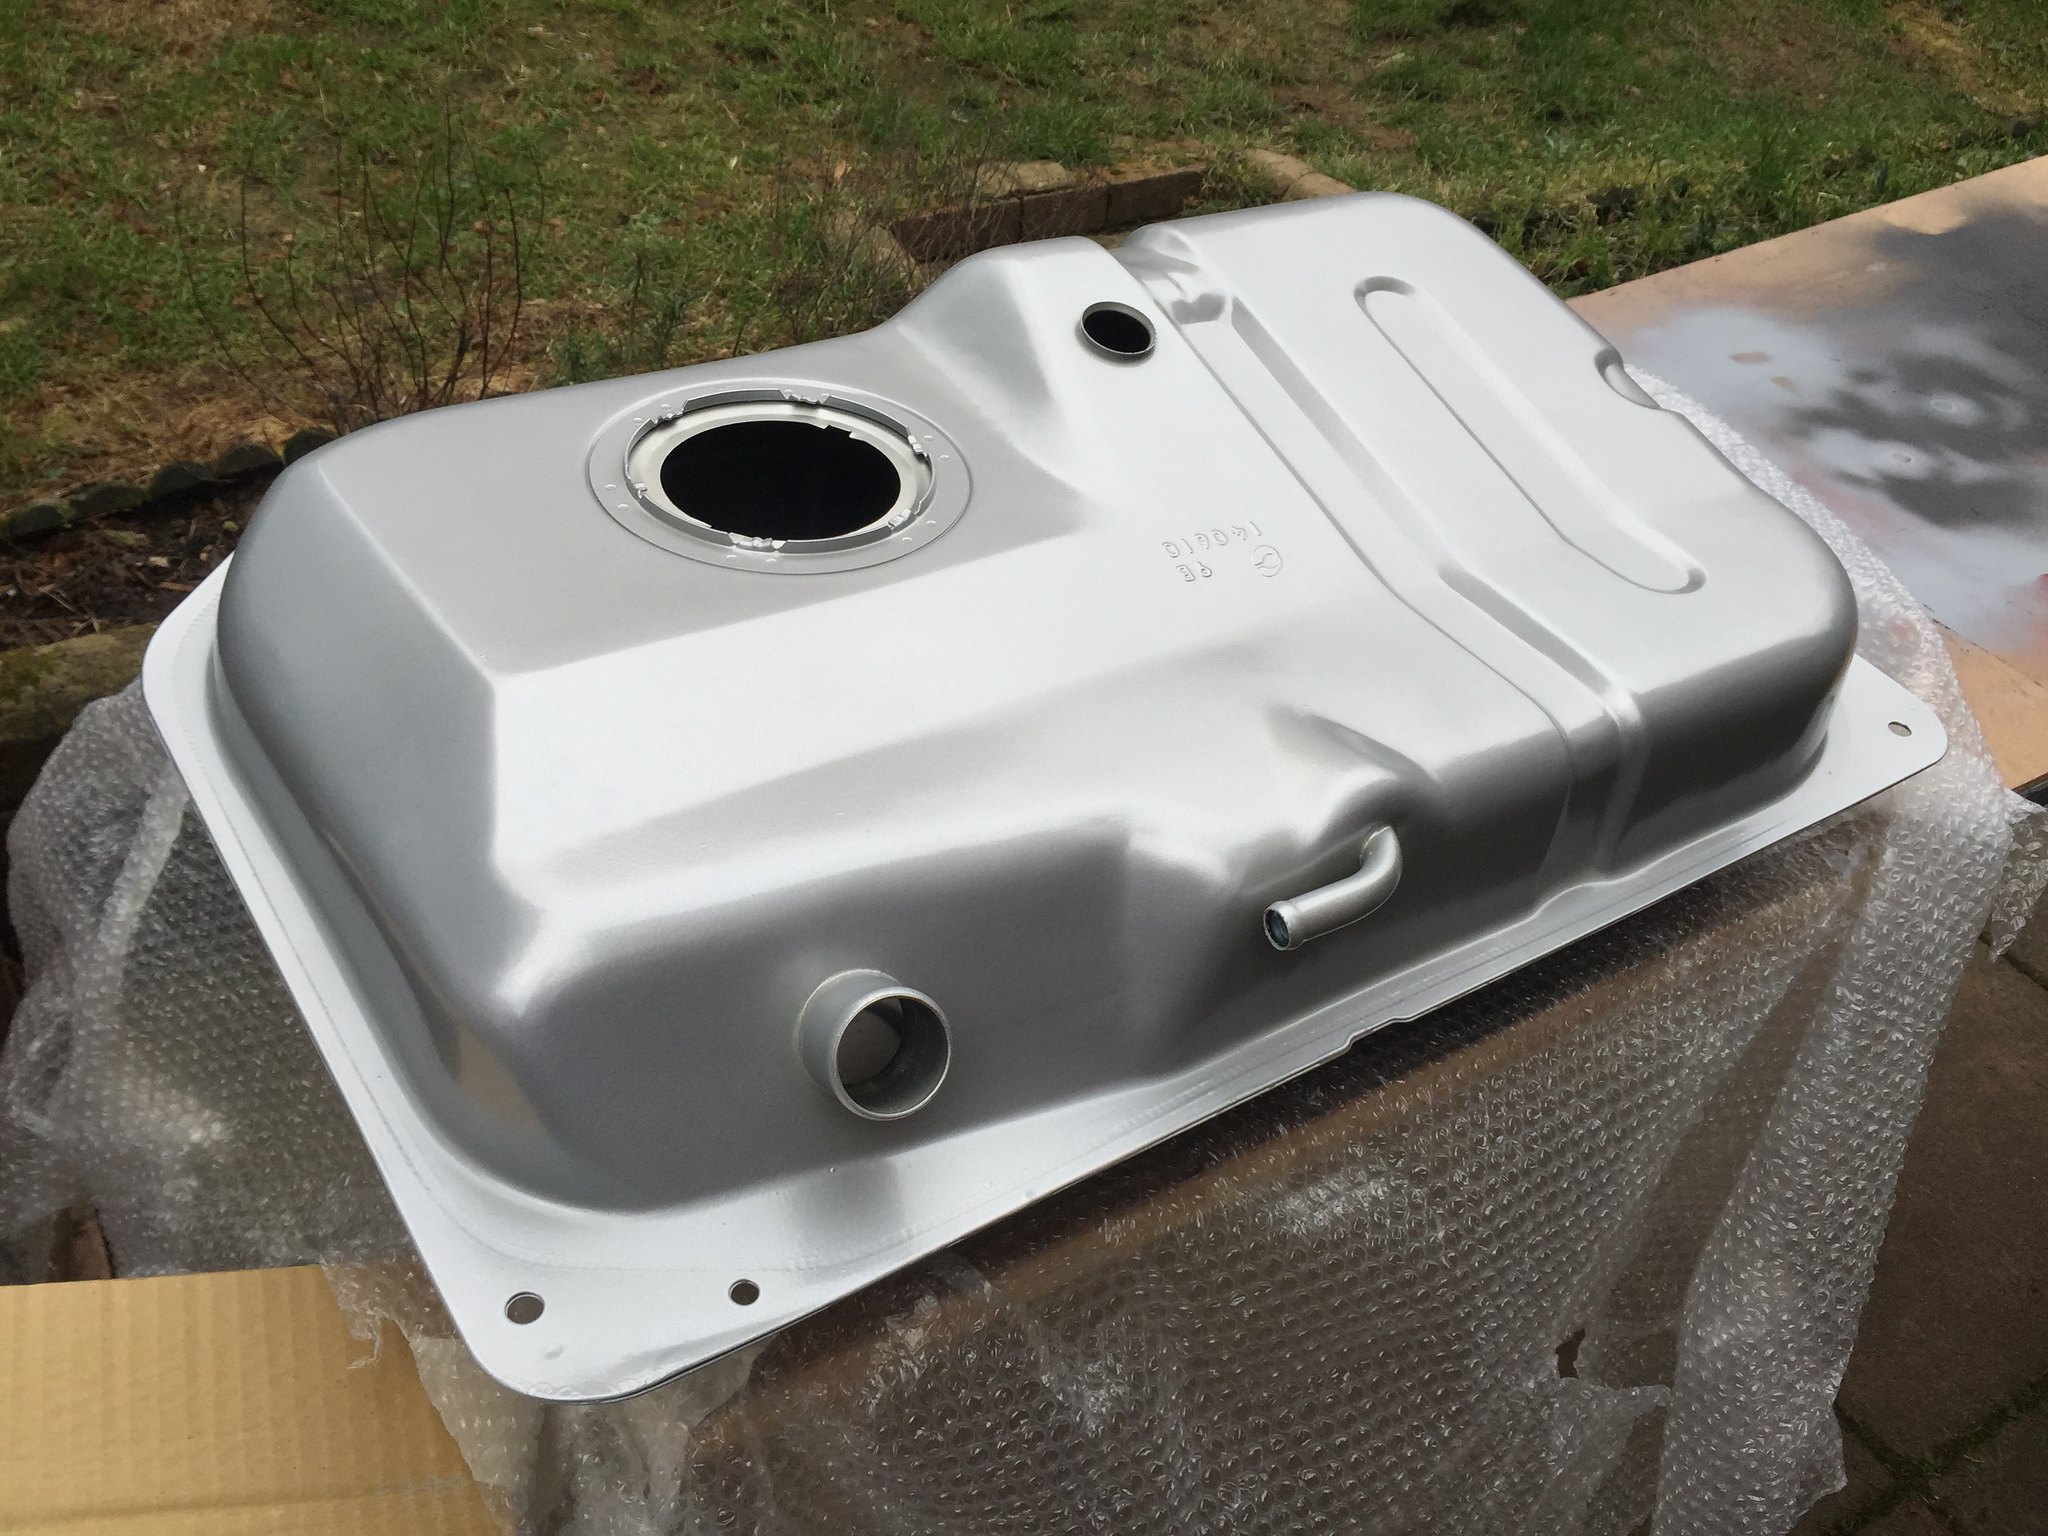
new fuel tank in shiny powder coated silver

Posted Image

my spare room in getting a little cluttered with car parts now, wifey is not best pleased

Posted Image
to the steel workers of america: keep reaching for that rainbow!

#176 User is offline   Fatttty 

  • Group: Members
  • Posts: 71
  • Joined: 07-October 11

Posted 18 February 2015 - 04:24 PM

Nice work Sam! Was the fuel tank ok to powdercoat? I was told that mine couldn't be done as inside is a plastic baffle that can melt with the temperature when they bake it?

Cant wait to see this completed! Alex

#177 User is offline   d170sam 

  • Group: Members
  • Posts: 1036
  • Joined: 23-June 05
  • Location:cornwall

Posted 18 February 2015 - 06:04 PM

Hey Alex, the baffle in this one is metal as it is an aftermarket one not an original, the plastic one in the standard tank will prob melt as they bake the powder coat at around 200 Celsius
to the steel workers of america: keep reaching for that rainbow!

#178 User is offline   Fatttty 

  • Group: Members
  • Posts: 71
  • Joined: 07-October 11

Posted 19 February 2015 - 03:34 PM

View Postd170sam, on 18 February 2015 - 06:04 PM, said:

Hey Alex, the baffle in this one is metal as it is an aftermarket one not an original, the plastic one in the standard tank will prob melt as they bake the powder coat at around 200 Celsius


Aha that explains it then, it looks fantastic mate! You're going to do a lovely job :)

Alex

#179 User is offline   happy-kat 

  • Group: Admin
  • Posts: 21811
  • Joined: 10-February 03

Posted 20 February 2015 - 12:40 PM

They came out well.
Did you use a hammerite like paint for your dampers?
searching is fruitful | I'm a sponge not a mechanic | please do try that if stuck with a Puma problem whilst waiting for a reply | For the Puma fan this read 'The Inside Story Book' is very nice to own sometimes still seen for sale

#180 User is offline   d170sam 

  • Group: Members
  • Posts: 1036
  • Joined: 23-June 05
  • Location:cornwall

Posted 20 February 2015 - 07:06 PM

I used etch primer and a standard black gloss, gave it a few coats to keep them nice
to the steel workers of america: keep reaching for that rainbow!

Share this topic:


  • 12 Pages +
  • « First
  • 7
  • 8
  • 9
  • 10
  • 11
  • Last »
  • You cannot start a new topic
  • You cannot reply to this topic