
 Help
Help


Those bars might be to triangulate the front strut to the cage. You will need to cut holes in the bulkhead and you will probably have to re-locate the header tank / fuse box as well. Have you asked custom cages for a fitting guide ?
1.7 Project, Slow But Steady
Rate Topic:

#122

Posted 02 July 2012 - 05:03 PM
yeah i was thinking that but they look a little bit 2 long, one or 2 of the pipes need a little bit of modifying to fit. i mite have to fit the rest of the cage then have a look at fitting the front bars later. ive emailed them but as of yet ive had no reply. im goin to be tacking the cage in friday and adapting any of the pipes to fit that dont. as always will upload many pics of the progress i make 
#123
Posted 03 July 2012 - 08:30 PM
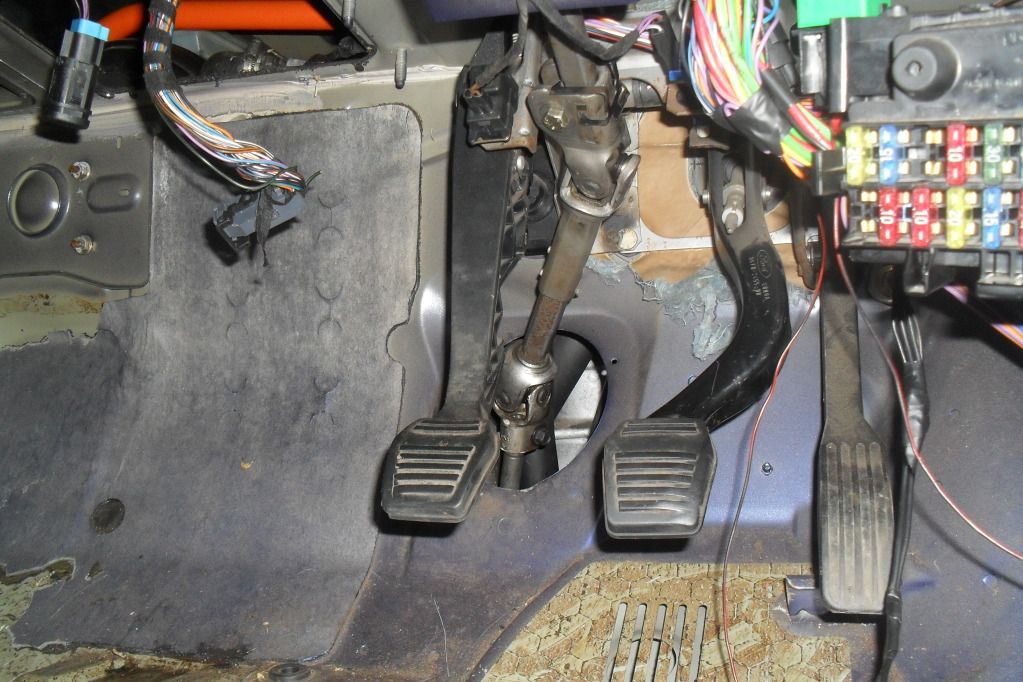
small update, the lower half of the steering rack arrived today so when i got home i fitted it an turned the car around. here are some pics that i took of the hole thing.
picsss
the lower steering colum in place
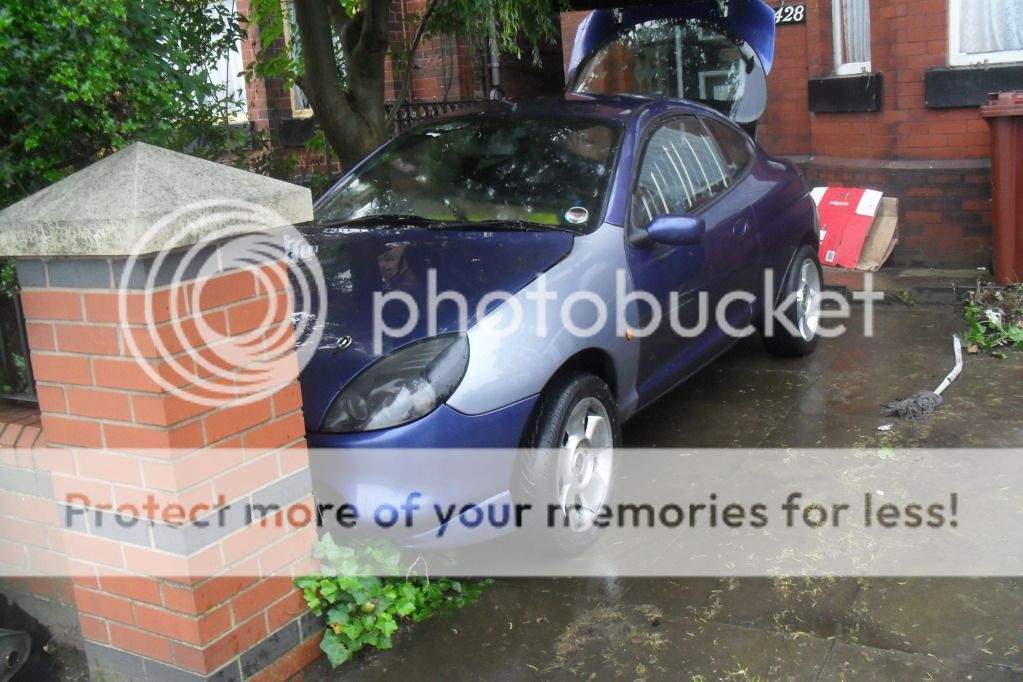
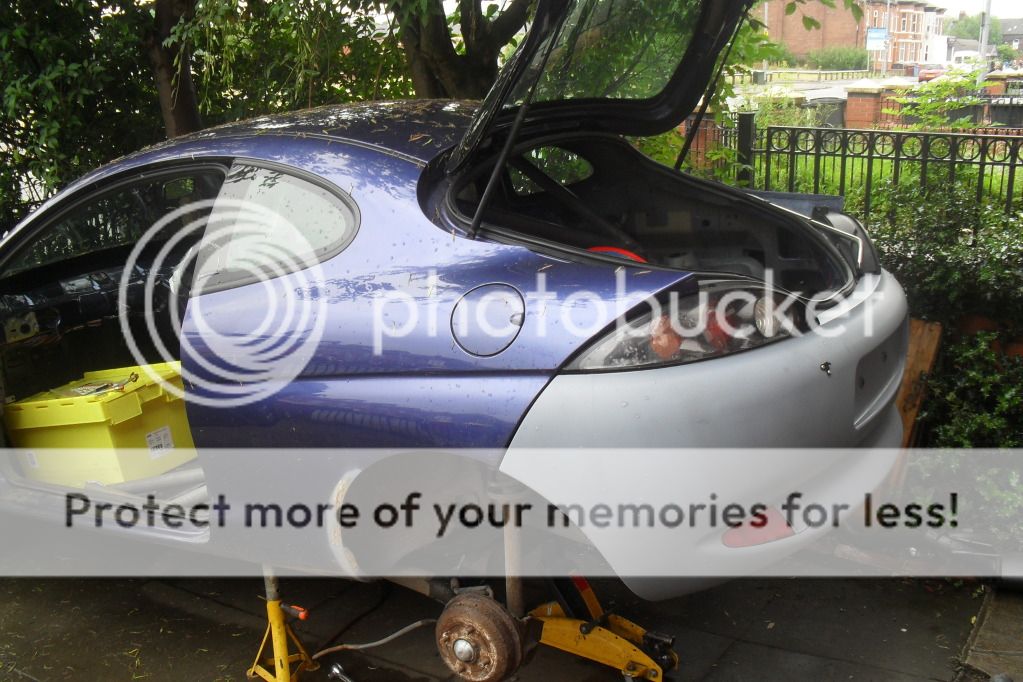
the car as i dragged it out on the jack and turned it around
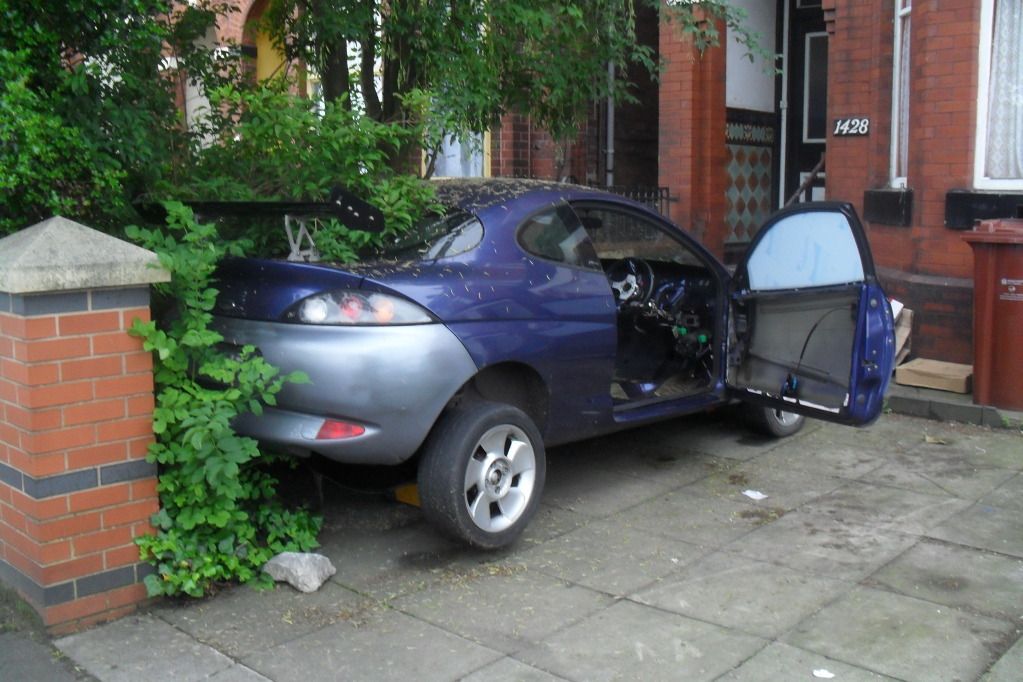
after i got the puma far enough out of the bush i reversed it onto the road and turned it around.
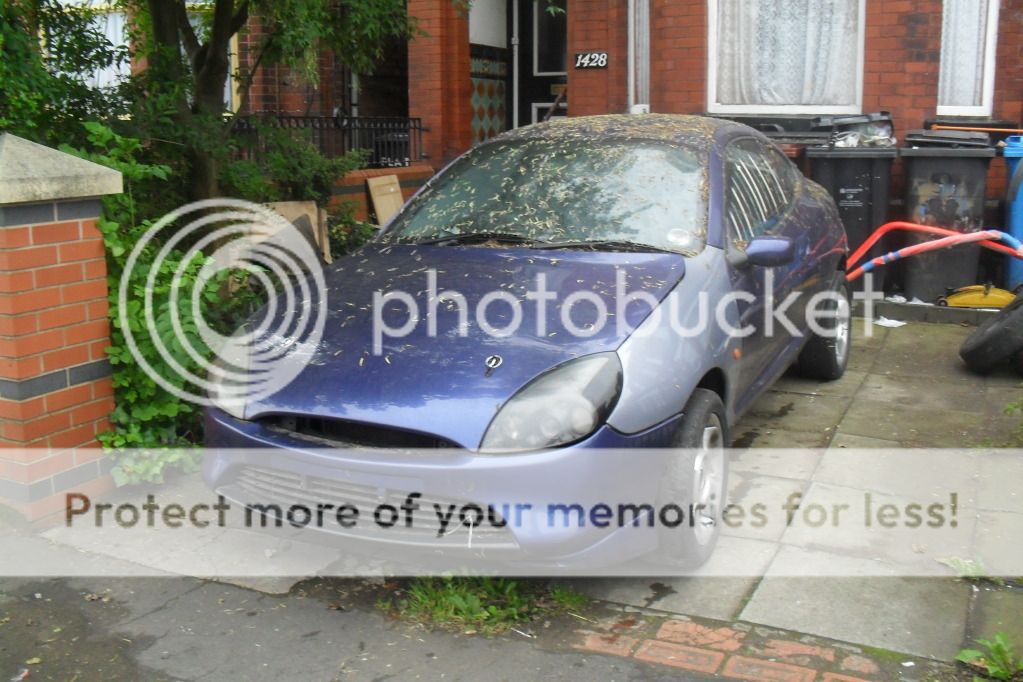
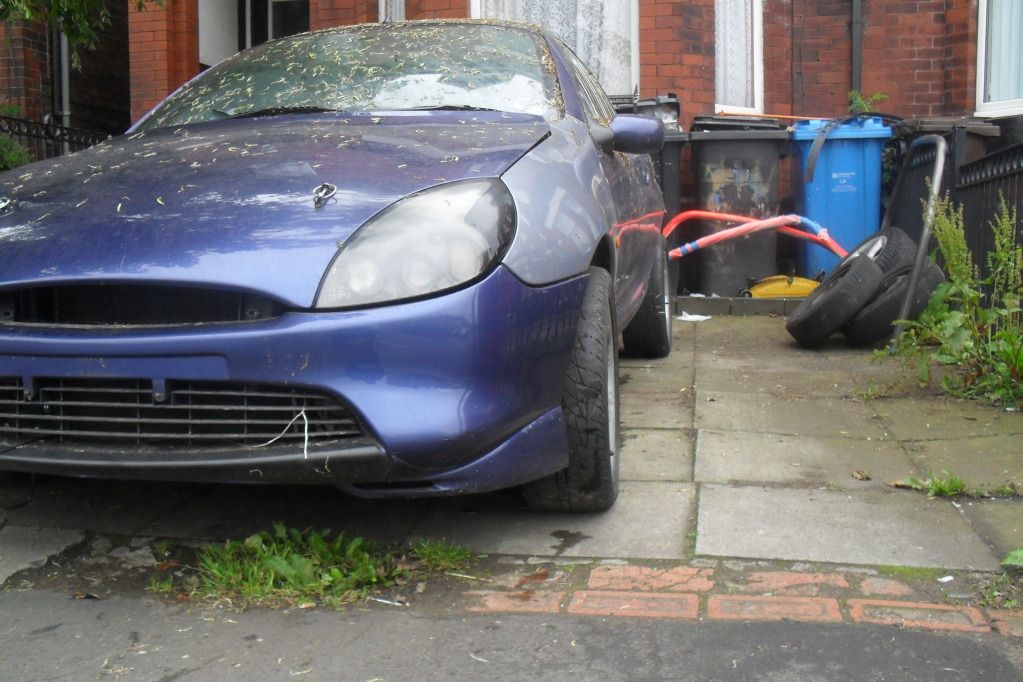
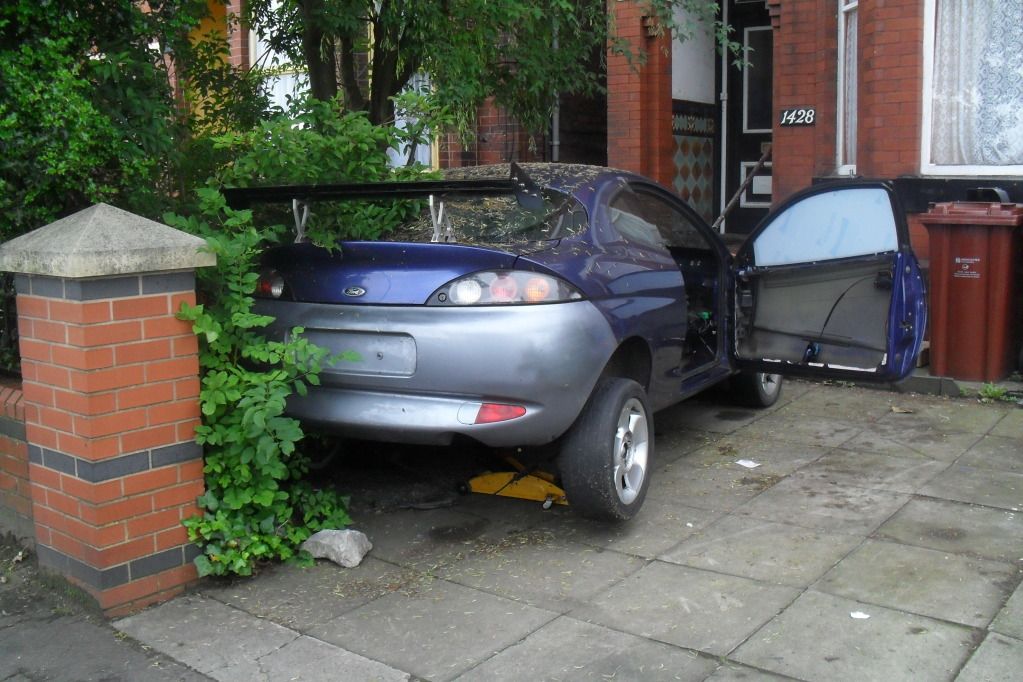
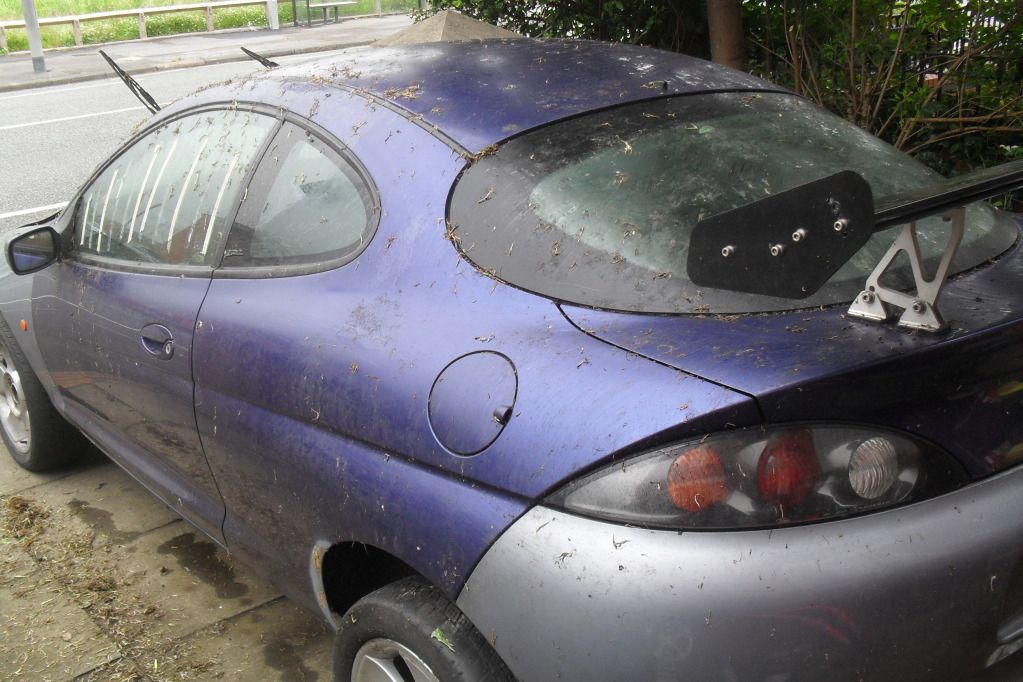
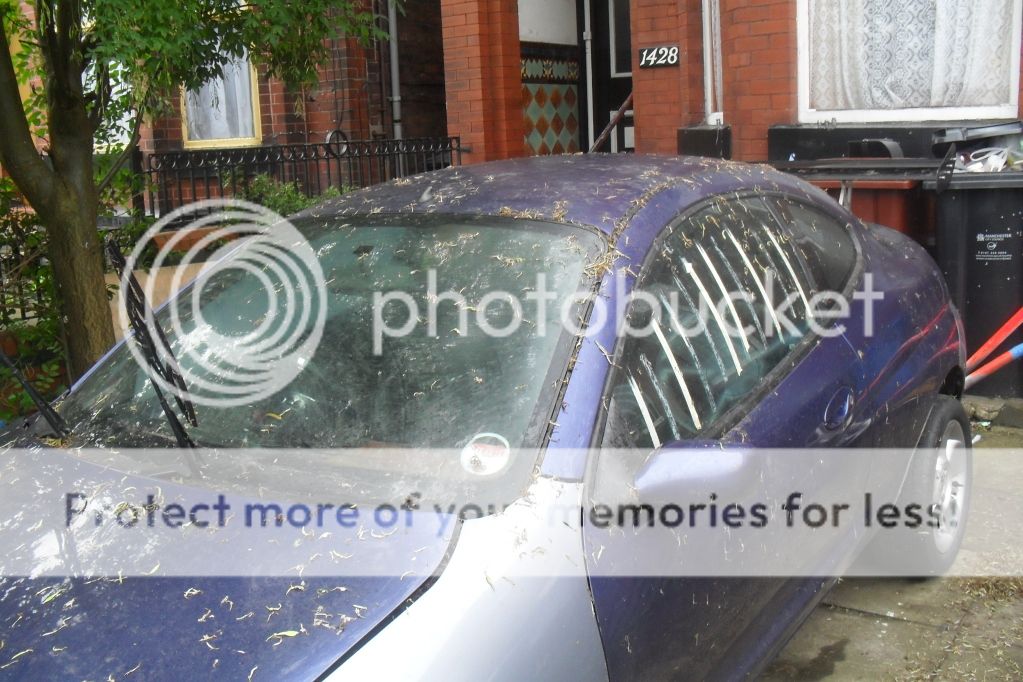
it was very dirty after being in the bush for a couple of months and it had some unwanted friends all over it hahahahah
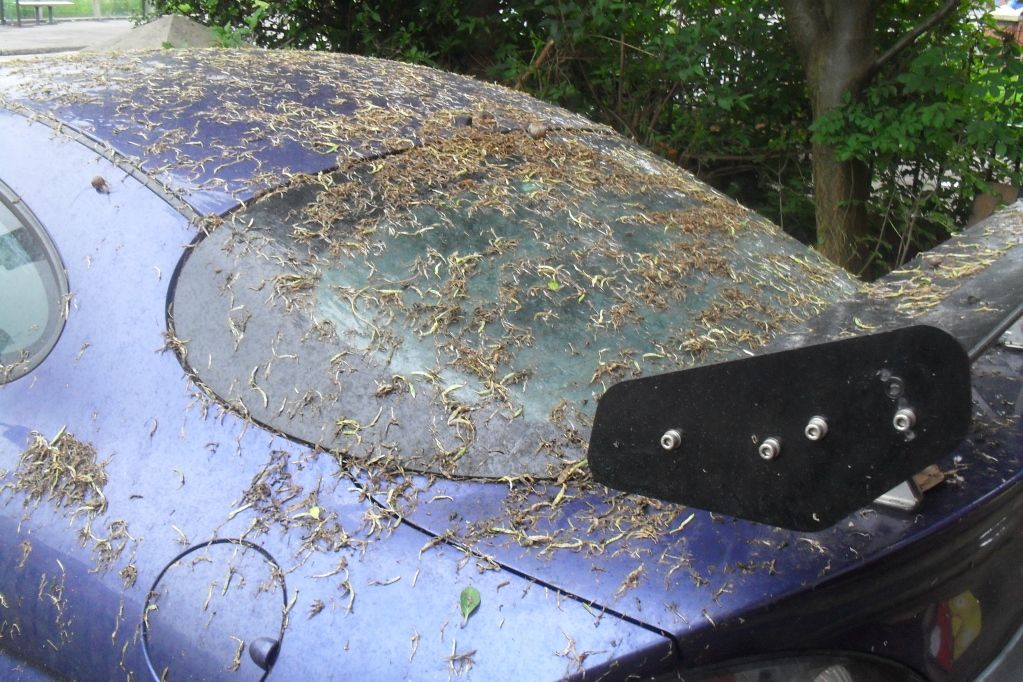
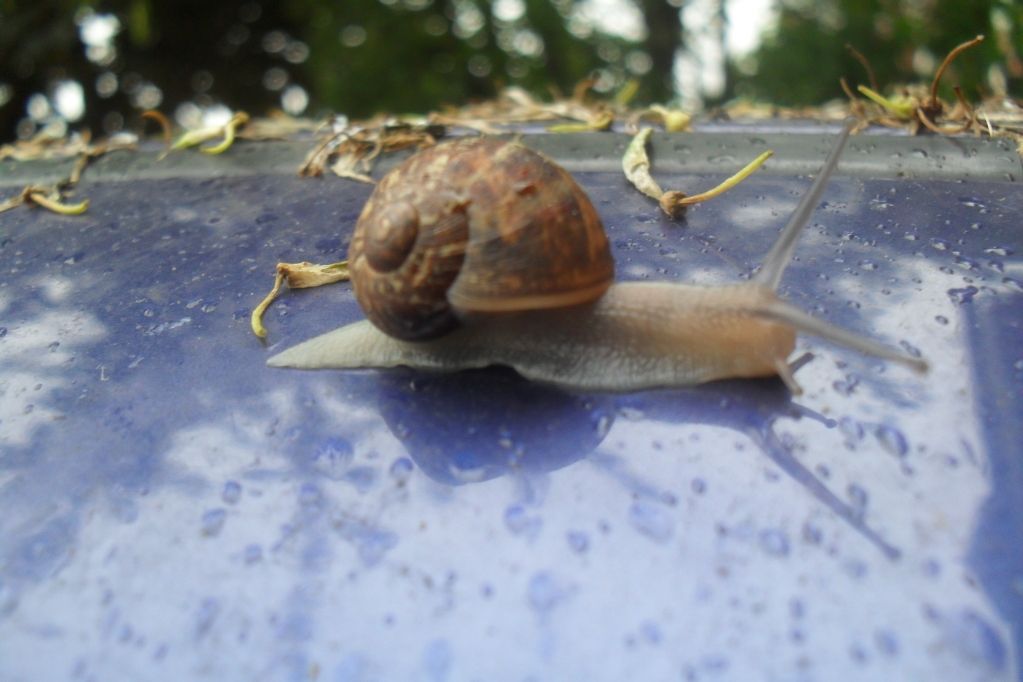
so i decided to give her a little wash just to get the most of the dirt off her and all the snails lol
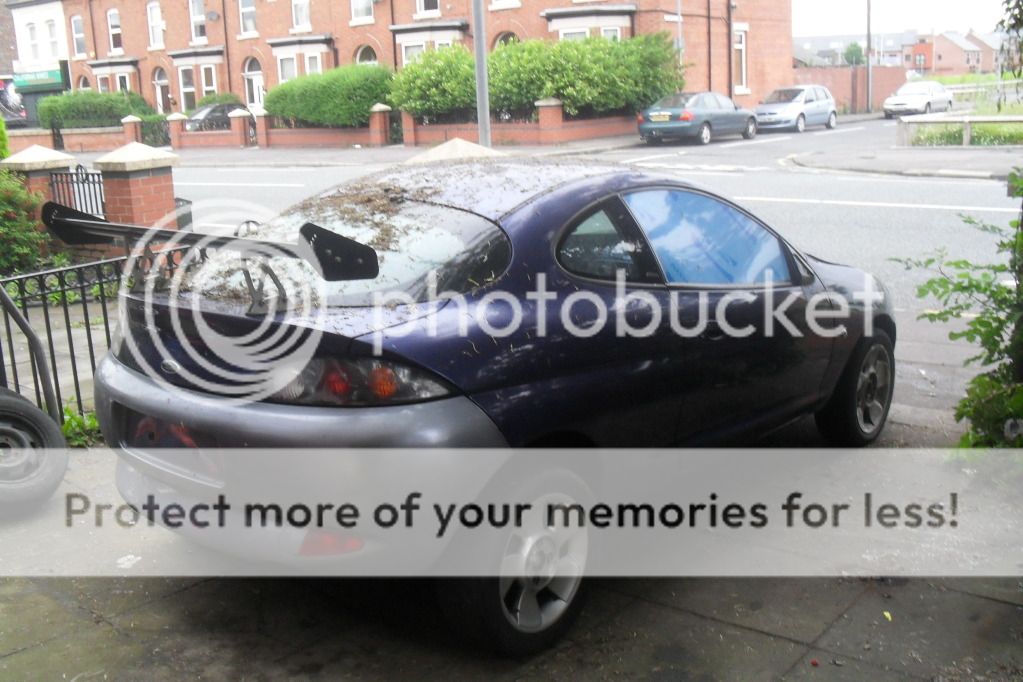
after i brush down
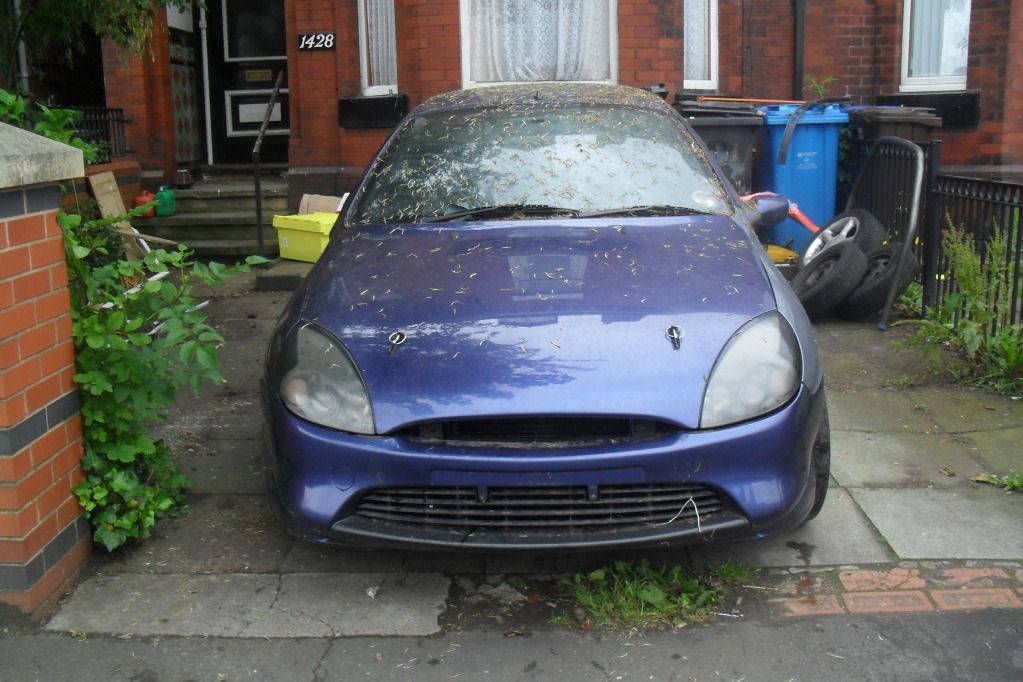
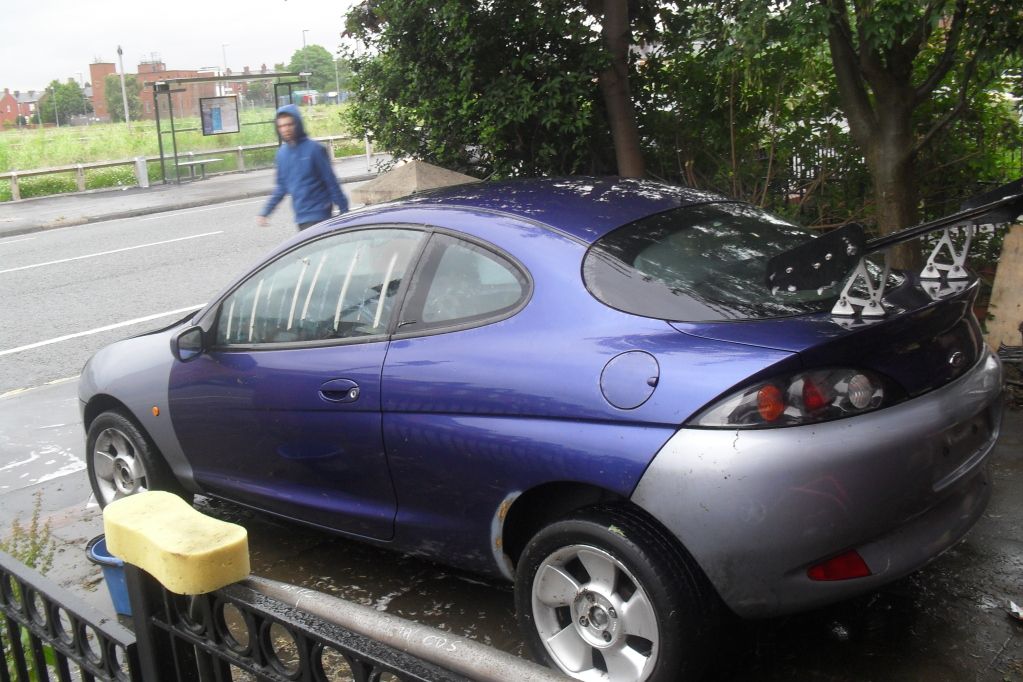
and after a bucket of water and a big sponge. not the best job in the world but it started to rain so i wanted to get it done quick.


and now i can start rebuilding the rear end and getting the roll cage in
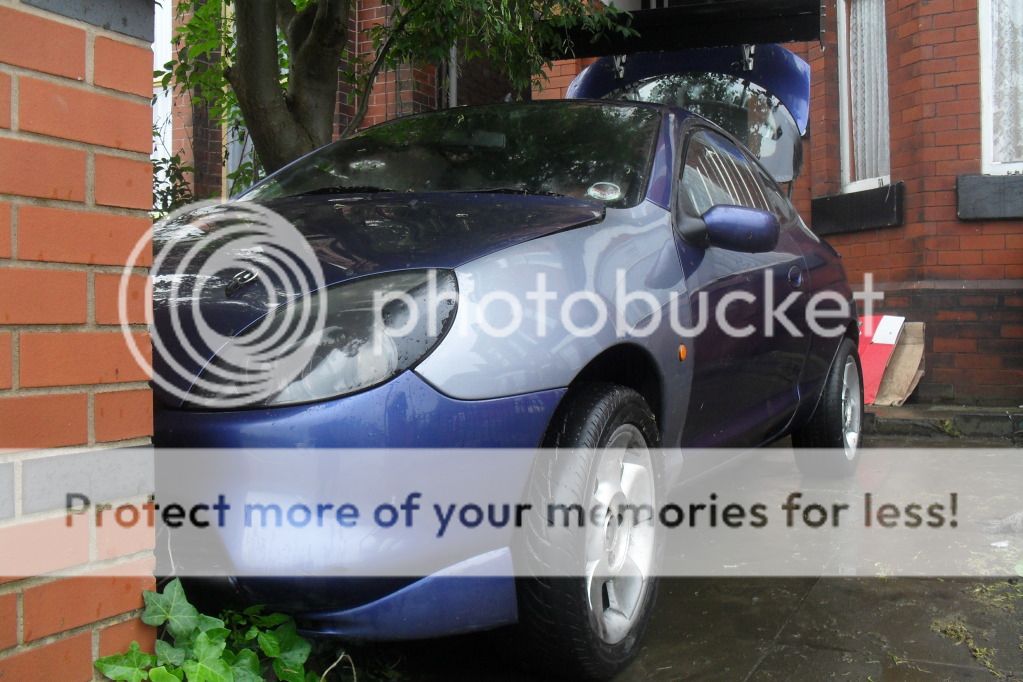
well it hasnt got an mot, tax or insurance. its not all the same colour and she needs a full set of tyres and the back end rebuilding but im very happy with my progress and that ive done it all myself. i may not have lots of money to spend on the car and many people think i should of scapped it along time ago but here is my pride and joy and i couldnt be happer with what ive done with the little money i have actualy spent on her to date and with a little soap she still shines up nicely
what do you lot of puma owners think then? haha
picsss
the lower steering colum in place
the car as i dragged it out on the jack and turned it around
after i got the puma far enough out of the bush i reversed it onto the road and turned it around.
it was very dirty after being in the bush for a couple of months and it had some unwanted friends all over it hahahahah
so i decided to give her a little wash just to get the most of the dirt off her and all the snails lol
after i brush down
and after a bucket of water and a big sponge. not the best job in the world but it started to rain so i wanted to get it done quick.
and now i can start rebuilding the rear end and getting the roll cage in
well it hasnt got an mot, tax or insurance. its not all the same colour and she needs a full set of tyres and the back end rebuilding but im very happy with my progress and that ive done it all myself. i may not have lots of money to spend on the car and many people think i should of scapped it along time ago but here is my pride and joy and i couldnt be happer with what ive done with the little money i have actualy spent on her to date and with a little soap she still shines up nicely
what do you lot of puma owners think then? haha
#124
Posted 05 July 2012 - 08:26 PM
You will also have learned alot and that can be priceless 
searching is fruitful | I'm a sponge not a mechanic | please do try that if stuck with a Puma problem whilst waiting for a reply | For the Puma fan this read 'The Inside Story Book' is very nice to own sometimes still seen for sale
#125
Posted 05 July 2012 - 09:56 PM
thats the best way happy-kat so if something goes wrong i can find the problem and fix it easly 
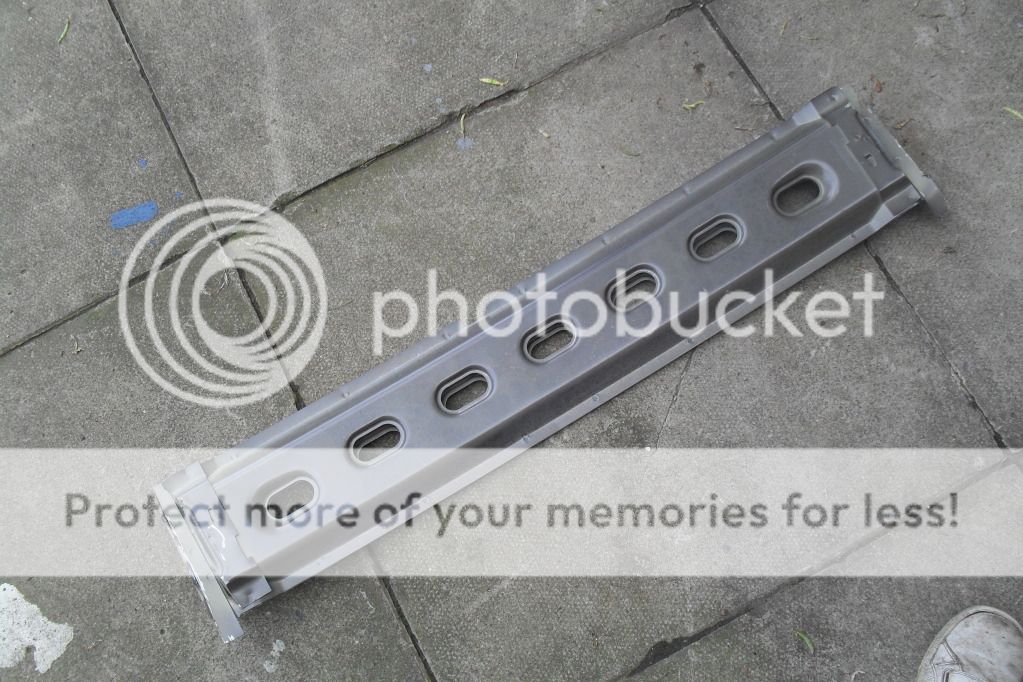
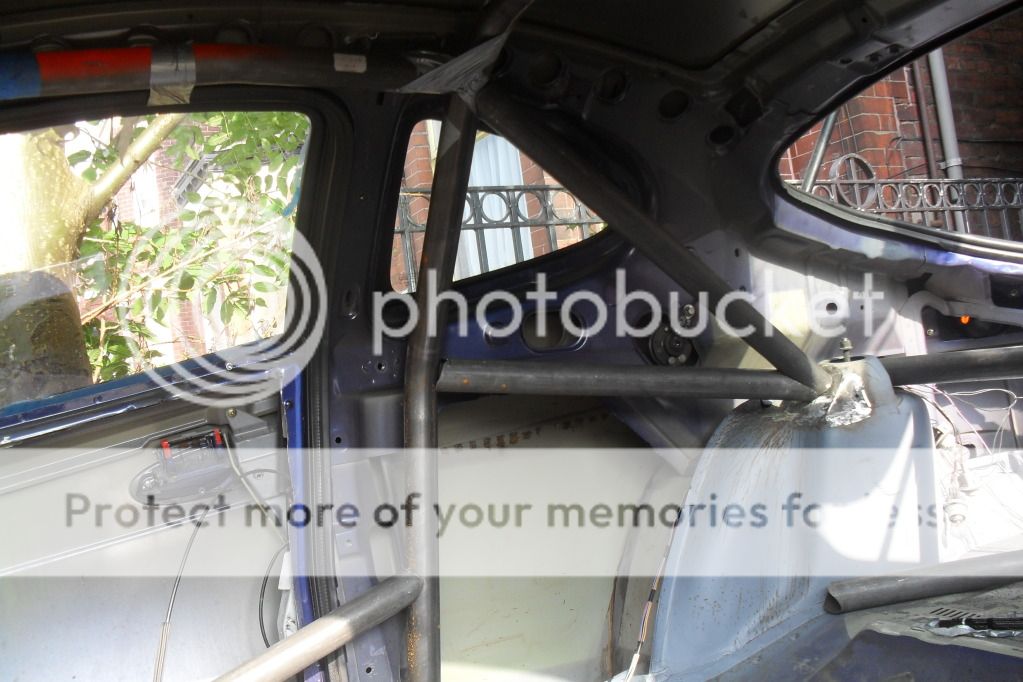
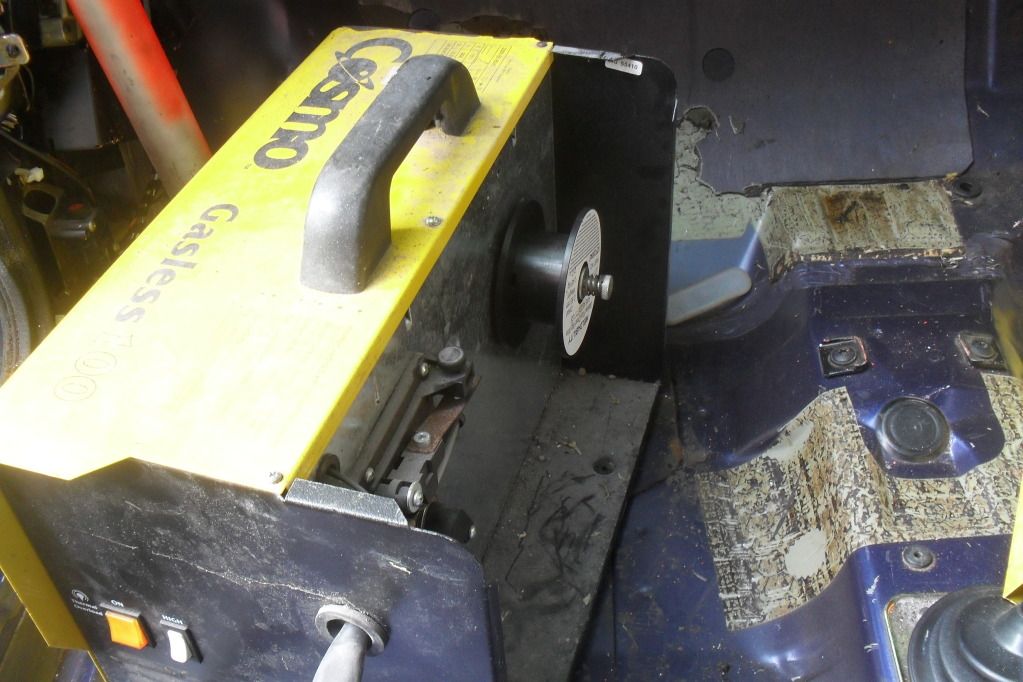
Small update of what ivedone today, i started with some more weight removal.


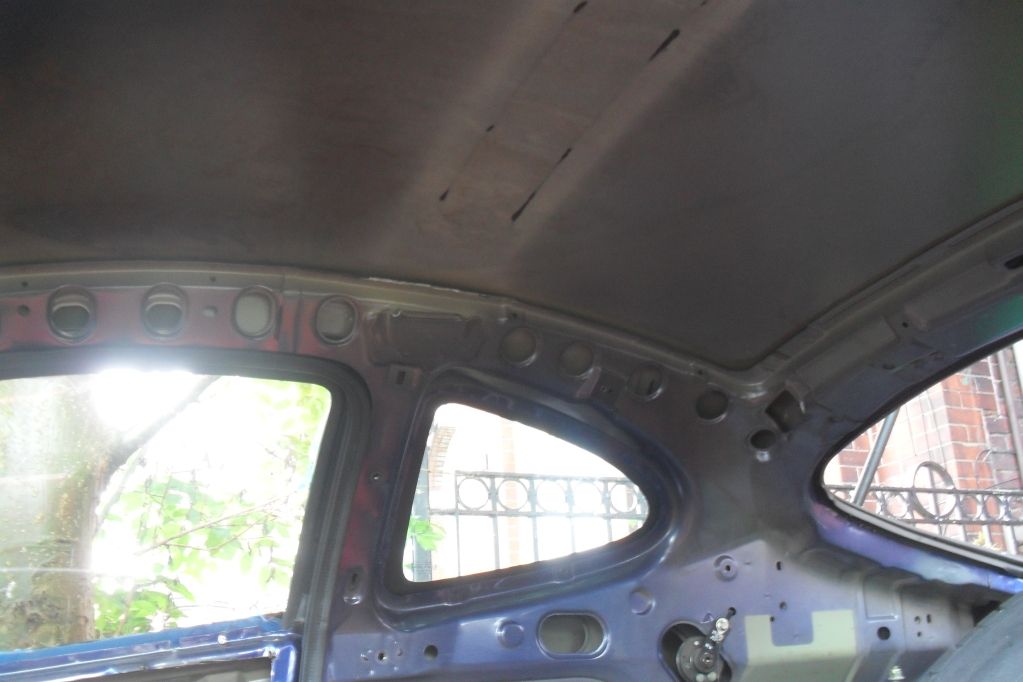
i then removed the centre roof suport to make room for the roll cage and also take out a little bit more weight out of the car
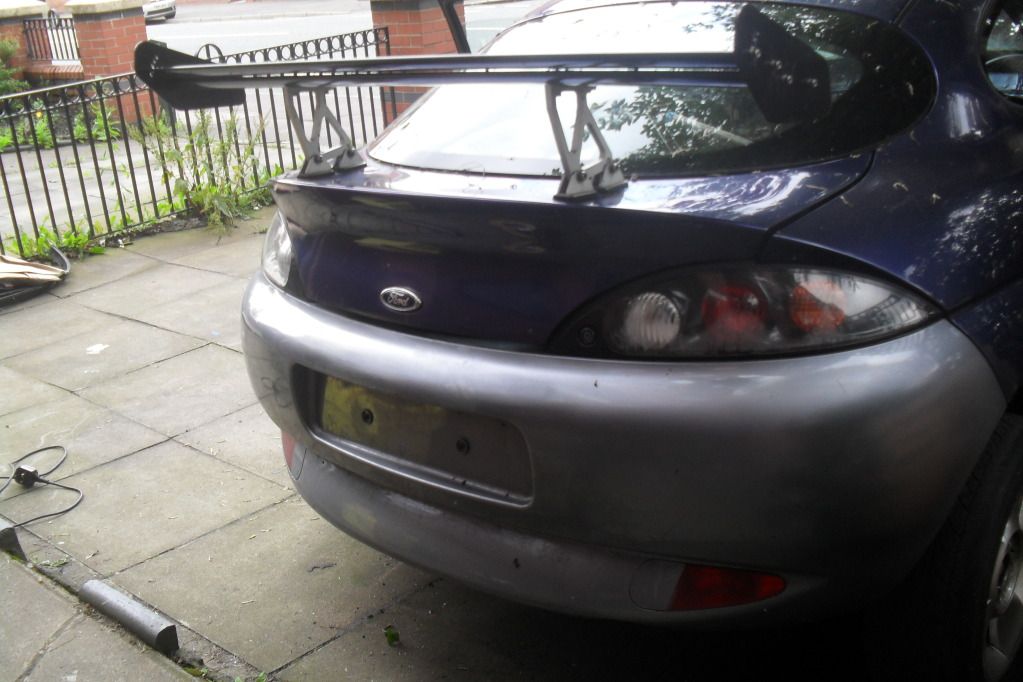
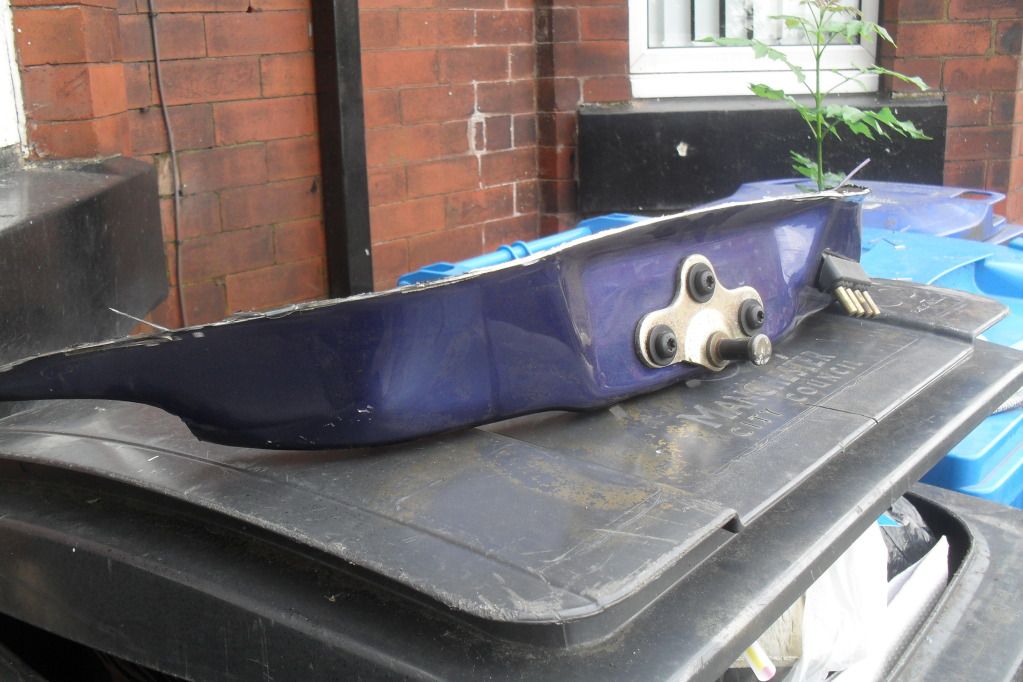
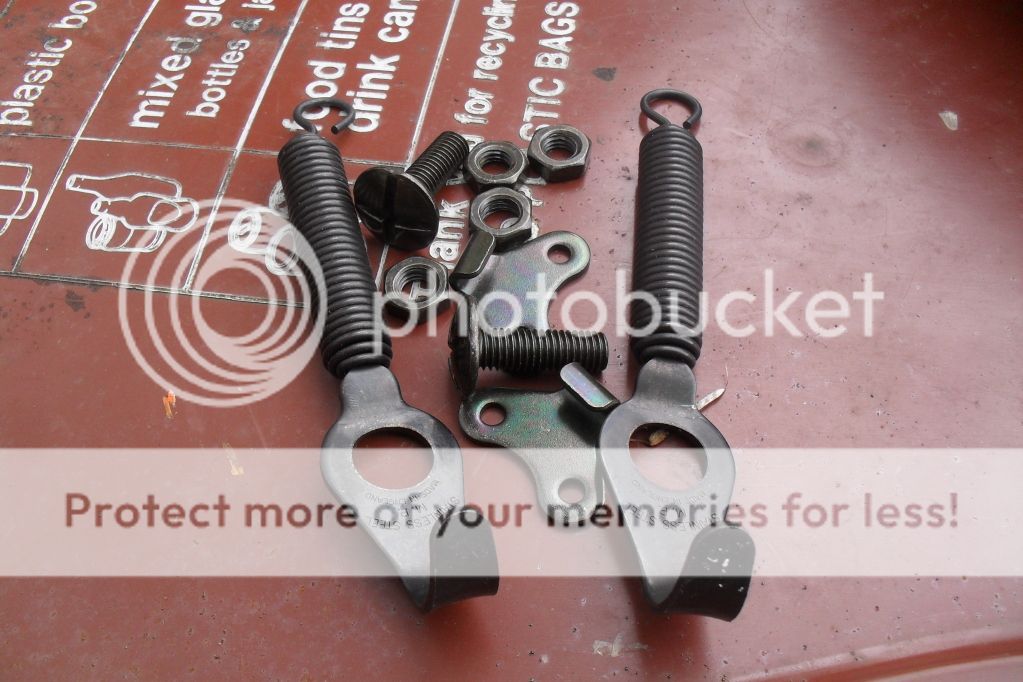
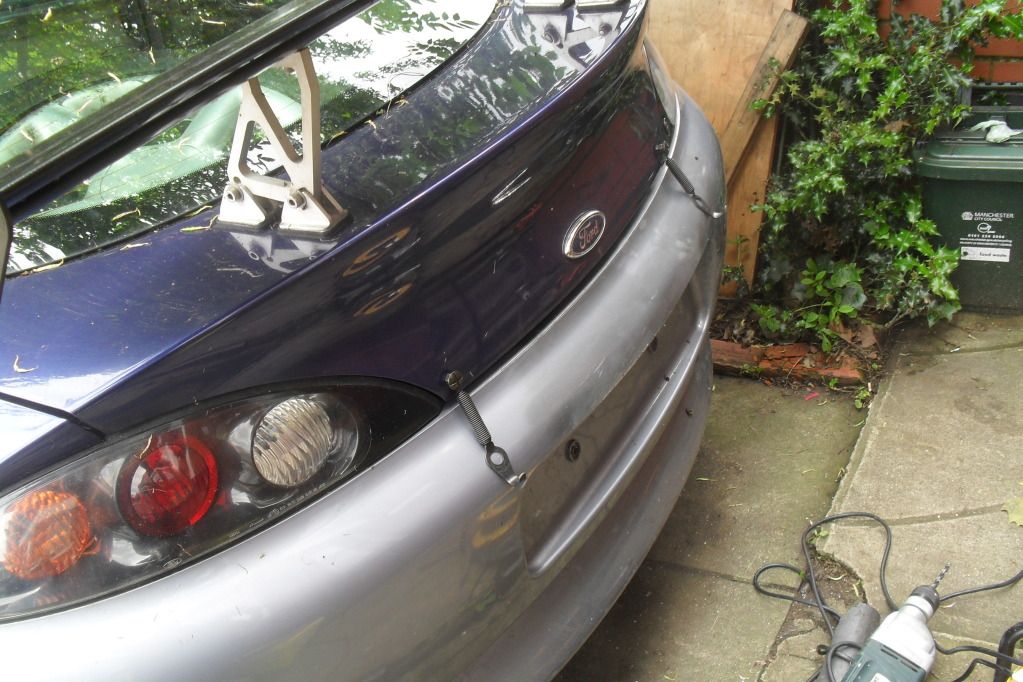
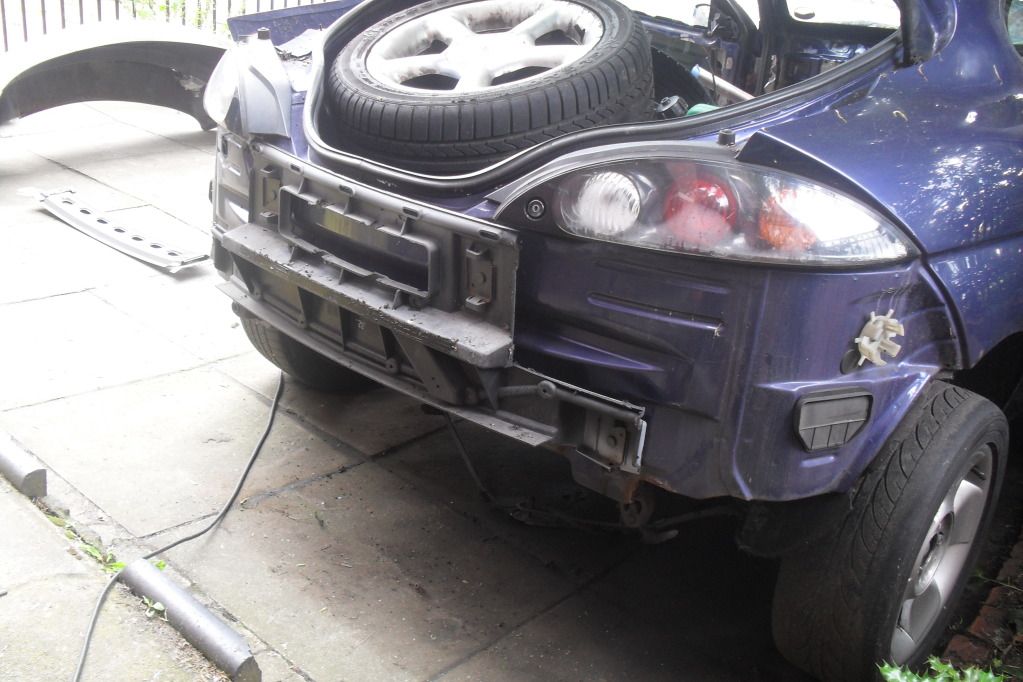
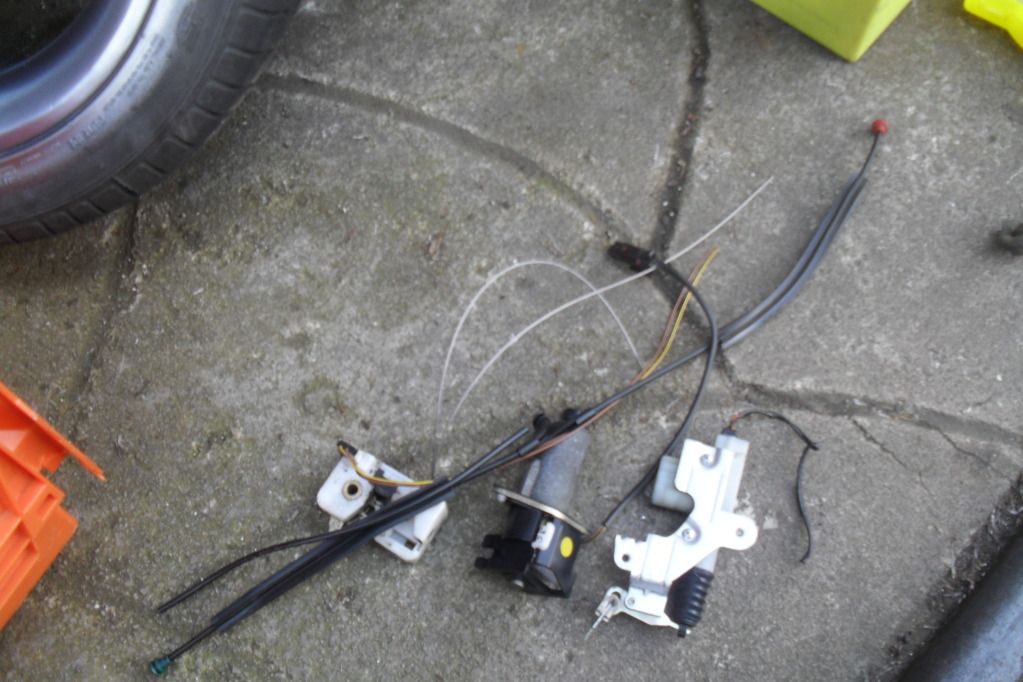
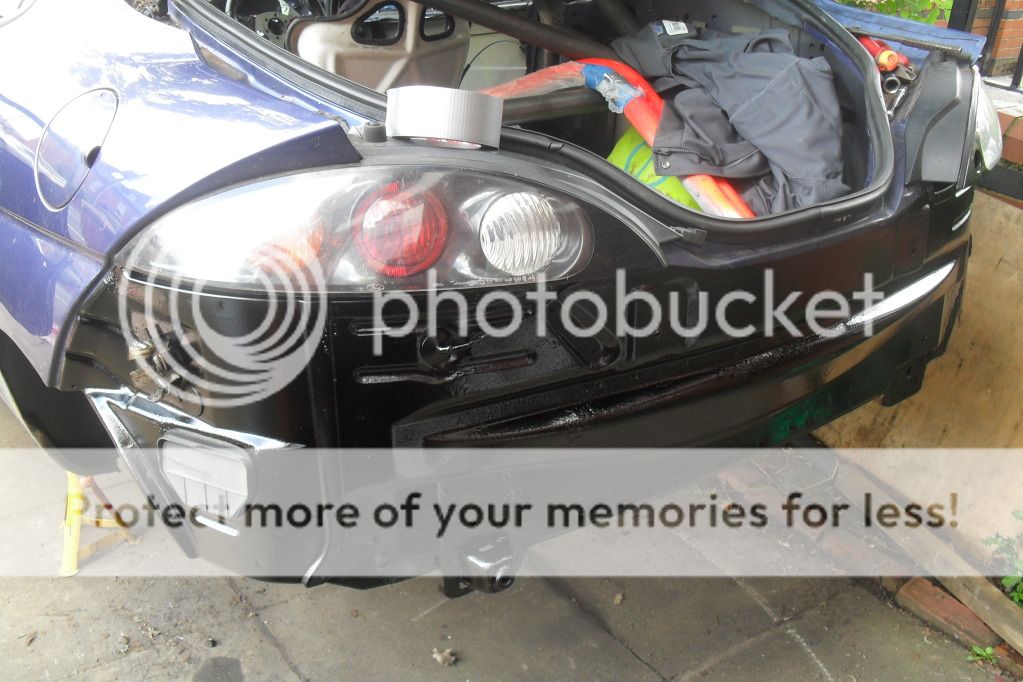
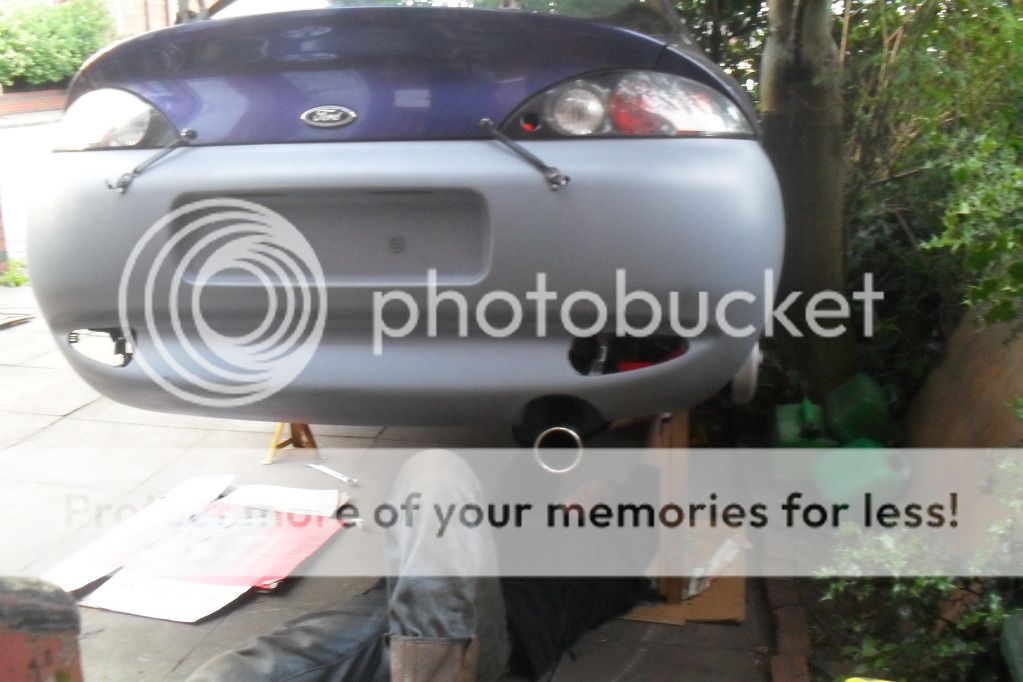
i then removed the rear bumper and removed all the remains of central locking and alarm parts for the boot.
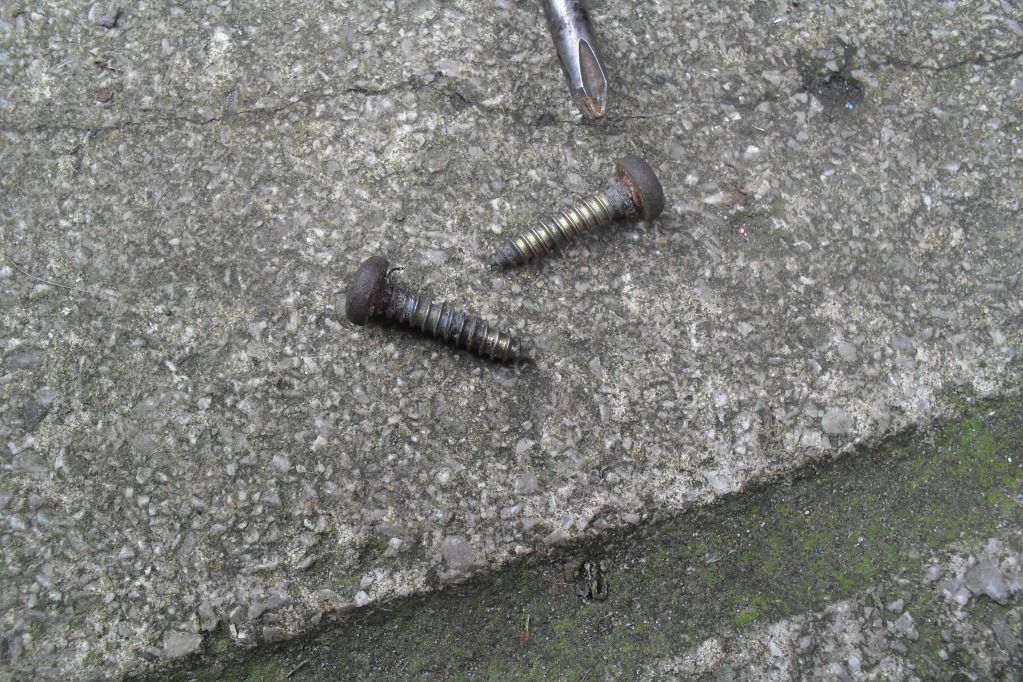
the only things that was holding the bumper on.
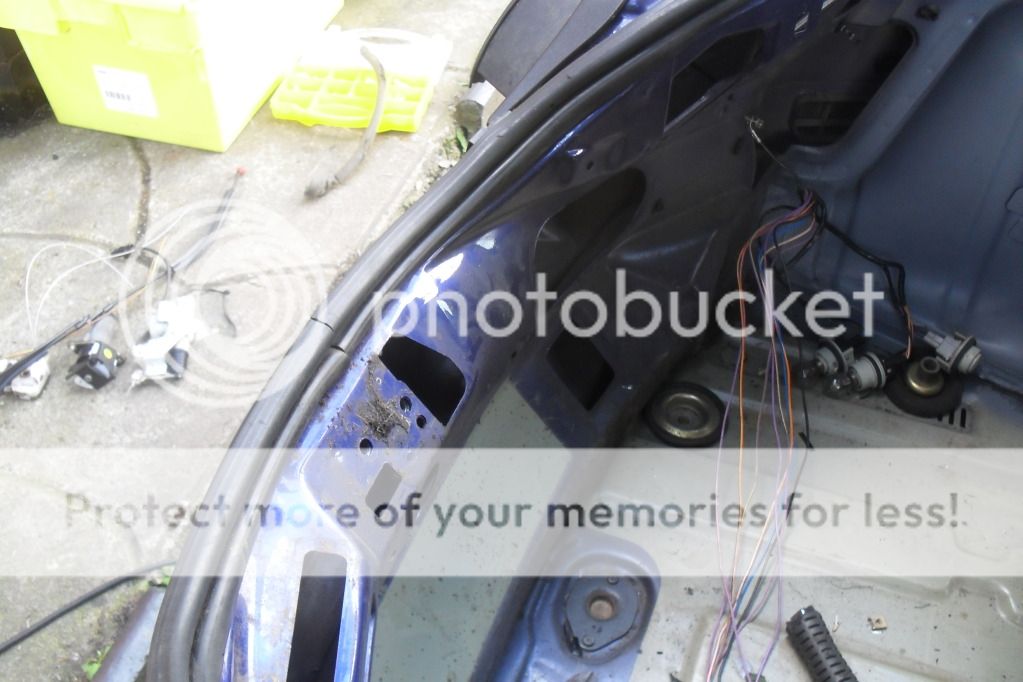
more weight loss
empty spaces
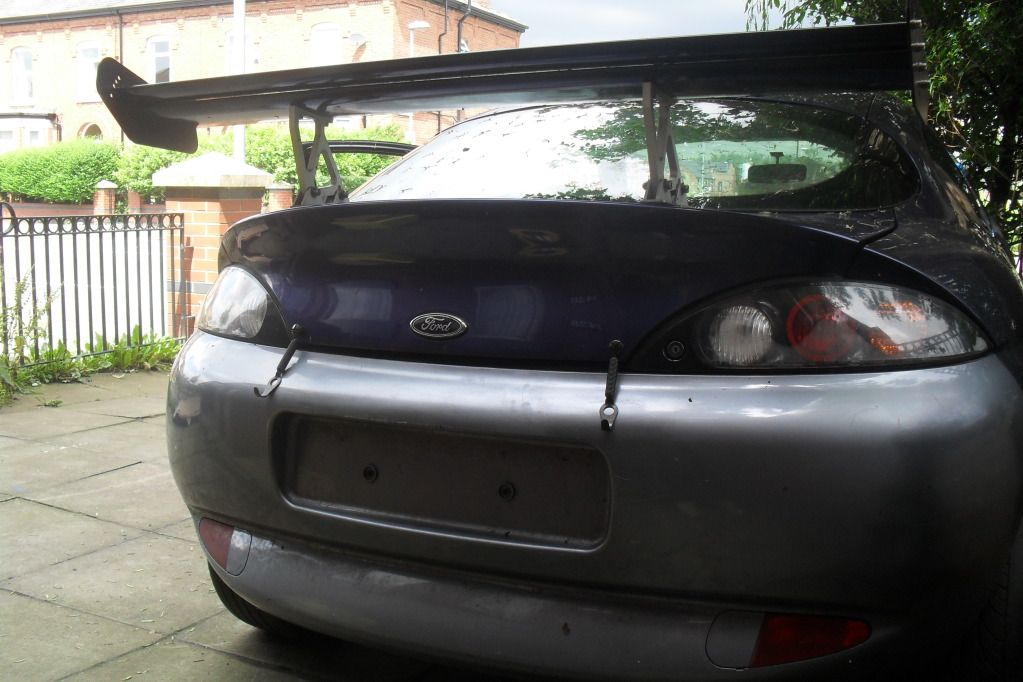
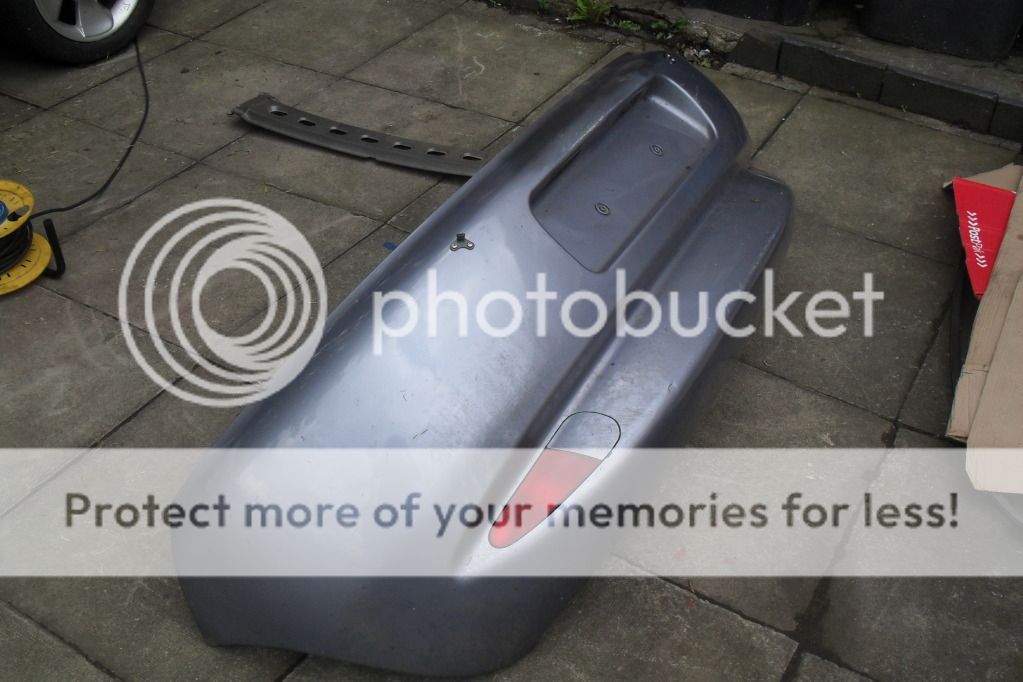
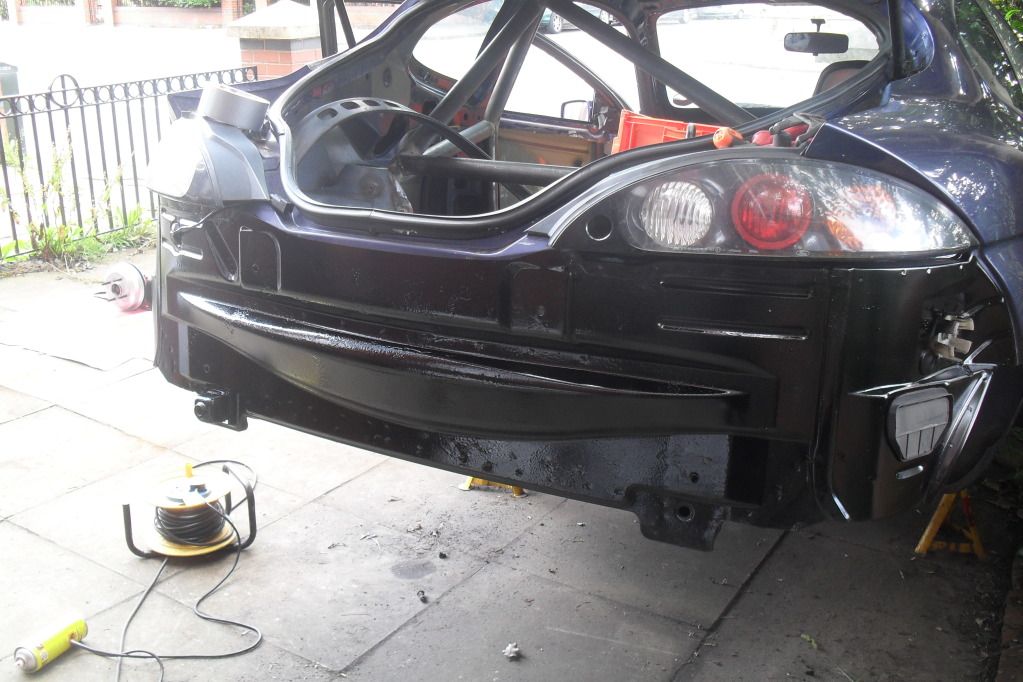
while i had the bumper off i decided to give it a good rub down and a coat of primer.
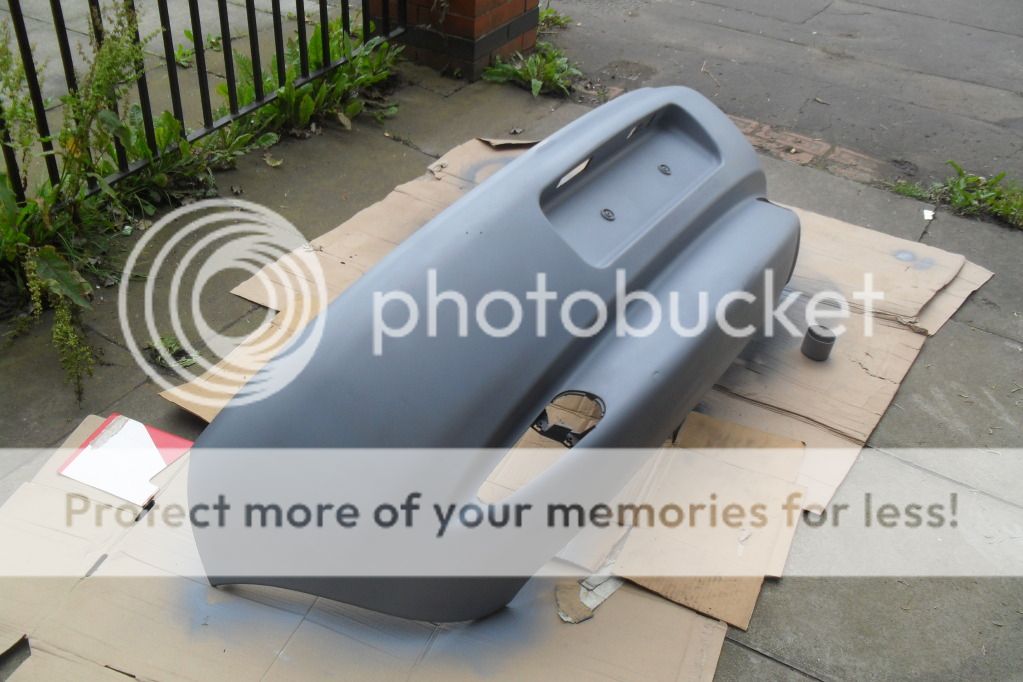
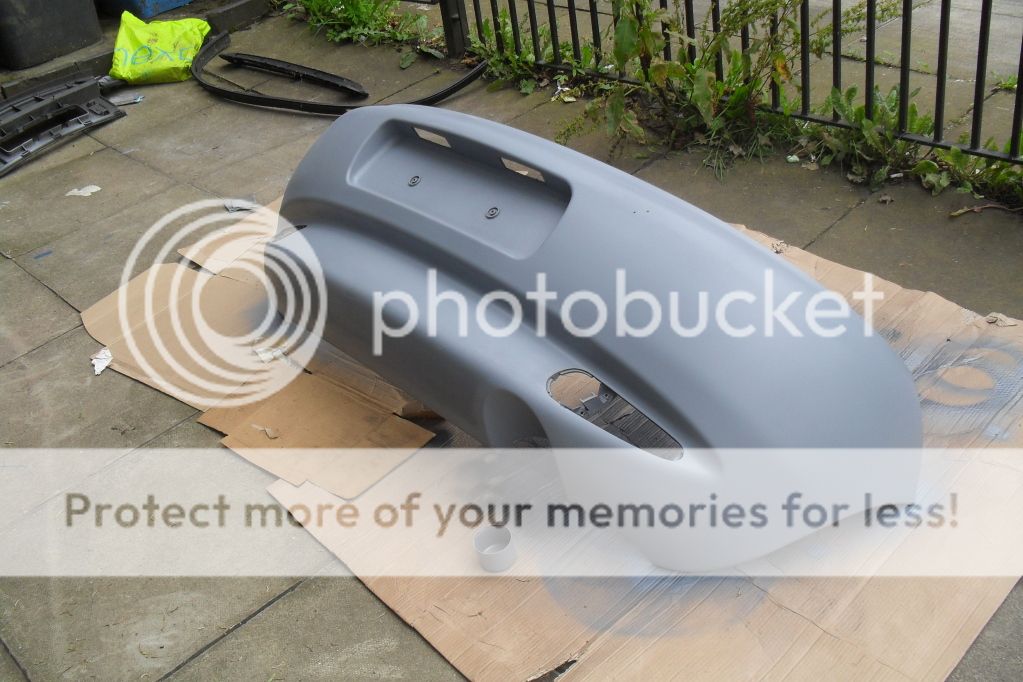
back on the car again
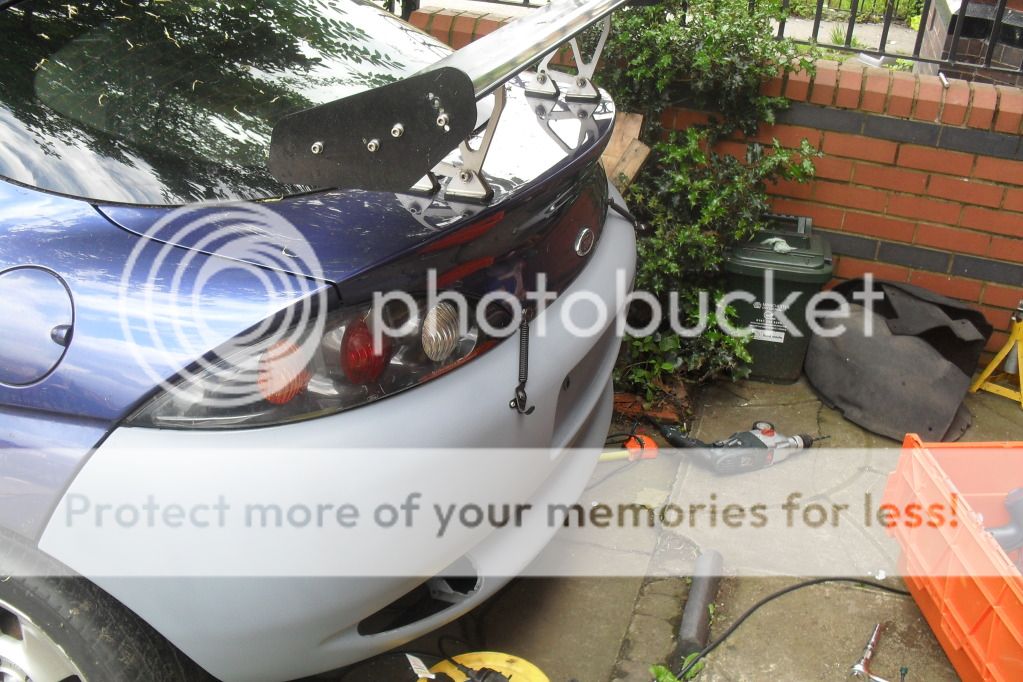
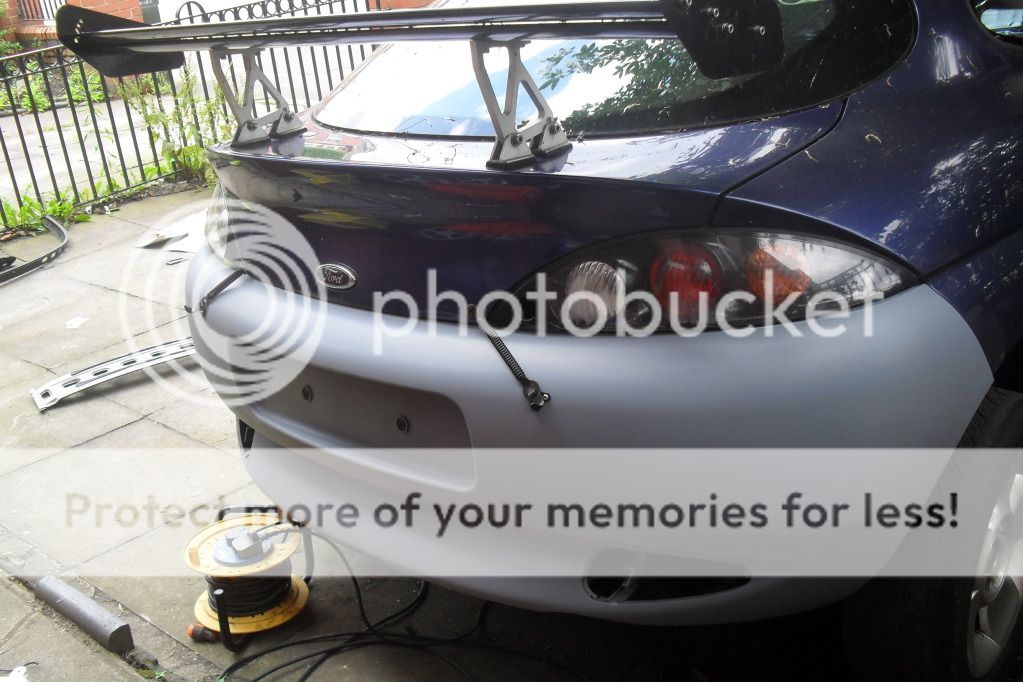
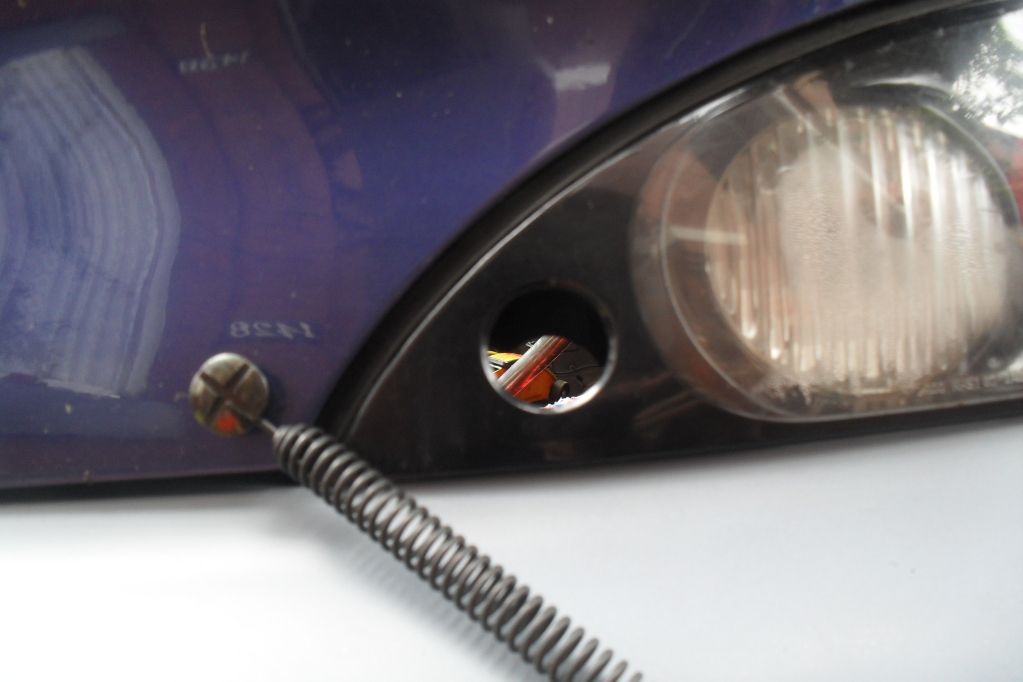
i need to get a blank for the hole left behind from the lock for the boot
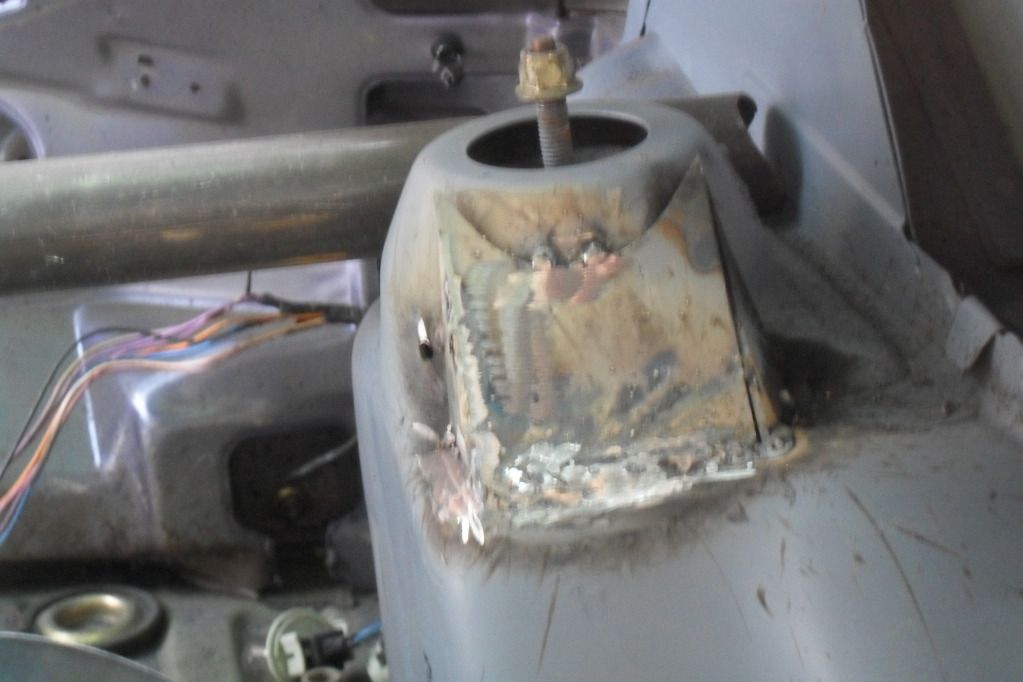
i then started work on fitting the roll cage
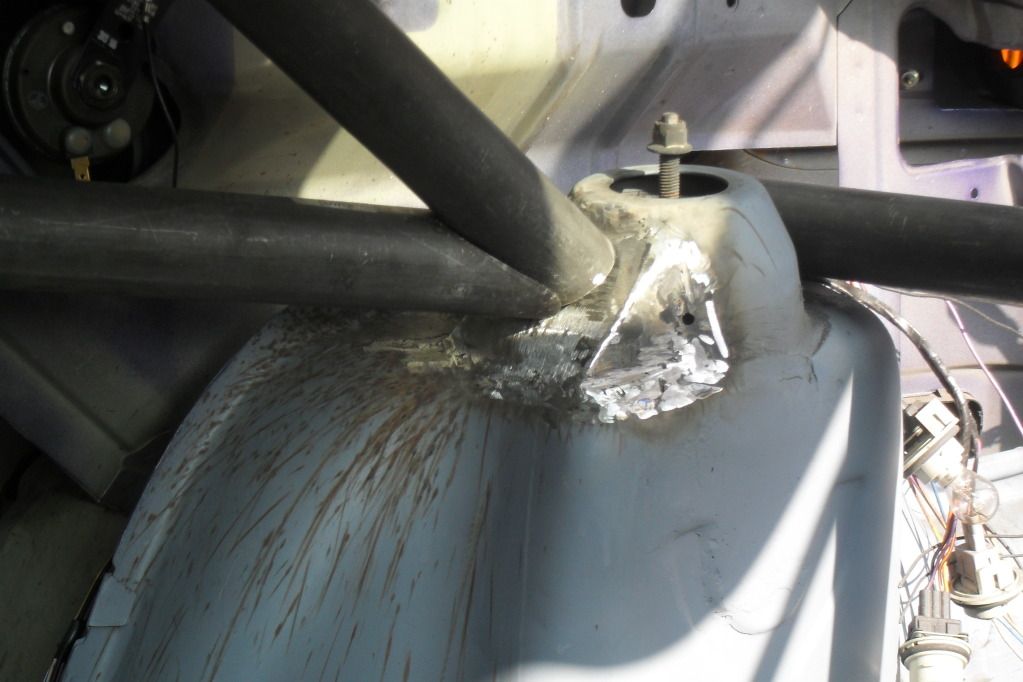
sadly i had to stop there, i ran out of welding wire so will have to pickup some more tomorow when i pick up my mate
i will be getting all the roll cage tacked in tomorow and hopefully i will have the rear end in bits on sunday so i can clean, replace and rebuild it.
Small update of what ivedone today, i started with some more weight removal.
i then removed the centre roof suport to make room for the roll cage and also take out a little bit more weight out of the car
i then removed the rear bumper and removed all the remains of central locking and alarm parts for the boot.
the only things that was holding the bumper on.
more weight loss
empty spaces
while i had the bumper off i decided to give it a good rub down and a coat of primer.
back on the car again
i need to get a blank for the hole left behind from the lock for the boot
i then started work on fitting the roll cage
sadly i had to stop there, i ran out of welding wire
so will have to pickup some more tomorow when i pick up my matei will be getting all the roll cage tacked in tomorow and hopefully i will have the rear end in bits on sunday so i can clean, replace and rebuild it.
#126
Posted 08 July 2012 - 11:38 PM
got alot work done cage wise with weekend, got the rear mounts welded and the loop mounts too. all the bars from the loop back to the rear mounts are in and mostly welded up. i dont want to upload any pics of it until the backs all welded up.goin to be welding it in two halfs, back and then front. im also goin to be dismantleing the rear of the car tomorow to get all that sorted.
on another note ive give the car a quick drive around the block and bloody hell it doesnt half fly after about 3,500k, when im in second it feels like im in first. on a funny note when i went up the curb outside my house the suspension was so stiff the rear wheel come off the ground 3 inch hahahahahah.
il be uploading some pics of the car shortly.
much love people
#127
Posted 09 July 2012 - 06:48 AM
You will need to cut holes In the car floor to fit cage properly. You won't be able to weld the front pieces properly with the rear parts all fixed in place as you won't be able to get to the tops and sides of the joins.
Way to do it is place rear parts in and tack together but not to the car. Cut holes in floor under main hoop legs, lower rear section through holes, weld forward bars in place, raise whole lot up and tack to car, then weld up the holes in the floor. If youve already welded the rear parts to the car you may be a bit naughty word. This is why I used lap joints on my forward bars because a. It avoided cutting holes in the floor and b. So it could be removable
Way to do it is place rear parts in and tack together but not to the car. Cut holes in floor under main hoop legs, lower rear section through holes, weld forward bars in place, raise whole lot up and tack to car, then weld up the holes in the floor. If youve already welded the rear parts to the car you may be a bit naughty word. This is why I used lap joints on my forward bars because a. It avoided cutting holes in the floor and b. So it could be removable
This post has been edited by ScubaSteve: 09 July 2012 - 06:49 AM
#128
Posted 09 July 2012 - 08:40 AM
i can see what your saying about access to the areas that need welding and the possibility of cutting the floor to drop the cage but ive done it a little differently to get the room i needed. i placed all the front and back parts of the cage into the car so upon tacking the back ive removed the front for extra room to do the back and also ive removed the centre roof suport that was touching the centre loop. ive seen it done on a few pumas and with a complete cage in and it wouldnt effect the structuture. with the centre roof suport removed although it is tight i can get to all the cage to weld it ive made sure of this. thanks for the advice though scubasteve, your the only person to have said something that could of helped me fitting it into the car and for that thankyou. i didnt even get a worth while responce out of custom cages when i asked about fitting instructions.
cheers kieran
cheers kieran
-01.jpg)
#131
Posted 10 July 2012 - 04:15 PM
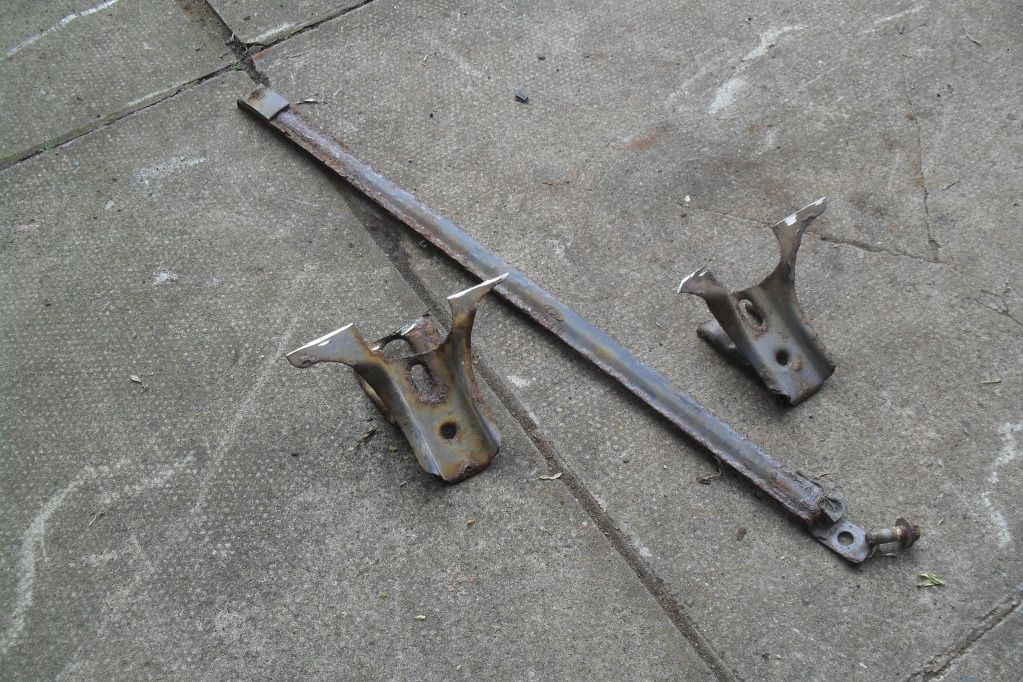
yeah thats what i worked everthing off. off the diagram theonly thing im missing is the two small cross bars from the rear. you will beable to see which ones im talking about when i upload some pics.
#132
Posted 10 July 2012 - 09:03 PM
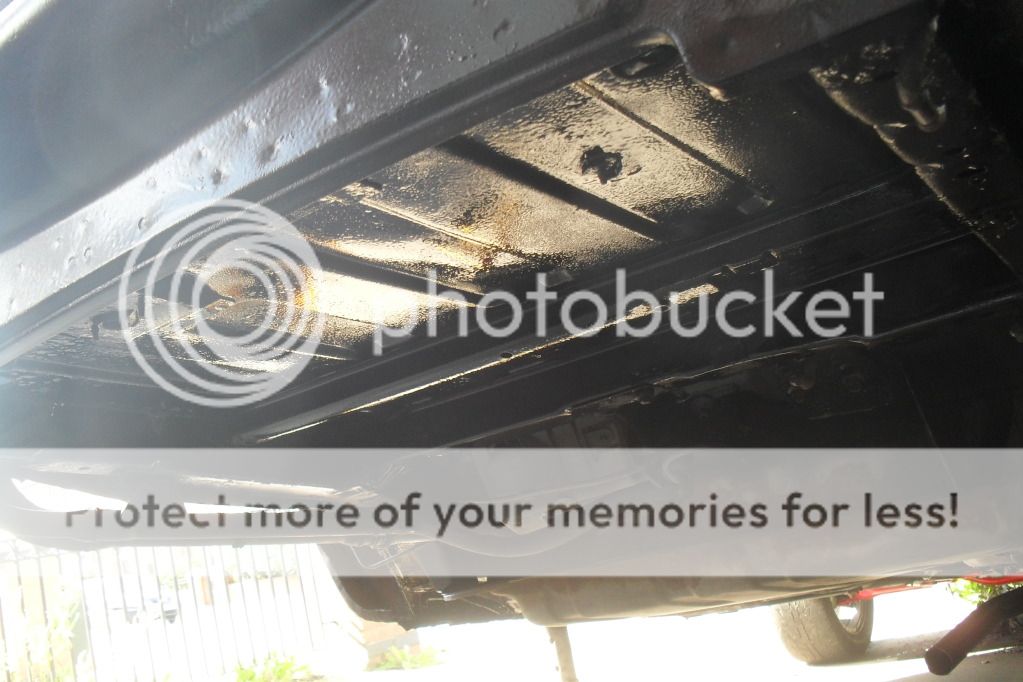
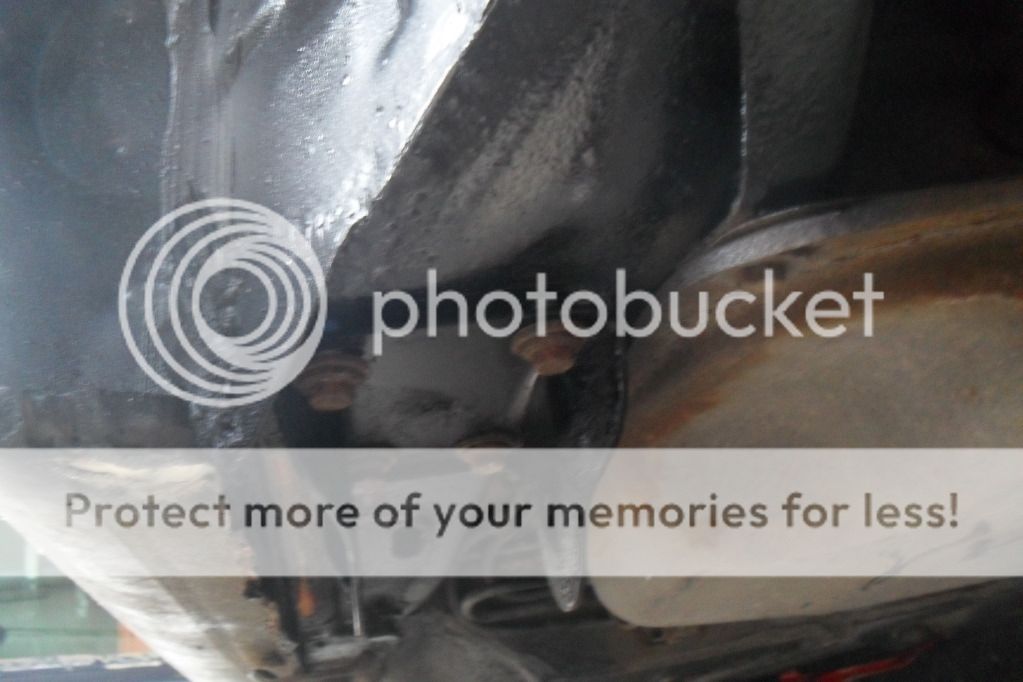
in between welding the cage into the car and loosing another job ive dismantled the rear end ready for a clean up and rebuild. ive got everything except one rear shock and the hand brake cable.
here are the pics
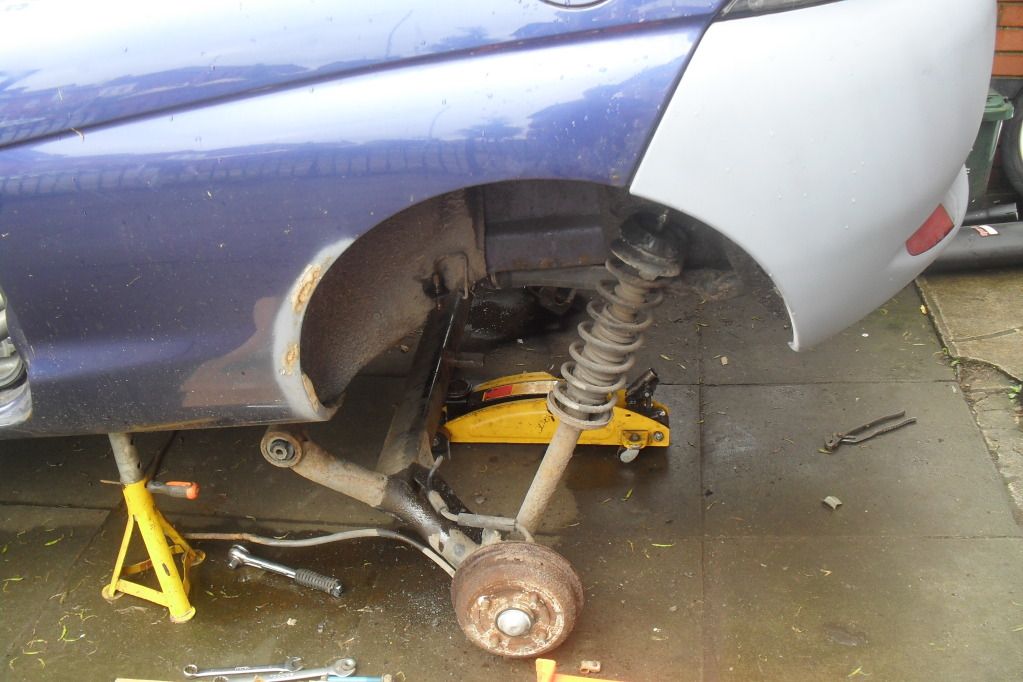
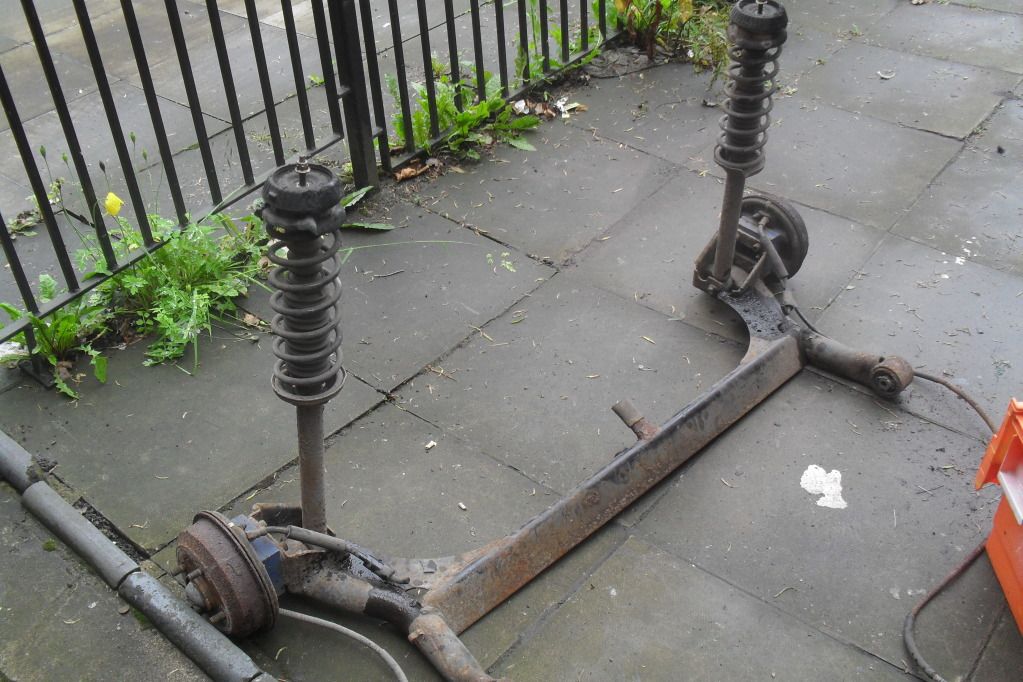
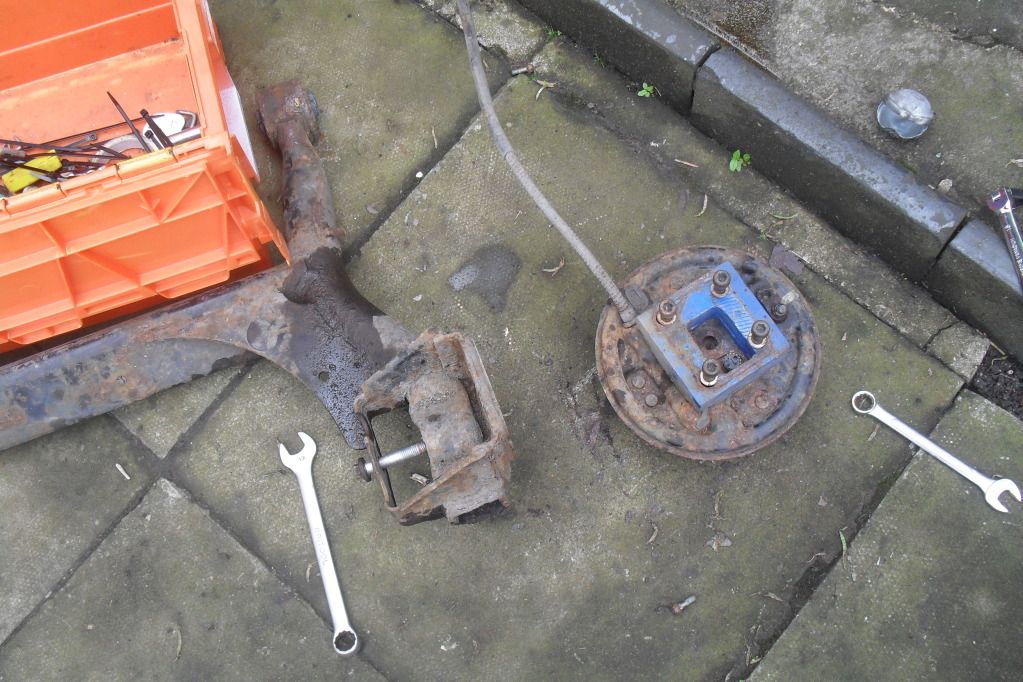
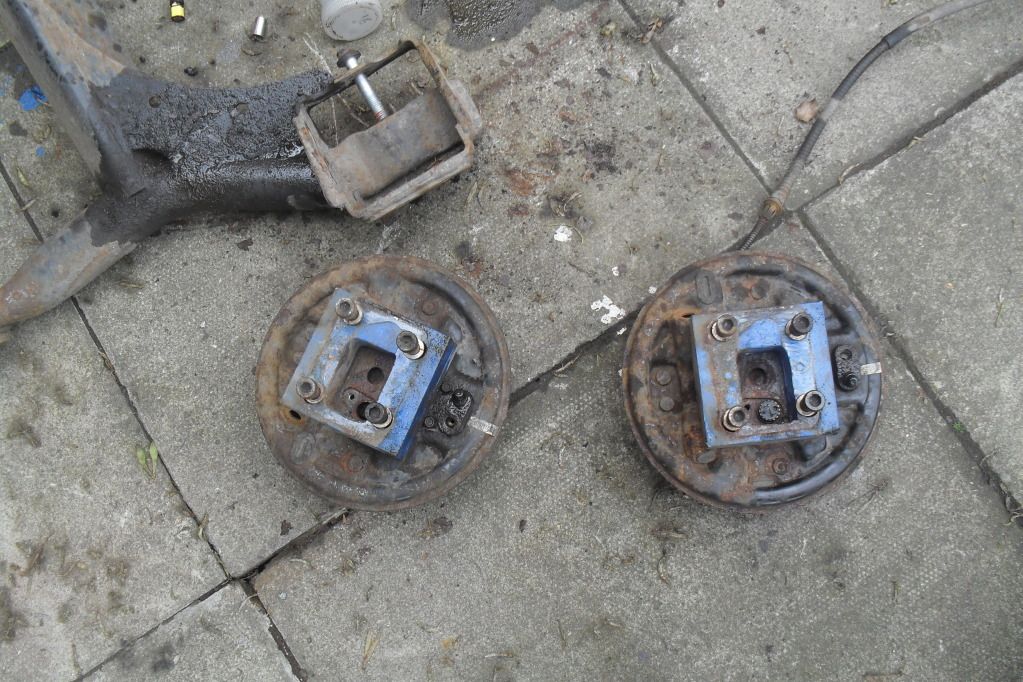
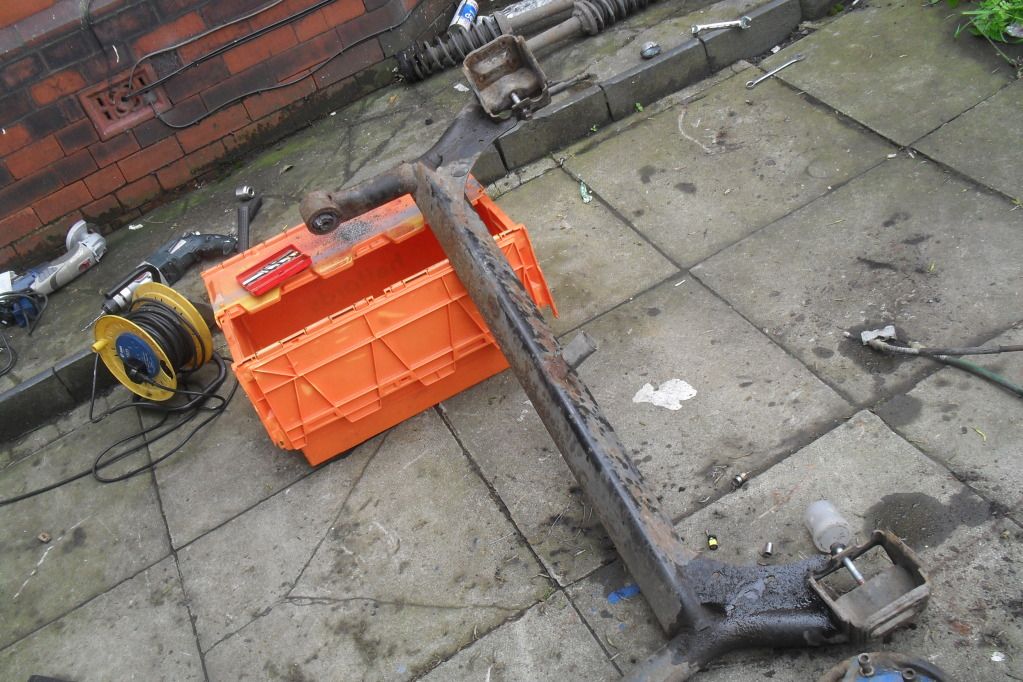
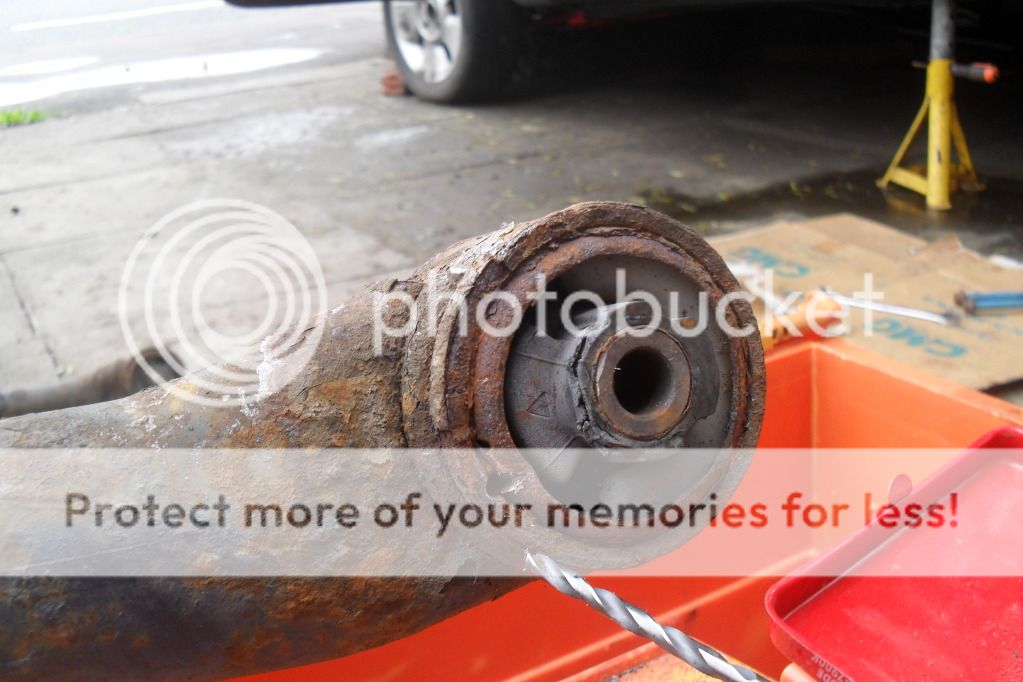
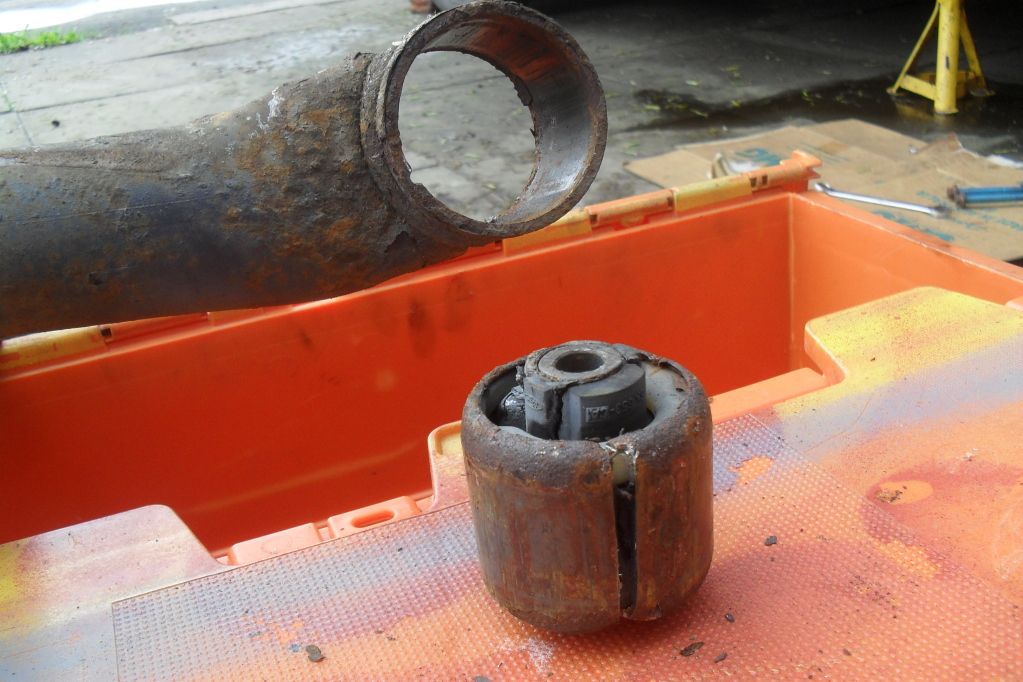
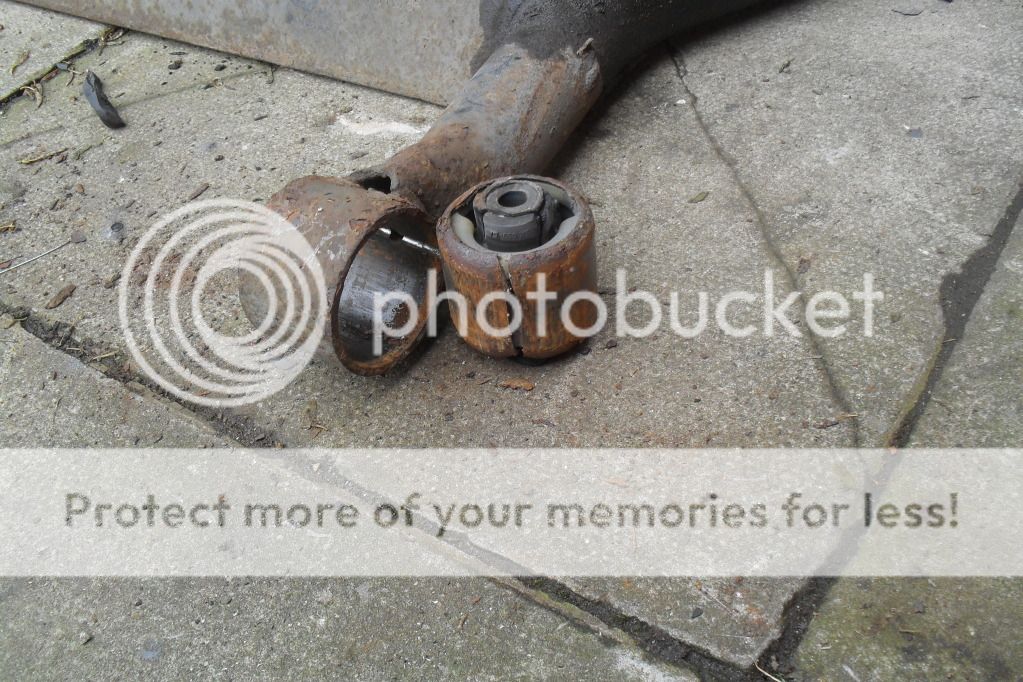
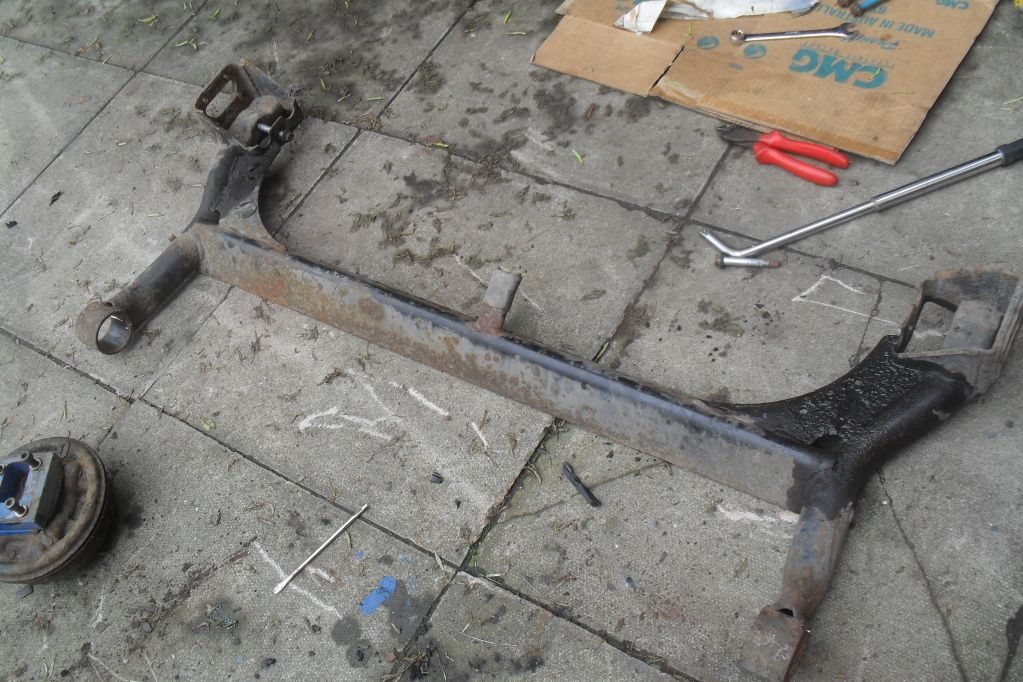
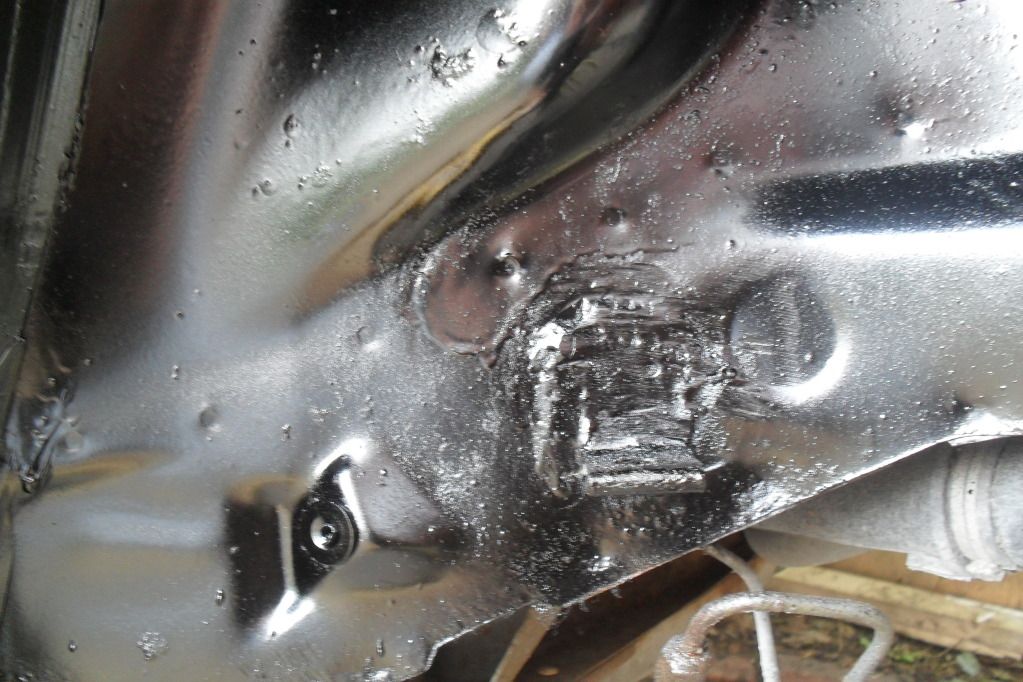
ive been grinding all the rust off the beam and it is covered in it. in some places its a couple of mm's think, is this normal??? it has done nearly 100k and its 13 year old. it seems to be surface rust, just alot of it hahahahahha
ive dismantled the rear end ready for a clean up and rebuild. ive got everything except one rear shock and the hand brake cable.here are the pics
ive been grinding all the rust off the beam and it is covered in it. in some places its a couple of mm's think, is this normal??? it has done nearly 100k and its 13 year old. it seems to be surface rust, just alot of it hahahahahha
#133
Posted 13 July 2012 - 08:22 AM
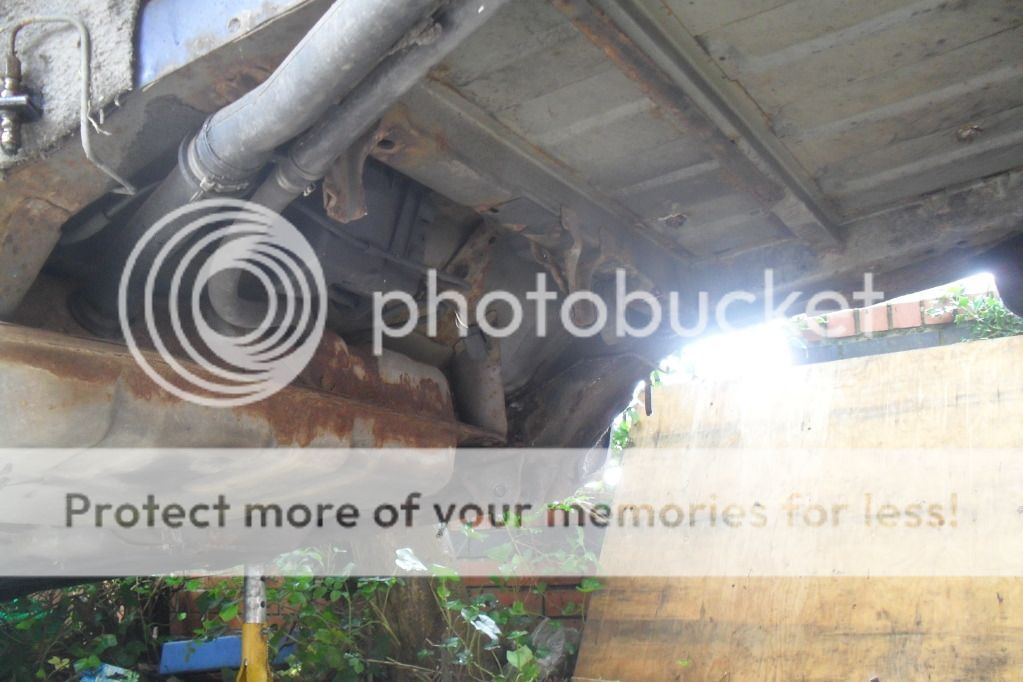
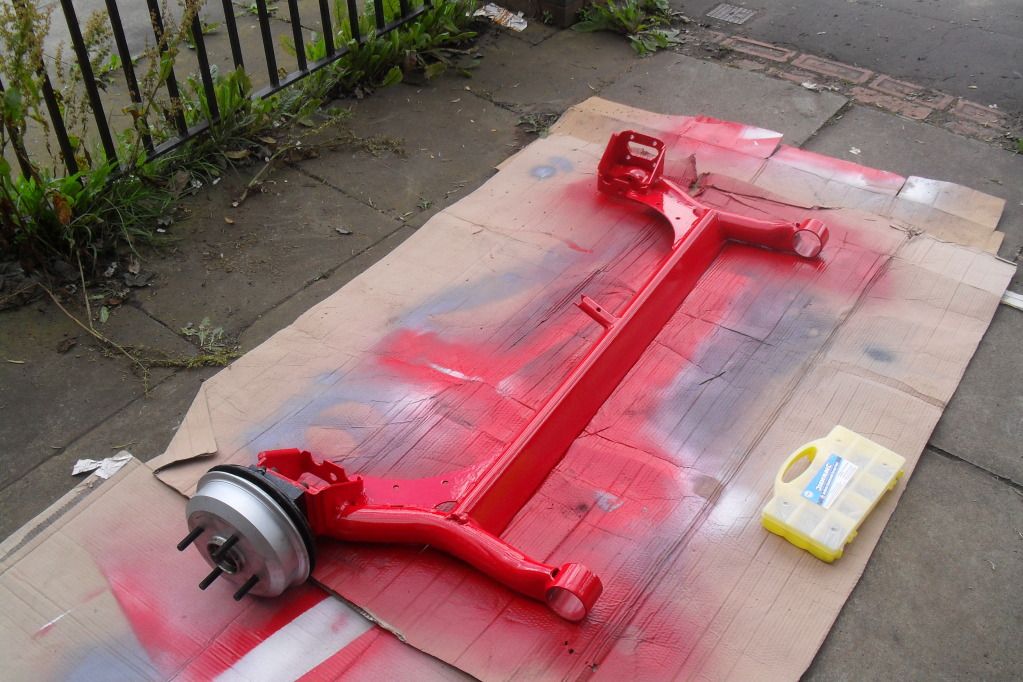
the rear beams been competly ground back to bear metal ive given it a coat of rust treatment, primer and then about 4-5 coats of red paint so it looking nice and shinny now  goin to be sorting out all the patches of rust under the rear of the car this afternoon so will upload some pics of it all later on tonight.
much love people kieran
goin to be sorting out all the patches of rust under the rear of the car this afternoon so will upload some pics of it all later on tonight.much love people kieran
#135
Posted 15 July 2012 - 10:48 PM
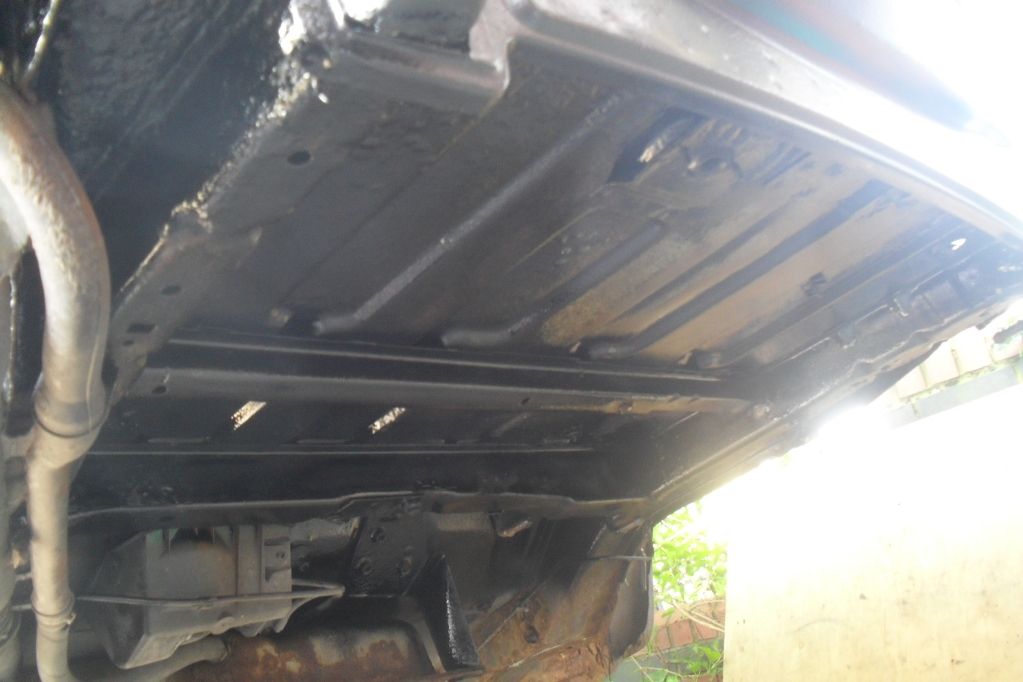
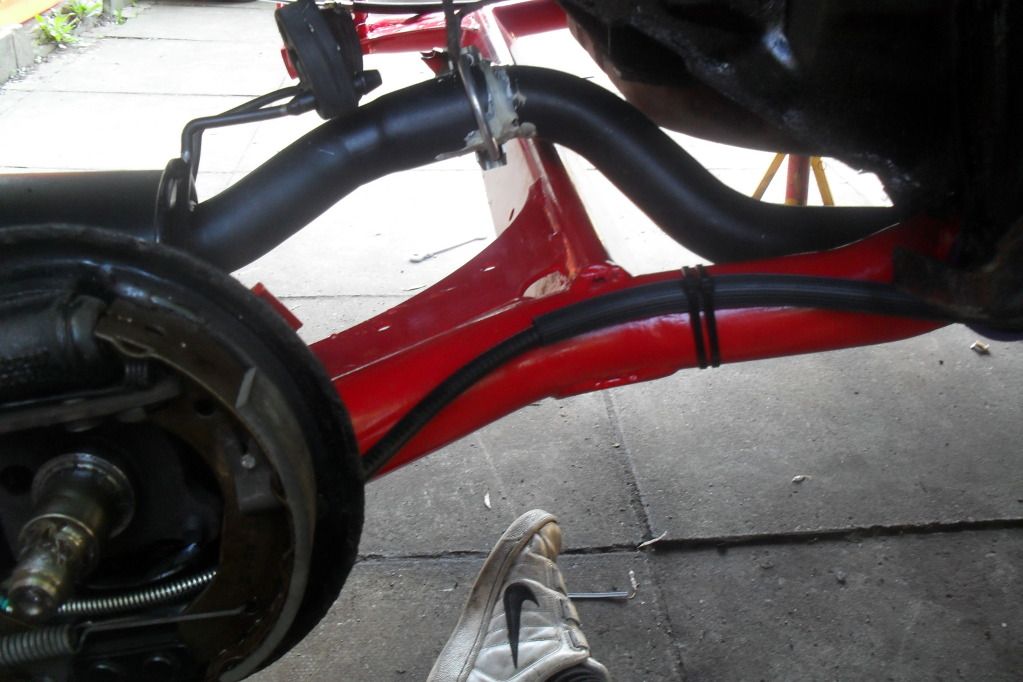
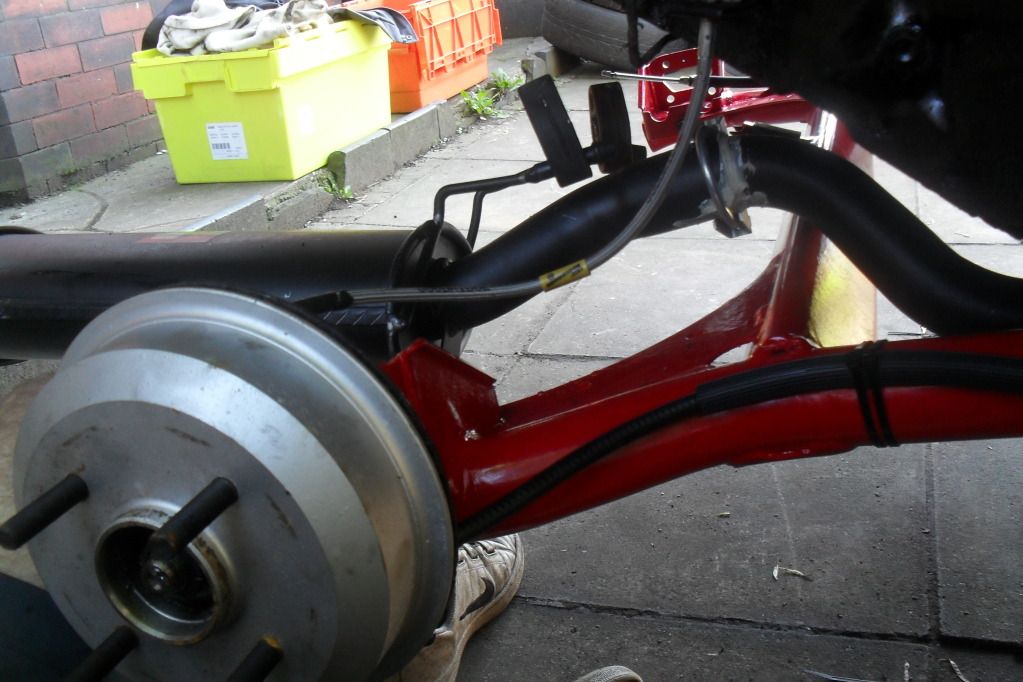
well over the weekend ive been derusting the rear of the puma, painting, welding, undersealing and rebuilding, not got alot to say as always so il just let you see the pics of what ive done.
picssss!!!
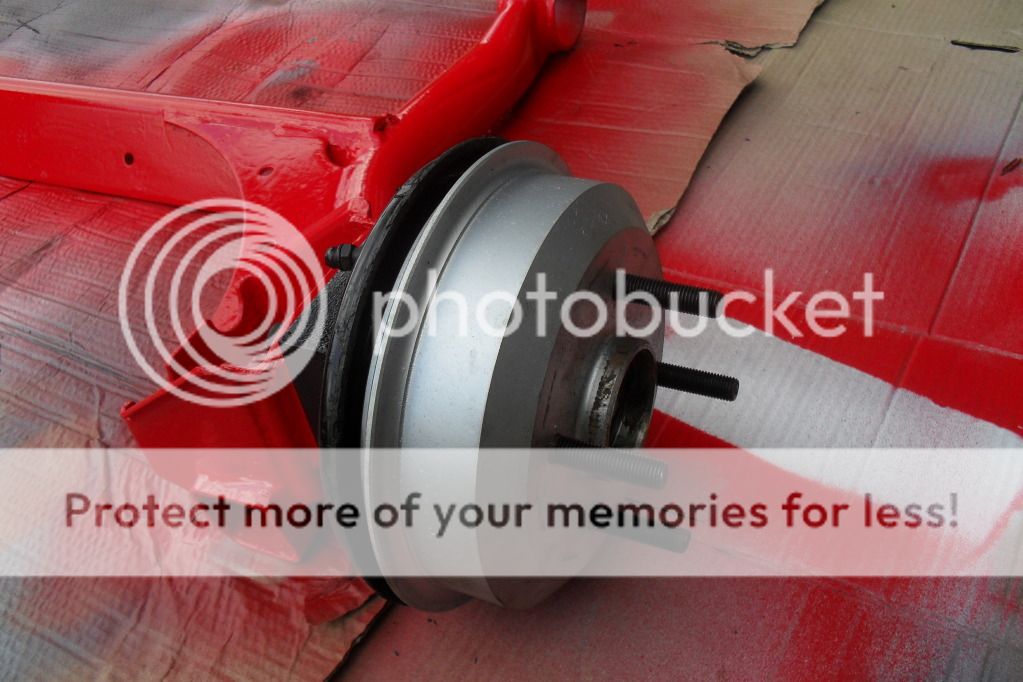
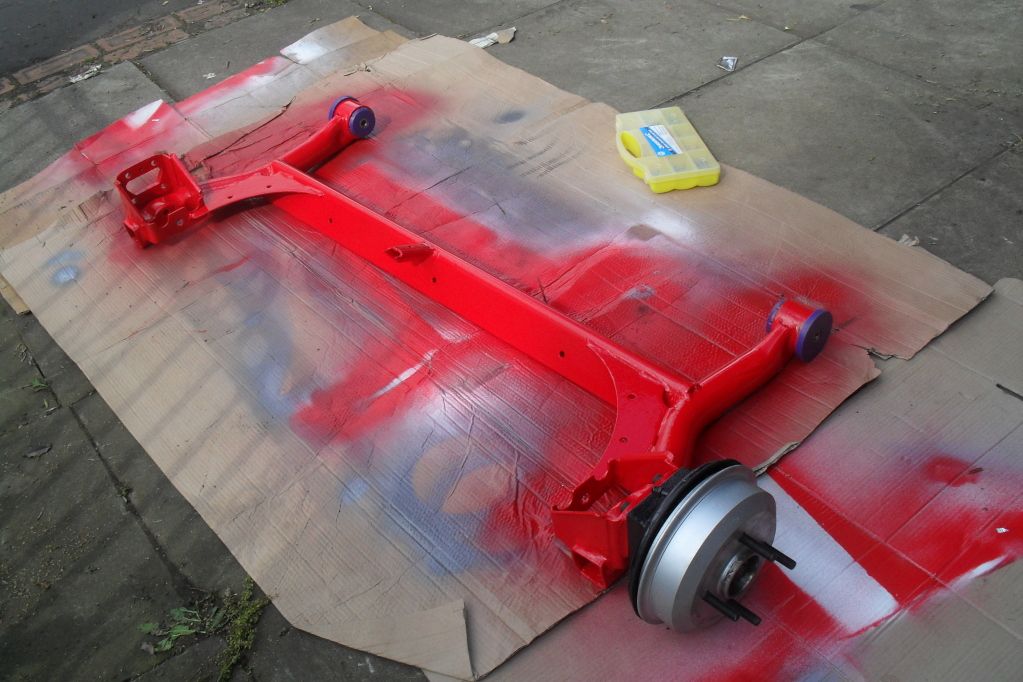
the rear beam after a derust then alot of hard work and 2 tins of primer 2 tins of radient red and 2 tins of laquer.
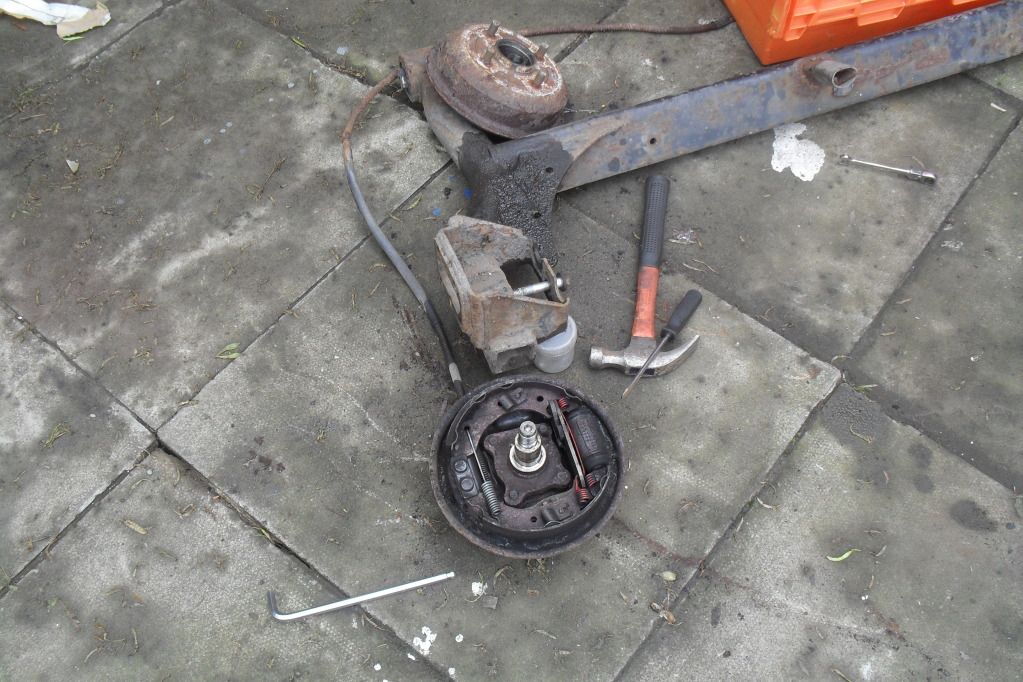
ive only got one side of the rear brakes done so far, there are new drums with 25mm longer wheel studs, wheel cylinders and shoes.
ive got a new compete handbrake on the way.
35mm rear axle spacers

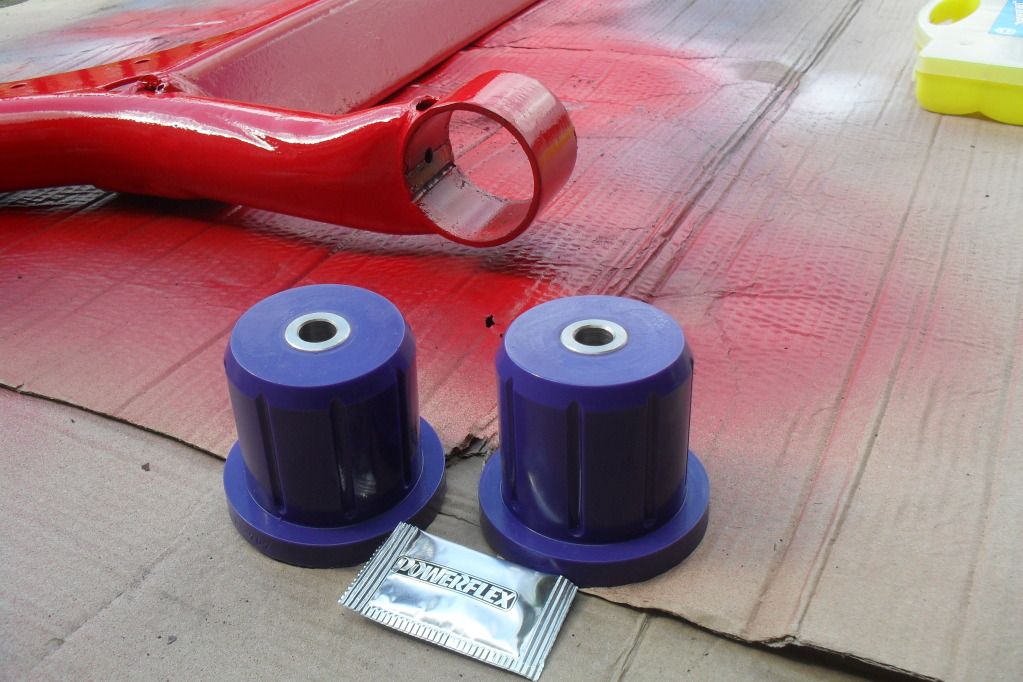
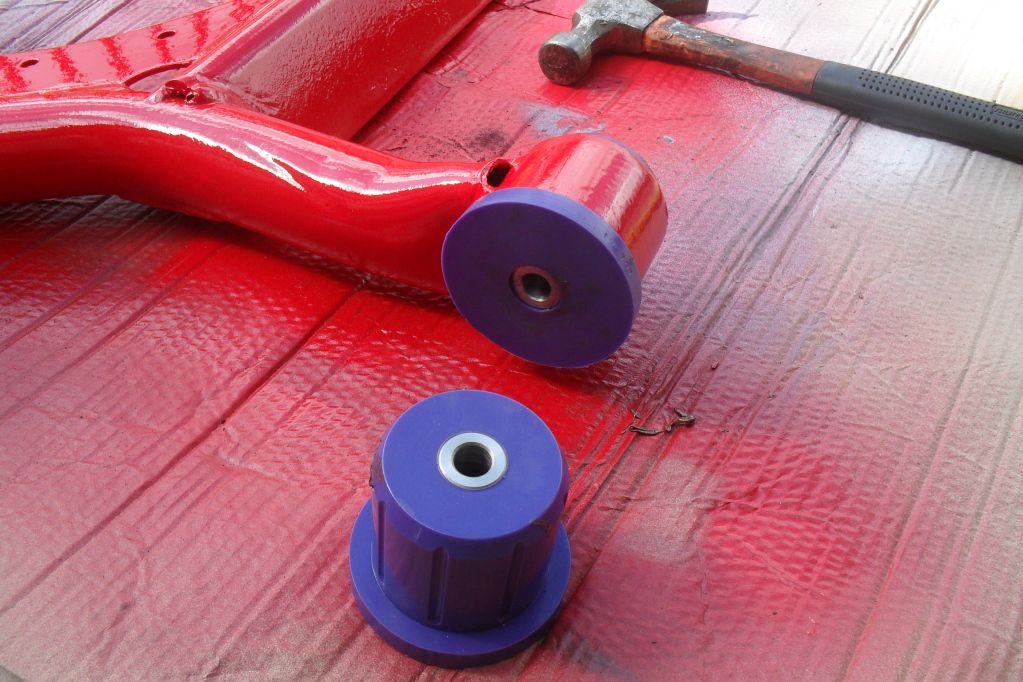
and the new rear bushes fitted.
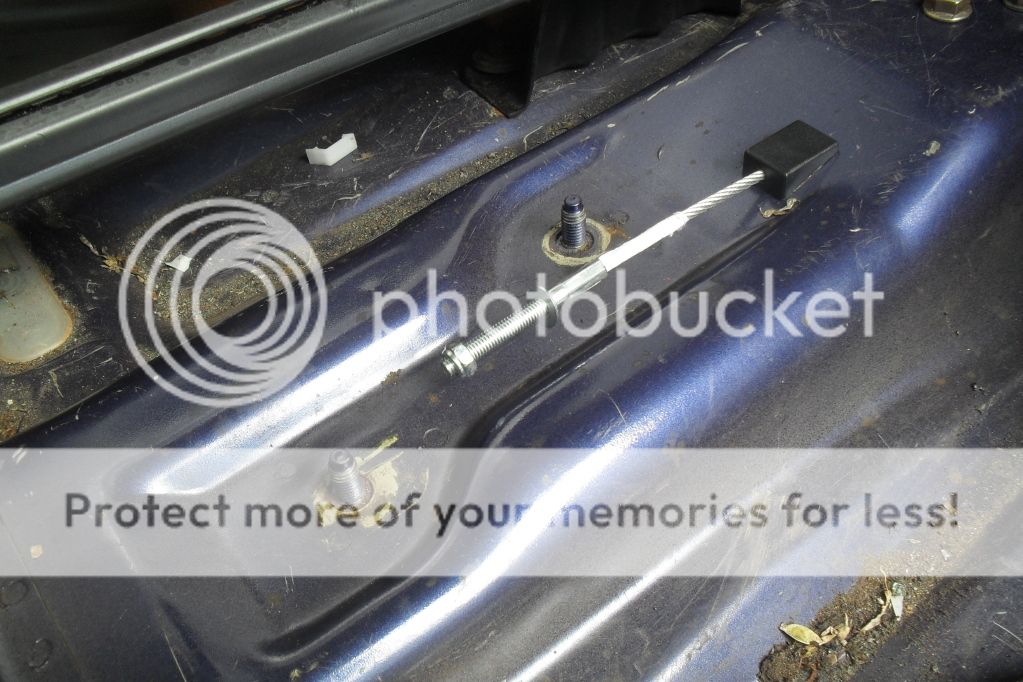
here are some welding patches and alot of inderseal, best part of 3 X 500mm cans.


a bit more weight removed hahaha
now the rear beam is back on
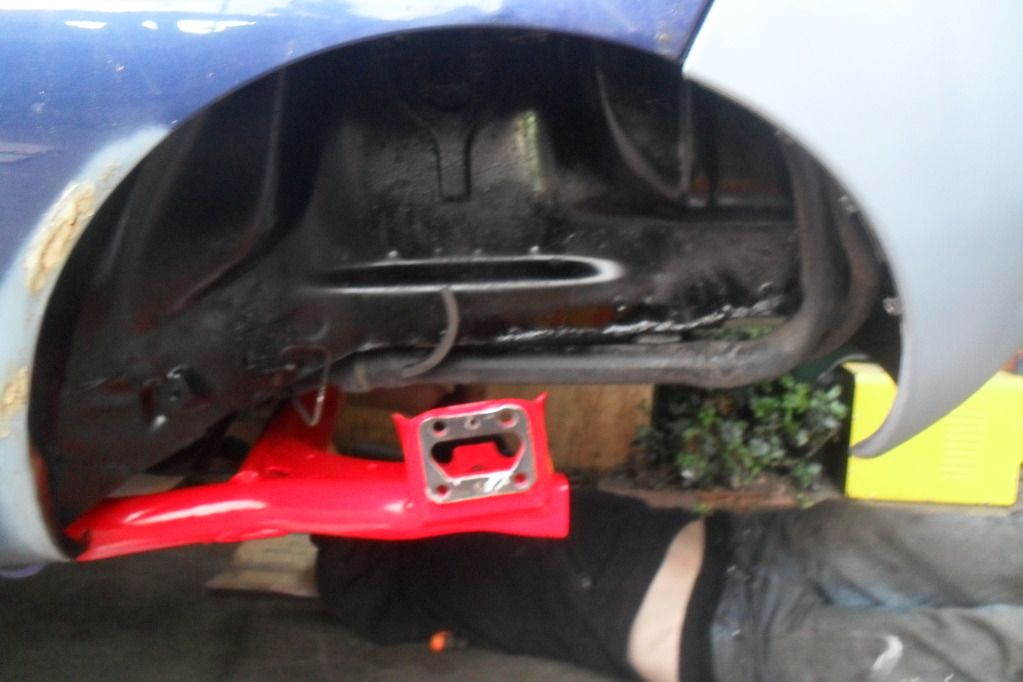

and now the exhaust is fitted properly and is sounding fantastic
havent done much more on the cage yet as you can see ive been busy elsewere hahahaha
it should be back on the floor again as soon as the other shock and the handbrake cables arrive.
i wont be goin to trax now because ive lost my job and cant afford to spend anything on the car for a while now so the progress will be slowing down now
im goin to be trying to set up a small buisness myself so all my left over money will be goin into that for now so no money on the puma for a while but at least ive got most of it done up to now and i can still be doin small things to the car that are free and posting up little updates.
much love people kieran
picssss!!!
the rear beam after a derust then alot of hard work and 2 tins of primer 2 tins of radient red and 2 tins of laquer.
ive only got one side of the rear brakes done so far, there are new drums with 25mm longer wheel studs, wheel cylinders and shoes.
ive got a new compete handbrake on the way.
35mm rear axle spacers
and the new rear bushes fitted.
here are some welding patches and alot of inderseal, best part of 3 X 500mm cans.
a bit more weight removed hahaha
now the rear beam is back on
and now the exhaust is fitted properly and is sounding fantastic
havent done much more on the cage yet as you can see ive been busy elsewere hahahaha
it should be back on the floor again as soon as the other shock and the handbrake cables arrive.
i wont be goin to trax now because ive lost my job and cant afford to spend anything on the car for a while now so the progress will be slowing down now
im goin to be trying to set up a small buisness myself so all my left over money will be goin into that for now so no money on the puma for a while but at least ive got most of it done up to now and i can still be doin small things to the car that are free and posting up little updates.
much love people kieran
#136

- Group: Members
- Posts: 134
- Joined: 19-June 12
- Location:Bridgend, South Wales
Posted 15 July 2012 - 11:55 PM
awesome work, starting to look the part
Mazda Mx-5 1.8i UK & Ford Puma 1.7VCT
whycantiholdalltheseamazingcars
whycantiholdalltheseamazingcars
#137
Posted 16 July 2012 - 06:00 AM
Cheers pal ive realy put alot of effort into it so far. ive seen your thread, are you doin a low budget build?
#138
Posted 16 July 2012 - 10:26 AM
My handbrake cable has arrived so il be fitting that once i get home from the dentists hahaha then the car should be back on its wheels all being with one standard shock and one uprated one for now hhahahahaha
#139
Posted 17 July 2012 - 08:09 AM
after i wasted trip to the dentists and the fact that it was pissing it down all day as it does most days in manchester i got nothing done to the car. but as soon as it stops raining il be fitting everything to get it onto the floor. il have to use one standard shock for a week or two but as im not goin to be driving it this wont make a slight bit of difference to anything lol. then i will beable to get the cage fully welded into the car and finish off all those little crappy jobs that ive been putting off for so long.
cheers kieran
cheers kieran
#140
Posted 19 July 2012 - 08:27 AM
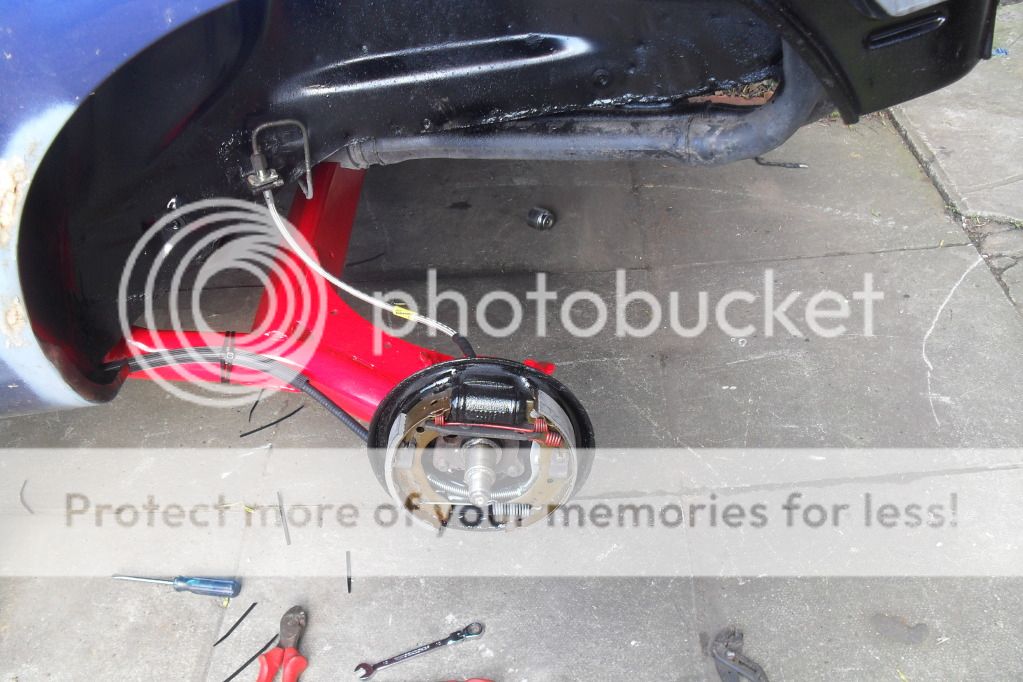
update!!! the car is back on the floor but it isnt low enough  think il have to have another look into the springs soon.
PICSSSS!!
the new hand brake
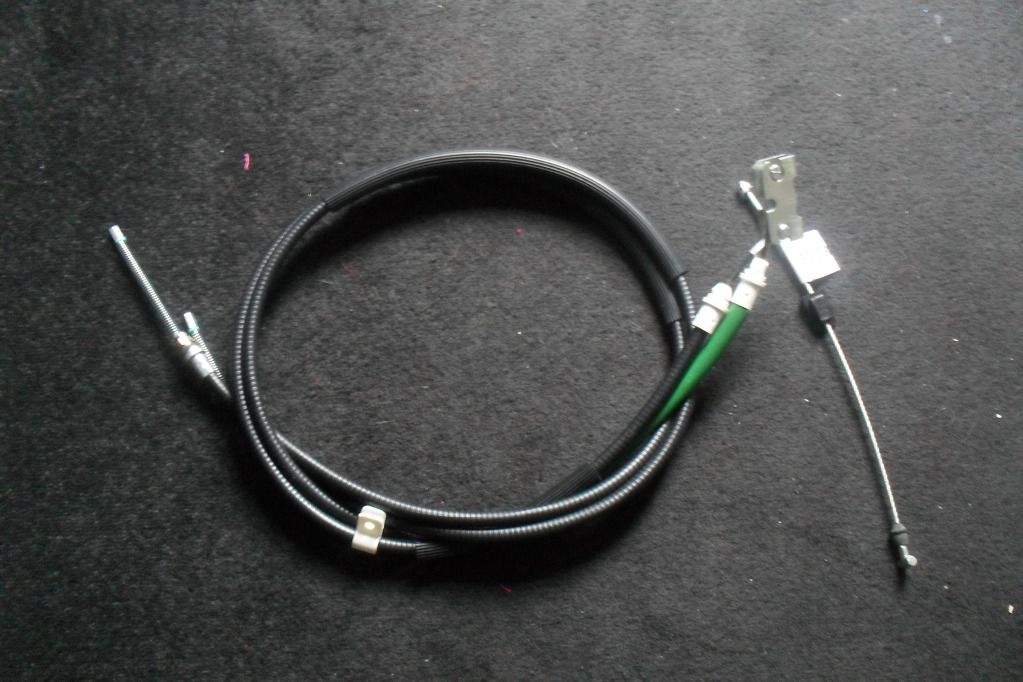
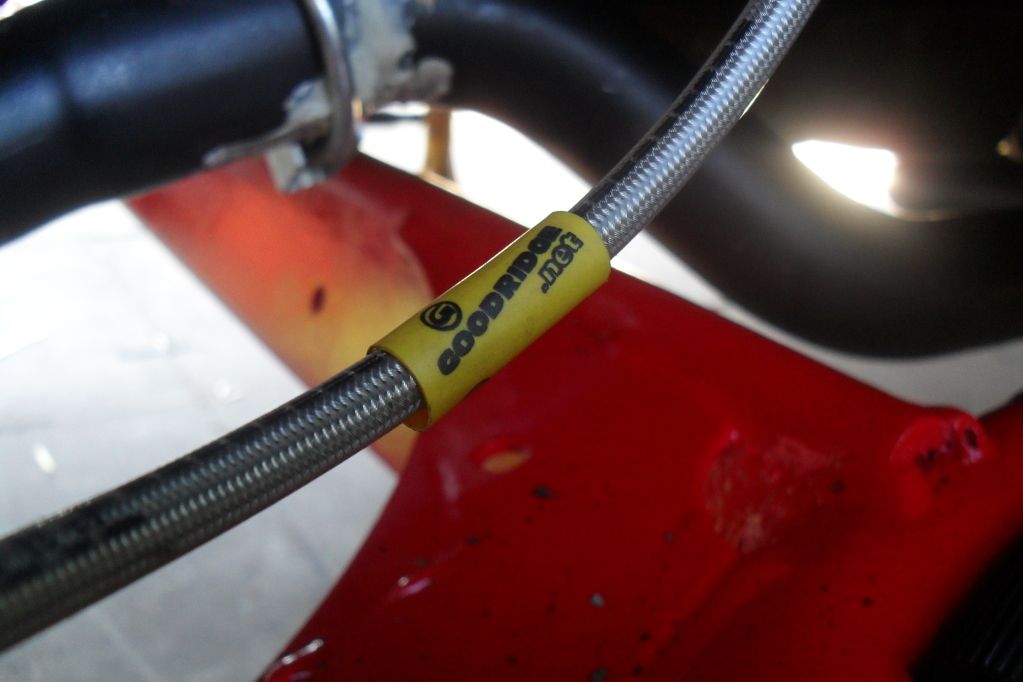
i had a day with no rain so i cracked on, new cable
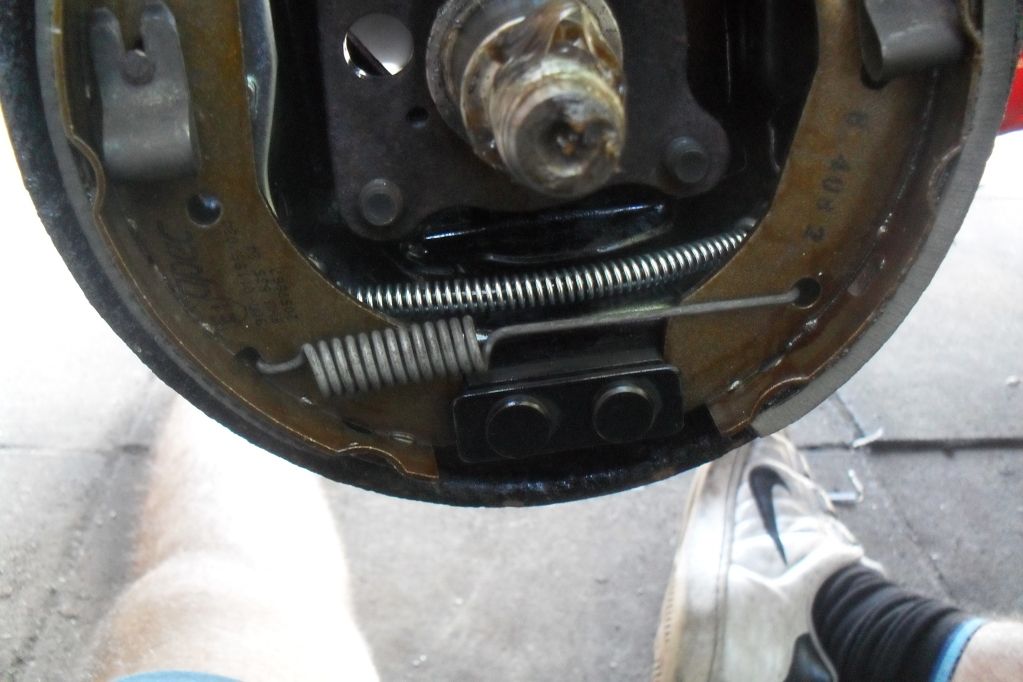
all the brakes hooked up now
otherside now cleaned, painted and rebuilt
shockes and springs fitted even though the otherside has a standard shock atm
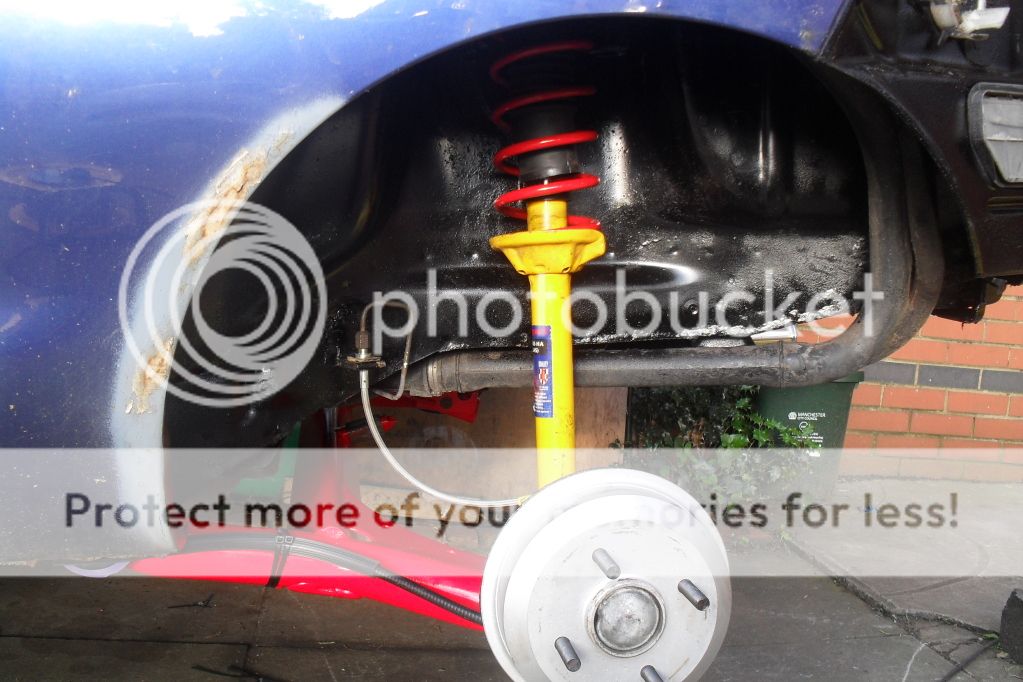
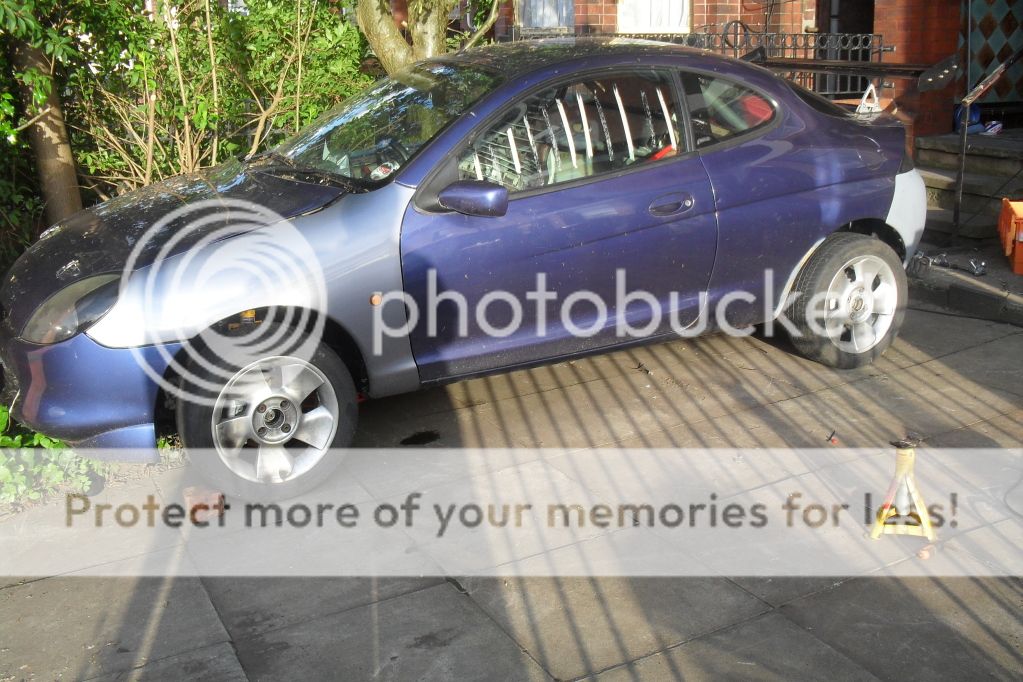
how the car is sat atm
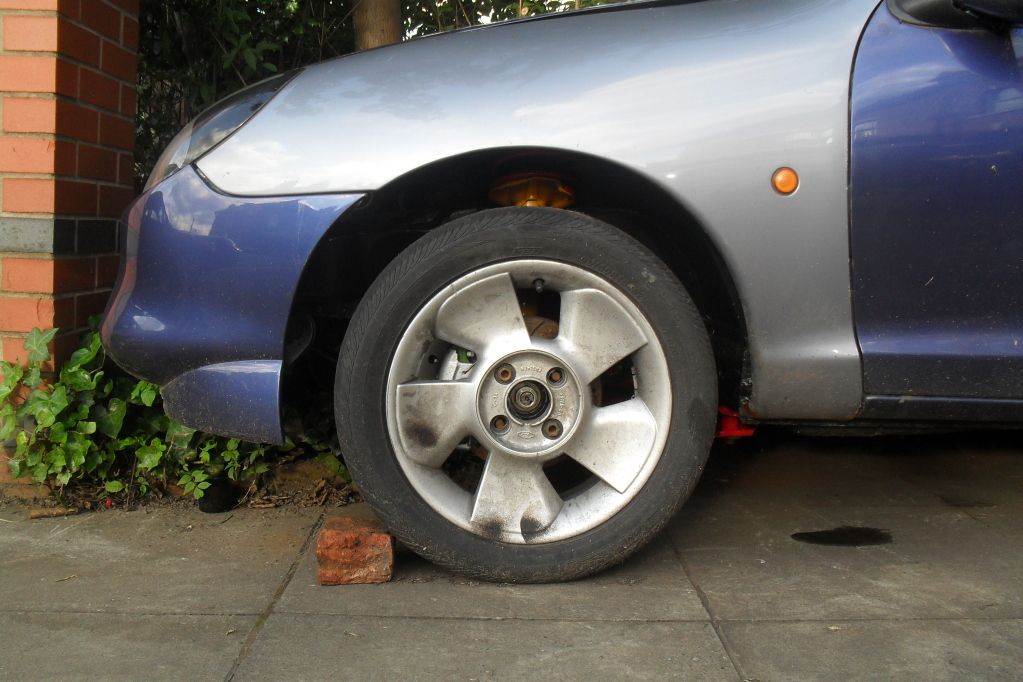
the back is now 110mm wider than standard
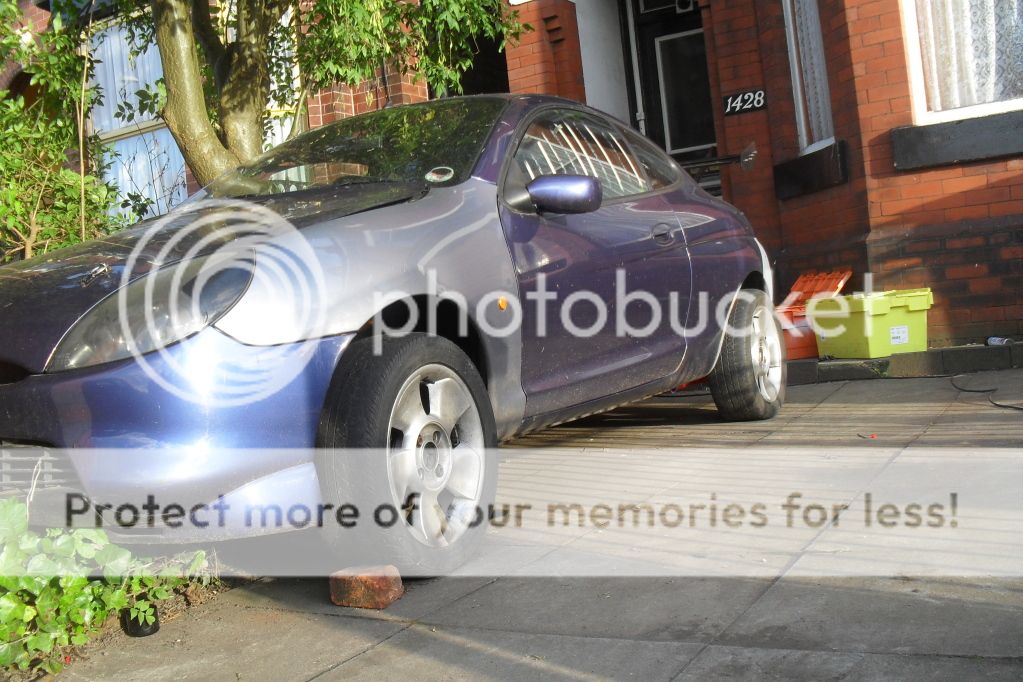
about standard height i want it at least another 20mm lower
about 10mm lower than standard height. i want it at least another 10-15mm lower
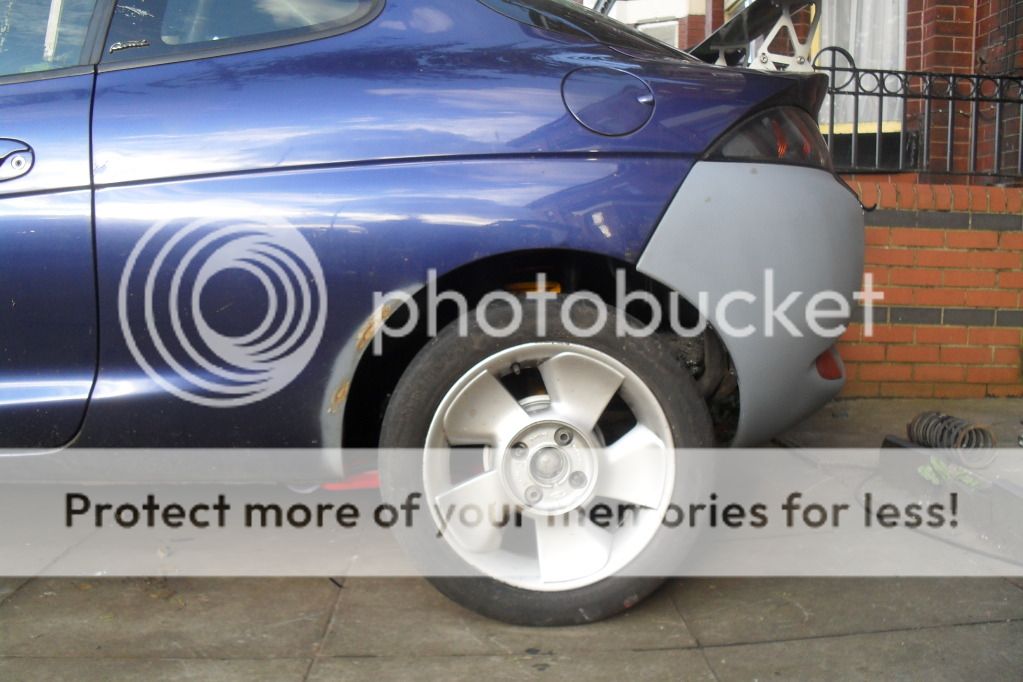

i need it lower!!!!! must be so high because ive took so much weight out of it
what do you think puma people folk?
kieran
think il have to have another look into the springs soon.PICSSSS!!
the new hand brake
i had a day with no rain so i cracked on, new cable
all the brakes hooked up now
otherside now cleaned, painted and rebuilt
shockes and springs fitted
even though the otherside has a standard shock atmhow the car is sat atm
the back is now 110mm wider than standard
about standard height
i want it at least another 20mm lowerabout 10mm lower than standard height. i want it at least another 10-15mm lower
i need it lower!!!!! must be so high because ive took so much weight out of it
what do you think puma people folk?
kieran


