Help
Help


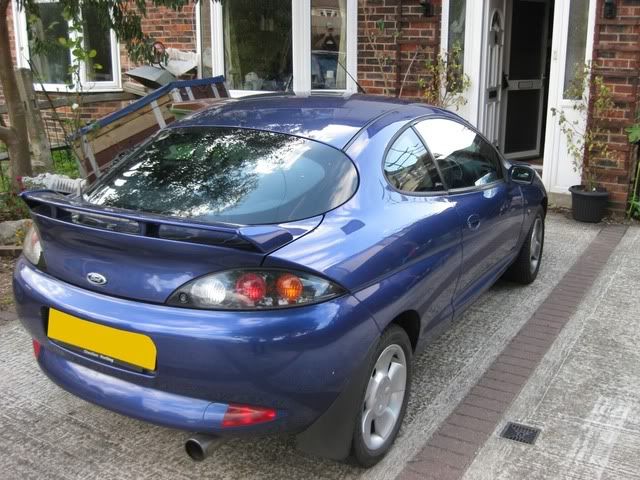
Right i have a standard 1.7 Puma brought it quite a while ago but havent done alot to it yet but got a lot planned. When i brought my car it already had a MS Design rear spoiler on it (with brake light) and a different back box (will be full system soon). I have put a set of kenwoods in the doors which i ran a seperate wire through the doors to main car so i could run them off an amp and in the boot i have a 12" Sony sub still not sure on what to do for a boot install yet as i have loads different things i can use from my old fiesta so see what i can do. The only enigne mod is an induction kit with a DIY heat sheat and forced air feed. Also fitted is a Kevlar sports clutch and Goodrich brake hoses. Got a quite a few plans for the car so i will keep you all posted.
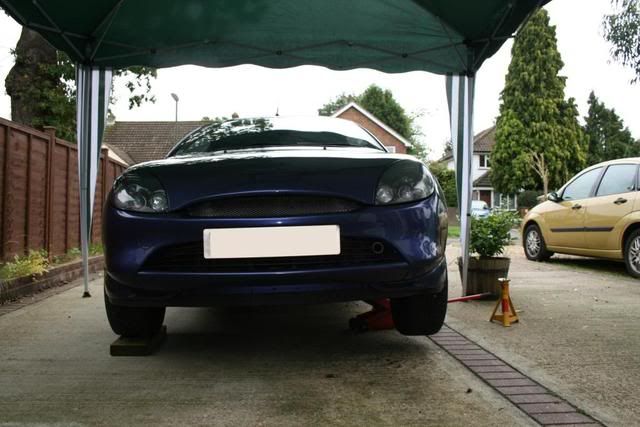
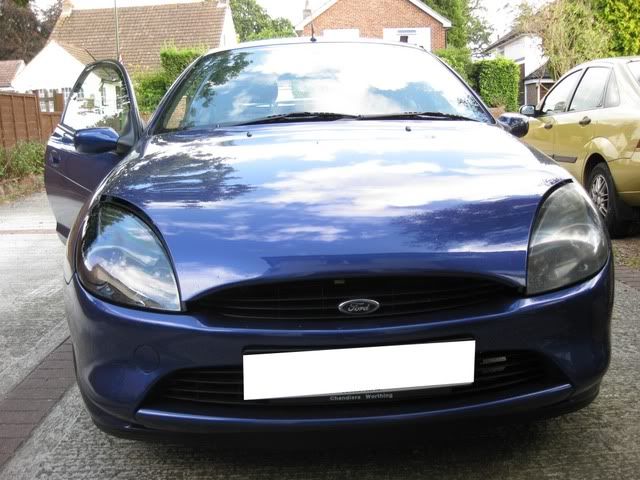
When i first got the car
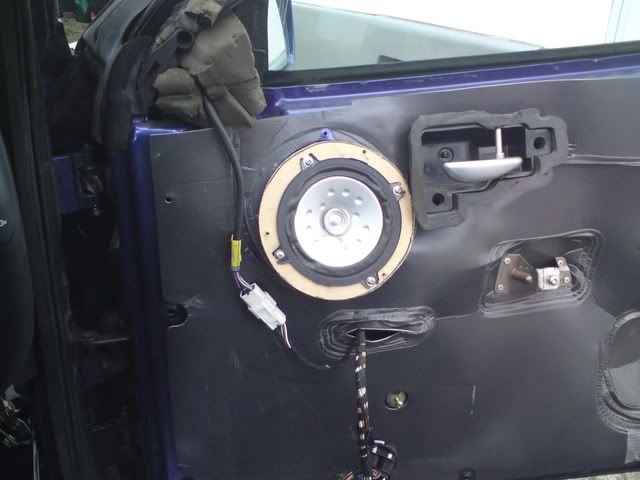
The wires run from door to car for speakers
Speaker fitted
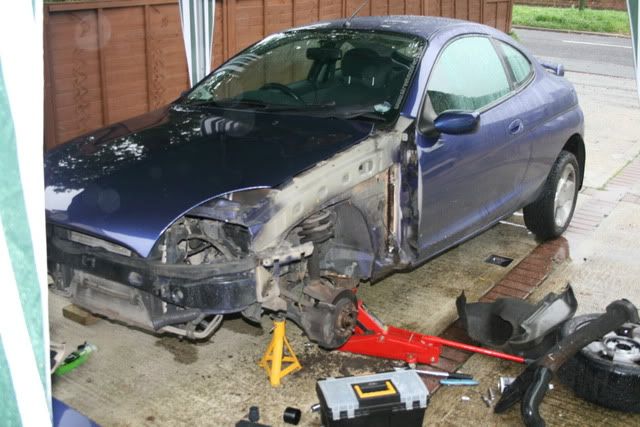
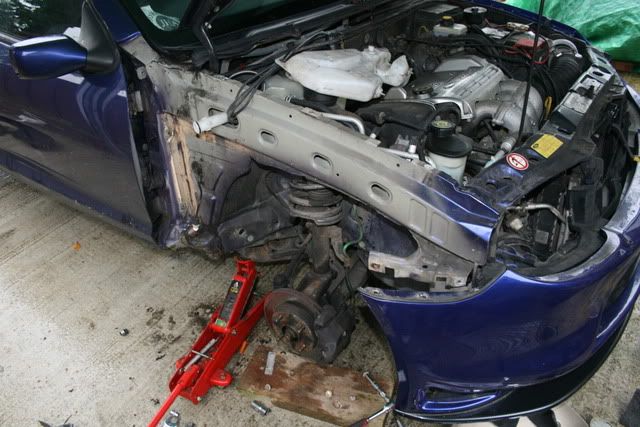
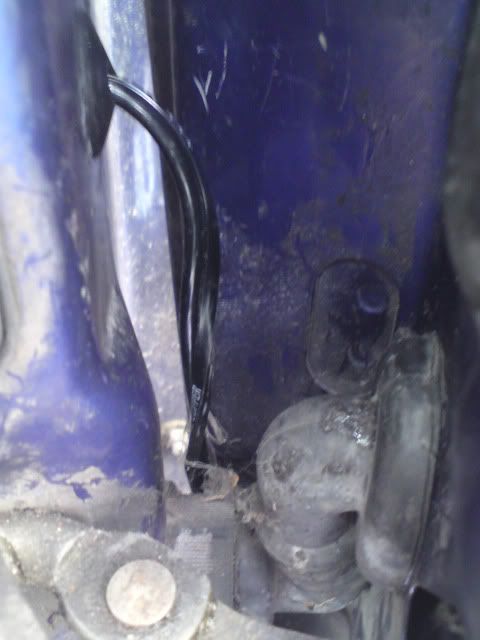
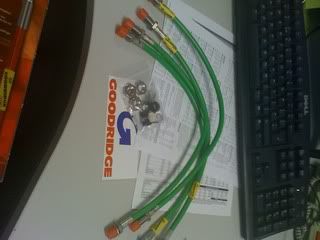
My new hoses
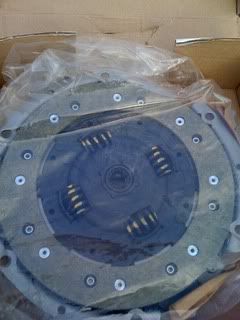
My new clutch
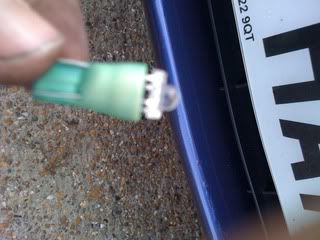
My old sidelight bulbs and with the amber indicator bulbs
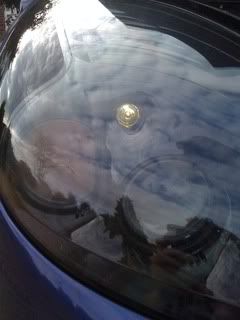
New side light and De-tangoed indicator by fitting the silver bulbs
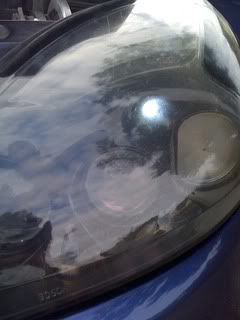
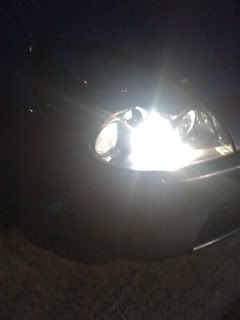
Old dip beam

New bulbs fitted