Pumapeople: Red Puma Budget Build... - Pumapeople

Jump to content

  • 3 Pages +
  • 1
  • 2
  • 3
  • You cannot start a new topic
  • You cannot reply to this topic

Red Puma Budget Build... Rate Topic: -----

#1 User is offline   AndyReact 

  • Group: Members
  • Posts: 254
  • Joined: 04-February 12
  • Location:Huddersfield

Posted 25 February 2012 - 06:13 PM

Here is my Puma - 1.7 R reg, i bought it off a mate for £250, it has ford racing Ka suspension on the front, but other than that it is standard :) (apart from the silly silver mirrors!)

Posted Image

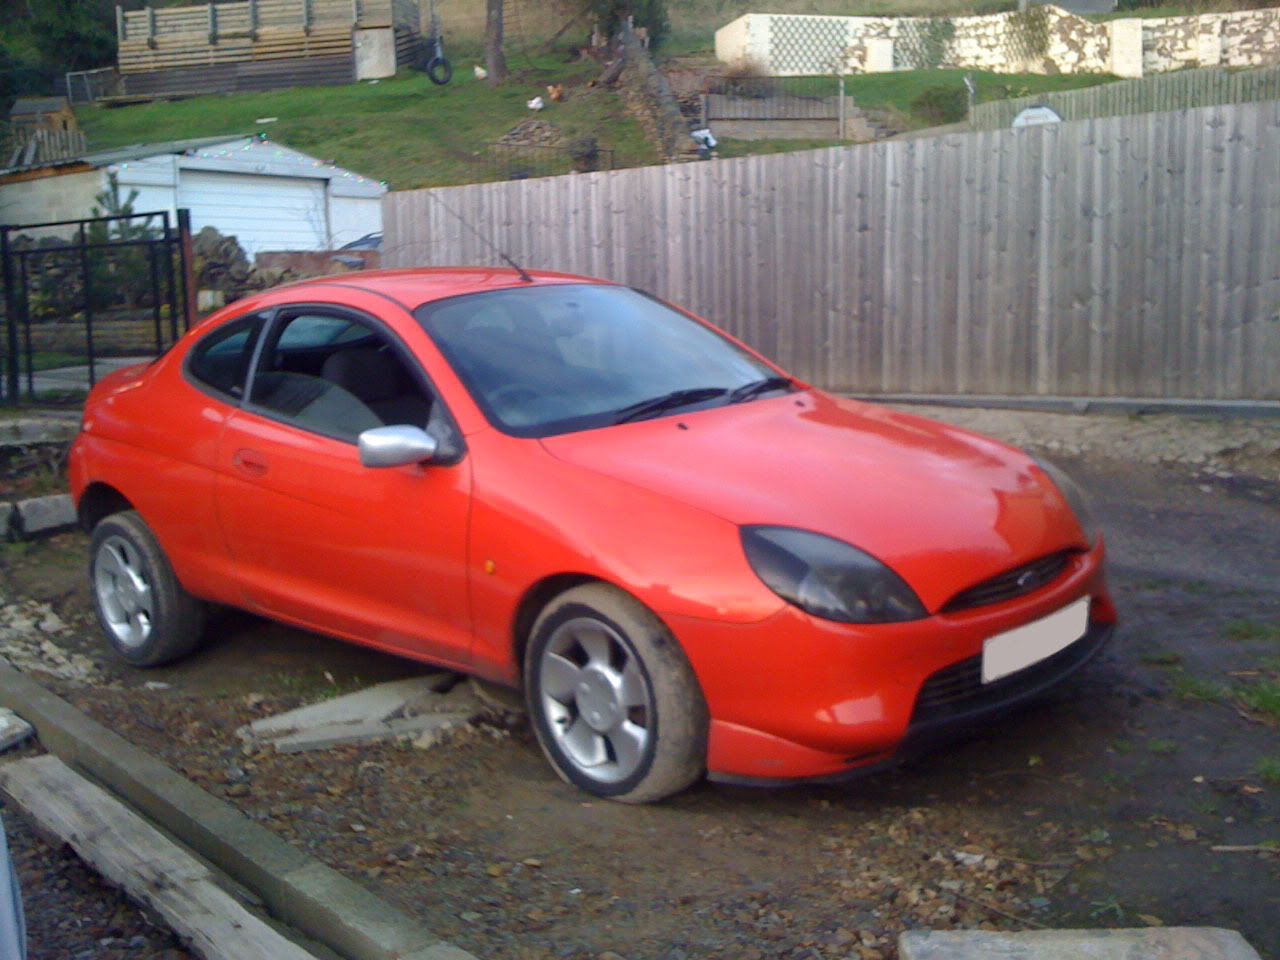
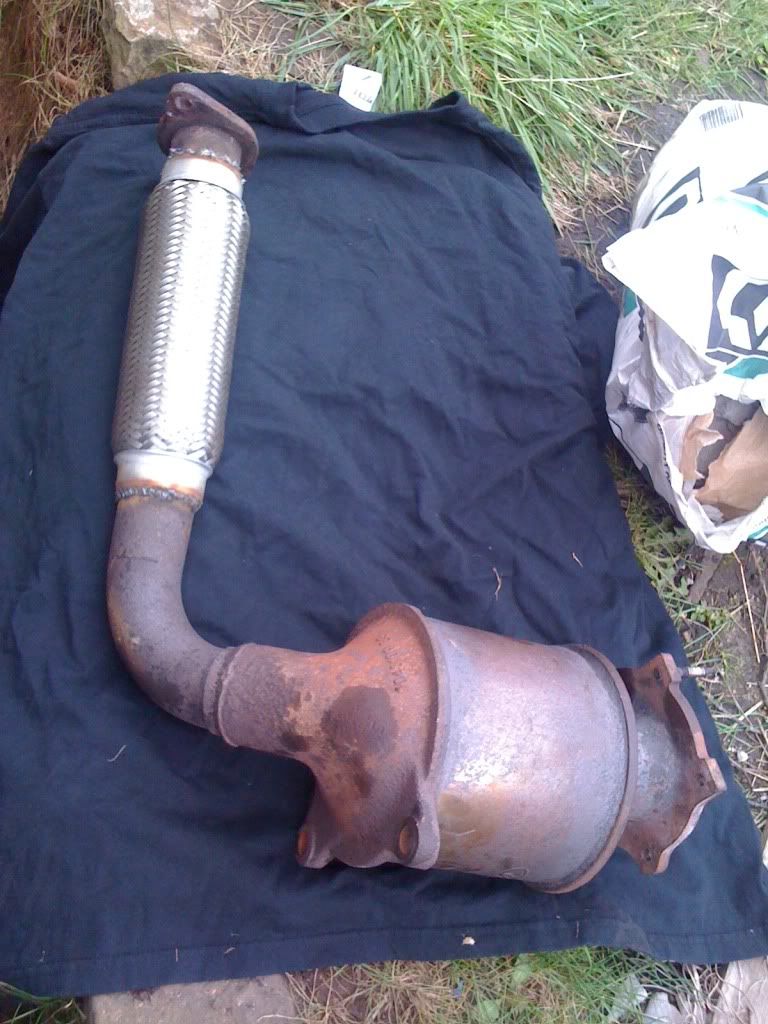
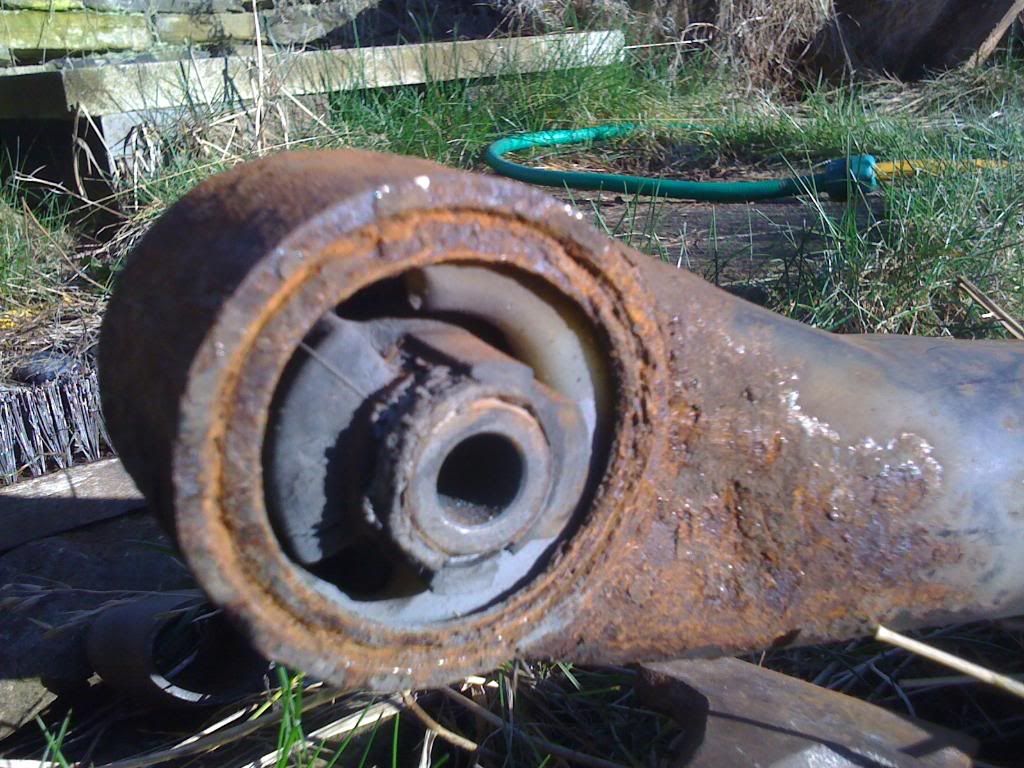
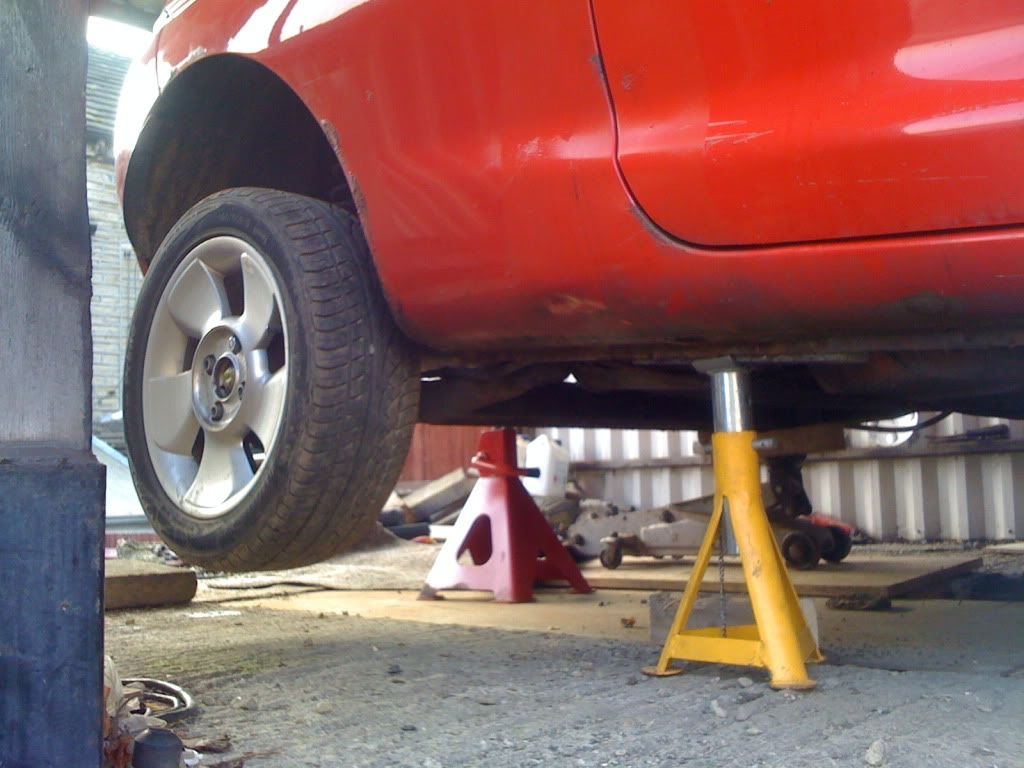
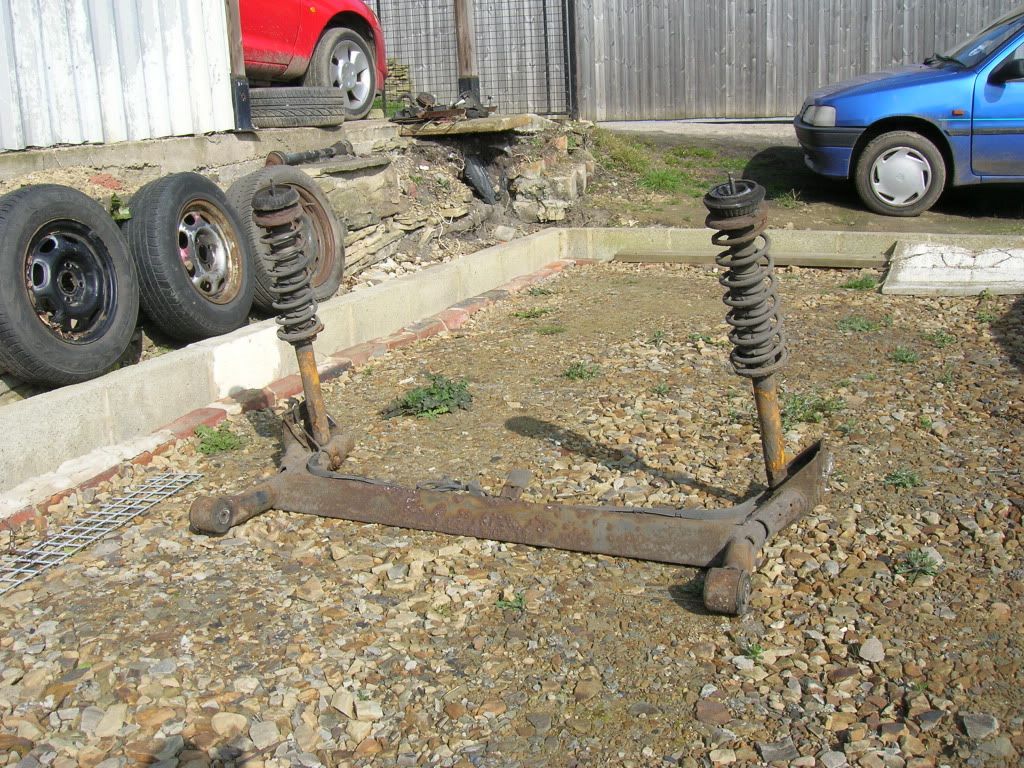
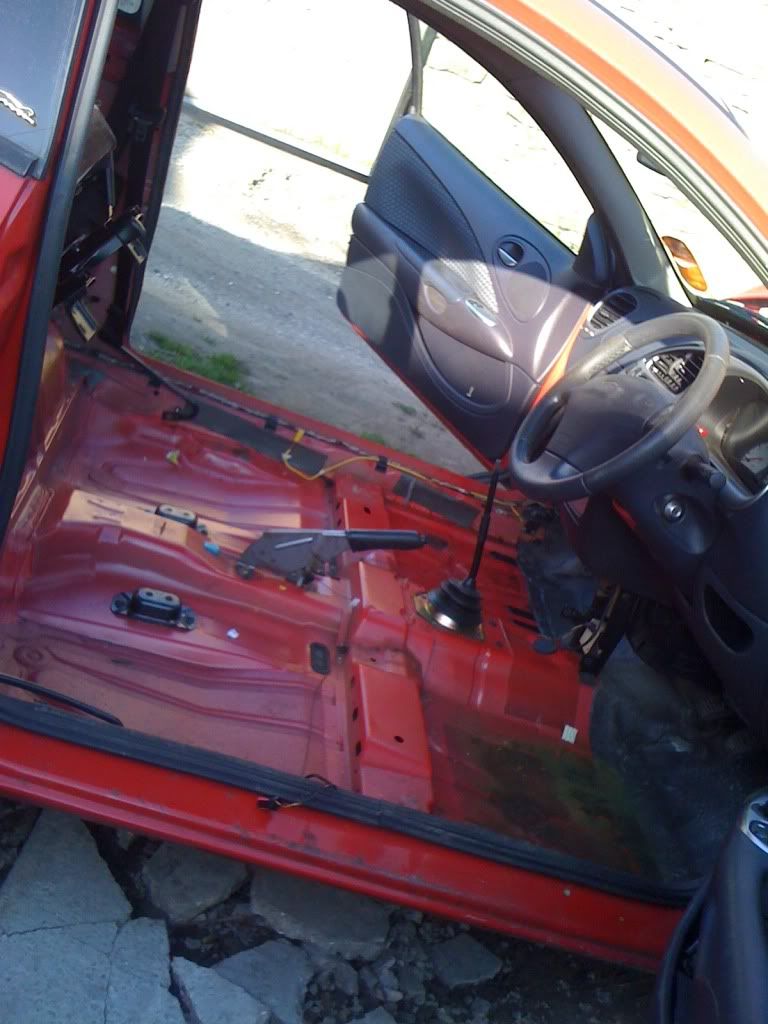
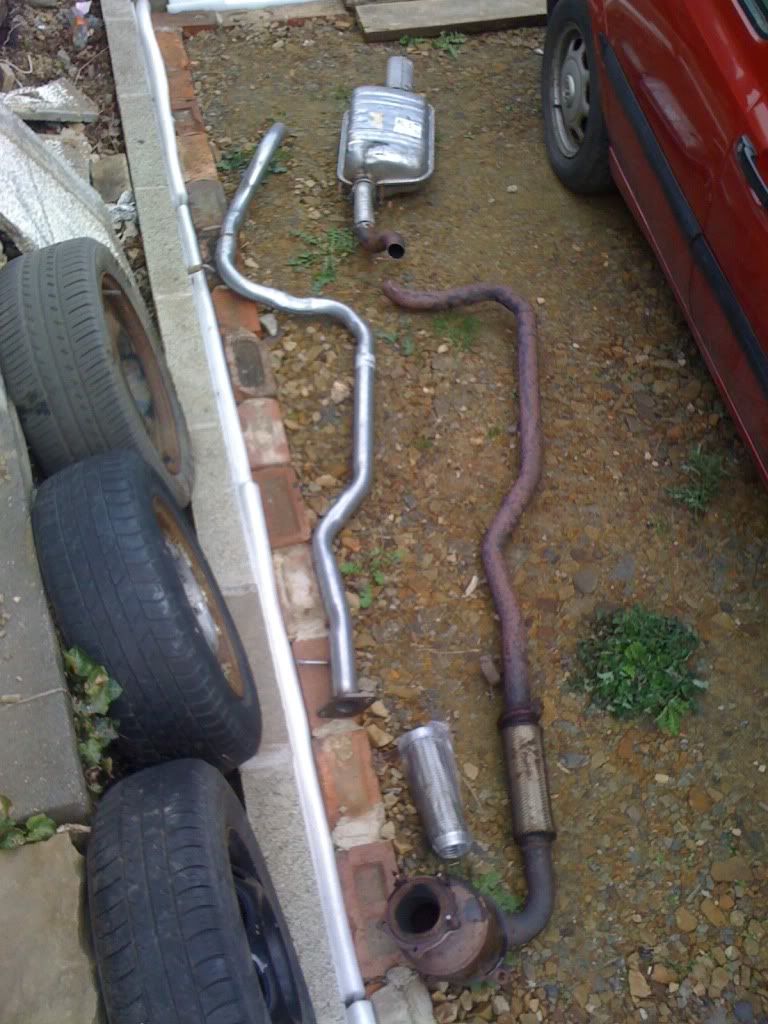
plans are to get it handling nice, and generally just give it a bit of a tidy, failed MOT on rear beam bushes and a rusty sill, i have bought a spare rear beam and fitted some new standard bushes to that - i am gonna drop the old beam off (fork type) change the top mounts, and refit new beam (eye type) and these :

Posted Image

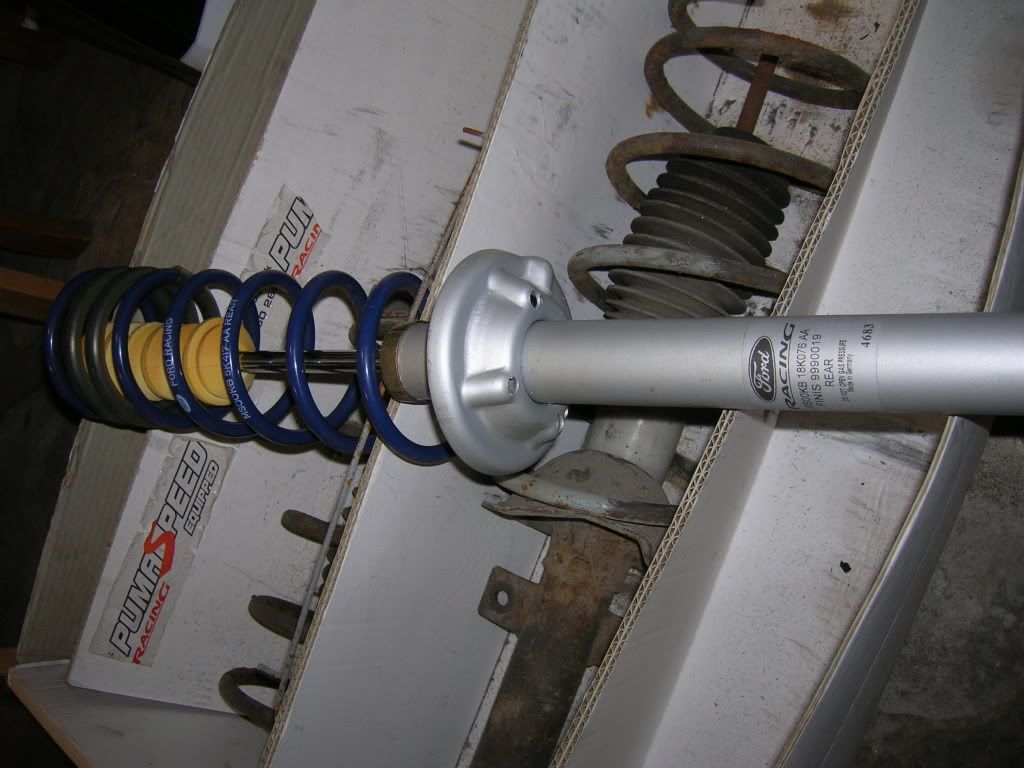
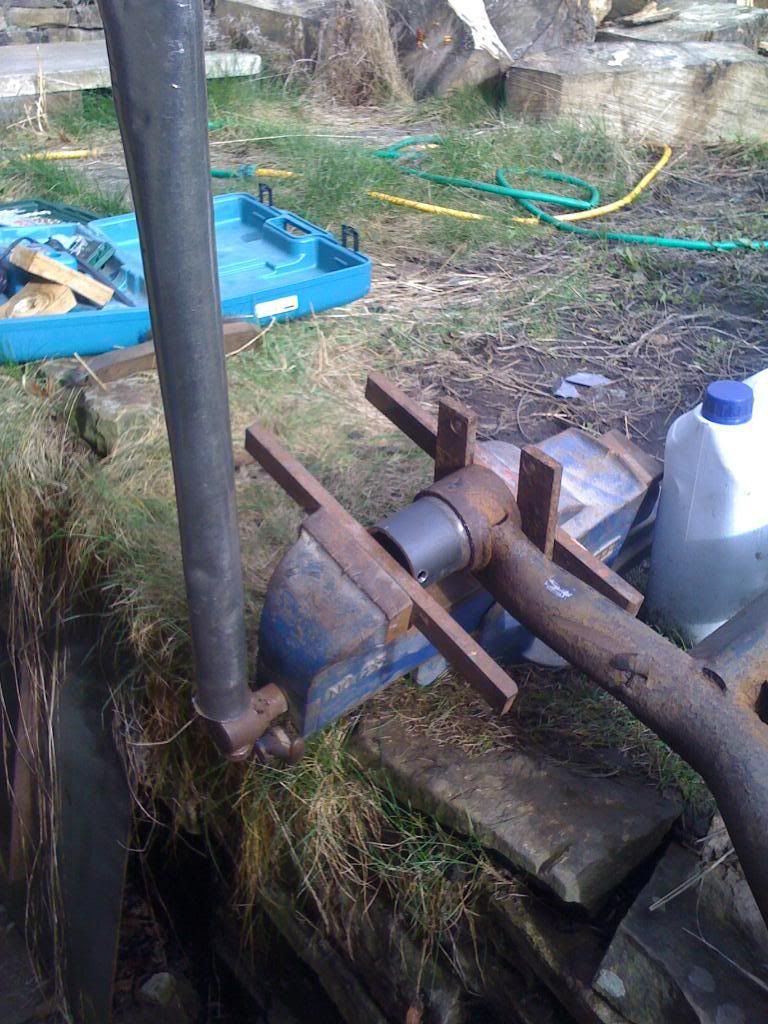
the Ford racing Ka rear suspension my mate never fitted, cos it was for the wrong beam type!!

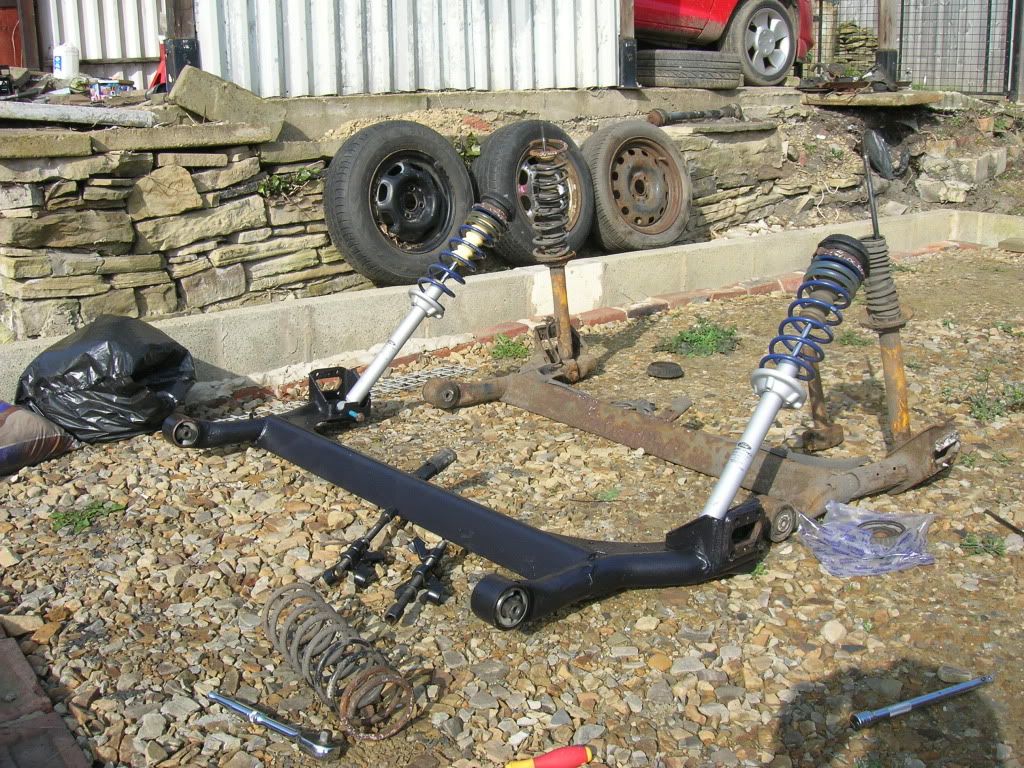
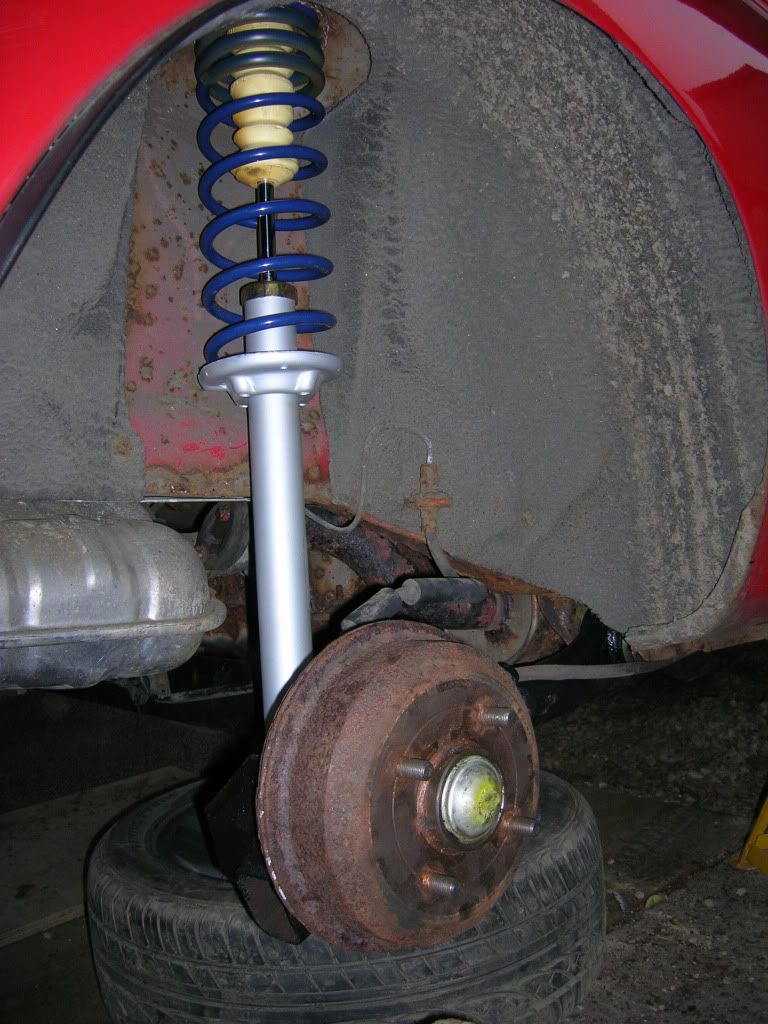
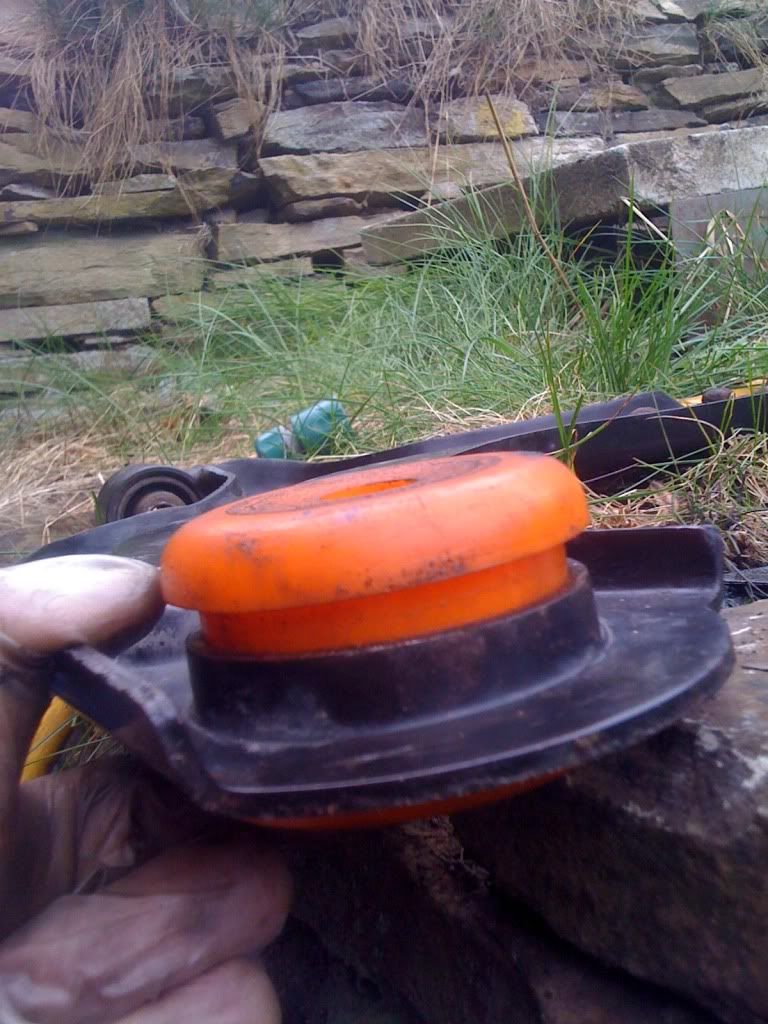
and at the front, gonna be fitting these :

Posted Image

and probably replace the top mounts too, the front shocks/springs match the rears (FRK) but they have been on for approx 30k miles, but i think they should be OK!

#2 User is offline   ScubaSteve 

  • Group: Members
  • Posts: 1879
  • Joined: 25-August 09

Posted 25 February 2012 - 08:58 PM

What make bushes are they

#3 User is offline   Bigdame 

  • Group: Members
  • Posts: 34
  • Joined: 19-August 11

Posted 25 February 2012 - 10:52 PM

Wow, bargain for £250!!!
Must say, its nice to see a budget build, rather than people with ample spare cash throwing loads of money at their cars
Be interested to see this progress
Cheers
Damo

#4 User is offline   AndyReact 

  • Group: Members
  • Posts: 254
  • Joined: 04-February 12
  • Location:Huddersfield

Posted 25 February 2012 - 11:37 PM

They are flo-flex bushes (from eBay) £36 I think for front kit - they do rears and ARB bushes too, made in the UK and cheap!!

I forgot to mention I have done the FRP style airbox mod and fitted a K&N panel filter too!

#5 User is offline   AndyReact 

  • Group: Members
  • Posts: 254
  • Joined: 04-February 12
  • Location:Huddersfield

Posted 26 February 2012 - 11:34 AM

old bush...

Posted Image

bush insertion "tool"

Posted Image

worked well! i had just been given that vice by my neighbour, so hadn't had chance to bolt it to my bench! (and my shed is full of stuff so i can't really get to the bench anyway! lol)

i am just giving the beam a bit of a clean up and lick of paint ready to go on! that should impress the MOT man! :D

#6 User is offline   AndyReact 

  • Group: Members
  • Posts: 254
  • Joined: 04-February 12
  • Location:Huddersfield

Posted 26 February 2012 - 02:44 PM

bit of weight saving (that sh*ts free!! lol)

Posted Image

Posted Image

only really stripped this out to ease access to rear beam and top mounts, not sure if i will put it all back in yet - the seats don't weigh a huge amount to be fair!

#7 User is offline   AndyReact 

  • Group: Members
  • Posts: 254
  • Joined: 04-February 12
  • Location:Huddersfield

Posted 14 March 2012 - 06:23 PM

bit of retro recaro goodness :

Posted Image

only a trail fit, i need some fiesta mk3.5 runnners to get them in - so if anybody has any, let me know!!

work has started on swapping the rear beam/suspension...

Posted Image

more to come this weekend!! :ph34r:

#8 User is offline   AndyReact 

  • Group: Members
  • Posts: 254
  • Joined: 04-February 12
  • Location:Huddersfield

Posted 15 March 2012 - 06:08 PM

out with the old :

Posted Image

in with the new!

Posted Image

Posted Image

rear spacers had seen better days


Posted Image

total cost so for (including the car) is £445.16 :rolleyes:

This post has been edited by AndyReact: 15 March 2012 - 07:19 PM


#9 User is offline   StevenRaith 

  • Group: Members
  • Posts: 500
  • Joined: 07-November 11

Posted 18 March 2012 - 02:47 AM

Nice work so far - lucky you have some land to work on, my car cost would be significantly less if I didn't live on a 10% incline street with no off street parking :D

You want to get those arches looked at though, won't be long before they won't be repairable, if they even are now. I assume you are well aware of the Peugeot 206 Front-to-rear-swap-the-sides welding trick?

This post has been edited by StevenRaith: 18 March 2012 - 02:47 AM


#10 User is offline   AndyReact 

  • Group: Members
  • Posts: 254
  • Joined: 04-February 12
  • Location:Huddersfield

Posted 18 March 2012 - 08:57 AM

No, not heard of that, but you can do a similar thing with a mk1 vw caddy, only you use the fronts from a mk1 caddy/golf!

Cheers for the tip, I will look into it!

#11 User is offline   StevenRaith 

  • Group: Members
  • Posts: 500
  • Joined: 07-November 11

Posted 18 March 2012 - 10:51 PM

As I understand it, the front right wing from a 206 is close enough in curve profile and shape to fit to the rear left wing of the Puma (and the same for the other side, natch) - cut out the metal from both respective wings, clean up the edges, weld it in, clean it up, paint it.

I expect there are some caveats, as ever, but it's a fairly well known trick round these parts, and one I plan to do myself at some point over the summer - my rear left arch is slowly disintegrating from the inside out. My right arch appears in better shape, but I won't know for sure till I cut back the paint and see how rotted it is.

#12 User is offline   AndyReact 

  • Group: Members
  • Posts: 254
  • Joined: 04-February 12
  • Location:Huddersfield

Posted 27 March 2012 - 08:55 PM

small update

Posted Image

front seats and carpet out, found that the central locking module was unplugged, that will explain why i couldn't get into learn mode to program the key up!! i assume it was when my mate took out his ICE install to sell the puma on, he must have knocked the plug out!

next job, is patch up the big hole in the passenger sill and get an MOT booked, i have just sold my other car, so need this on the road ASAP - plus its near the end of the month, so wanna get it taxed ASAP too!!

i now have 3 cars, none of them are road legal at the moment!! :head:

#13 User is offline   AndyReact 

  • Group: Members
  • Posts: 254
  • Joined: 04-February 12
  • Location:Huddersfield

Posted 07 April 2012 - 05:43 PM

new "race tube" to replace the centre section with a knackered silencer...

Posted Image

the nuts that hold the centre section to the flexy are just blobs of rust, so i am gonna cut the flexy off and weld on this new one - the flexy is past it anyway!

Posted Image

got my flo-flex bush in...

Posted Image

and it doesn't bloody fit :rant: 
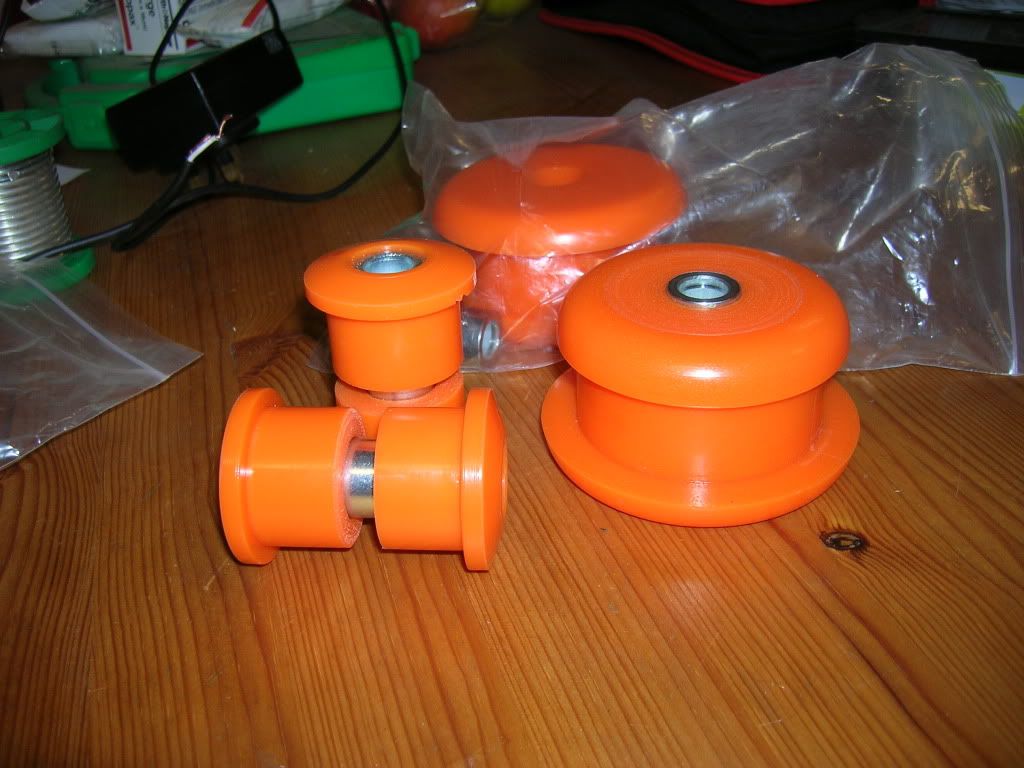
i need some genuine ford wishbones if anyone has any going spare!! or i might have to ditch the poly bush there and run standard/FRP - i would prefer to keep the poly's though now i have bought them!!

#14 User is offline   ScubaSteve 

  • Group: Members
  • Posts: 1879
  • Joined: 25-August 09

Posted 07 April 2012 - 06:31 PM

Not sure that would sit any different in a genuine

#15 User is offline   AndyReact 

  • Group: Members
  • Posts: 254
  • Joined: 04-February 12
  • Location:Huddersfield

Posted 07 April 2012 - 07:01 PM

Hmm, pretty sure I have read on here that poly bushes don't fit none ford wishbones? I didn't look at this particular dimension before fitting them though!!

#16 User is offline   YOG 

  • Group: Members
  • Posts: 2929
  • Joined: 30-August 07
  • Location:West Sussex

Posted 07 April 2012 - 08:04 PM

Powerflex rear wishbone bushes don't normally fit in non-Ford bushes as they have a metal outer casing, similar to the standard and "FRP" bushes.
It is the variation in the holes in the non-OEM wishbones that causes problems with the press fit.
Pumaspeed state this in their Powerflex add and Powerflex have a note in their packaging.
Rick

The Haynes Fiesta Manual (3397) can answer a lot of your questions.
Posted Image

#17 User is offline   ScubaSteve 

  • Group: Members
  • Posts: 1879
  • Joined: 25-August 09

Posted 07 April 2012 - 08:54 PM

Yeah pressed in bushes don't work in non gen however that floflex one isn't pressed in and as long as its snug should be ok

This post has been edited by ScubaSteve: 07 April 2012 - 08:55 PM


#18 User is offline   AndyReact 

  • Group: Members
  • Posts: 254
  • Joined: 04-February 12
  • Location:Huddersfield

Posted 08 April 2012 - 06:59 AM

The flo-flex isn't snug, it can move up and down approx 7mm!

If genuine wishbones ain't gonna help I will get on to flo-flex and see if they can change them...

#19 User is offline   ScubaSteve 

  • Group: Members
  • Posts: 1879
  • Joined: 25-August 09

Posted 08 April 2012 - 08:41 AM

It shouldn't matter if there is a bit of up down play there's no such force in those directions on that Bush. It's job is to stop horizontal movement of the arm

#20 User is offline   AndyReact 

  • Group: Members
  • Posts: 254
  • Joined: 04-February 12
  • Location:Huddersfield

Posted 09 April 2012 - 01:16 PM

weldzzzzzz

Posted Image

not a bad job for my 2nd ever go at welding! it was totally sealed apart from 1 tiny hole, luckily it was right on the bottom edge so i could zap it up while it was still on the car! :cool:

Share this topic:


  • 3 Pages +
  • 1
  • 2
  • 3
  • You cannot start a new topic
  • You cannot reply to this topic