
 Help
Help

Question for someone please.
There is a plastic fixing top central holding the wheel arch carpet in, can't work out how this comes out.
Is it brute force and pull it down or is there a squease knack to it?
My Turn To Attempt The Challenging
beating the rust, my progress thread
Rate Topic:

#221

Posted 11 April 2012 - 10:20 AM
searching is fruitful | I'm a sponge not a mechanic | please do try that if stuck with a Puma problem whilst waiting for a reply | For the Puma fan this read 'The Inside Story Book' is very nice to own sometimes still seen for sale
#222
Posted 11 April 2012 - 10:28 AM
rears i assume? if its like a disc with a bit protruding out the middle then you just got to pull the disc off
This post has been edited by ScubaSteve: 11 April 2012 - 10:28 AM
#223
Posted 11 April 2012 - 10:56 AM
They are on the front. No carpet on the rear on an FRP. The carpet is made from two standard Puma liners joined together with staples, lol.
It is like a plastic fixing with a philips head but it just spins on using a screwdriver.
Like a screw fixing head that spins around a disc.
It is like a plastic fixing with a philips head but it just spins on using a screwdriver.
Like a screw fixing head that spins around a disc.
searching is fruitful | I'm a sponge not a mechanic | please do try that if stuck with a Puma problem whilst waiting for a reply | For the Puma fan this read 'The Inside Story Book' is very nice to own sometimes still seen for sale
#224

- Group: Members
- Posts: 2929
- Joined: 30-August 07
- Location:West Sussex
Posted 11 April 2012 - 01:06 PM
Like this?
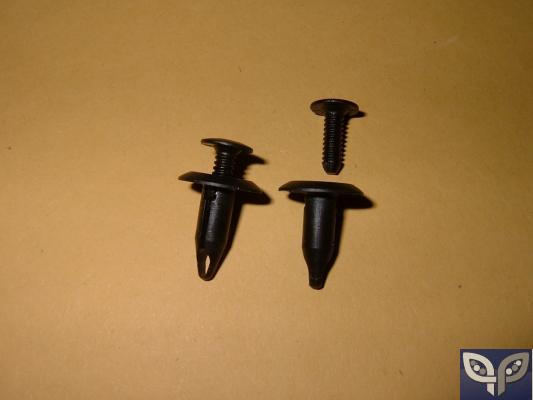
If it is, try holding the back piece with pointed pliers, whilst undoing the screw. If you can't reach it, cut the tops off and fit new ones.
If it is, try holding the back piece with pointed pliers, whilst undoing the screw. If you can't reach it, cut the tops off and fit new ones.
This post has been edited by YOG: 11 April 2012 - 01:07 PM
Rick
The Haynes Fiesta Manual (3397) can answer a lot of your questions.

The Haynes Fiesta Manual (3397) can answer a lot of your questions.
#225

- Group: Moderators
- Posts: 6257
- Joined: 12-March 03
- Location:Nottingham
Posted 11 April 2012 - 04:09 PM
Those things drive me mental... most stupid and enfuriating fixing ever! 
Wizards Of Nos 60hp progressive delivery.... yeah baby yeah :-o
Denso Iridium Plugs
Helix Clutch
Mobil 1
Denso Iridium Plugs
Helix Clutch
Mobil 1
#226
Posted 11 April 2012 - 05:26 PM
Brill thank you that is perfect Rick I now understand what I am dealing with 
Will try to share some photos tomorrow of what I have taken off and what I uncover, I am taking photos so they will be there to upload.
Will try to share some photos tomorrow of what I have taken off and what I uncover, I am taking photos so they will be there to upload.
searching is fruitful | I'm a sponge not a mechanic | please do try that if stuck with a Puma problem whilst waiting for a reply | For the Puma fan this read 'The Inside Story Book' is very nice to own sometimes still seen for sale
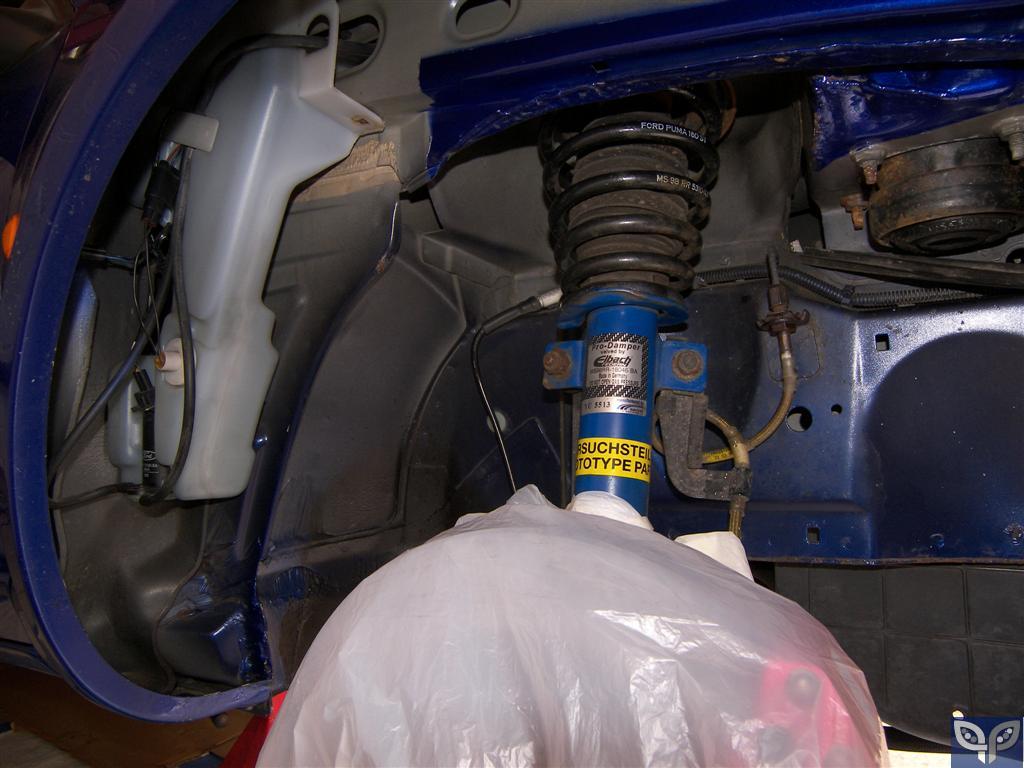
#227
Posted 11 April 2012 - 08:34 PM
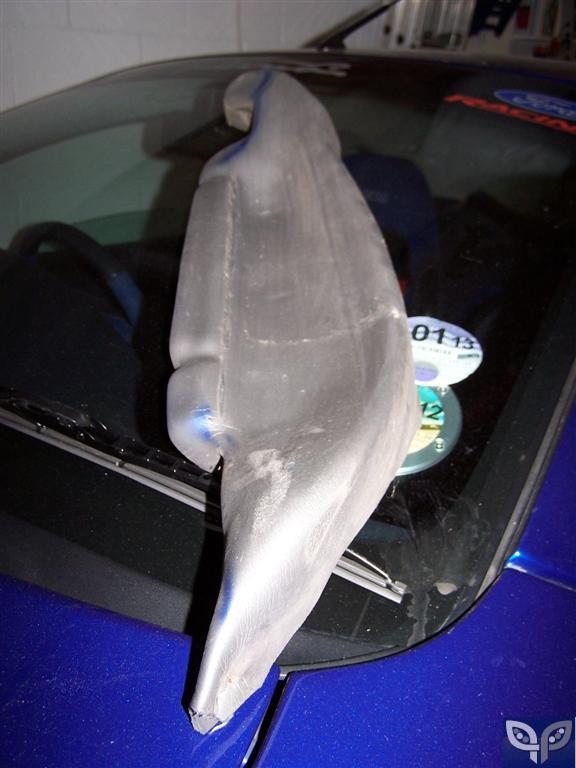
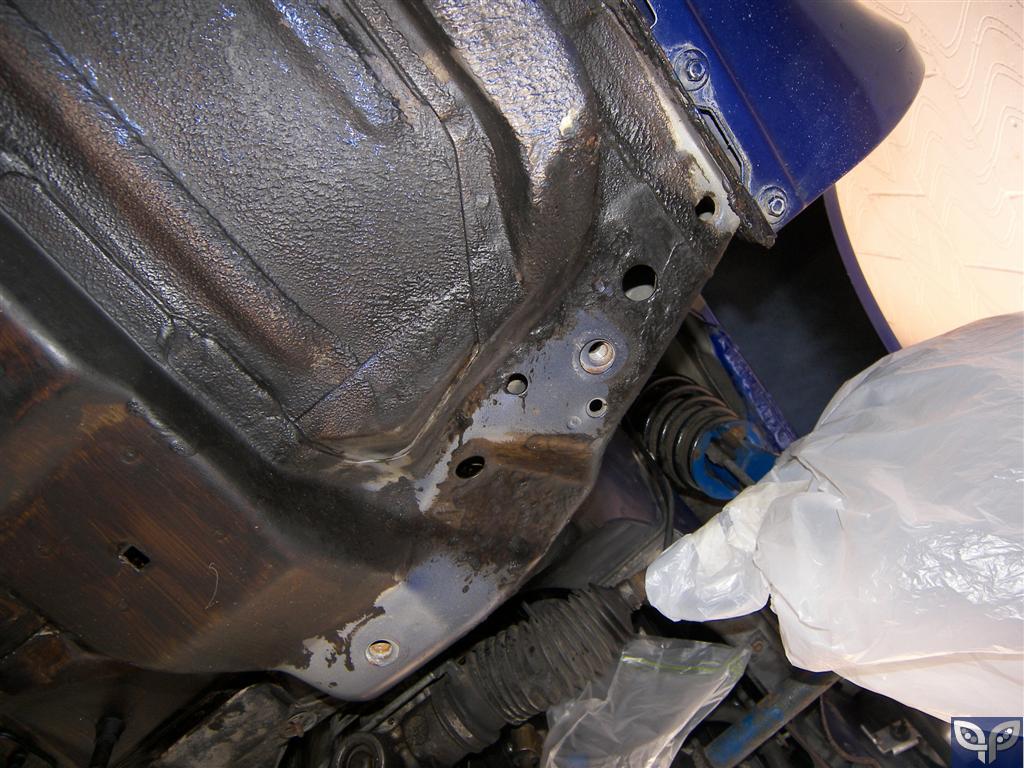
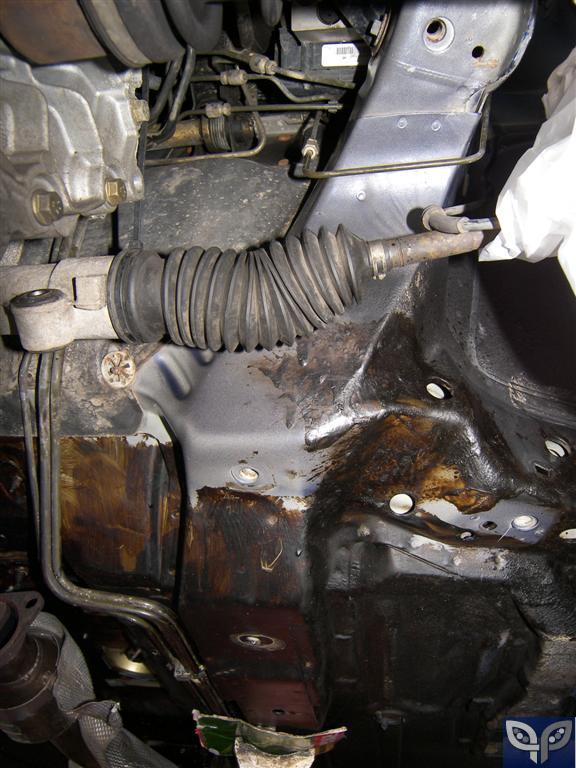
Picture of removed subframe and 'thing'. There was only one of this 'thing'. Don't know it's name.
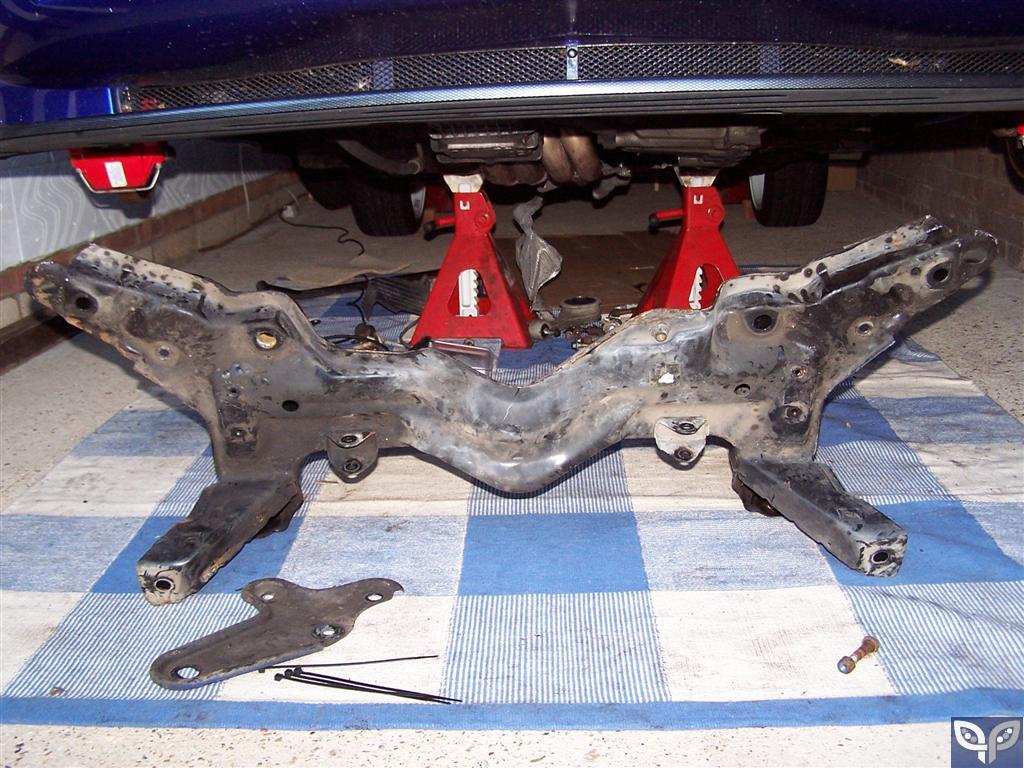
My roll bar is in very good nick so I will be cleaning it up and refitting as is. It looks like a skinny strut brace and fitted behind the subframe I think from memory. I may enquire on a price when I collect my parts but I think the price is going to be rather ouch anyway and it took 2 hours to take the subframe down alone.
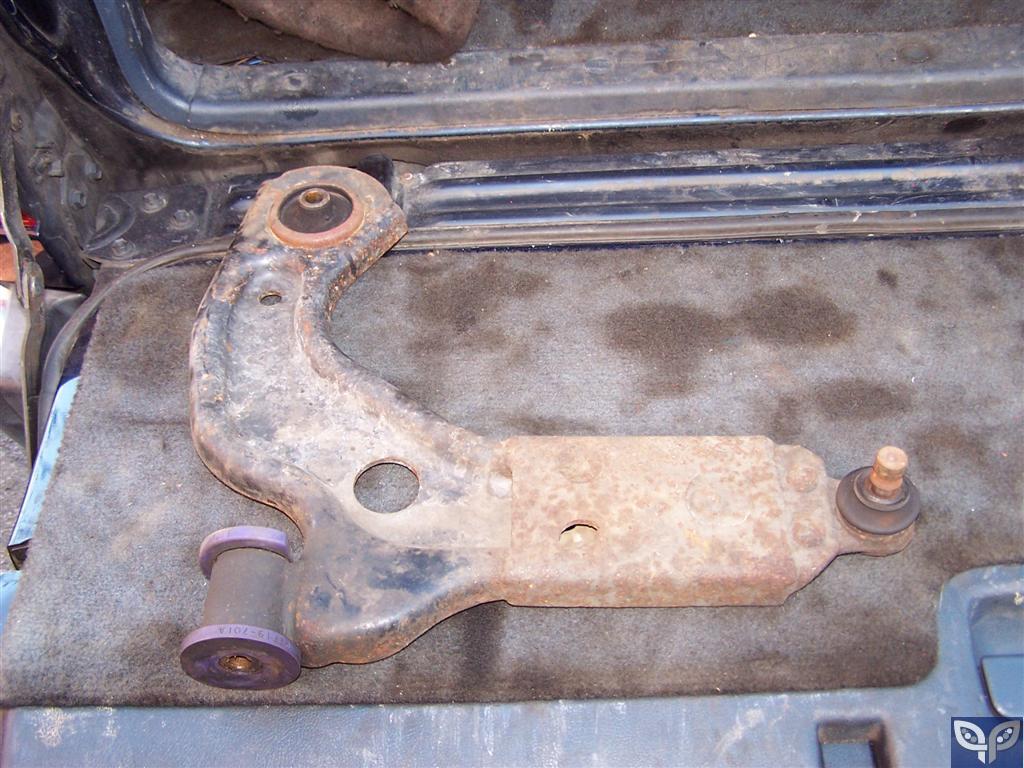
The wishbones were a tad of a mess...
I have a feeling I am going to fit new top mounts next big job as this job is big enough without adding to it on reflection this time, there is little cost advantage.
My roll bar is in very good nick so I will be cleaning it up and refitting as is. It looks like a skinny strut brace and fitted behind the subframe I think from memory. I may enquire on a price when I collect my parts but I think the price is going to be rather ouch anyway and it took 2 hours to take the subframe down alone.
The wishbones were a tad of a mess...
I have a feeling I am going to fit new top mounts next big job as this job is big enough without adding to it on reflection this time, there is little cost advantage.
searching is fruitful | I'm a sponge not a mechanic | please do try that if stuck with a Puma problem whilst waiting for a reply | For the Puma fan this read 'The Inside Story Book' is very nice to own sometimes still seen for sale
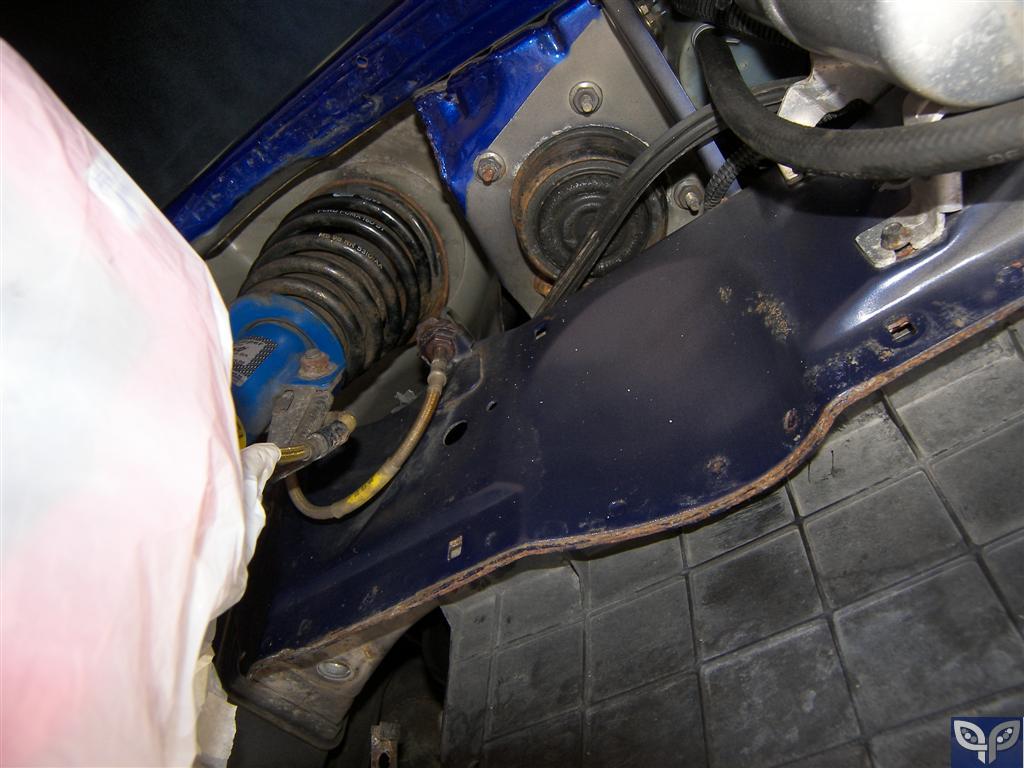
#228
Posted 12 April 2012 - 12:16 PM
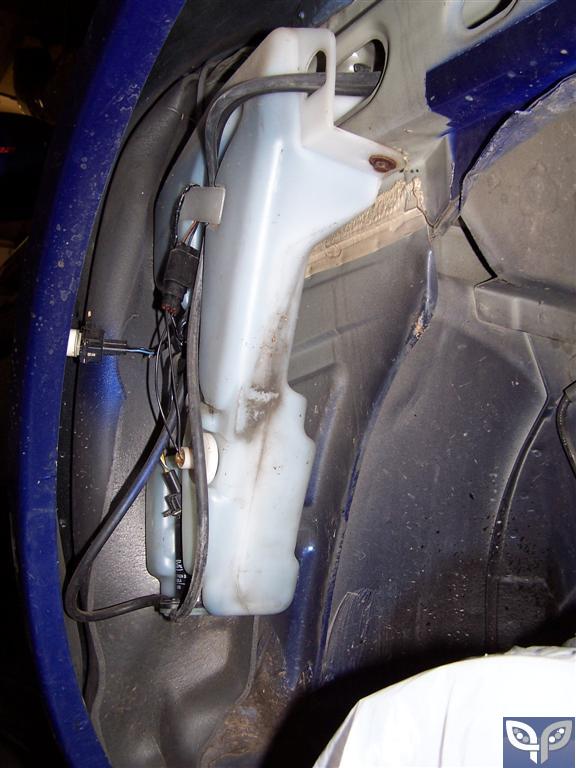
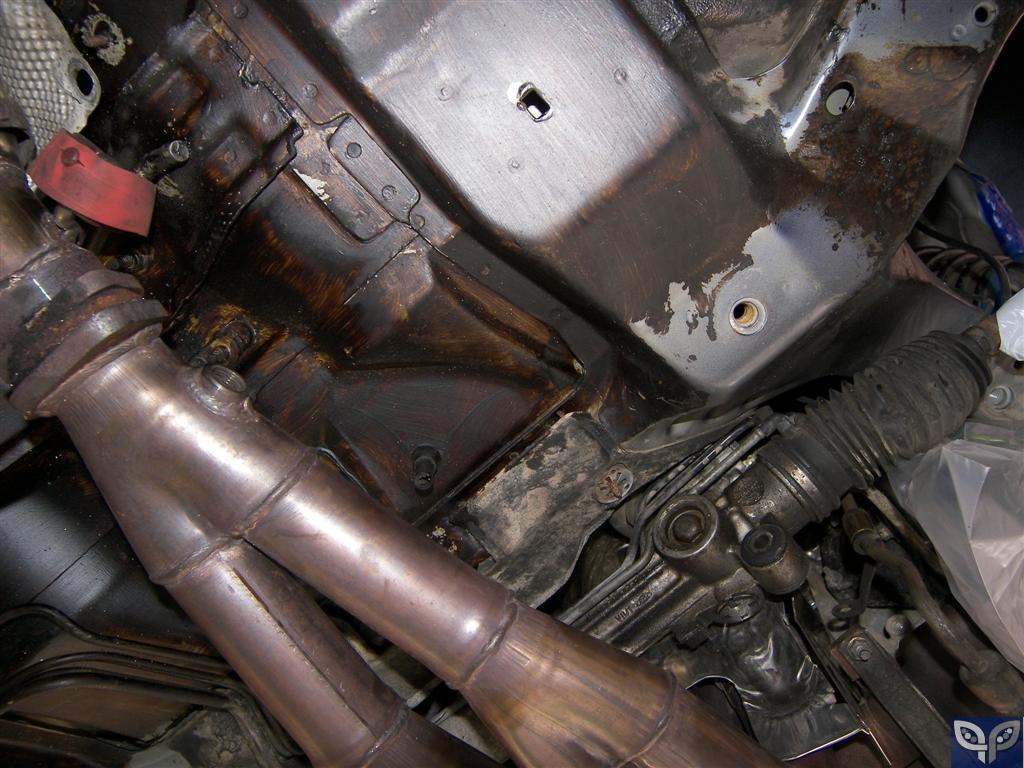
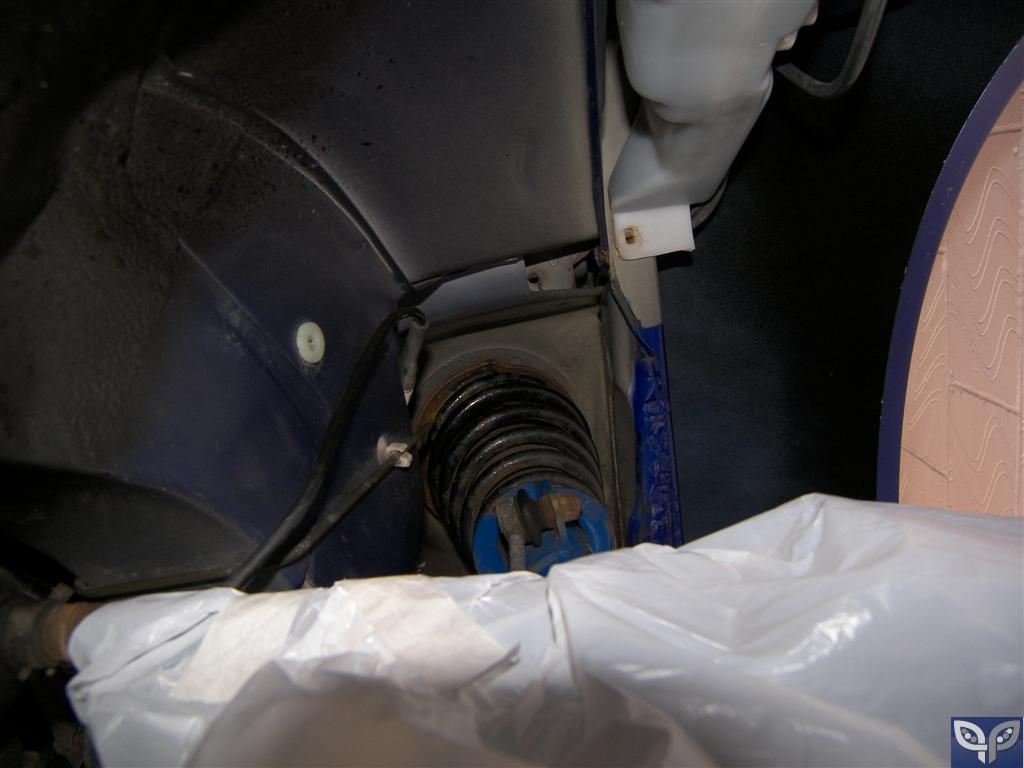
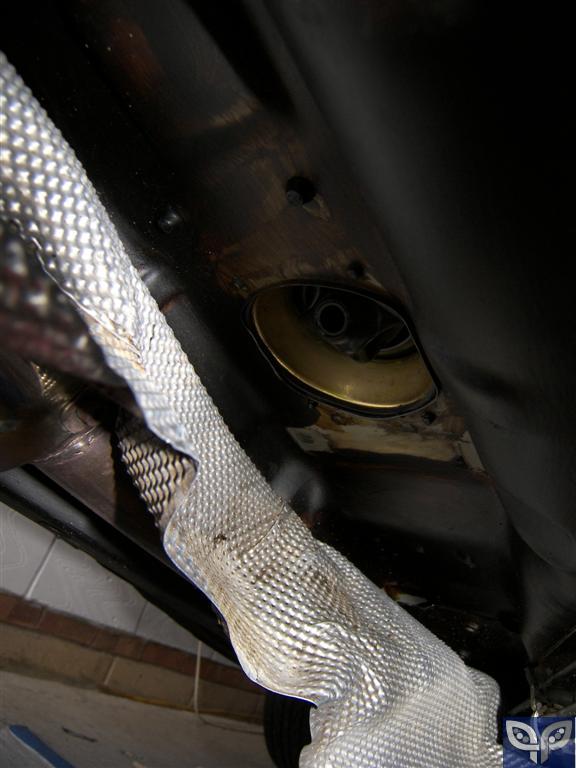
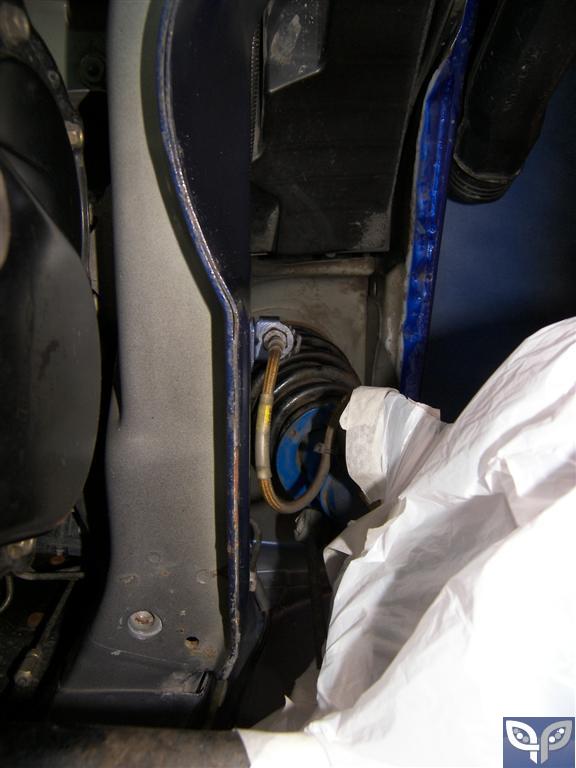
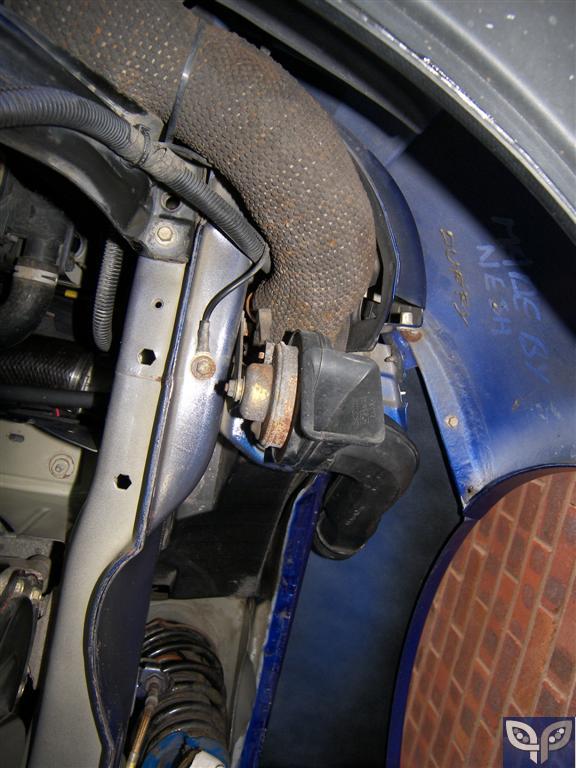
Today I took the arch liners out and found pretty good in the wheel arch but have removed the foam shaping so can anti rust treat behind. The washer bottle bolt is rusty so will need to replace that one, also slightly drop the bottle so as can remove the foam and also treat behind it.
Plastic nightmares!
Foam guard
Near side
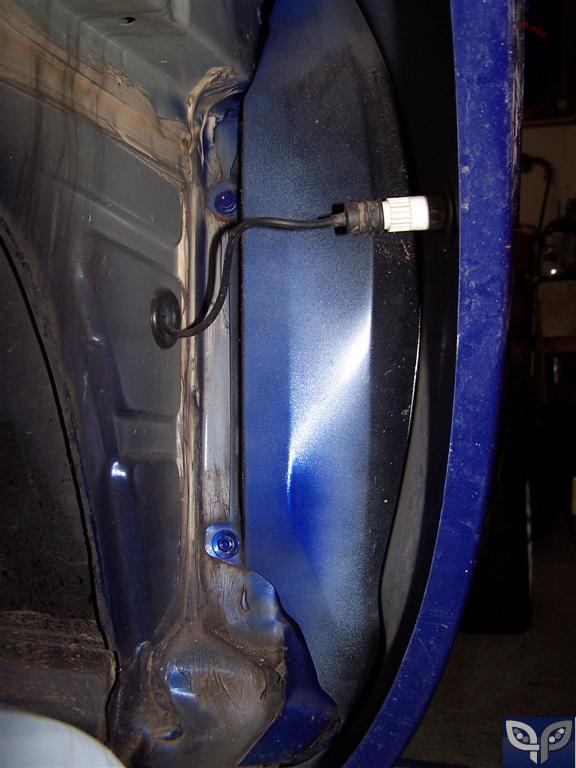
Off side and rusty bottle fixing
Plastic nightmares!
Foam guard
Near side
Off side and rusty bottle fixing
searching is fruitful | I'm a sponge not a mechanic | please do try that if stuck with a Puma problem whilst waiting for a reply | For the Puma fan this read 'The Inside Story Book' is very nice to own sometimes still seen for sale
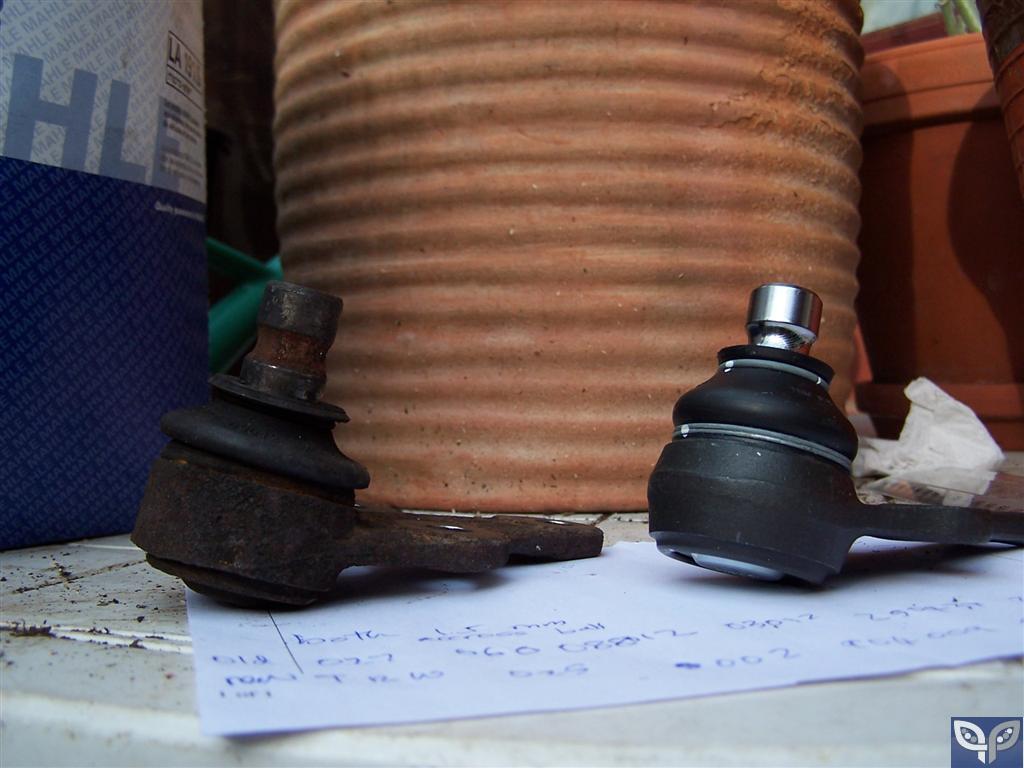
#229
Posted 14 April 2012 - 08:37 PM
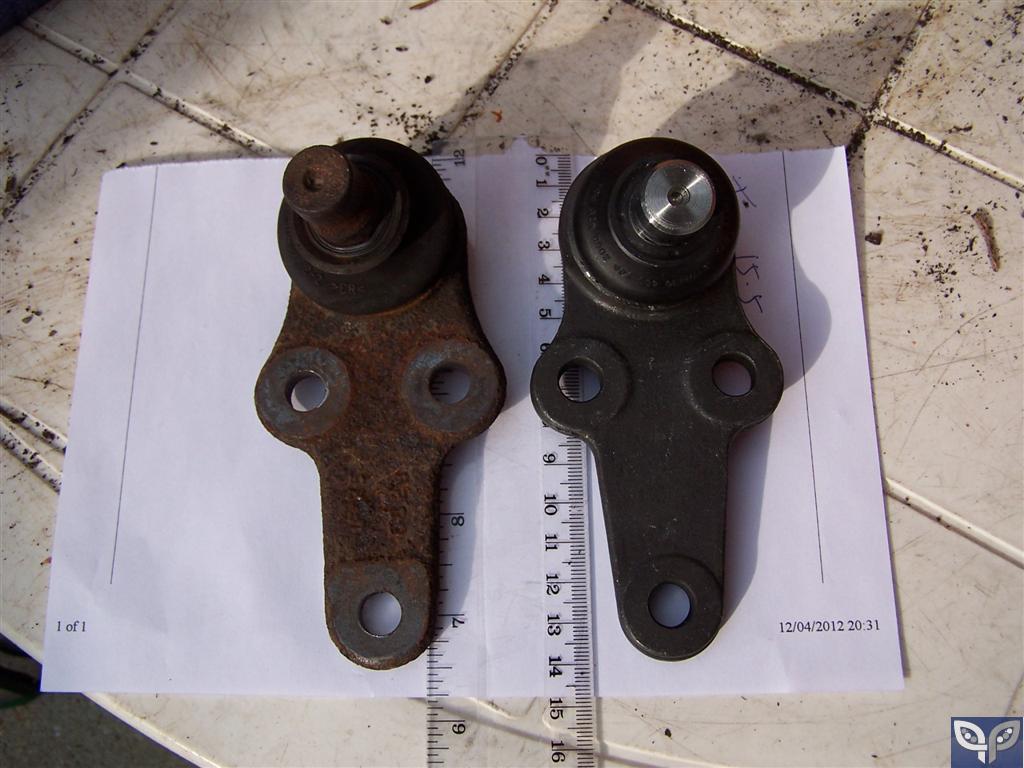
Old and new Ford ball joint. Whilst they look different as far as I could tell using my ruler all items so measure the same, so hopefully it will fit.
Made a start on cleaning today and finding where the rust is.
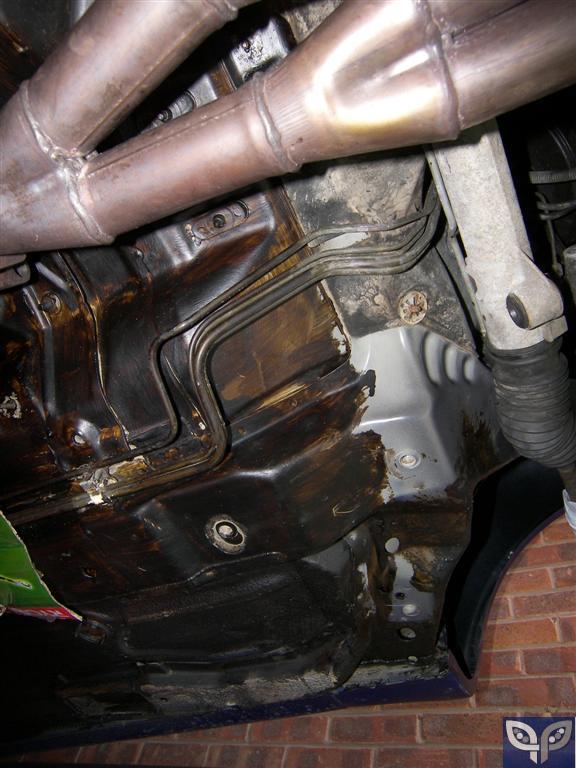
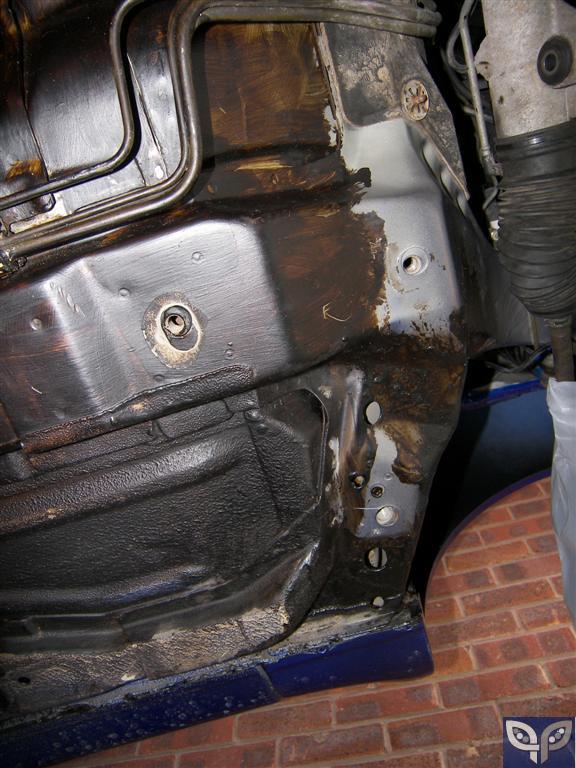
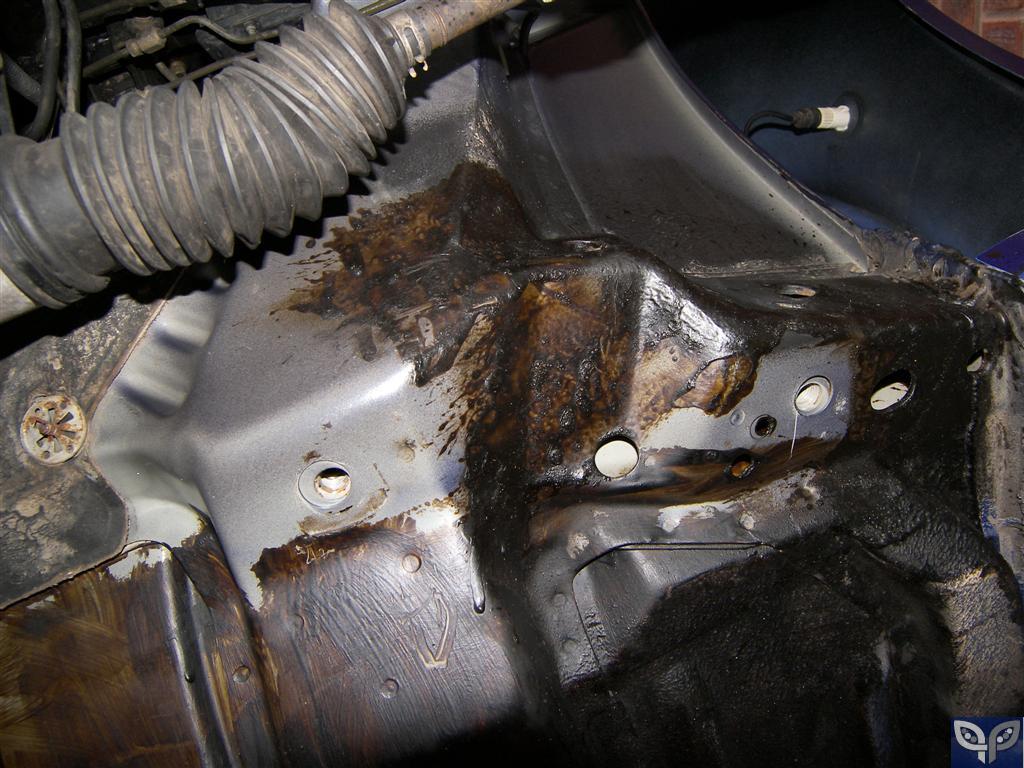
Rusty around horn but not botheed about that as not the chassis.
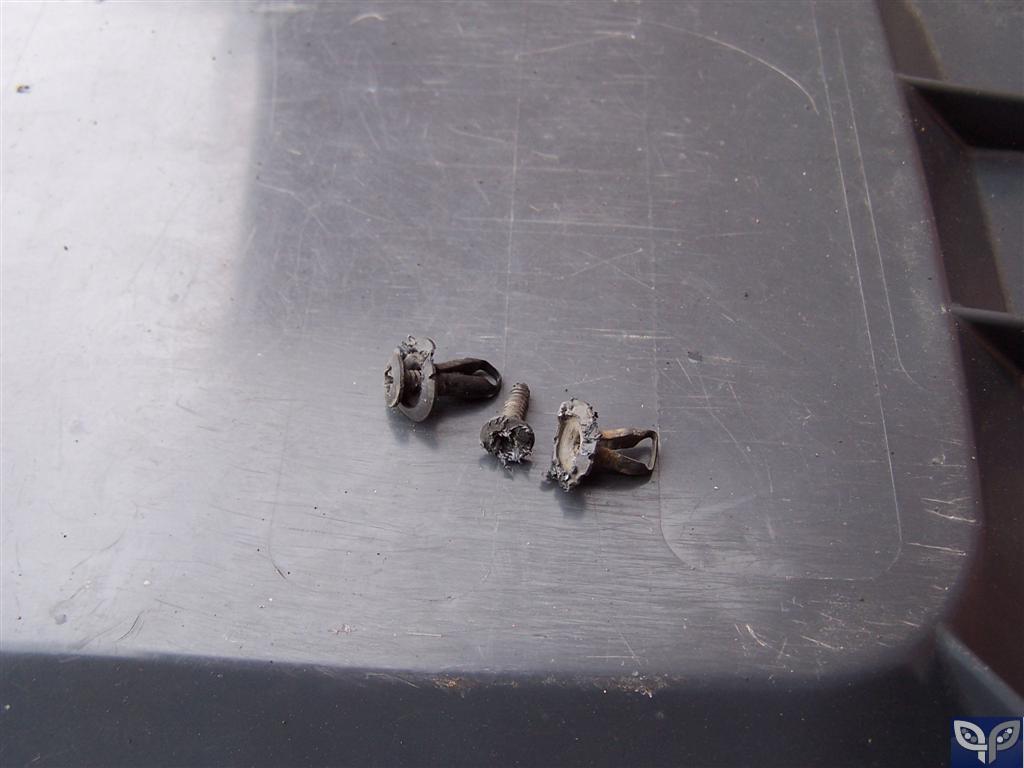
Very little up the wheel arch. Though where there is rust is around the carptet fixing points so I removed the plastic grommits. Also the bottom of the seam is a bit rusty and the corner of the chassis leg where Tickford bashed it with a lump hammer!
Pretty clean where the sub frame mounts. The only rust was in the bolt threads (flipping bolts for that) and the floating bolt fixing carrier.
Showing where previous anti rust application had got too and a few gaps etc. to hover up this time.
Made a start on cleaning today and finding where the rust is.
Rusty around horn but not botheed about that as not the chassis.
Very little up the wheel arch. Though where there is rust is around the carptet fixing points so I removed the plastic grommits. Also the bottom of the seam is a bit rusty and the corner of the chassis leg where Tickford bashed it with a lump hammer!
Pretty clean where the sub frame mounts. The only rust was in the bolt threads (flipping bolts for that) and the floating bolt fixing carrier.
Showing where previous anti rust application had got too and a few gaps etc. to hover up this time.
searching is fruitful | I'm a sponge not a mechanic | please do try that if stuck with a Puma problem whilst waiting for a reply | For the Puma fan this read 'The Inside Story Book' is very nice to own sometimes still seen for sale
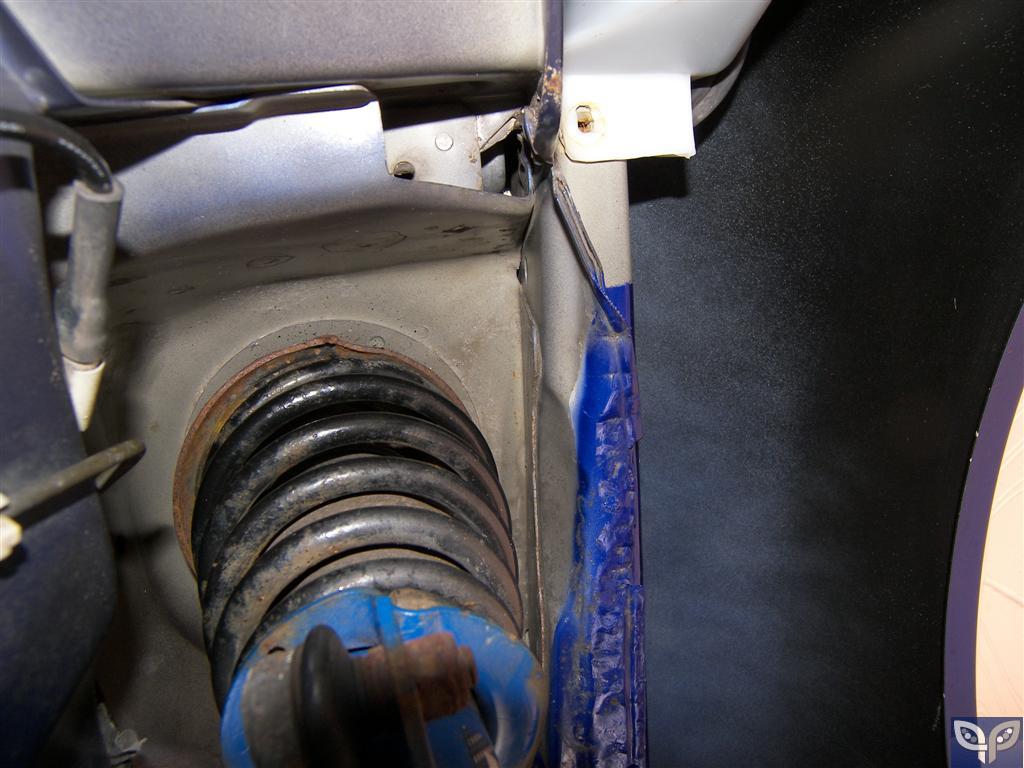
#230
Posted 15 April 2012 - 06:34 PM
Today I finished cleaning the other side and then went round with a water only cloth to effectively rinse everywhere I had been.
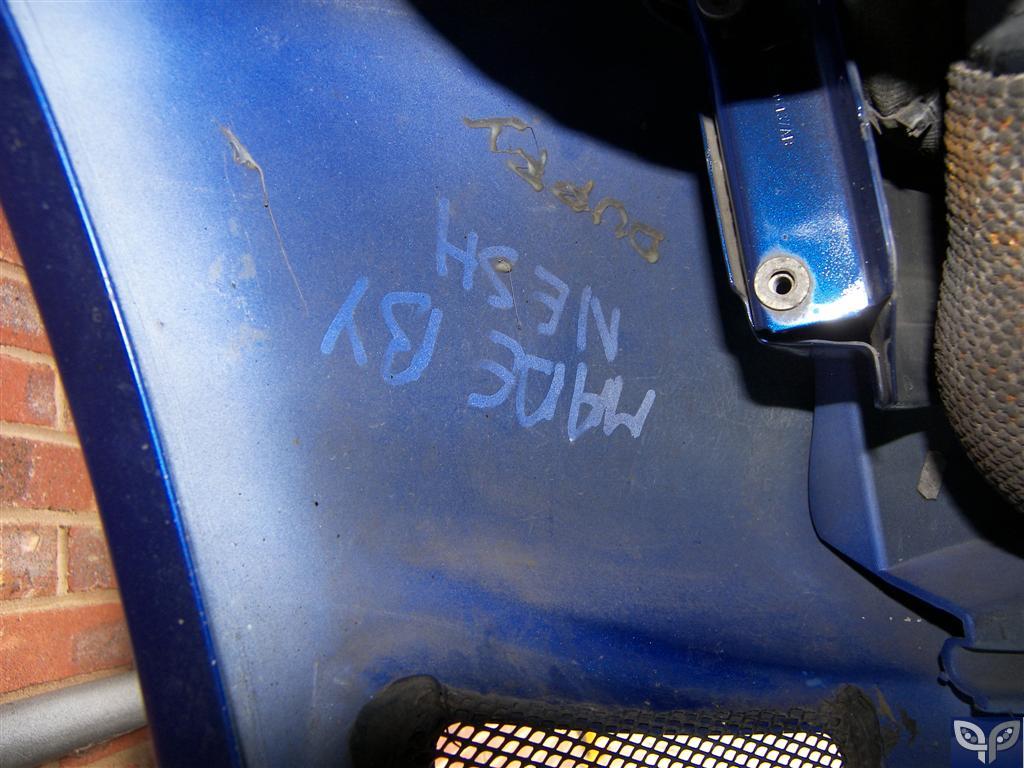
Another signature in my car.
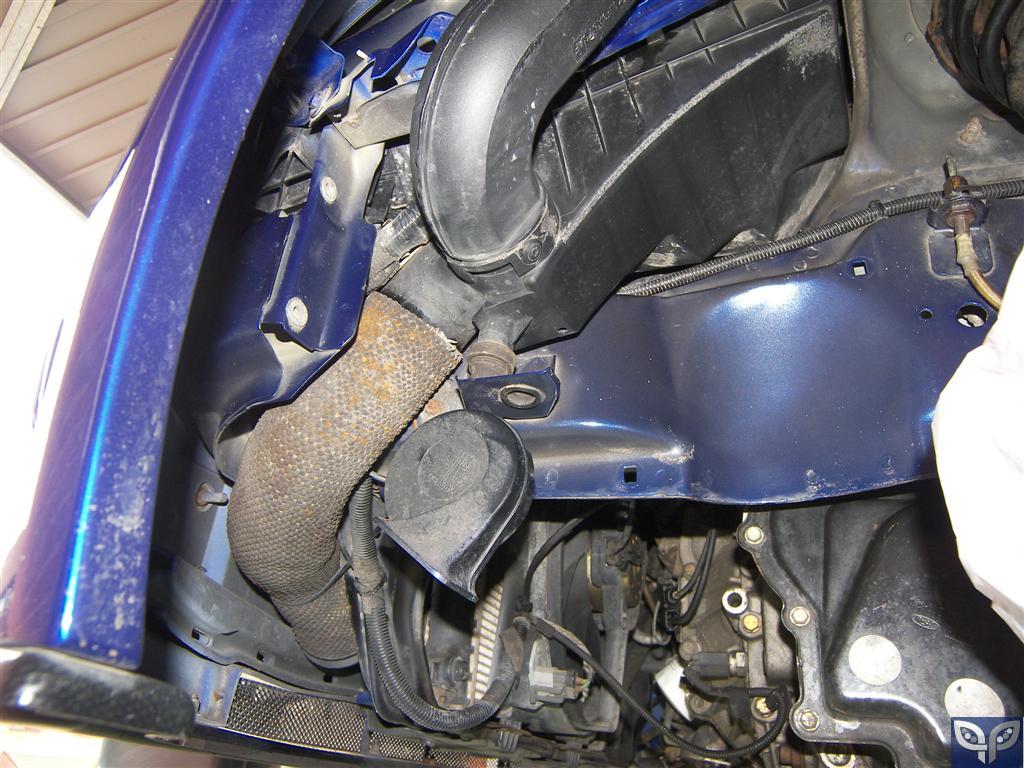
What a poxy horn!
Possibly the date the bumper was fitted, would tie in with the completion date.
Clean and ready for more of the brown stuff.

Gear stick mounting.
Really pleased with the lack of rust here.
The second hole from the right has a moving plate inside it which carries the thread for what ever bolt goes there. this plate moves all around and even has some lift to it. Sadly there is a small amount of rust on it but I am stuck with it as I can not risk using anything there that dries stuck, so a the rust will be staying and I will try to poke some of my Dymax s-50 over the rust as that stays pliable.
I am toying with how I will treat the couple small areas I have. My preference is to see what comes off with a stiff brush (held in a rag so as not to get rust dust on my clean work) and then treat with Hydrate 80 before I then cover the lot in Dymax UB. I will stick a nozzle in the holes for the subframe and squirt Dymax S-50 but will have to be careful it does not spray out of some other hole further up the chassis etc.
Another signature in my car.
What a poxy horn!
Possibly the date the bumper was fitted, would tie in with the completion date.
Clean and ready for more of the brown stuff.
Gear stick mounting.
Really pleased with the lack of rust here.
The second hole from the right has a moving plate inside it which carries the thread for what ever bolt goes there. this plate moves all around and even has some lift to it. Sadly there is a small amount of rust on it but I am stuck with it as I can not risk using anything there that dries stuck, so a the rust will be staying and I will try to poke some of my Dymax s-50 over the rust as that stays pliable.
I am toying with how I will treat the couple small areas I have. My preference is to see what comes off with a stiff brush (held in a rag so as not to get rust dust on my clean work) and then treat with Hydrate 80 before I then cover the lot in Dymax UB. I will stick a nozzle in the holes for the subframe and squirt Dymax S-50 but will have to be careful it does not spray out of some other hole further up the chassis etc.
searching is fruitful | I'm a sponge not a mechanic | please do try that if stuck with a Puma problem whilst waiting for a reply | For the Puma fan this read 'The Inside Story Book' is very nice to own sometimes still seen for sale
#231
Posted 15 April 2012 - 07:29 PM
it looks to me like frp's were made from silver original pumas, might be wrong though
#232
Posted 15 April 2012 - 07:34 PM
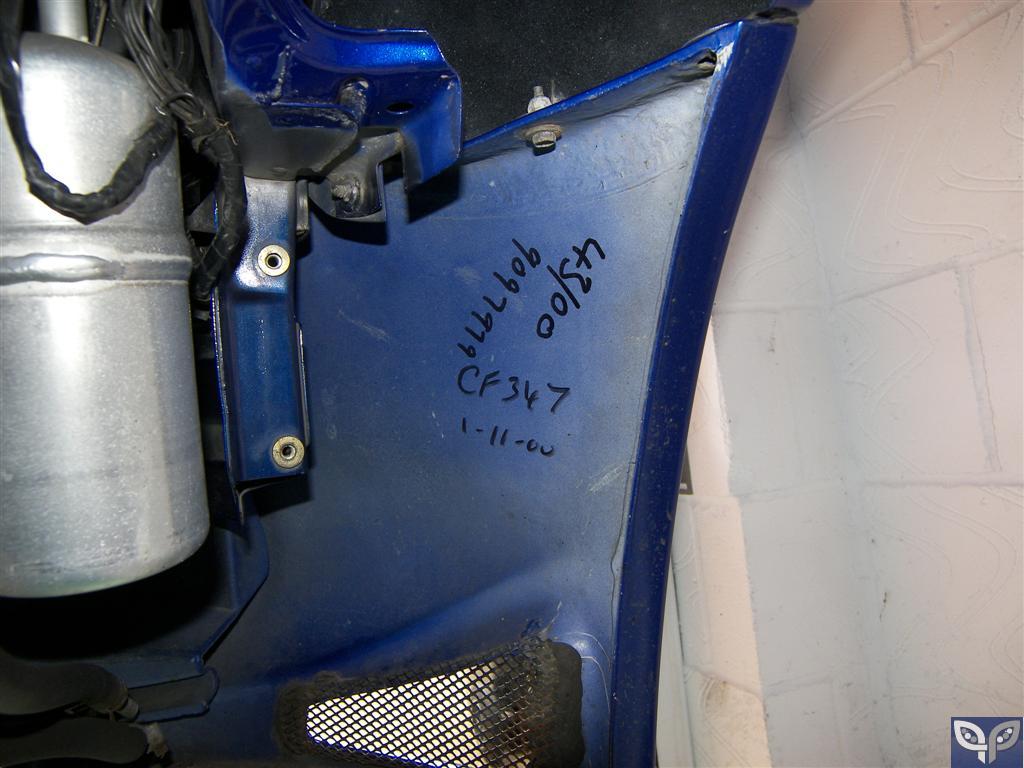
They arrived from Germany as Imperial Blue 1.7 on steel wheels, but the primer is silver I think as the paint underneath is that colour way and sort of greyer in places.
searching is fruitful | I'm a sponge not a mechanic | please do try that if stuck with a Puma problem whilst waiting for a reply | For the Puma fan this read 'The Inside Story Book' is very nice to own sometimes still seen for sale
#233
Posted 15 April 2012 - 07:37 PM
ah right, were they sprayed in the factory imperial blue as they were being made then? my understanding was they were made by tickford as an afterthought to ford. Had no idea ford built them intentionally to be frps
#234
Posted 15 April 2012 - 07:46 PM
They arrived like this. And the bits removed that were not needed were I gather skipped.
You bought a Puma 1.7 and the FRP was an optional extra on the sales invoice, it was a conversion on a standard 1.7. That is how the paperwork was managed.
You bought a Puma 1.7 and the FRP was an optional extra on the sales invoice, it was a conversion on a standard 1.7. That is how the paperwork was managed.
searching is fruitful | I'm a sponge not a mechanic | please do try that if stuck with a Puma problem whilst waiting for a reply | For the Puma fan this read 'The Inside Story Book' is very nice to own sometimes still seen for sale
#236
Posted 15 April 2012 - 08:05 PM
searching is fruitful | I'm a sponge not a mechanic | please do try that if stuck with a Puma problem whilst waiting for a reply | For the Puma fan this read 'The Inside Story Book' is very nice to own sometimes still seen for sale
#237
Posted 16 April 2012 - 03:26 PM
the grey/green colour is the E coat, an anti corrosion resin coat that goes inside all cavities etc.
during manufacture the raw steel body shell goes through a series of washes and degreasing baths and then a phosphate bath, this etches the steel and provides corrosion resistance to the steel.
it then goes through a vat of charged resin and a current is passed through the body, bonding an even film of resin to the shell, it is then rinsed and baked in an oven then sealed, primed and top coated
interesting process to be fair.
your FRP is looking very good, must be the cleanest FRP in existence?
my other toy has 470bhp
#238
Posted 16 April 2012 - 05:47 PM
Thank you for the very interesting info
I wish but no mine is not the tidies but I am enjoying the challenge of having a go at what I can. If I do nothing it will rust that is for sure.
I wish but no mine is not the tidies but I am enjoying the challenge of having a go at what I can. If I do nothing it will rust that is for sure.
searching is fruitful | I'm a sponge not a mechanic | please do try that if stuck with a Puma problem whilst waiting for a reply | For the Puma fan this read 'The Inside Story Book' is very nice to own sometimes still seen for sale
#239
Posted 21 April 2012 - 12:43 PM
My subframe is back and looks amazing, not got a pic to upload yet.
Pcitures post having a go at the rust with a Dremmel.
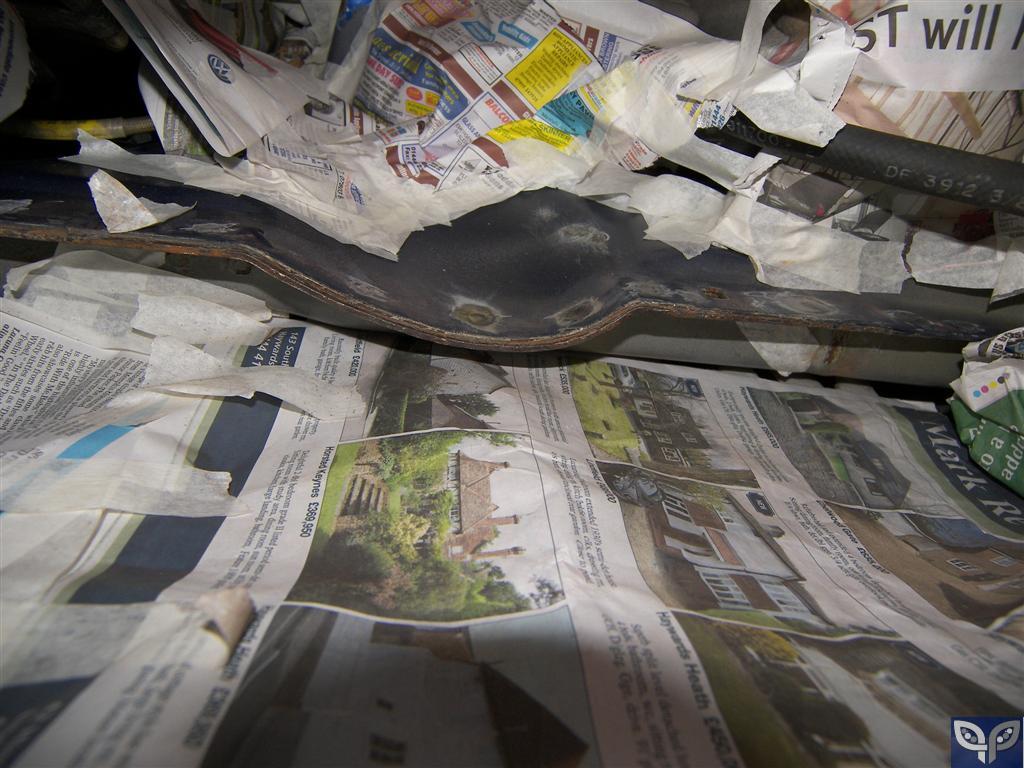
The joy of dissimilar metals, this issue is both sides of the leg.
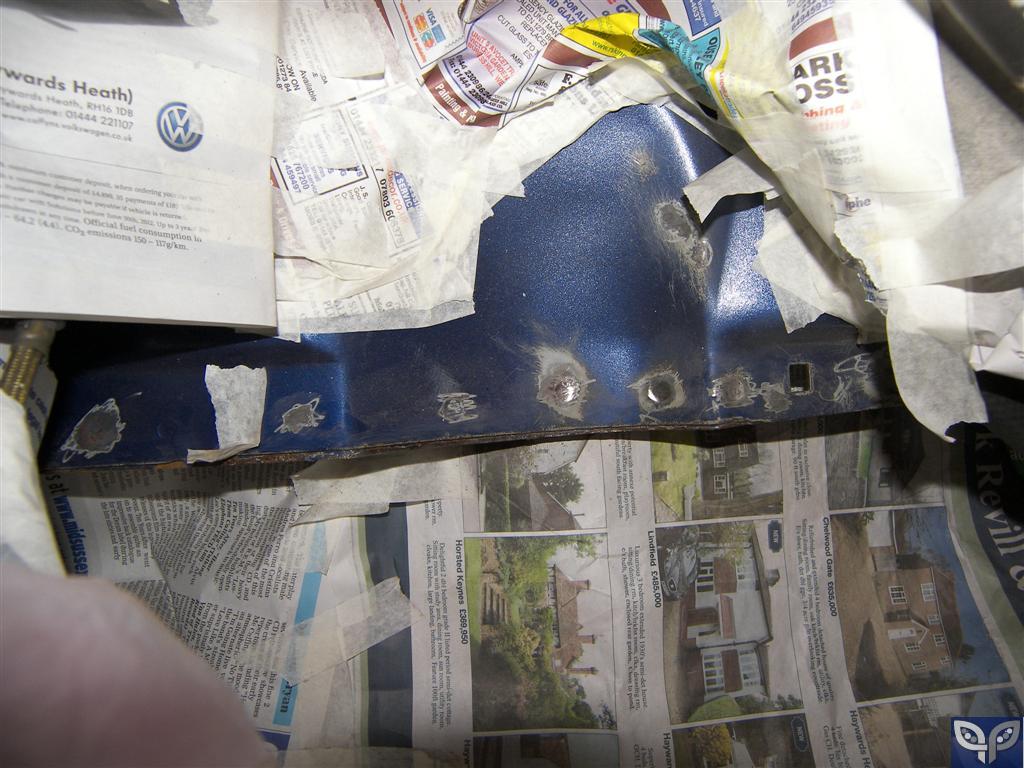
Tickford should not have been given a lump hammer.
Do 17" wheels fit a Puma I say no.
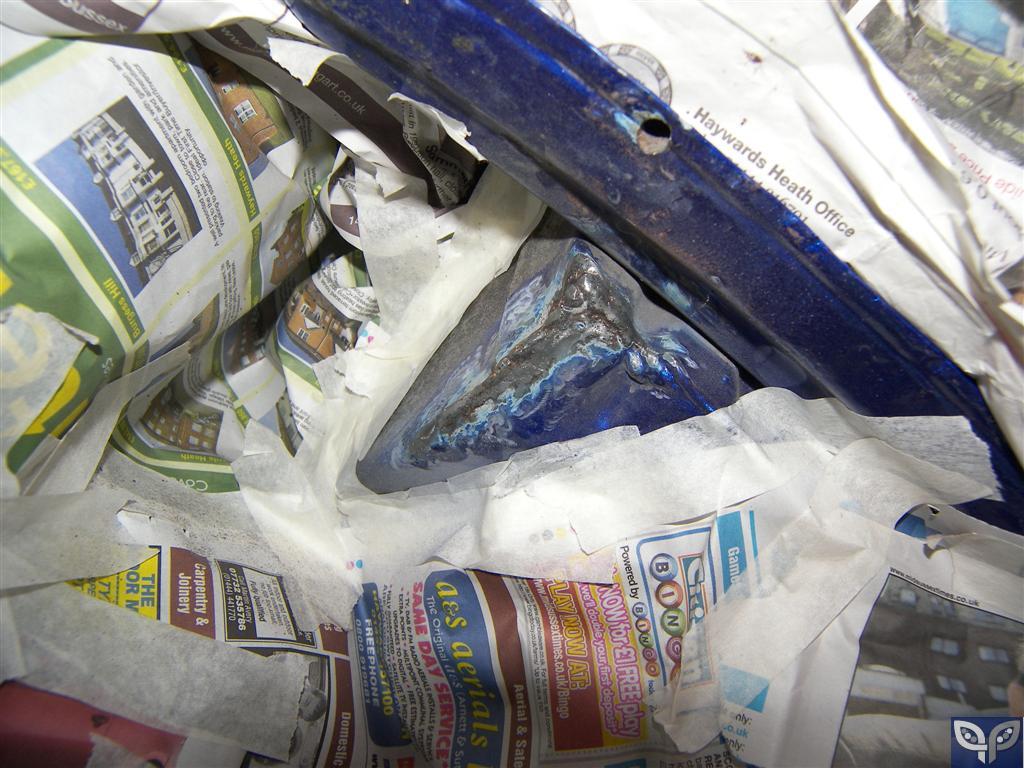
The edge of the leg, bit fiddly trying to get rid of the rust here, it will be a best endevour and keep a close eye on afterwards.
Pcitures post having a go at the rust with a Dremmel.
The joy of dissimilar metals, this issue is both sides of the leg.
Tickford should not have been given a lump hammer.
Do 17" wheels fit a Puma I say no.
The edge of the leg, bit fiddly trying to get rid of the rust here, it will be a best endevour and keep a close eye on afterwards.
searching is fruitful | I'm a sponge not a mechanic | please do try that if stuck with a Puma problem whilst waiting for a reply | For the Puma fan this read 'The Inside Story Book' is very nice to own sometimes still seen for sale
#240
Posted 22 April 2012 - 08:23 AM
AHH the old spot weld corrosion. the steel used is galvanealed (like galvanised but without the 'cornflake' texture) when its spot welded this leaves a layer of oxidisation on top, the photphate bath should remove and etch this but certain areas are harder than others, this leads to a poor bond between the E coat and the steel below.
make sure you use and acid etch primer on the bare metal areas before any other paint coats and all will be fine .
cant wait to see the subframe, coming along nicely
make sure you use and acid etch primer on the bare metal areas before any other paint coats and all will be fine .
cant wait to see the subframe, coming along nicely
my other toy has 470bhp


