Pumapeople: My Silver Puma - Pumapeople

Jump to content

  • 42 Pages +
  • 1
  • 2
  • 3
  • 4
  • 5
  • Last »
  • You cannot start a new topic
  • You cannot reply to this topic

My Silver Puma Rate Topic: ***** 4 Votes

#41 User is offline   ScubaSteve 

  • Group: Members
  • Posts: 1879
  • Joined: 25-August 09

Posted 24 August 2010 - 06:41 PM

Slightly annoyed, only managed to fit one side as the bloody passengar side lower arm was slightly bent so wouldnt line up, car it come off must have been accident damaged, or hit a pot hole or something, so got to get yet another lower arm, get it powdercoated and fitted grr, to save any naughty word about im just going to get a new one from ford then i know it will be ok, otherside went on fine and dandy, replaced my droplinks aswell

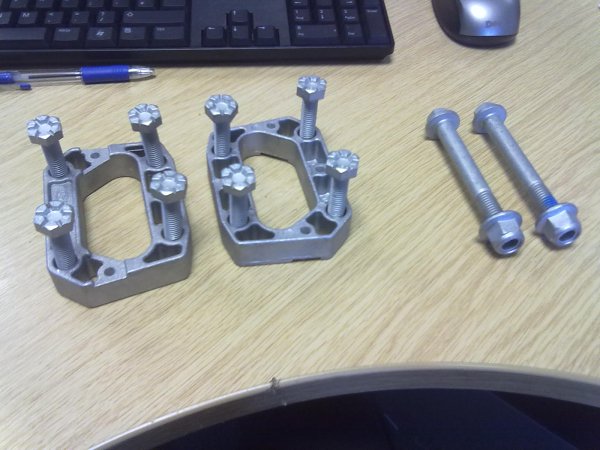
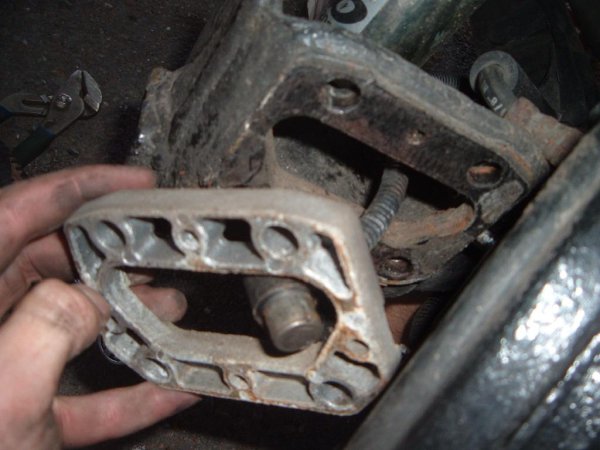
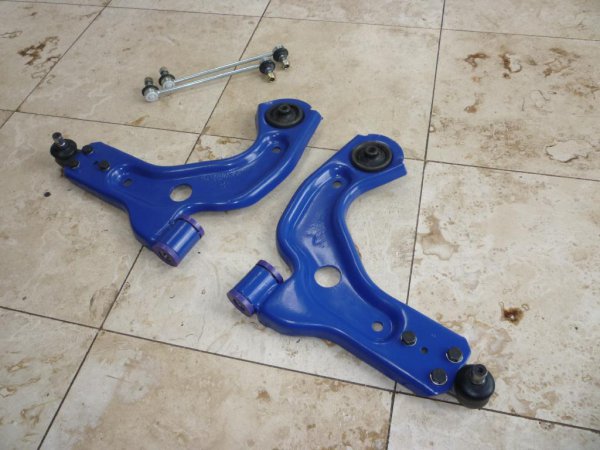
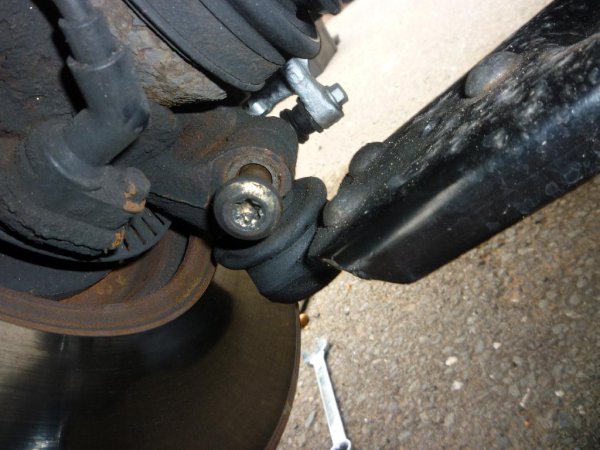
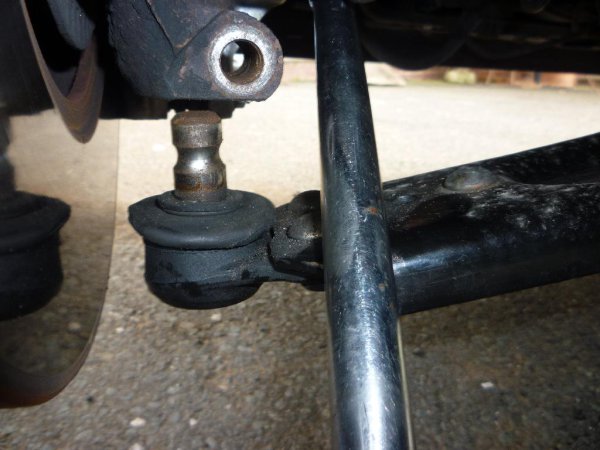
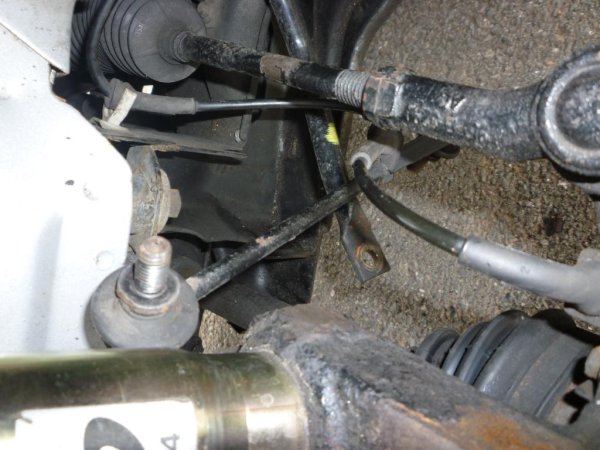
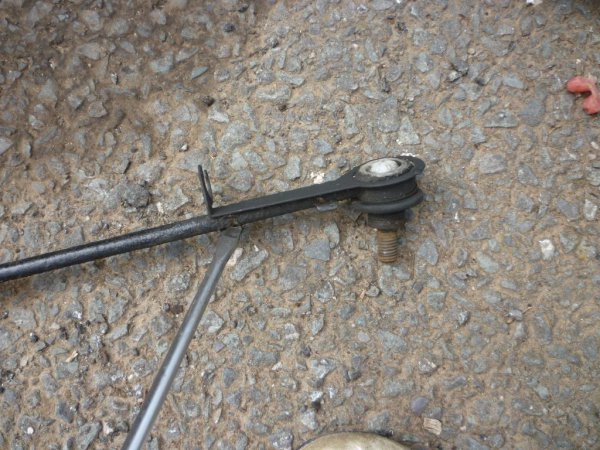
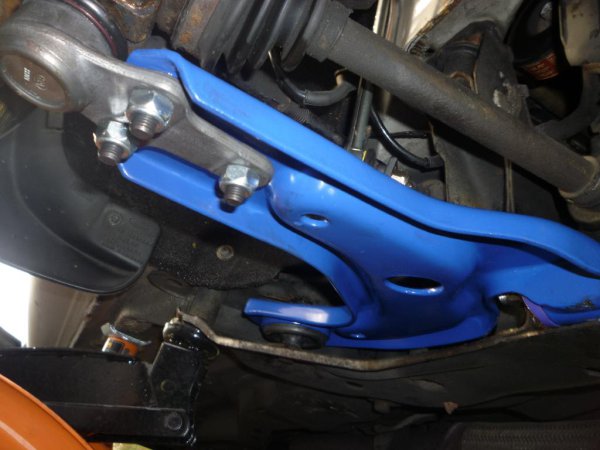
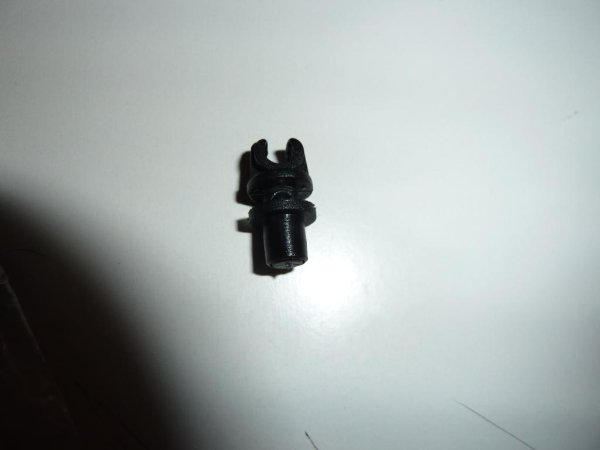
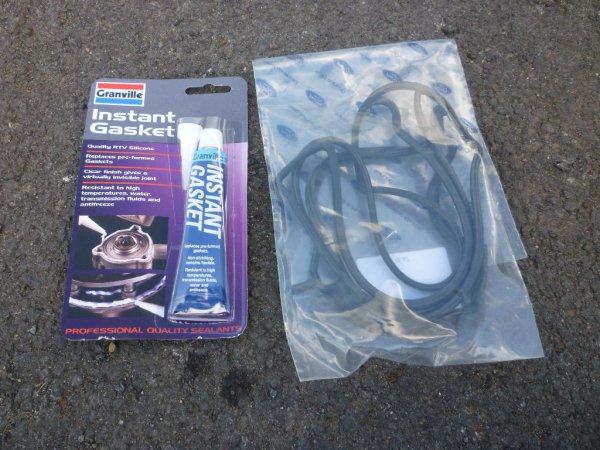
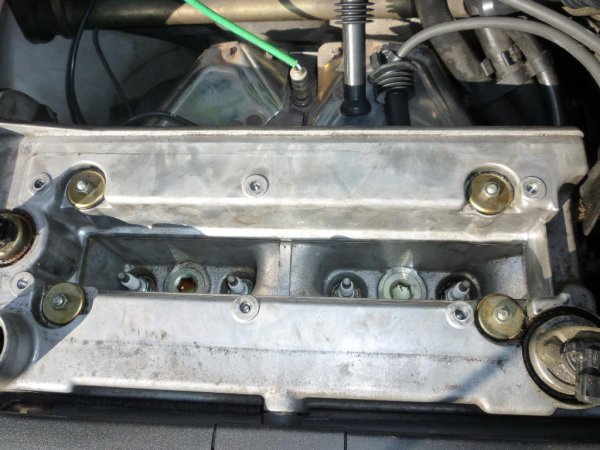
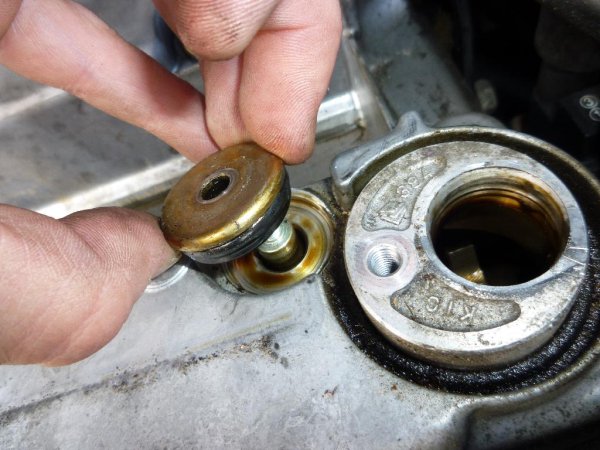
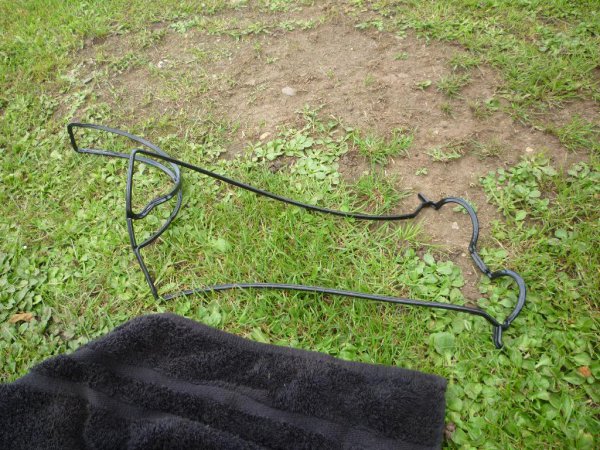
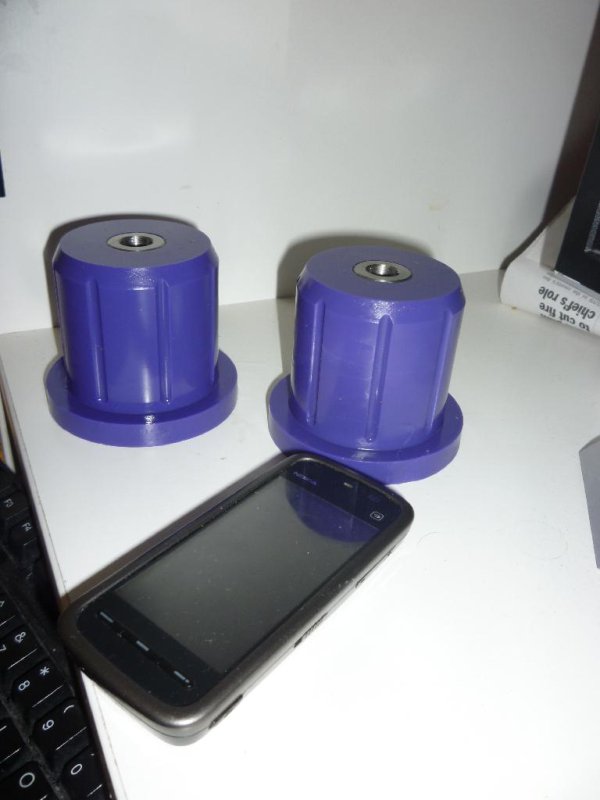
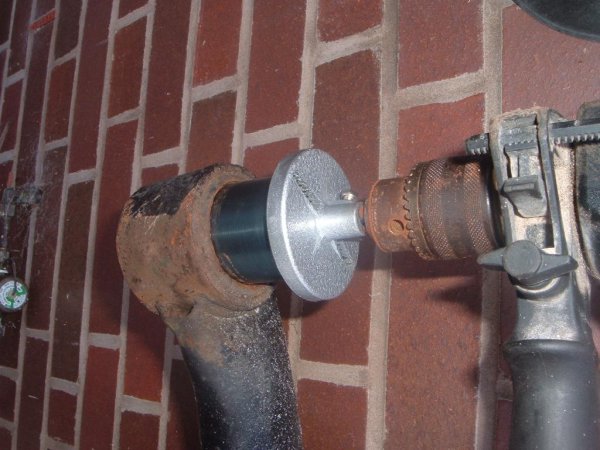
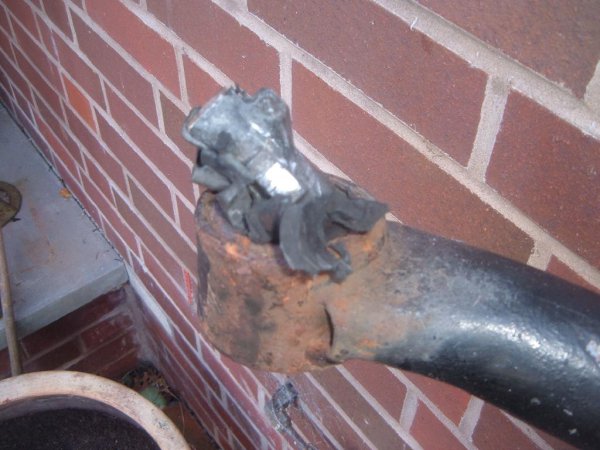
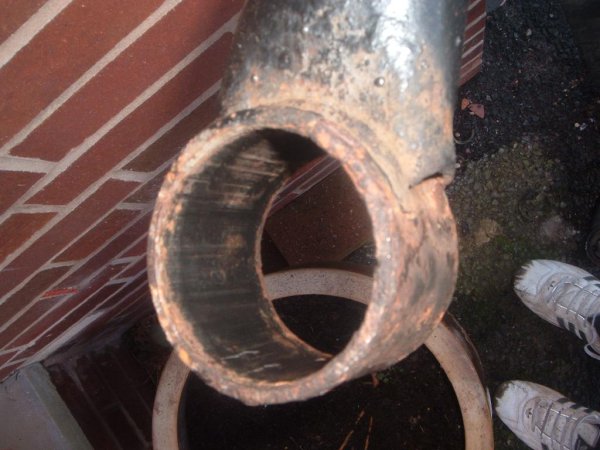
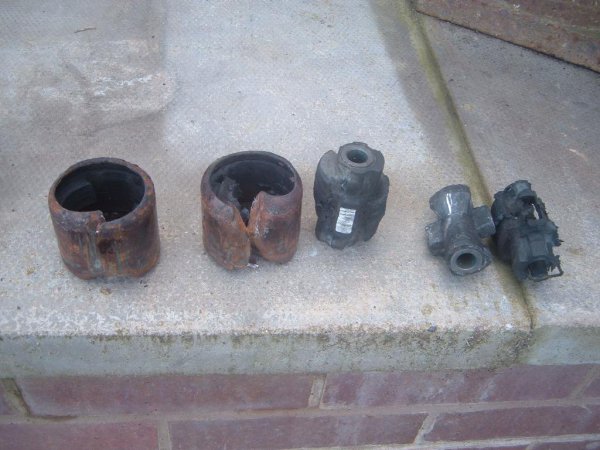
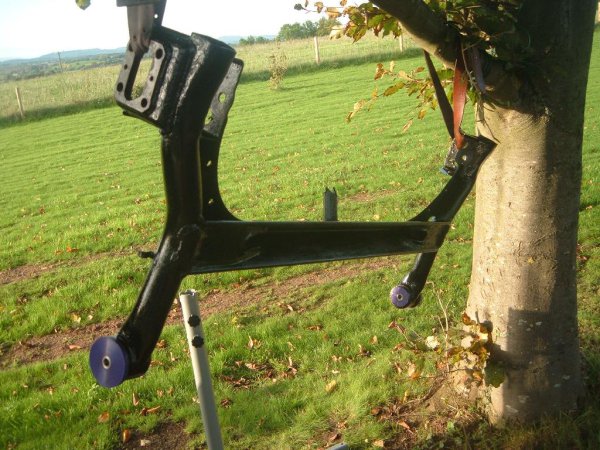
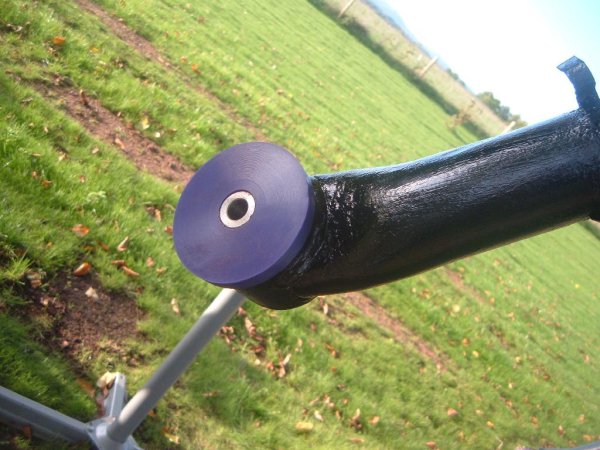
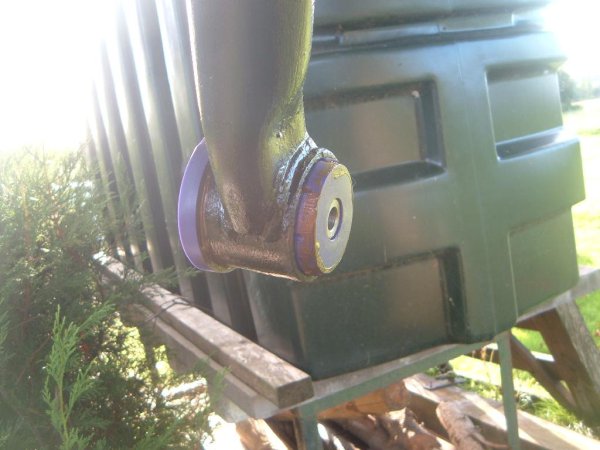
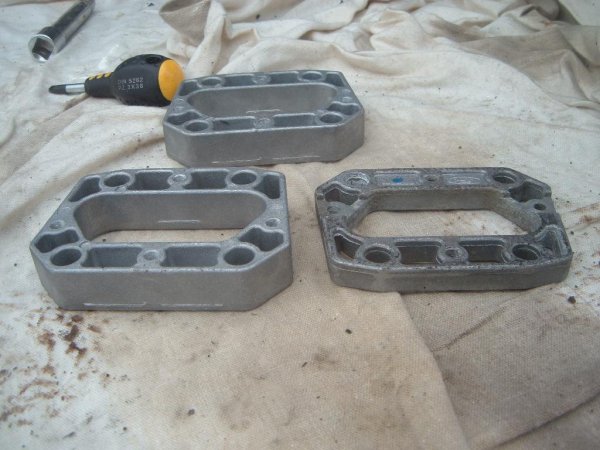
Here they are all made up pre fitting

Posted Image
Posted Image
Posted Image
Posted Image
Posted Image
Posted Image
Posted Image
Posted Image
Posted Image
Posted Image
Posted Image
Posted Image
Posted Image
Posted Image

#42 User is offline   Badger 

  • Group: Members
  • Posts: 172
  • Joined: 28-June 05
  • Location:Essex

Posted 25 August 2010 - 07:12 AM

Looking good mate!

#43 User is offline   ScubaSteve 

  • Group: Members
  • Posts: 1879
  • Joined: 25-August 09

Posted 25 August 2010 - 08:16 AM

Posted Image
Posted Image

#44 User is offline   Dave2302 

  • Group: Members
  • Posts: 583
  • Joined: 01-April 10
  • Location:NW Scotland Highlands

Posted 25 August 2010 - 09:06 AM

Lookin' good, matey.

Are those AP's adjustable for bump and rebound ?

Cheers Dave
It's nice to be important but it's more important to be nice !!

#45 User is offline   ScubaSteve 

  • Group: Members
  • Posts: 1879
  • Joined: 25-August 09

Posted 25 August 2010 - 09:15 AM

no only height

#46 User is offline   ScubaSteve 

  • Group: Members
  • Posts: 1879
  • Joined: 25-August 09

Posted 28 August 2010 - 02:30 PM

My rust quest continues this weekend,

Started poking around the sills to find rust, most of it was solid with surface rust, chipped away at the stone chip protection to find fresh metal around the rust

Posted Image

however a couple of places had rusted through forming little holes.

Posted Image

The most concerning being near a seat mount plate point, luckily the plate itself was solid, but the rust and hole definatlely needed attention

Posted Image

Had to remove the seat to get to the other side of it

Posted Image
Posted Image

So guaged all the loose rust out and surrounding edges until i found clean metal, then i applied rust kill paint to all point that were rusty

Posted Image
Posted Image

Then applied epoxy metal putty to the holes, probably not the best method but should at least hold it off from getting worse

Posted Image
Posted Image

Sanded the putty nice and smooth so it blends in and painted over the repairs

Posted Image
Posted Image
Posted Image

Once all that had dried, then went over with underseal paint

Posted Image

Area which has been repaired

Posted Image

This post has been edited by ScubaSteve: 29 August 2010 - 04:33 PM


#47 User is offline   ScubaSteve 

  • Group: Members
  • Posts: 1879
  • Joined: 25-August 09

Posted 29 August 2010 - 02:49 PM

done other side today, not quite as bad as drivers side just one small hole

Posted Image

as car was off the ground decided to freshen up my drums

Posted Image

#48 User is offline   ludsonline 

  • Group: Members
  • Posts: 8
  • Joined: 22-August 10

Posted 29 August 2010 - 04:29 PM

That's a really nice looking puma you have there m8... Nice rust repairs... ;-)

#49 User is offline   ScubaSteve 

  • Group: Members
  • Posts: 1879
  • Joined: 25-August 09

Posted 29 August 2010 - 04:31 PM

cheers :) 
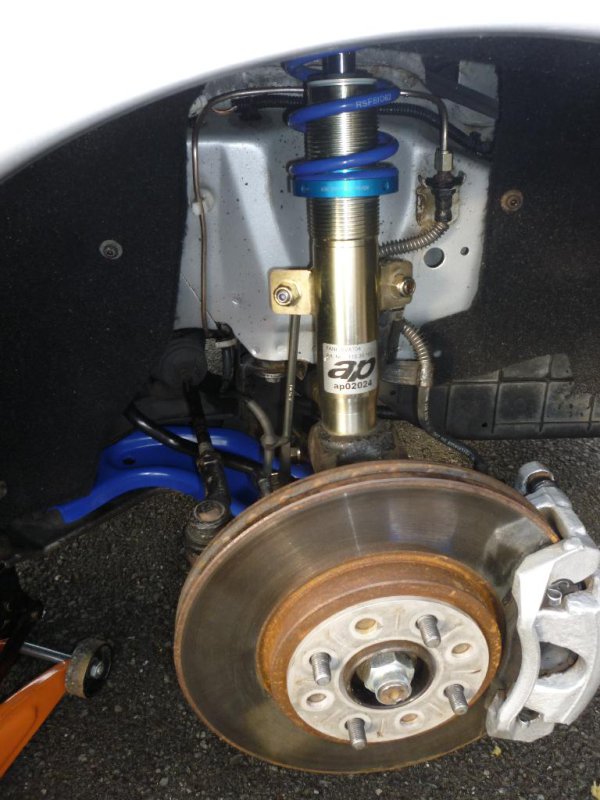
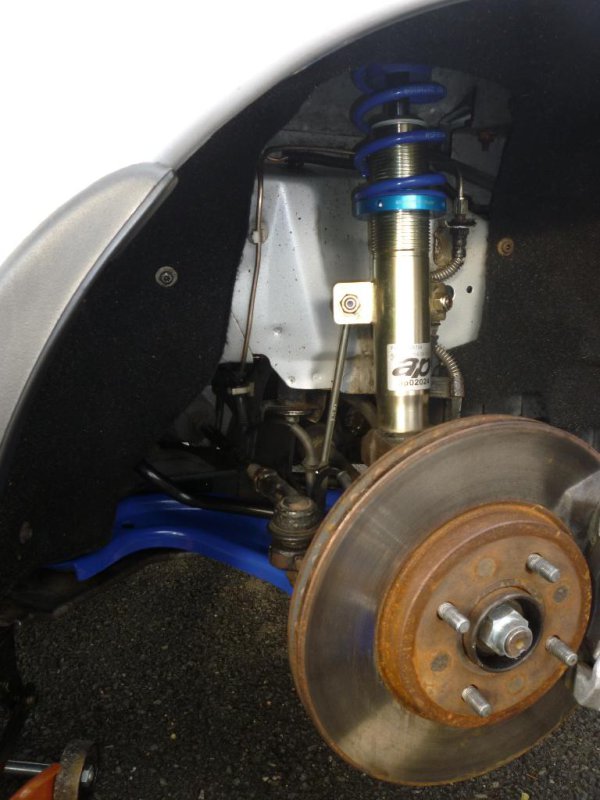
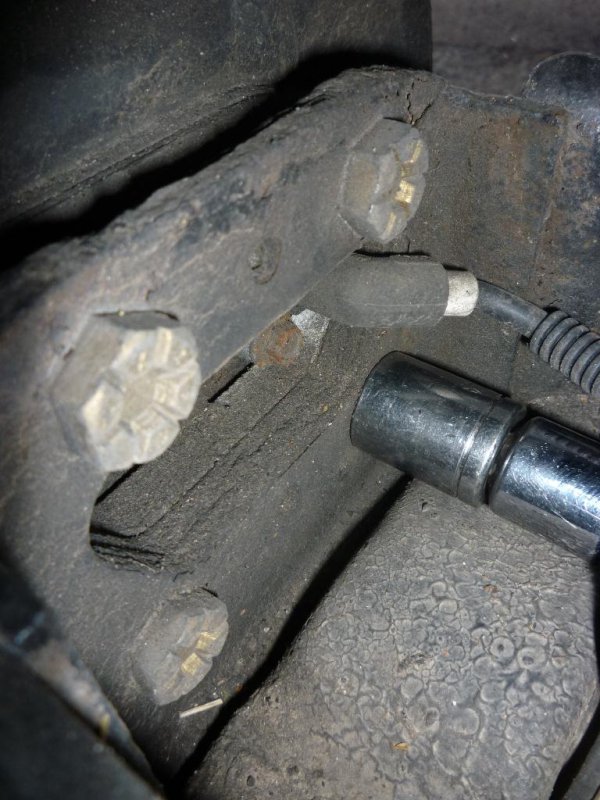
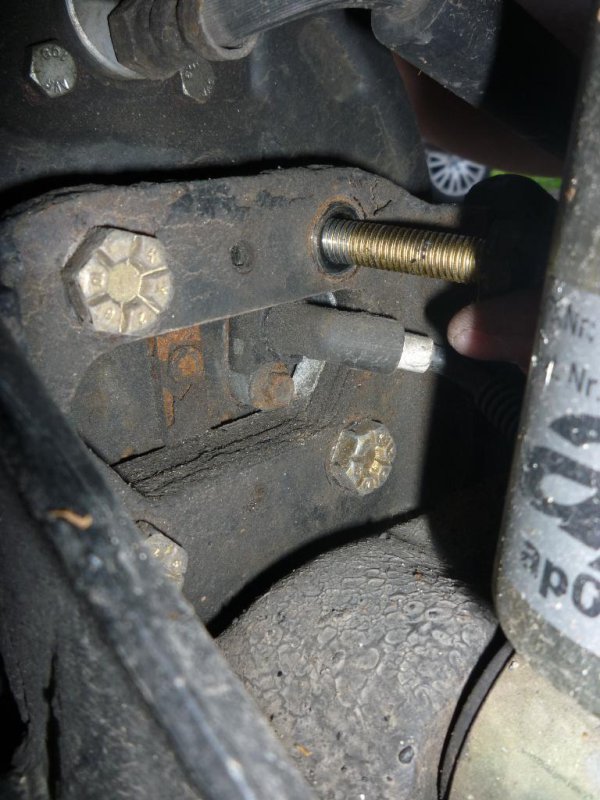
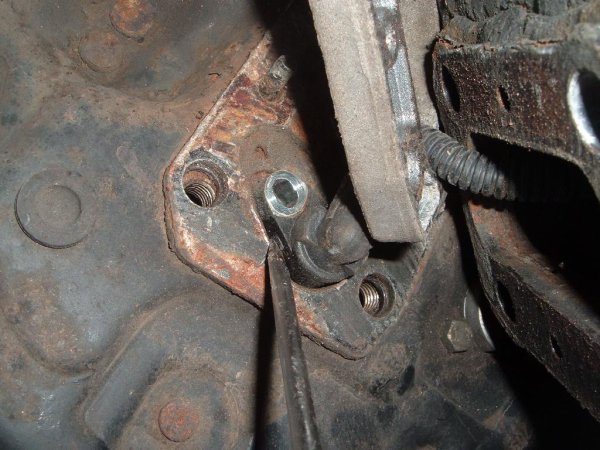
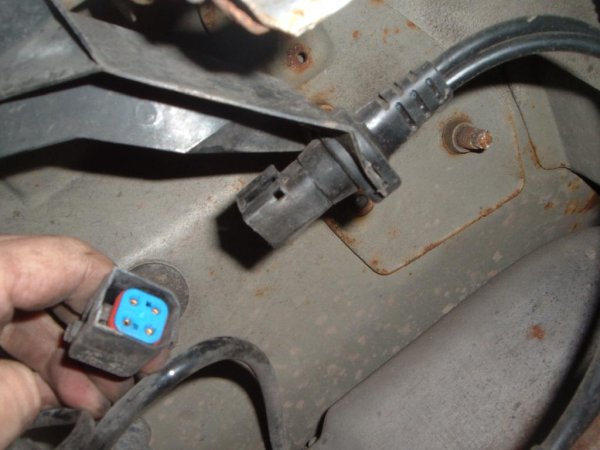
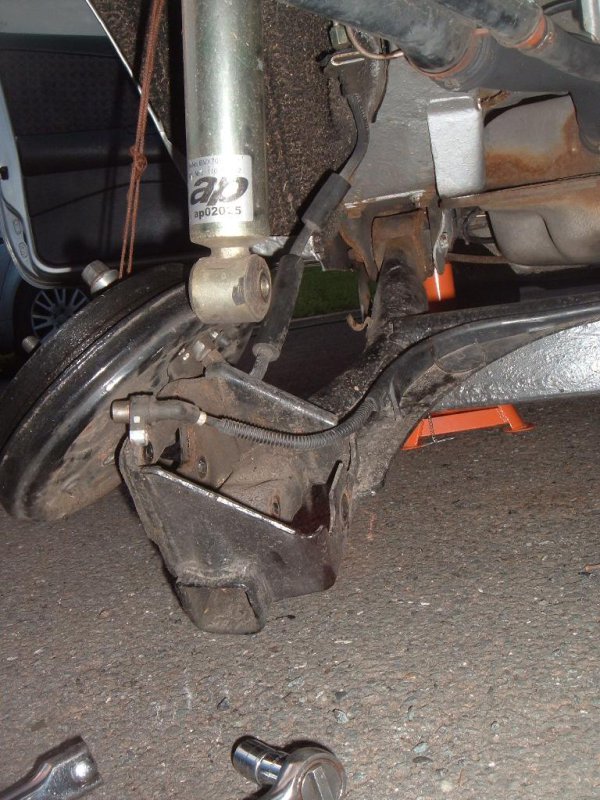
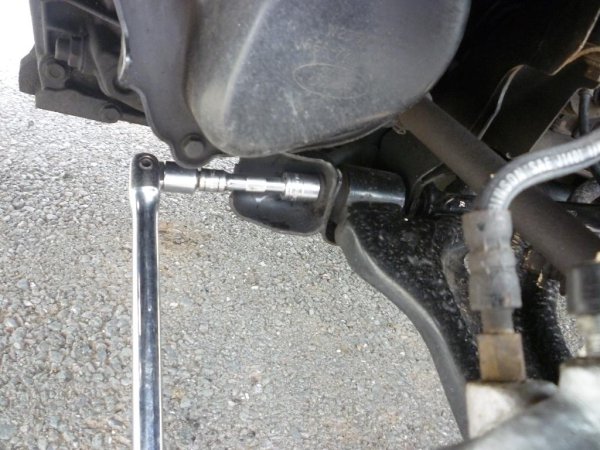
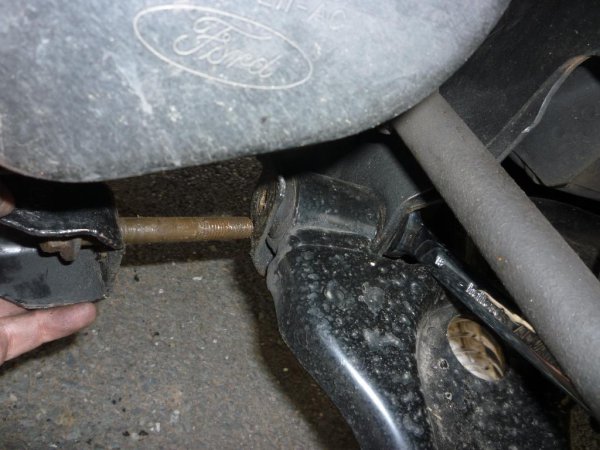
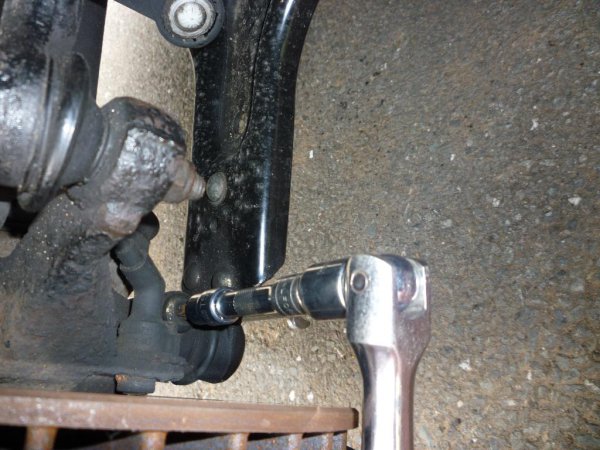
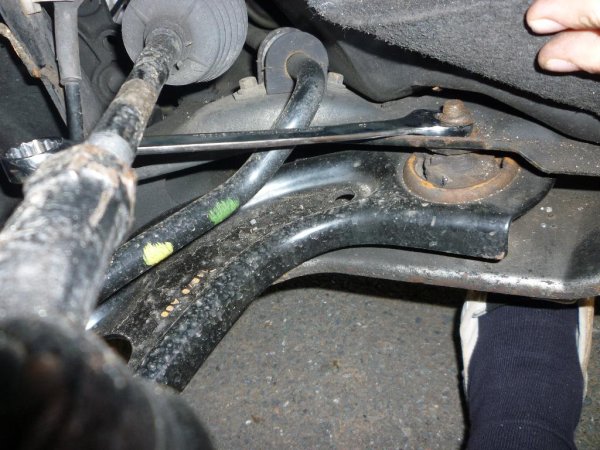
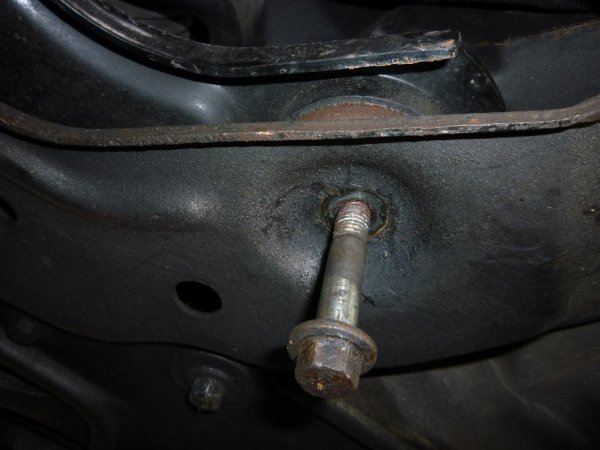
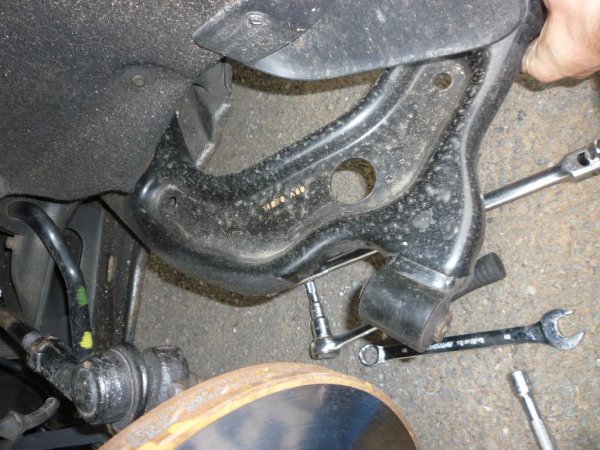
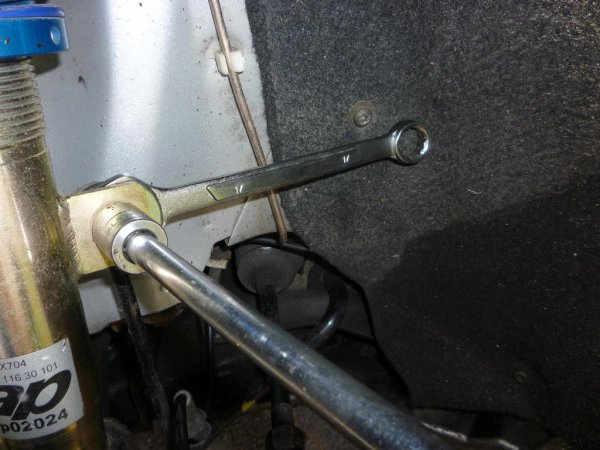
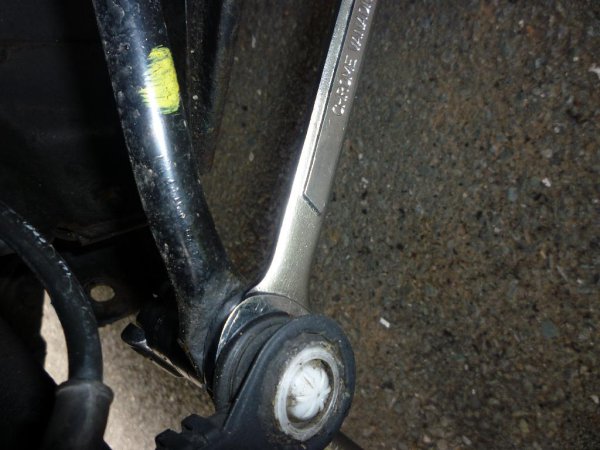
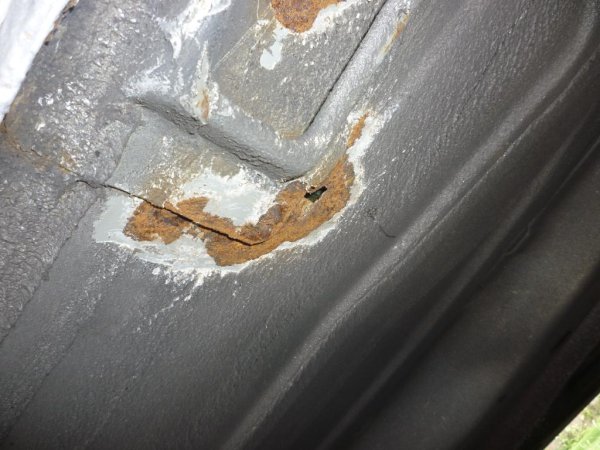
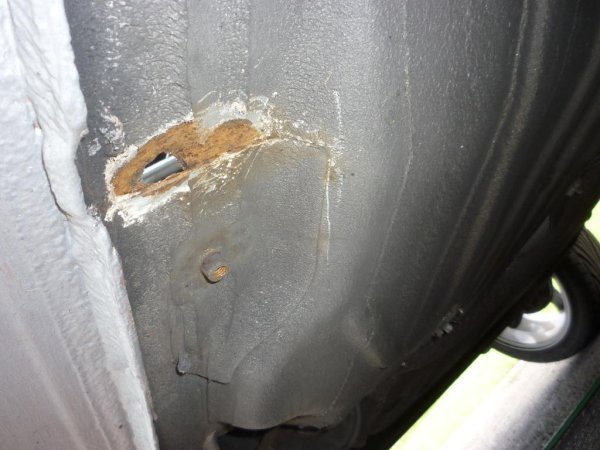
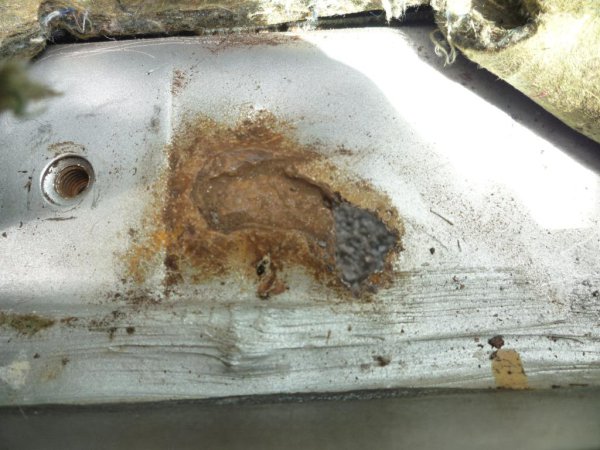
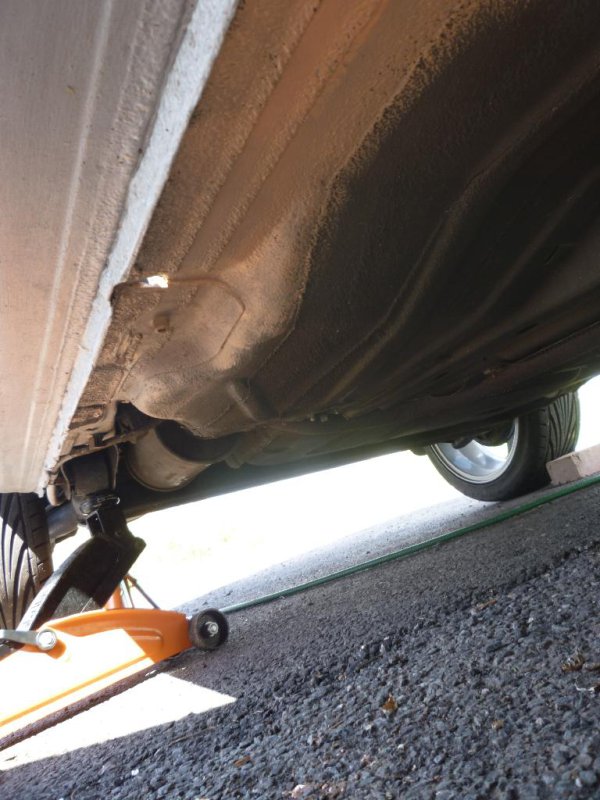
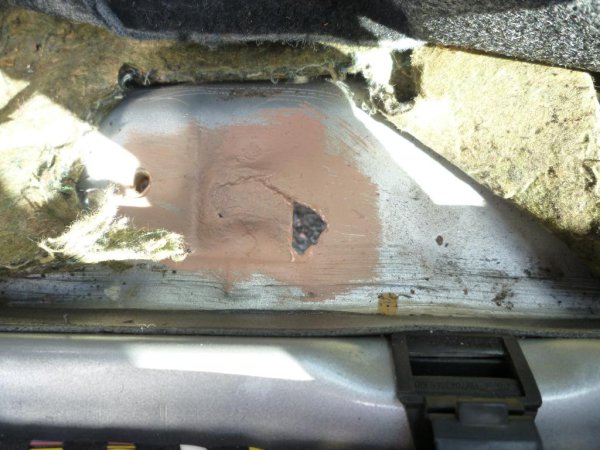
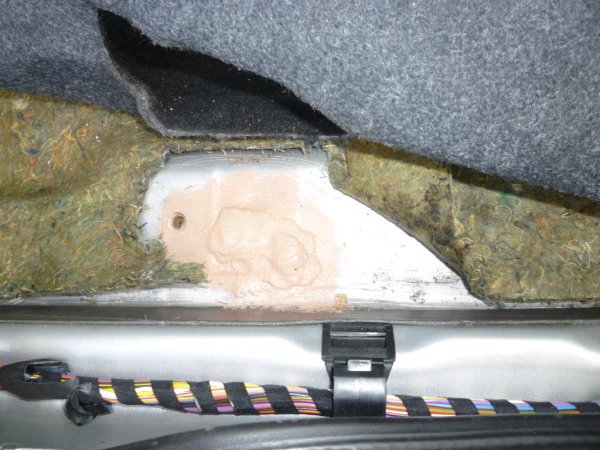
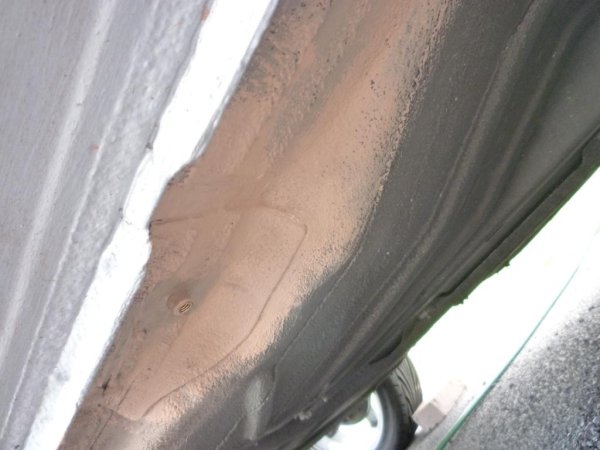
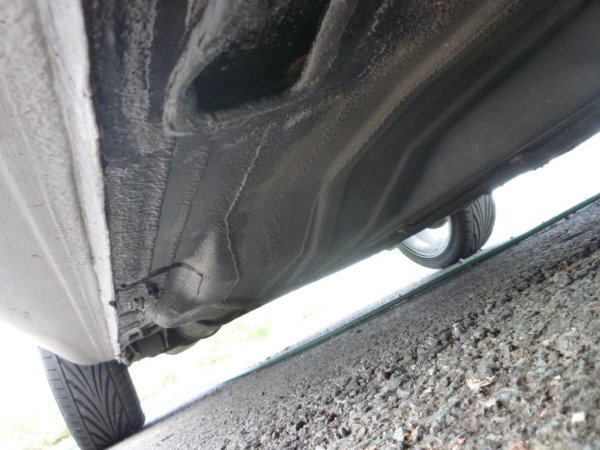
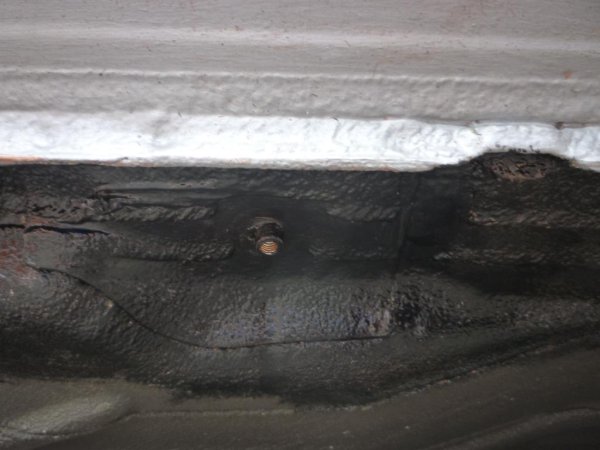
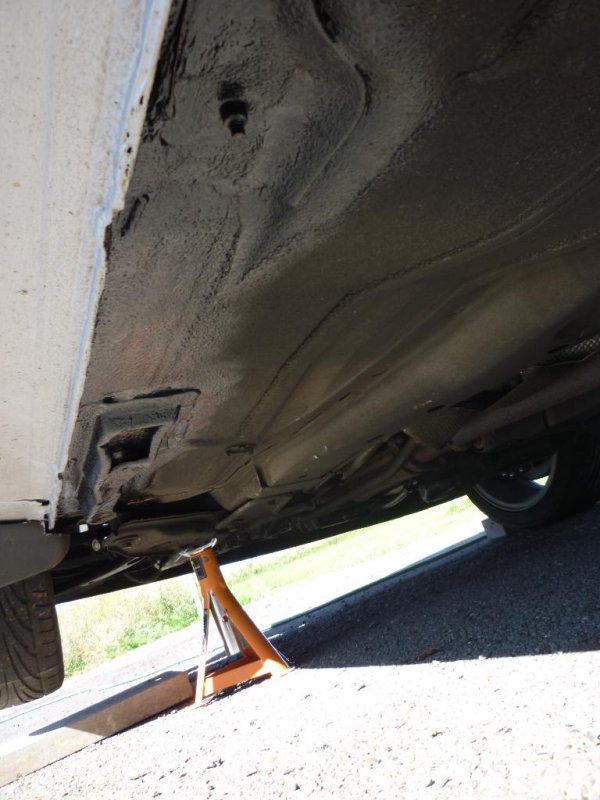
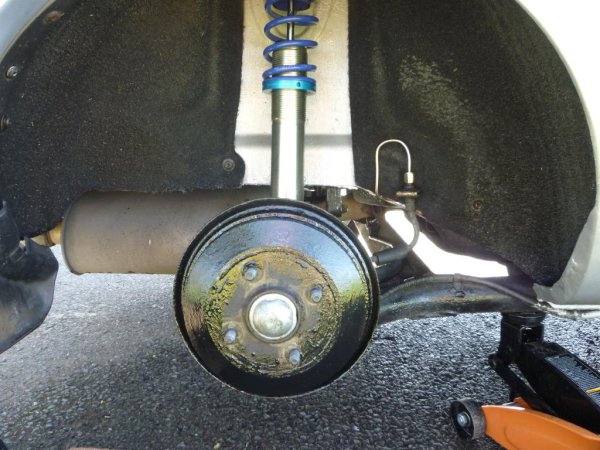
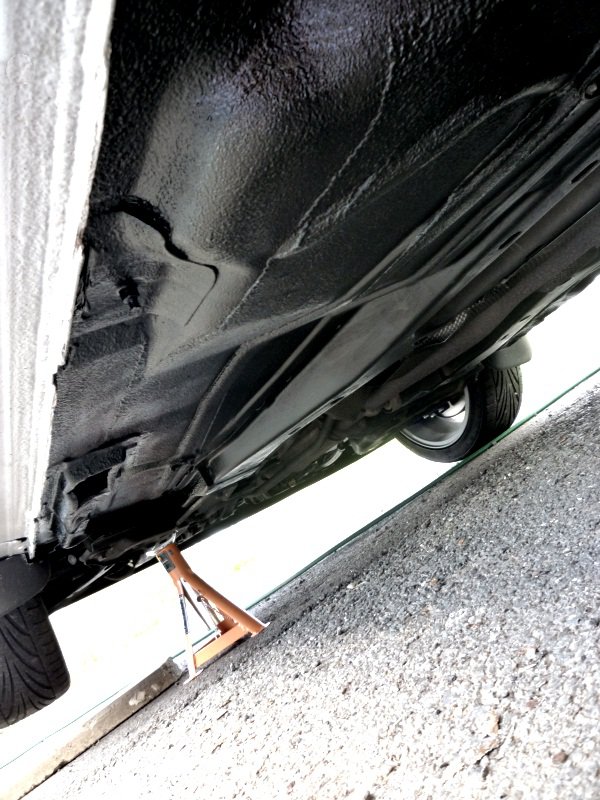
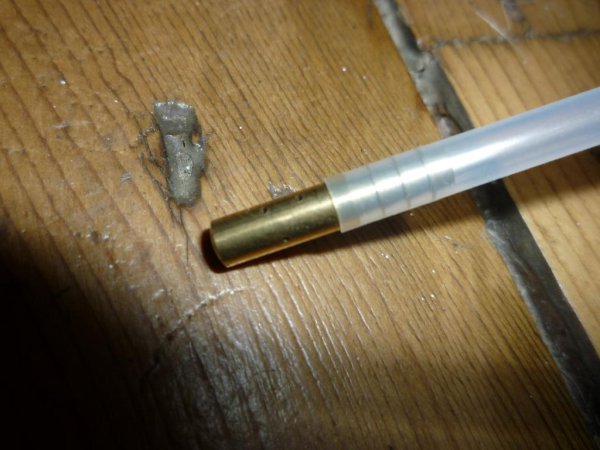
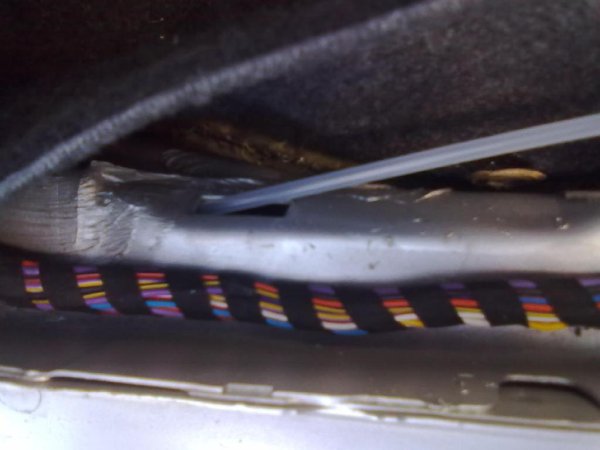
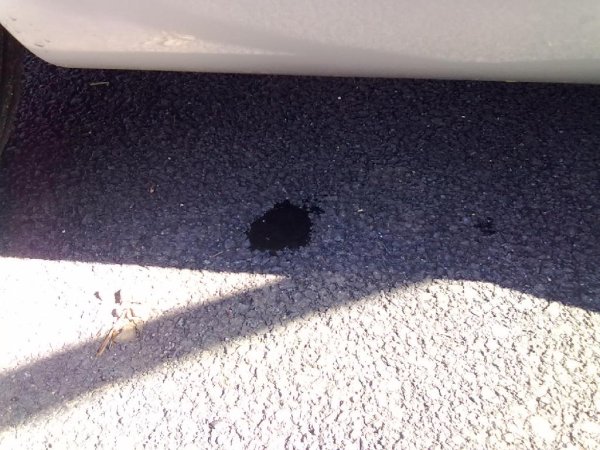
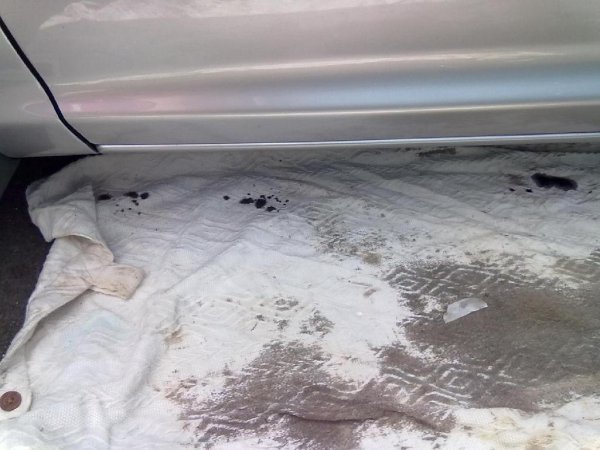
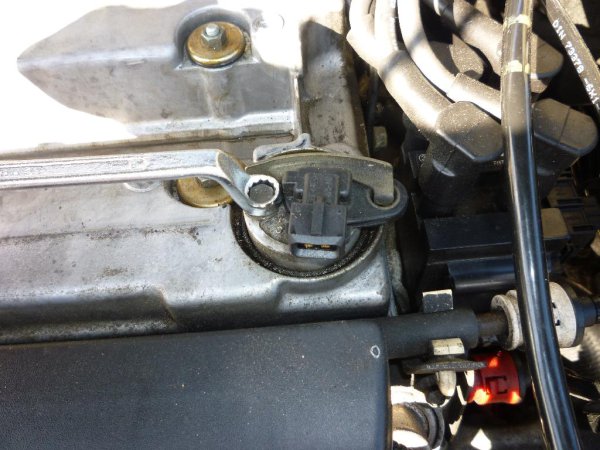
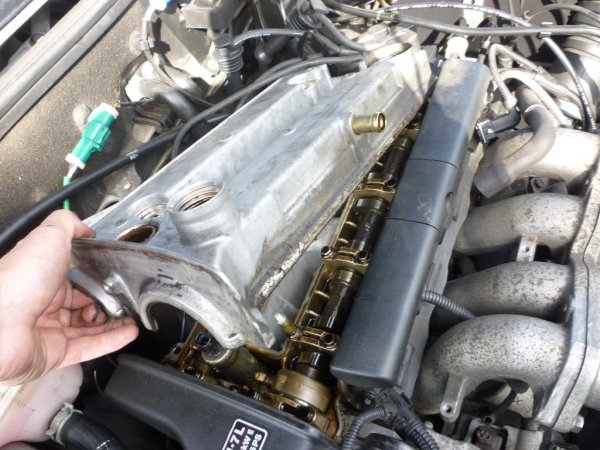
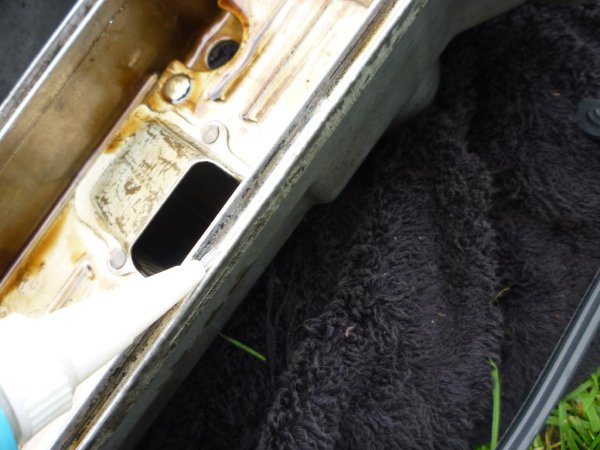
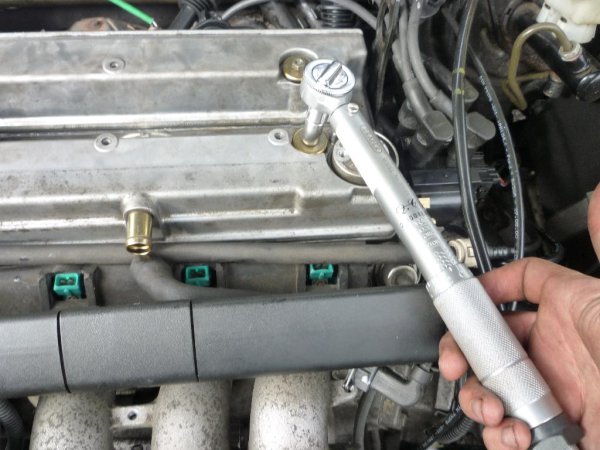
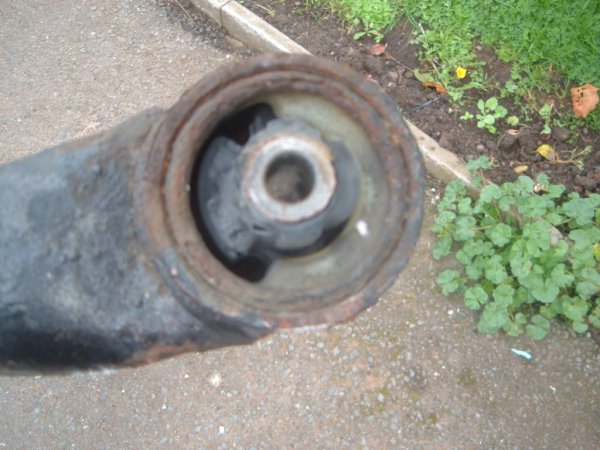
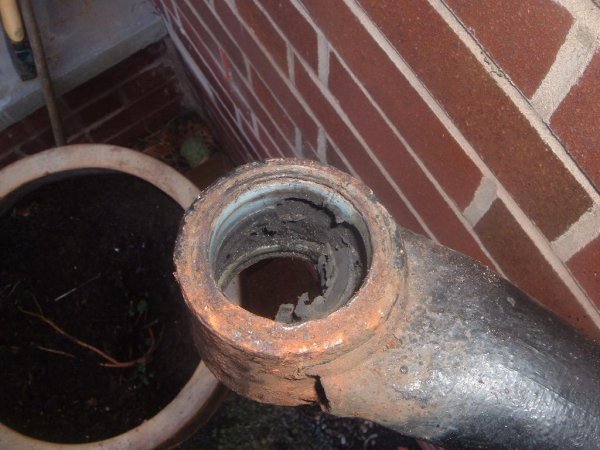
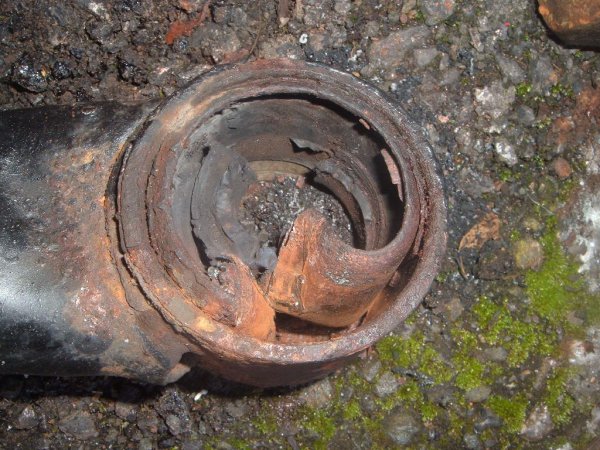
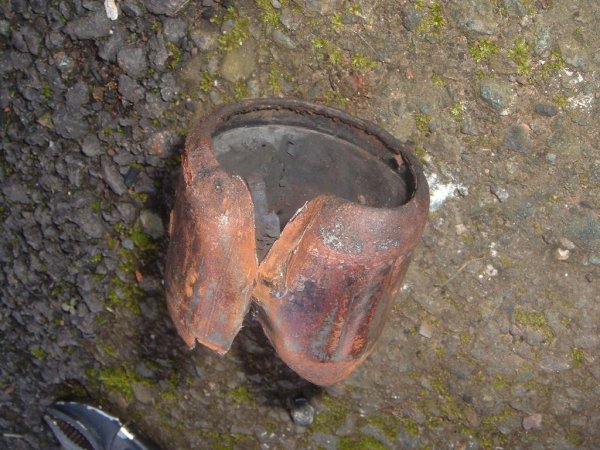
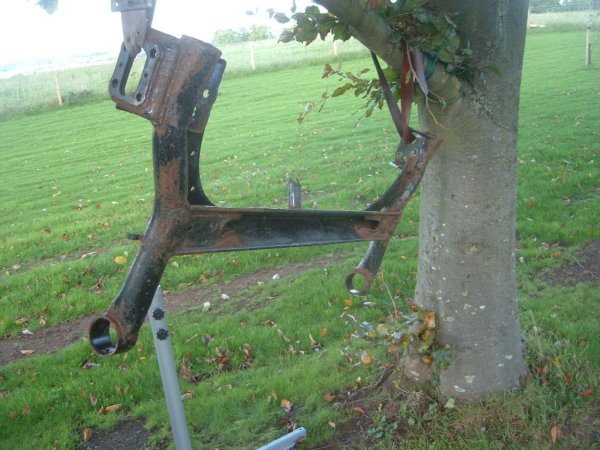
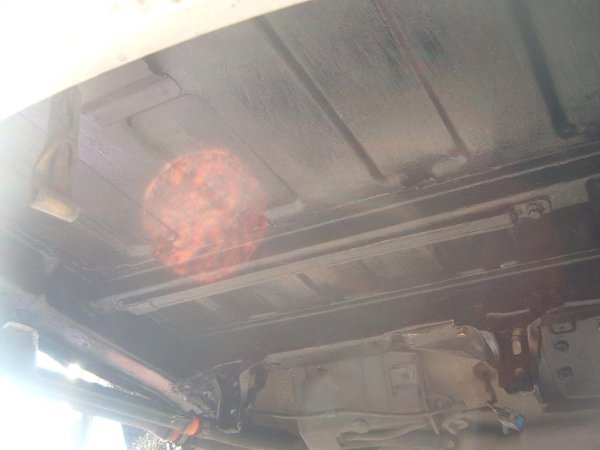
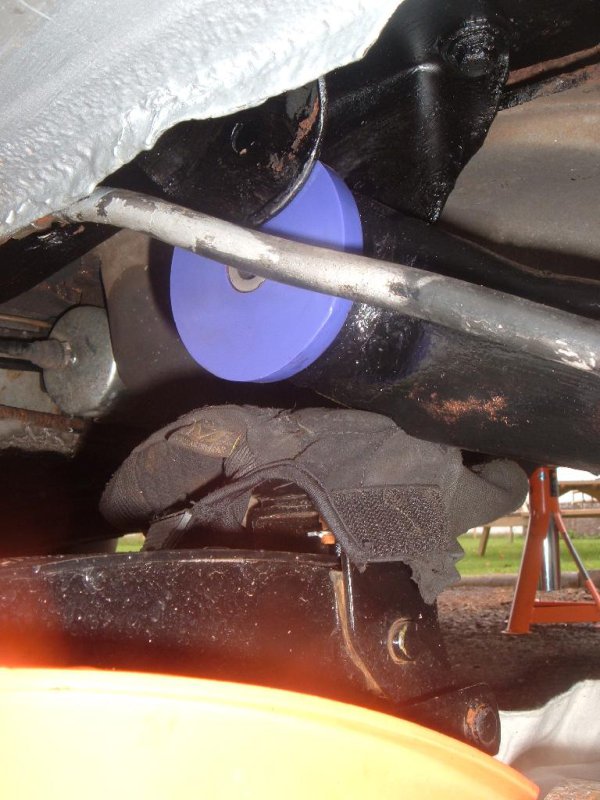
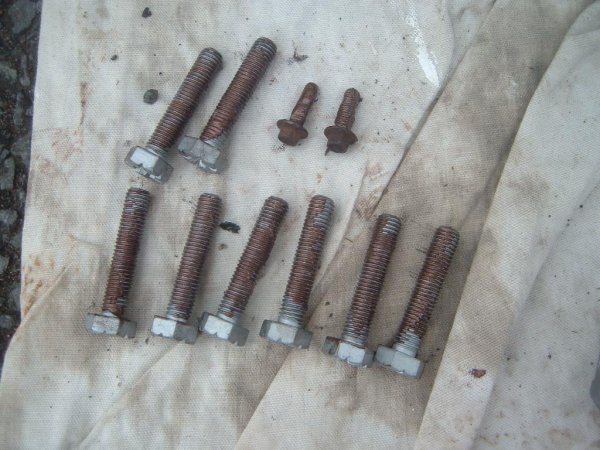
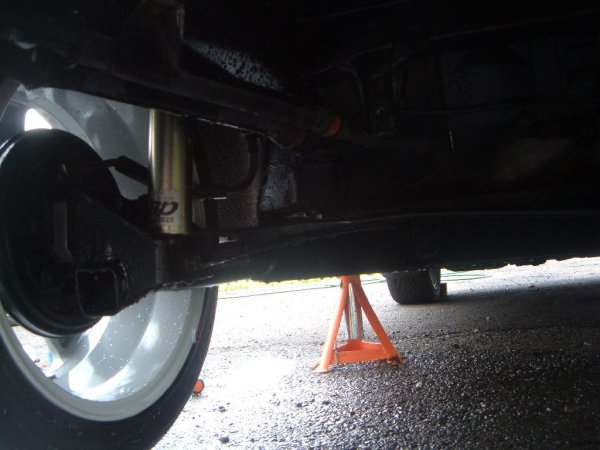
the car its self is doing quite well for rust, theres not much on the car really, so i dread to think the state of some of the ones worse for wear under there

#50 User is offline   ScubaSteve 

  • Group: Members
  • Posts: 1879
  • Joined: 25-August 09

Posted 30 August 2010 - 12:24 PM

finished off today by applying stonechip/sealant paint up to and including the chassis rails

Posted Image

#51 User is offline   ScubaSteve 

  • Group: Members
  • Posts: 1879
  • Joined: 25-August 09

Posted 08 September 2010 - 06:32 PM

Lower arm saga over! fitted the newly built up one this evening, old one that came off this side was shagged.

Ball joint gaiter split and leaking, and ball joint loose a fcuk

Posted Image

glad i got this sorted in time for combe this weekend

#52 User is offline   ScubaSteve 

  • Group: Members
  • Posts: 1879
  • Joined: 25-August 09

Posted 12 September 2010 - 01:18 PM

todays quick job was to spray insde the sills and chassis legs with rust killer/protection stuff.

this bilt hamber dynax s-50 comes highly recommended and comes with a length of penetratation hose and 360 degree spraying nozzle.

Posted Image
Posted Image

Pull back the rubber door seal

Posted Image

Remove the loom clips and in the hole revealed the tube goes

Posted Image

And spray

Posted Image

Oops forgot to put a towel under the sill drain holes

Posted Image

Drips out in a number of places down the sill

Posted Image

didnt get any pics of doing the chassis legs but done them aswell

#53 User is offline   ScubaSteve 

  • Group: Members
  • Posts: 1879
  • Joined: 25-August 09

Posted 21 September 2010 - 06:52 PM

Time to fix leaky rocker cover gasket!

Posted Image

Posted Image

Posted Image
Posted Image
Posted Image
Posted Image
Posted Image
Posted Image
Posted Image
Posted Image
Posted Image
Posted Image
Posted Image
Posted Image
Posted Image
Posted Image

All back and hopefully no leaks!

Up to date Jobs list

Cambelt (done)
New Clutch (done)
Coilovers (done)
New wheels (done)
Rear axle Spacers (done)
300mm brakes (done)
Early brake servo/mc setup swap (done)
Replace rear shoes (done)
Better seats(done)
Induction Kit (done)
New Battery (done)
Custom front wishbones (done)
Replace brake lines, rear and poss front (done)
Rear beam refurb? & bushes
Fuel tank
New steering wheel (cleaned will see how it goes)
Rear arches resprayed and 100% rust free
New droplinks (done)
Widen track to match FRP
Rocker cover gasket (done)
new top mounts

#54 User is offline   ScubaSteve 

  • Group: Members
  • Posts: 1879
  • Joined: 25-August 09

Posted 01 October 2010 - 08:53 AM

these turned up today

Posted Image
Posted Image

plan is to remove the beam, paint or powdercoat and fit these

#55 User is offline   ScubaSteve 

  • Group: Members
  • Posts: 1879
  • Joined: 25-August 09

Posted 06 October 2010 - 12:12 PM

Parts to be fitted over the next 3 days

Posted Image
Posted Image

#56 User is offline   ScubaSteve 

  • Group: Members
  • Posts: 1879
  • Joined: 25-August 09

Posted 06 October 2010 - 07:21 PM

Day 1 of 4 Progress:

Posted Image
Posted Image
Posted Image
Posted Image
Posted Image
Posted Image
Posted Image
Posted Image
Posted Image
Posted Image
Posted Image
Posted Image
Posted Image
Posted Image

#57 User is offline   ScubaSteve 

  • Group: Members
  • Posts: 1879
  • Joined: 25-August 09

Posted 07 October 2010 - 04:39 PM

Day 2 Progress

Got beam off

Posted Image

Bushes pretty knackered

Posted Image

Removed ABS loom

Posted Image
Posted Image

Drilling out the rubber innards of the bush with a 50mm hole saw

Posted Image
Posted Image
Posted Image

Sawing through the metal outer sleeve of the bush

Posted Image
Posted Image

Few smacks with a screwdriver

Posted Image

Out

Posted Image
Posted Image

All of them lined up

Posted Image

Now onto the beam refurb, hung it in a tree lol

Posted Image

Needed to strip all the old flaking paint off that id attempted to apply while it was on the car a while ago, so this came out

Posted Image

5 mins later, bubbling

Posted Image

Off it comes

Posted Image

Sanded down the beam and washed afterwards

Posted Image

First coat of hammerite

Posted Image

Whilst that dried i undresealed the boot floor, the beam mounting points and chassis legs up the rear

Posted Image

Another coat of hammerite applied and the poly bushes fitted

Posted Image
Posted Image
Posted Image

And thats the end of day 2!

#58 User is offline   ScubaSteve 

  • Group: Members
  • Posts: 1879
  • Joined: 25-August 09

Posted 08 October 2010 - 01:00 PM

today is finished! some pics

Jack came in handy again getting beam up

Posted Image

Assortment of bolts all greased up ready to go in

Posted Image

New spacers compared to old

Posted Image

Fitted

Posted Image

Rear beam all back and bolted up

Posted Image

Could already tell the wheel spacer difference whilst it was jacked up

Posted Image

Some finished shots, car needs a clean, thats tomorrows job, more pics then, front wheels will be getting widened some time in the next week or two

Posted Image
Posted Image
Posted Image
Posted Image
Posted Image
Posted Image
Posted Image

difference is substantial can tell more in real life, drive feels perfect, smooth and precise

This post has been edited by ScubaSteve: 08 October 2010 - 01:01 PM


#59 User is offline   t783vkj 

  • Group: Members
  • Posts: 499
  • Joined: 06-April 10

Posted 09 October 2010 - 03:21 PM

All you need now is some decent tyres.Joking aside, are the refurbed wishbones still up for sale?

This post has been edited by t783vkj: 09 October 2010 - 03:24 PM


#60 User is offline   ScubaSteve 

  • Group: Members
  • Posts: 1879
  • Joined: 25-August 09

Posted 09 October 2010 - 03:33 PM

I have some wishbones that arent refurbished yet, il let you know if i can get chance to refurbish them

Share this topic:


  • 42 Pages +
  • 1
  • 2
  • 3
  • 4
  • 5
  • Last »
  • You cannot start a new topic
  • You cannot reply to this topic