
 Help
Help


hope it helps
alan.
well not on the frp but exactly the same so thought id do a little write up just incase anyone wants to do theirs and are a bit worried about doing them.
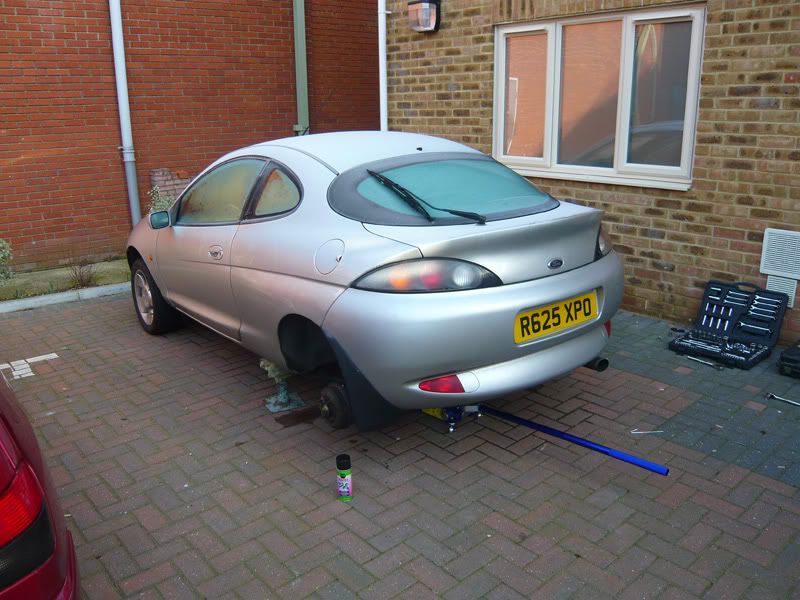
these ones were being done on my track puma that im trying to sort out over the next few months.
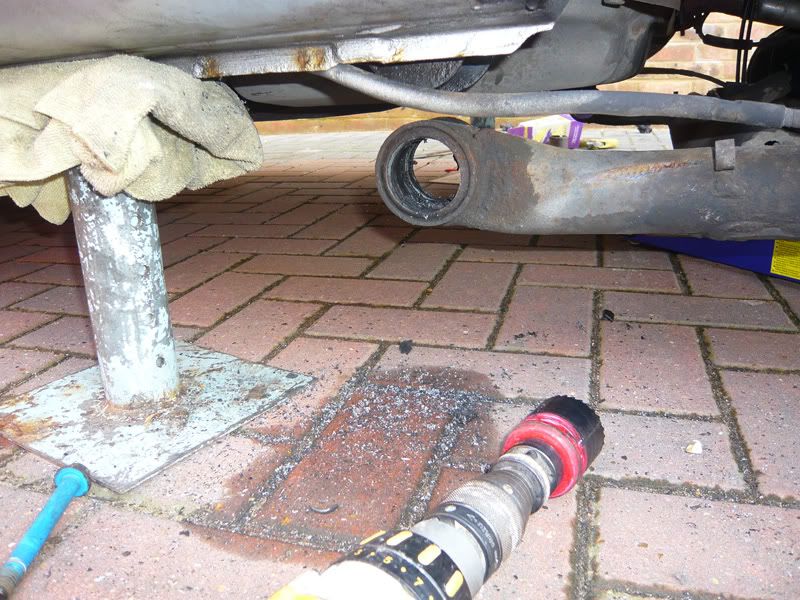
1: loosen off wheel nuts, use a trolley jack and jack the car up via the rear beam and place an axle stand under either side on the part of the sill where ford recommend to use the wind up jack on, use a soft pad or cloth on each stand to stop any damage to the paint on the sills.
remove wheels and put to one side. leave the trolley jack supporting the rear beam for now.
2:spray some penetrating fluid or wd40 on the rear beam bush bolts and leave for a while preferably a few hours to let it soak in, you may not want to but i think it helped get mine undone.
3: undo the rear beam bolts, you will need a 15mm socket and a 19mm spanner, strange sizes but thats what sizes mine were.
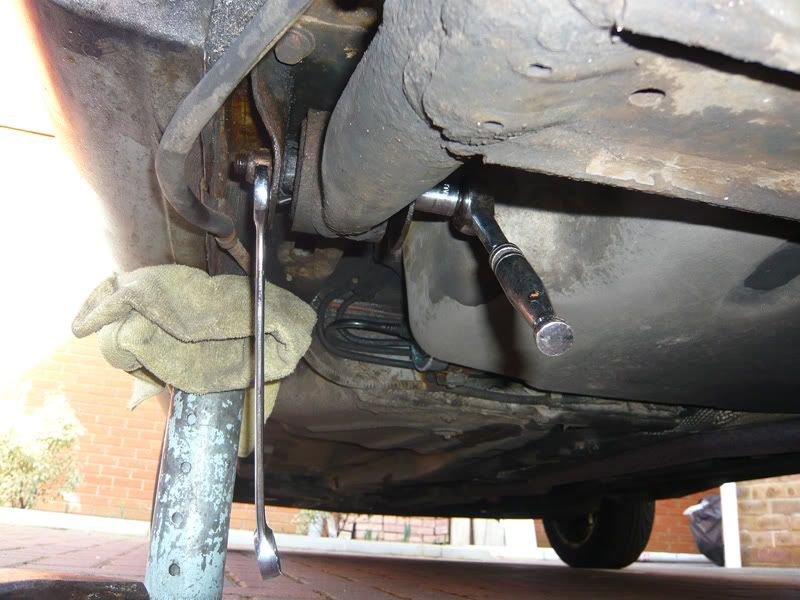
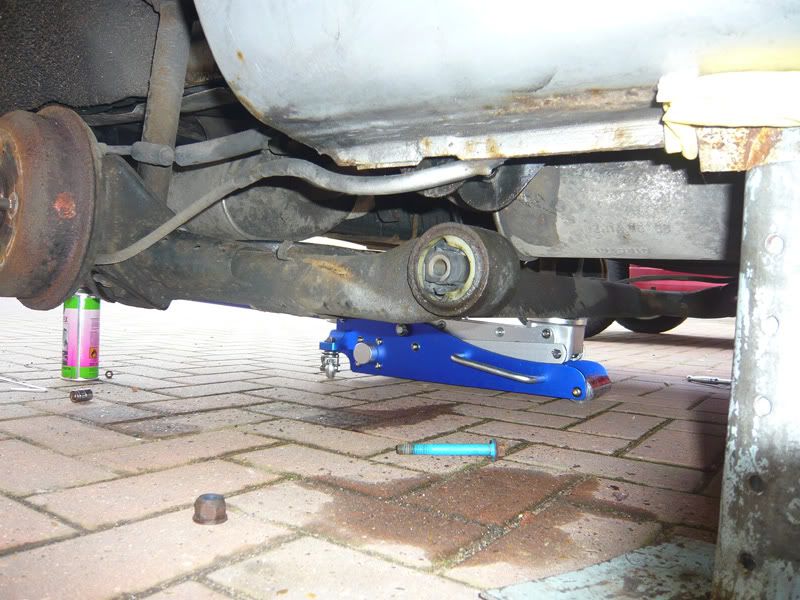
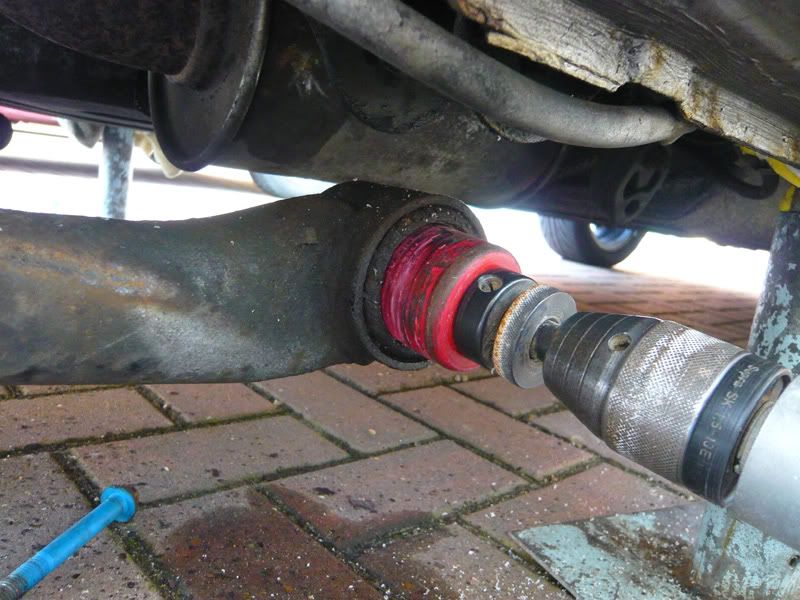
4: once the bolts are undone remove them and lower the trolley jack down slowly about 6 inches until you can see the bushes and work on them.
 .
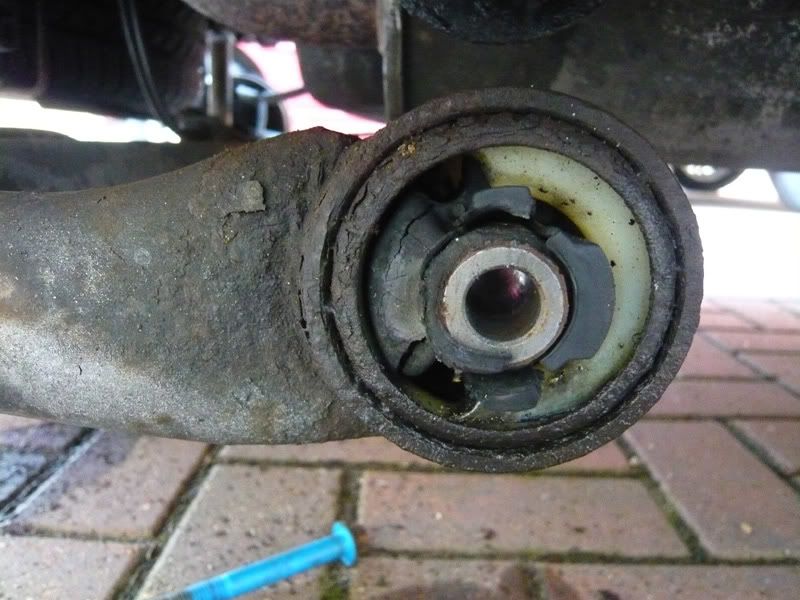
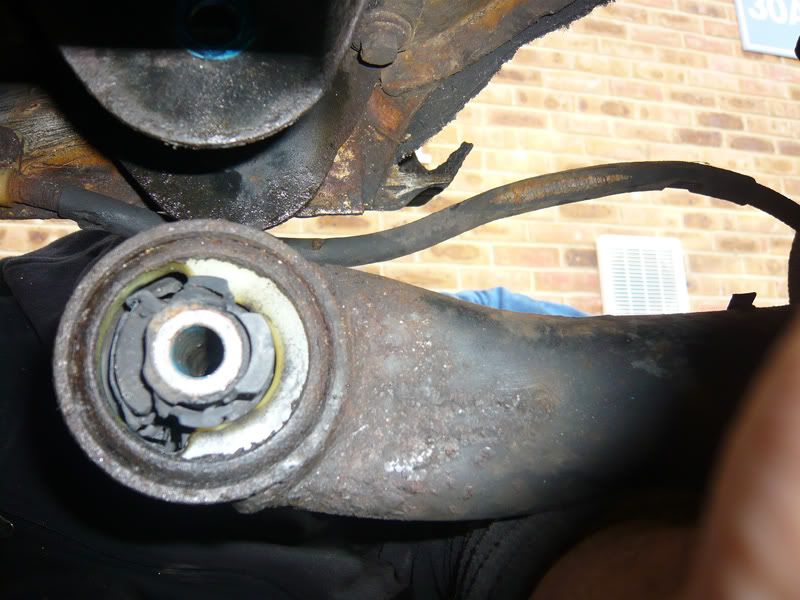
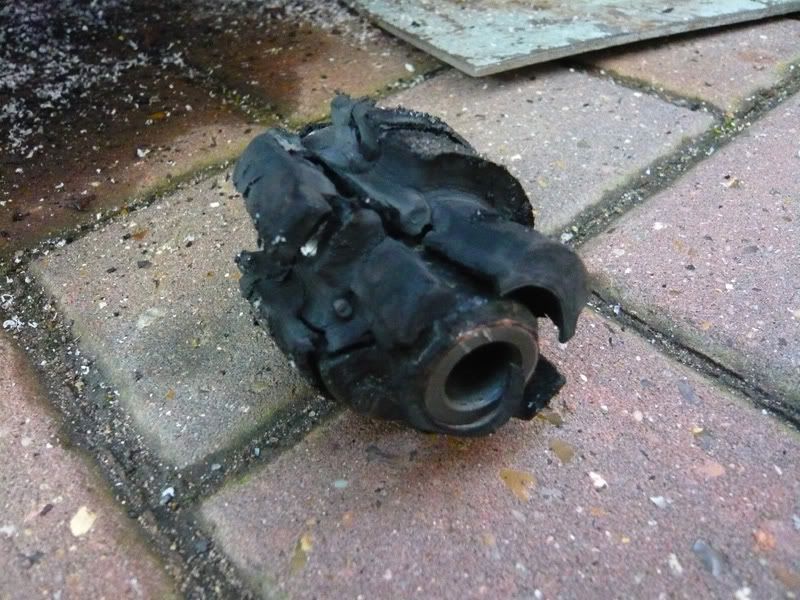
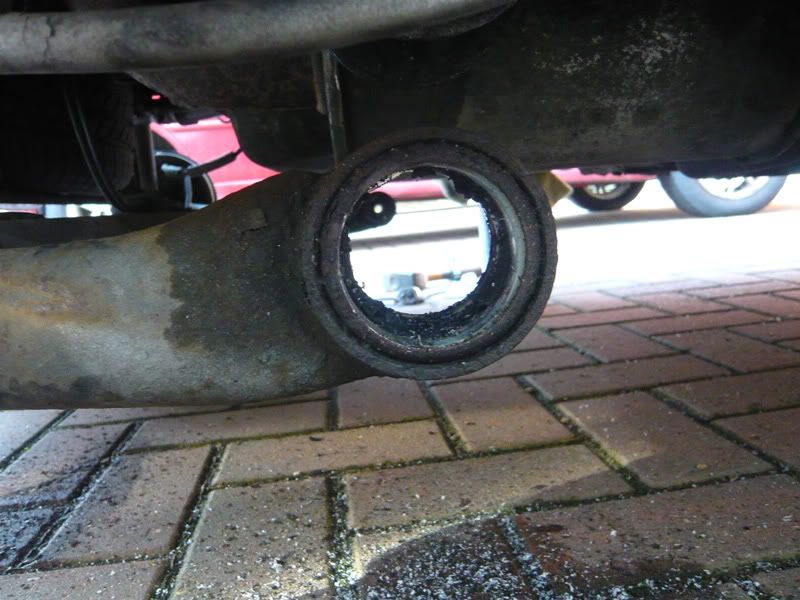
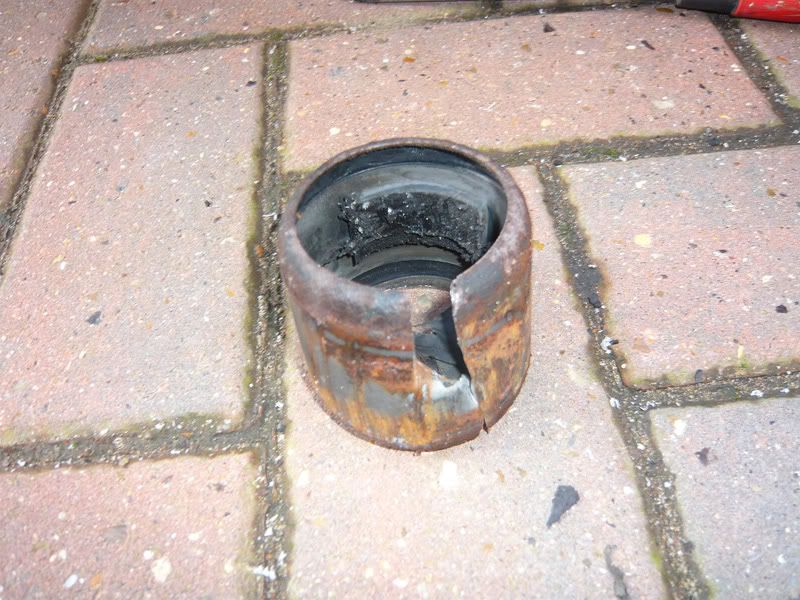
.5: my rear bushes were completely shot and id put money on them being the originals how it past an mot two months ago is beyond me.
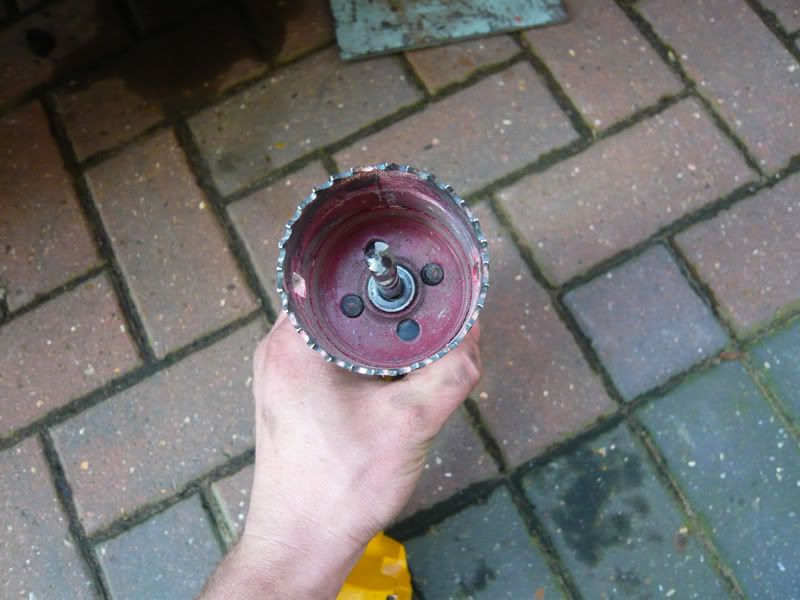
6: get a drill and a 50mm hole saw, this fits perfectly inside the metal shrouding of the ford bush allowing you to drill out the rubber.
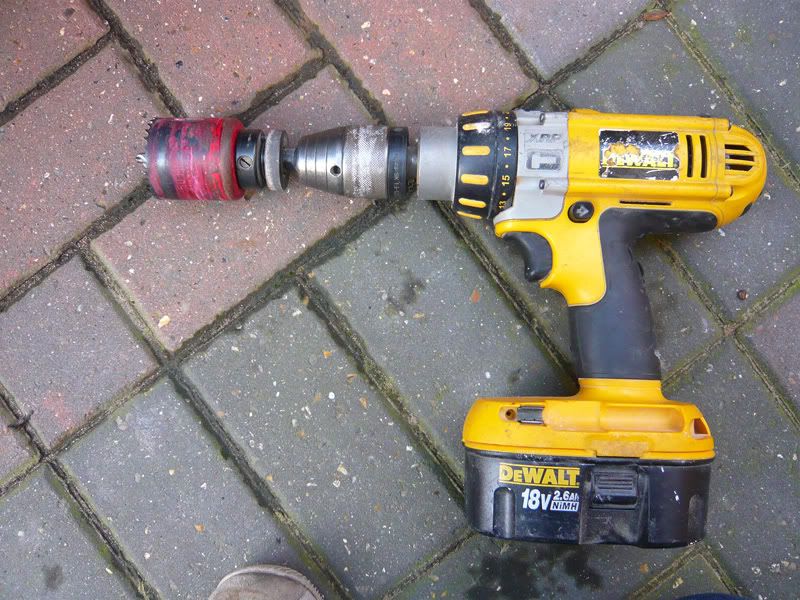
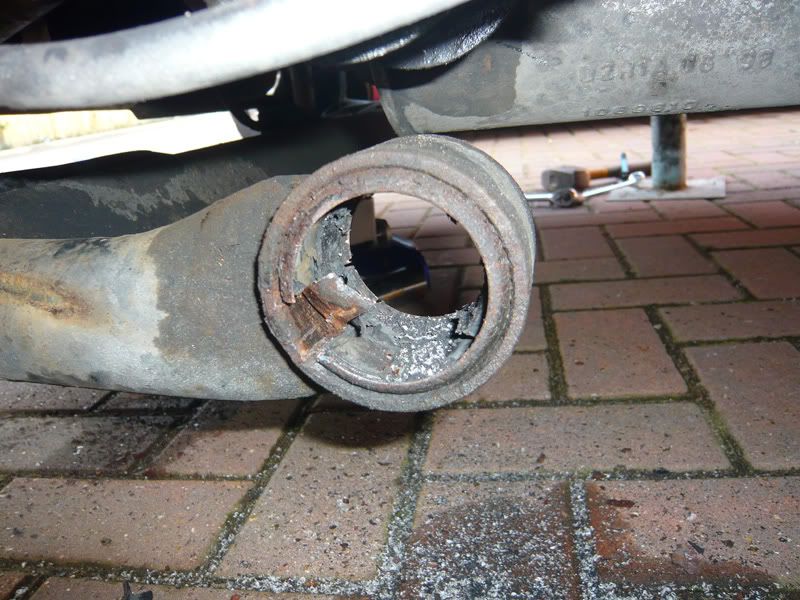
7: drill into the bush as far as you can, you will have to drill it from both sides and it seems to get quite hard towards the middle but keep at it.
8: once most of the way through give the rubber part a good wack with a hammer and chisel and the rubber part will fall out.
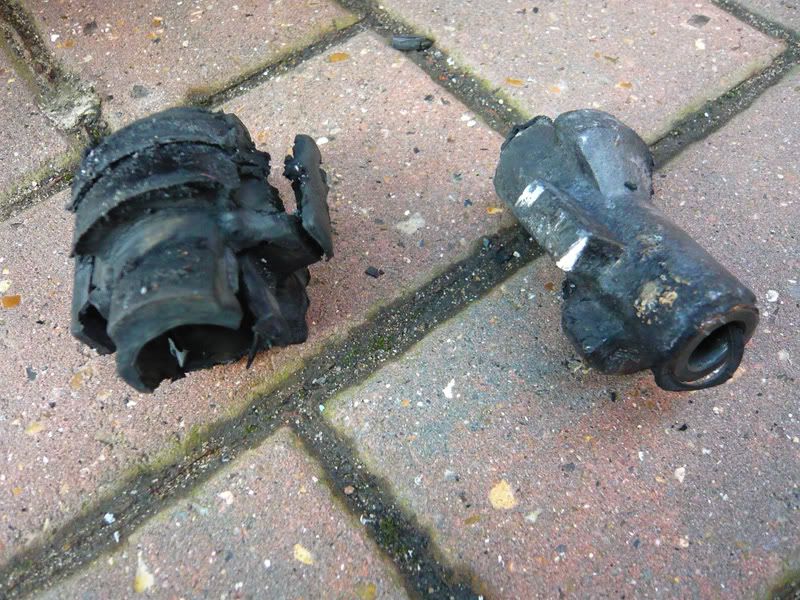
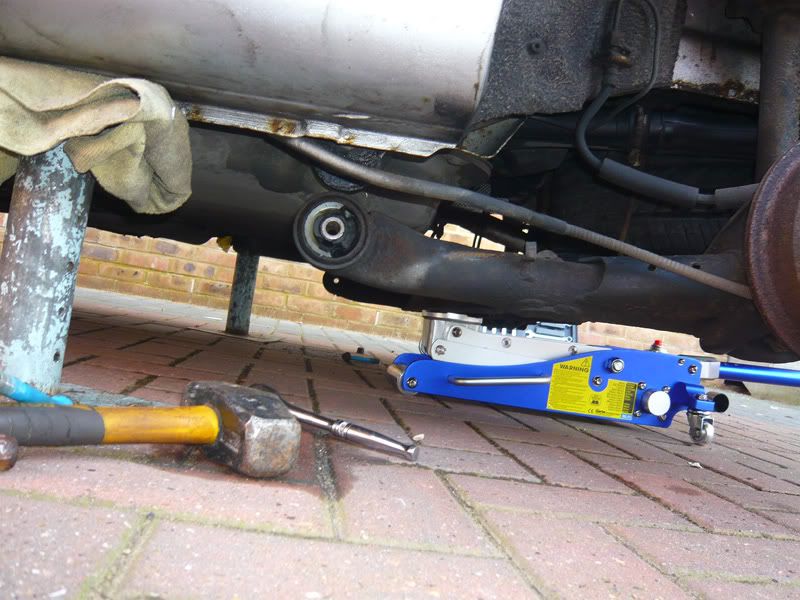
9: once thats done you still have the outer metal casing of the bush left in the hole, this is in there very tight as they are pressed in bushes. to get this out isnt that hard at all. get a hacksaw, remove the blade and put it through the hole and reconnect it to the hacksaw.
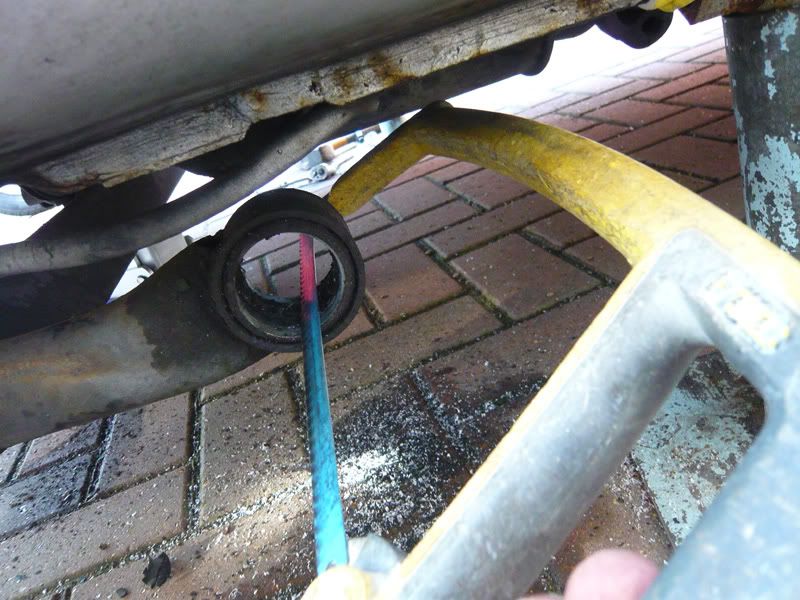
10: cut two lines about 20mm apart through the outer casing but not into the beam if you can help it, once most of the way through which will take a couple of minutes on each line, take a 20mm chisel or big flat head screwdriver and give it a good whack in between the two lines that you have just cut, once you get over half way through the pressure will release and the bush casing will fall right out.
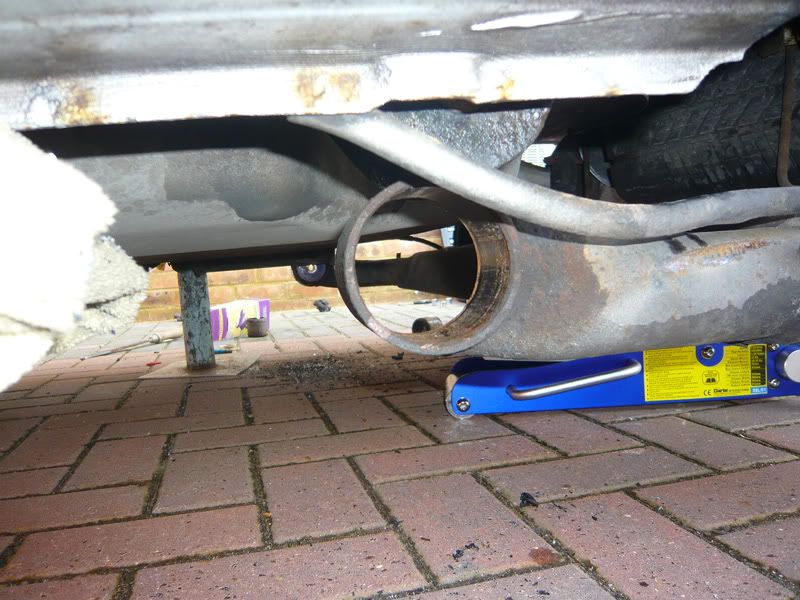
11:once this is out give the inside of the beam a quick rub down with some sandpaper just too smooth it off.
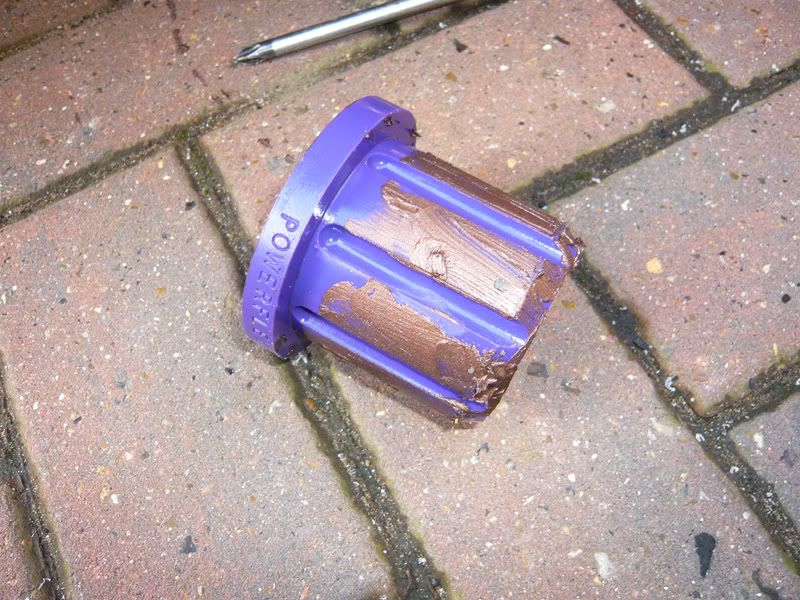
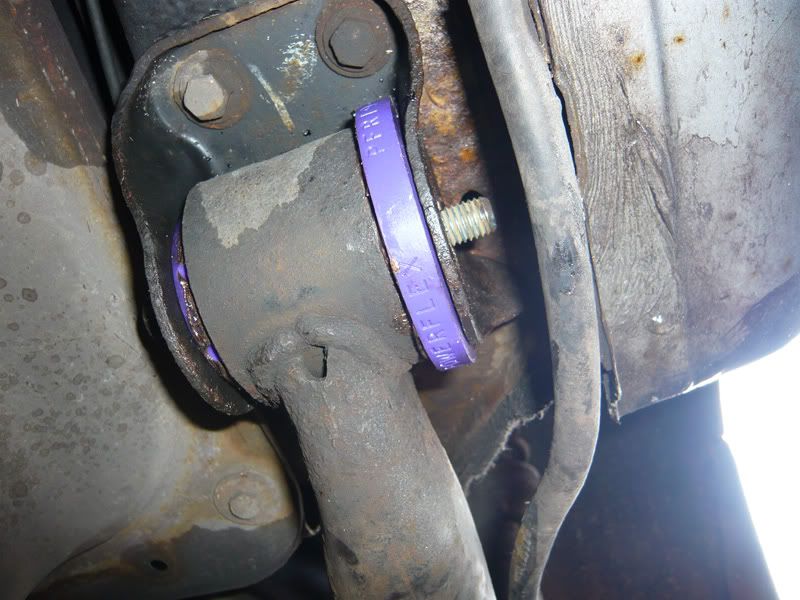
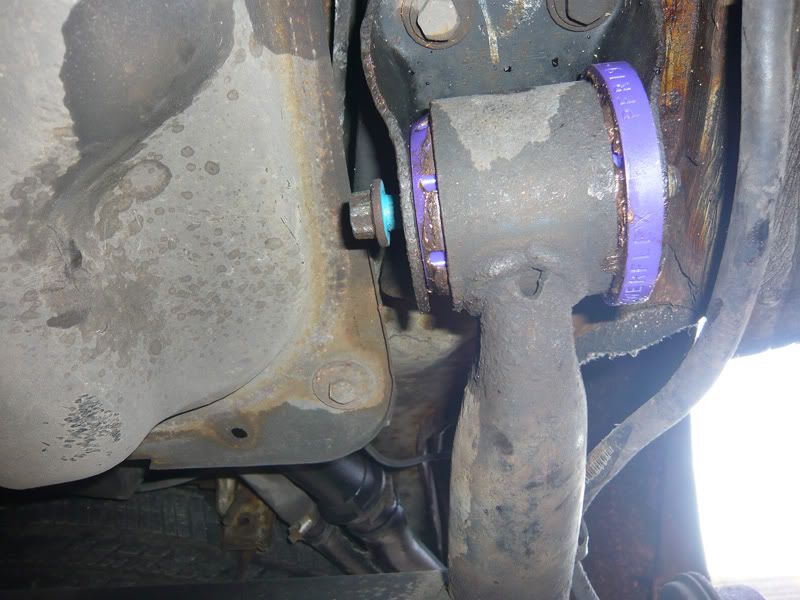
12: get your powerflex bush, insert the metal sleeve into it and put some copper slip on the outside of the bush to help it slide in.
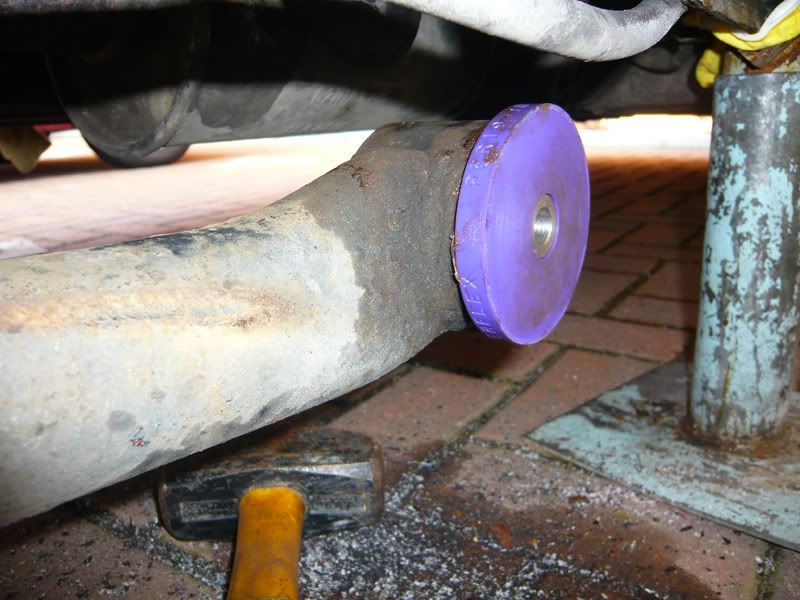
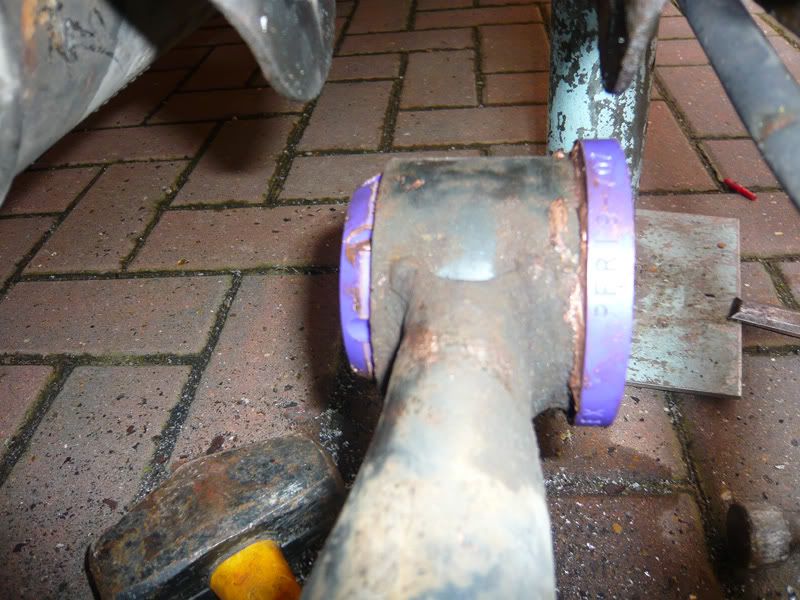
13: put the bush in place and ease it in with the help of a hammer, they go in very easily.
14: once in place and you have both sides done jack the beam back up into place and put the bolts back through, put some locktite on the threads and put the nuts back on, do these up and hey presto.( didnt get a picture with the nuts on but you get the idea).
15: put the wheels back on.
16: jack the car up to release the axle stands.
17: release the jack and lower the car down to the ground.
18: start engine and go fly around some roundabouts
 :cool:
notes:
on the standard puma you have a baffle box on the centre section near where the bush is, i could get the bolt out as this was in the way so just had to drop the back box and centre section off its rubbers and let it rest on the rear beam, four rubbers. on the frp its no problem as no box there.
also make sure that both powerflex bushes are installed the same way, either with the big flat end both on the outside edges of the car or with both flat edges on the inside of the car, either way is fine as long as they are both the same.
hope that helps someone,
alan.


