Frp #401
#1
Posted 22 September 2012 - 10:31 AM
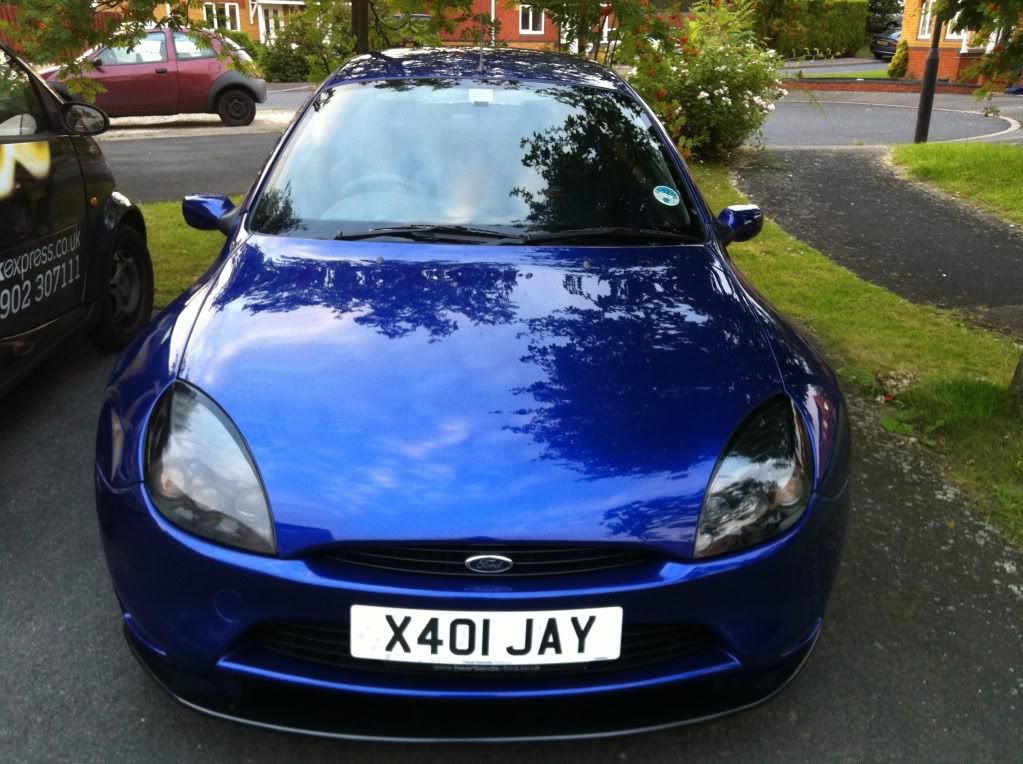
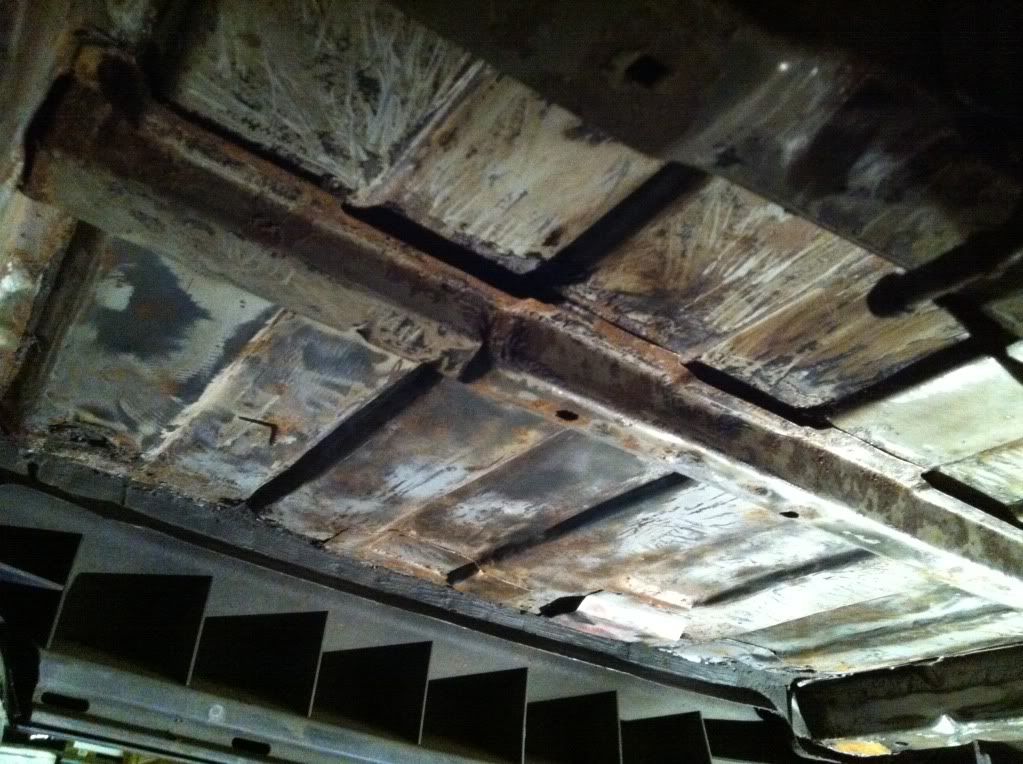
With all the rust issues that these cars are prone to I wanted one that had been rebuilt and had fresh paint and no rust. I think Jay had a build thread for #401 on here, some of you may know of the car and know the lengthy rebuild he did on it.
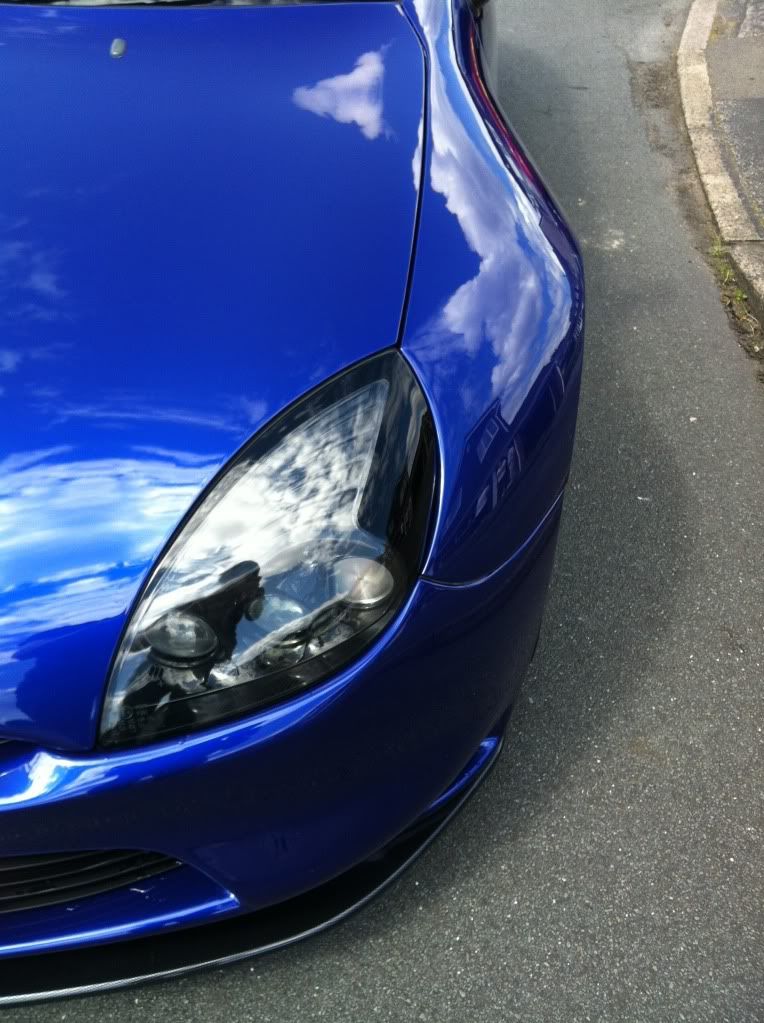
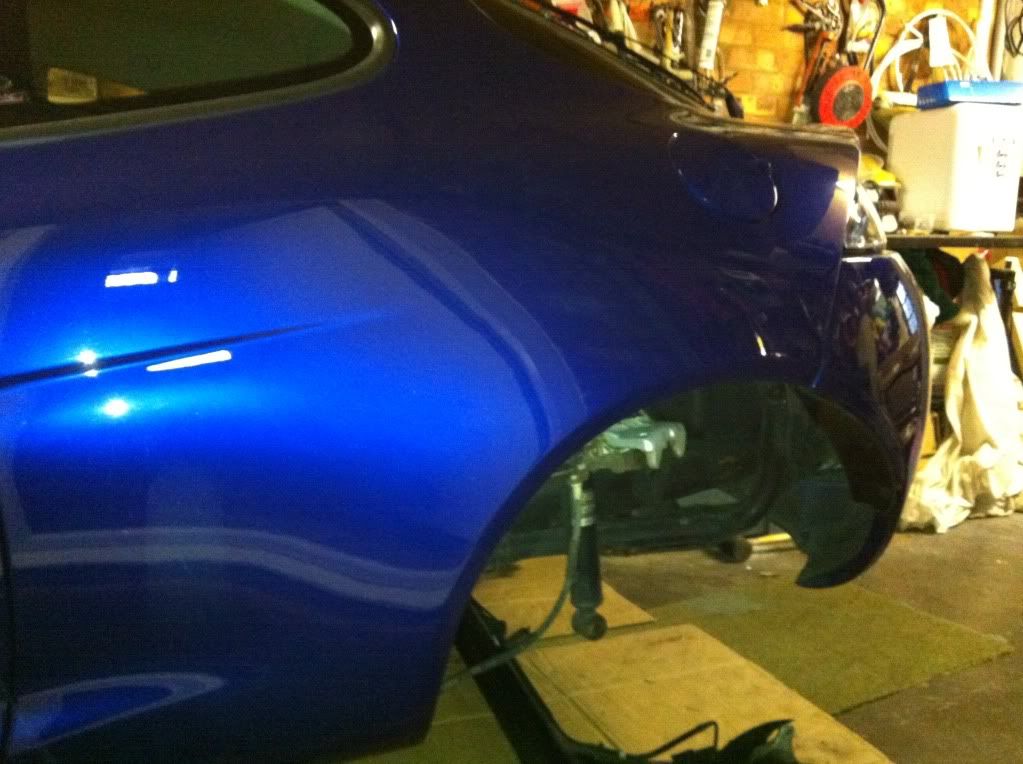
The paint and bodywork is faultless, I am quite particular with paintwork so this car was the perfect choice for me.
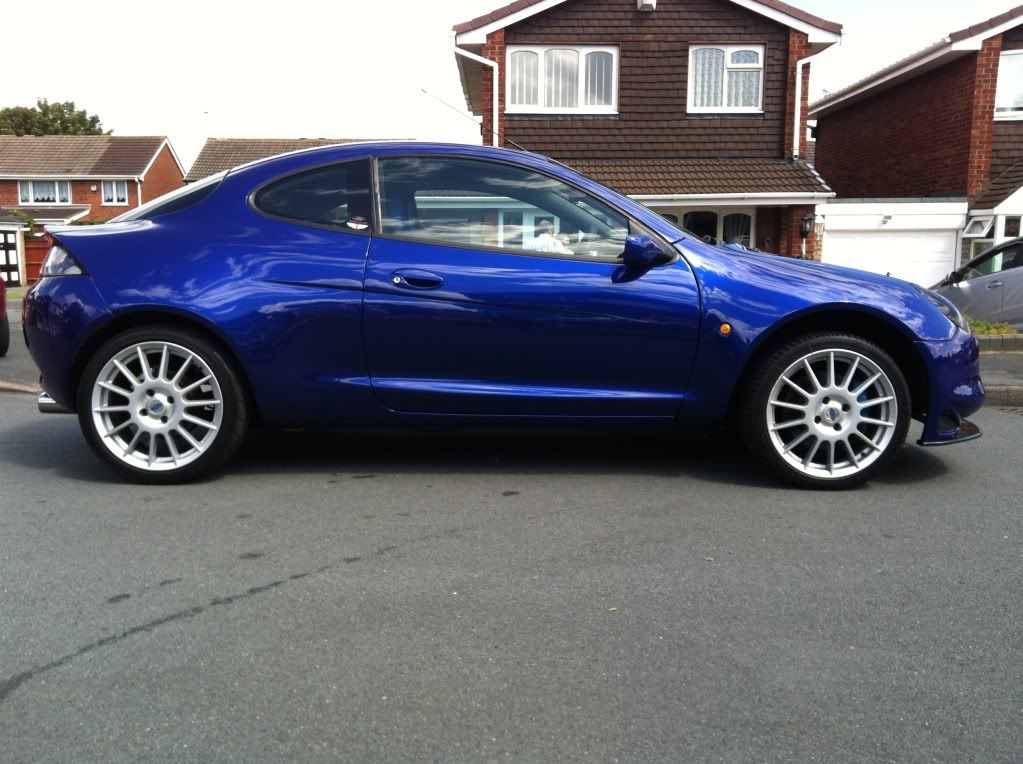
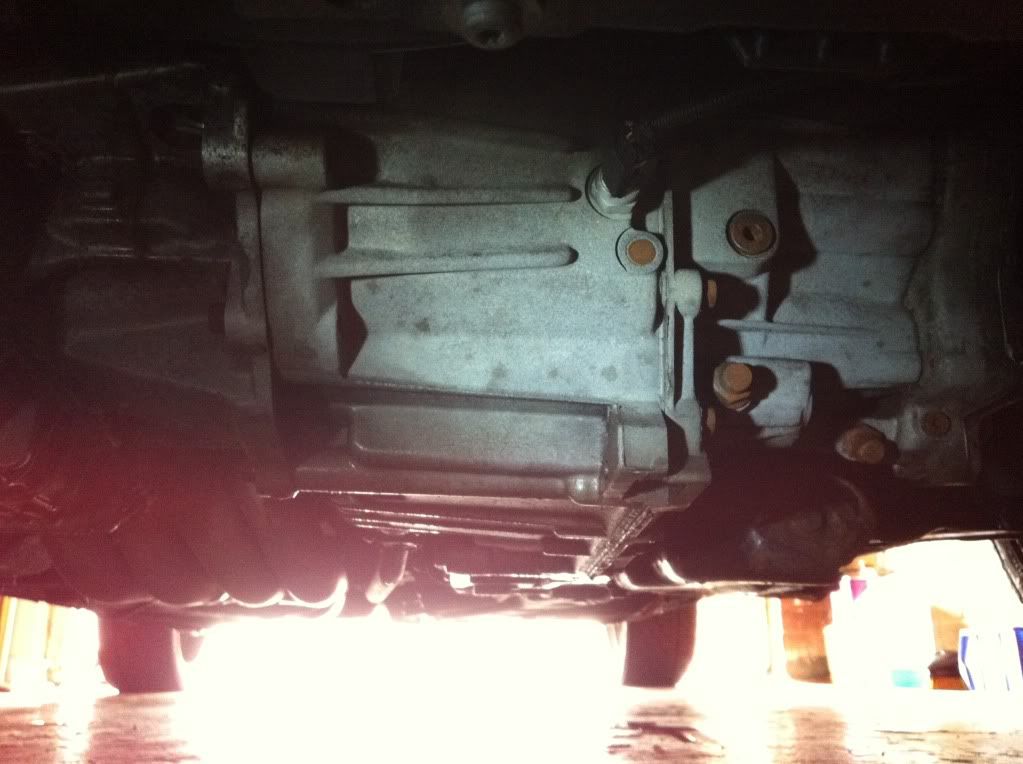
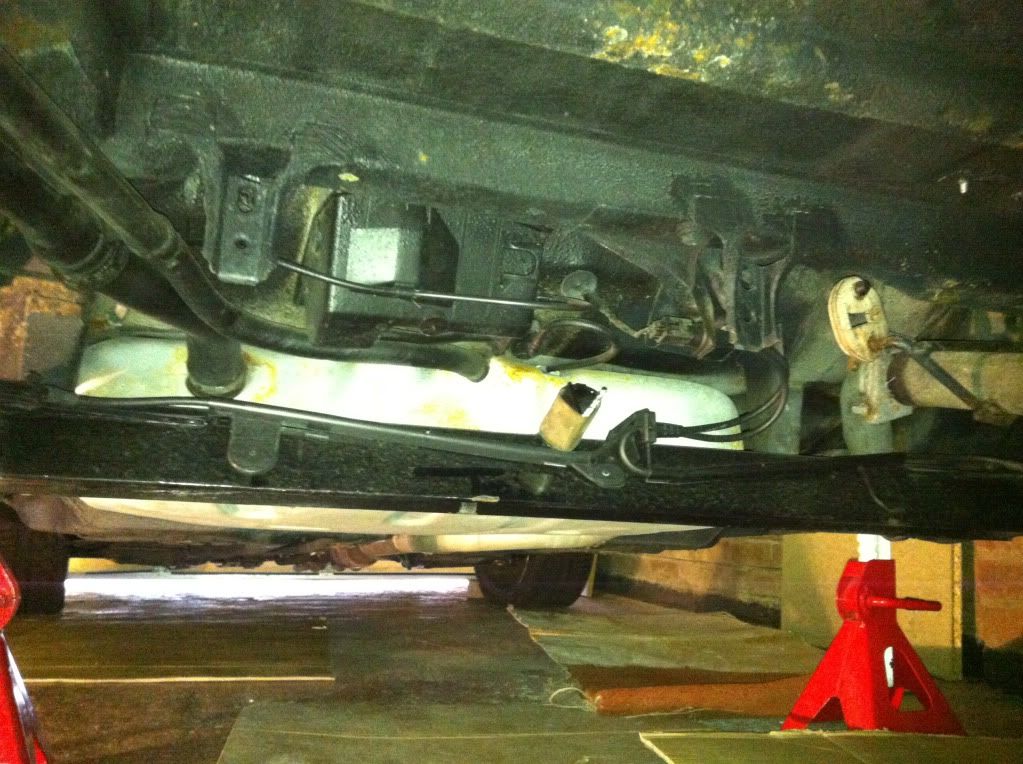
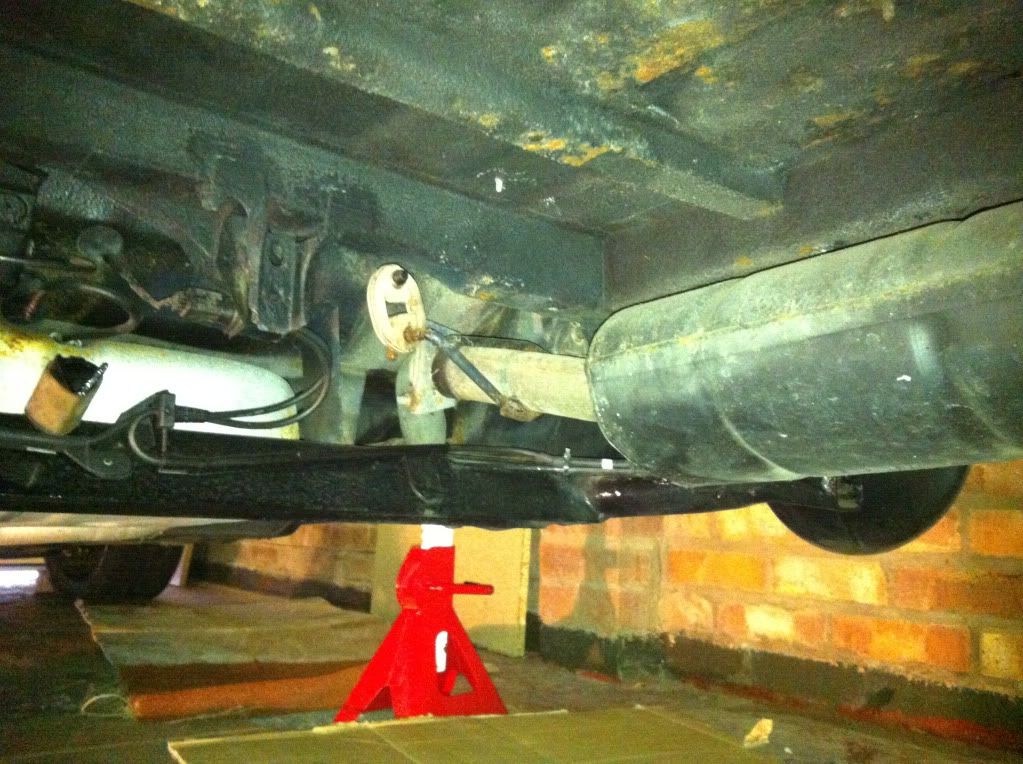
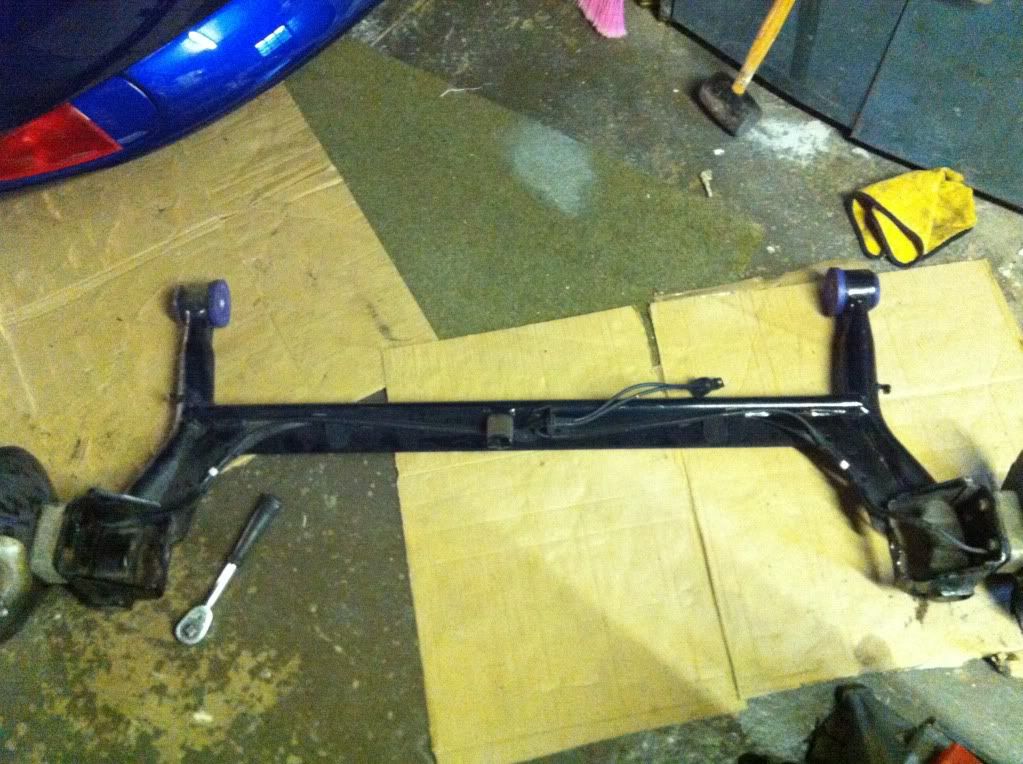
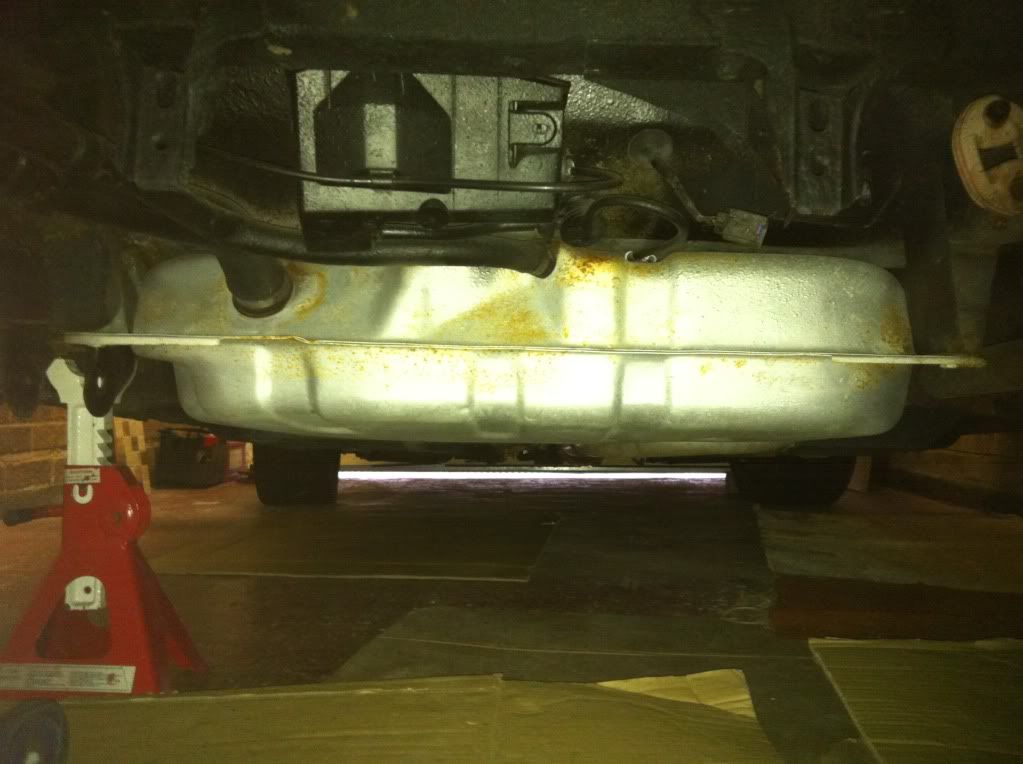
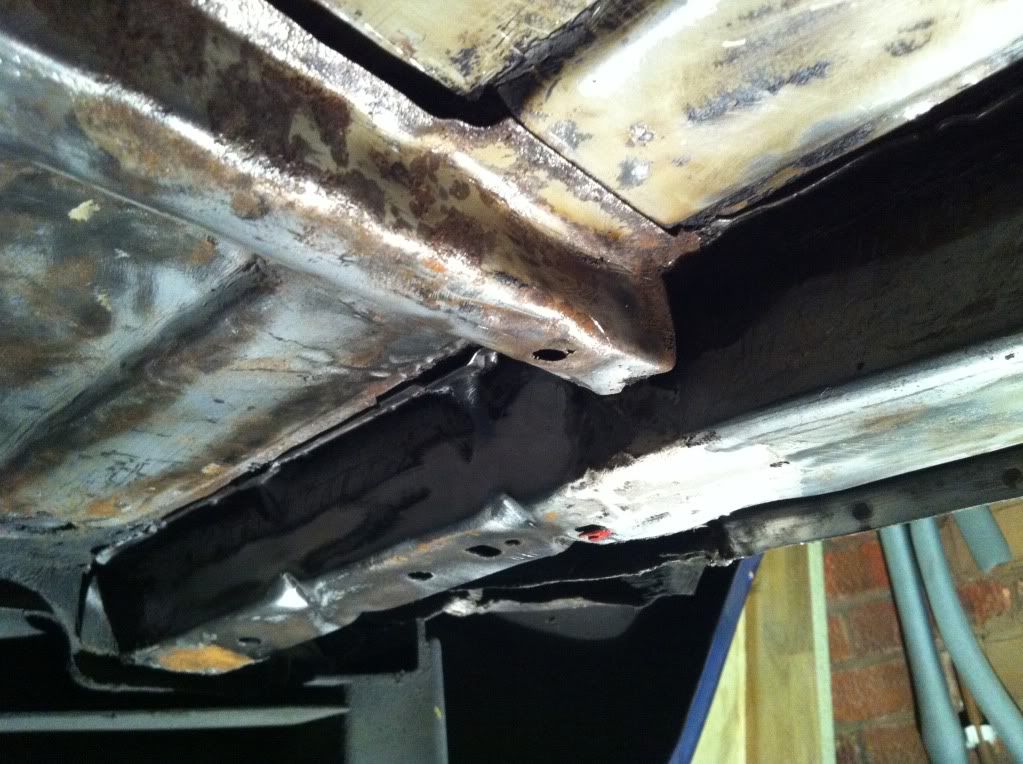
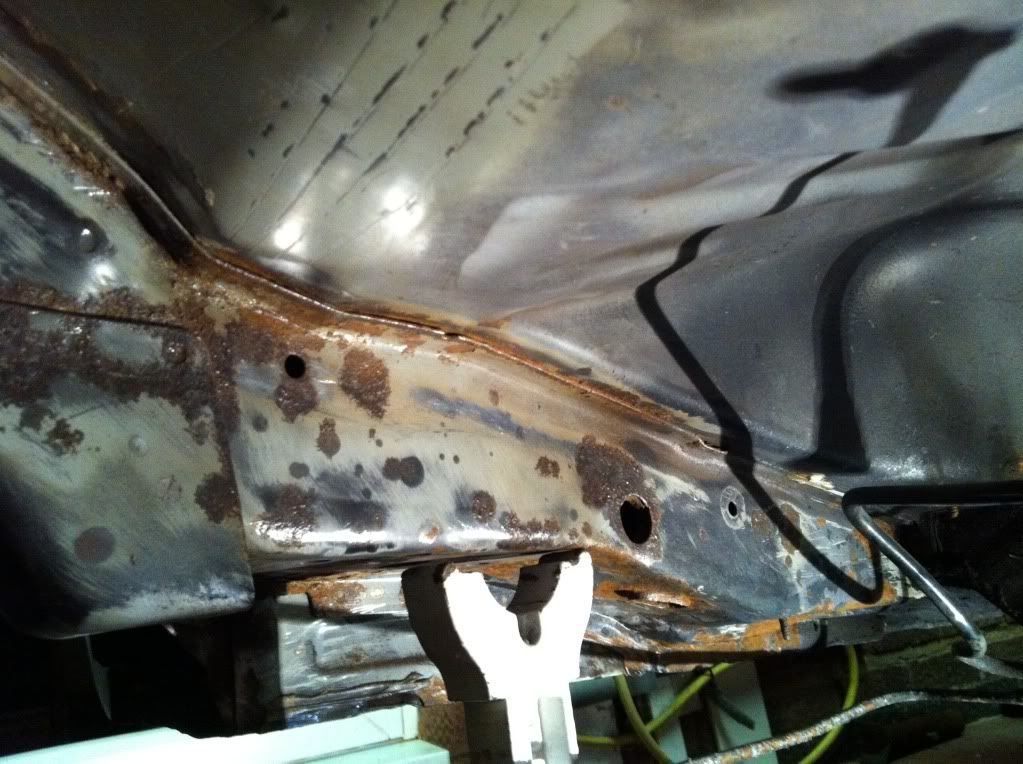
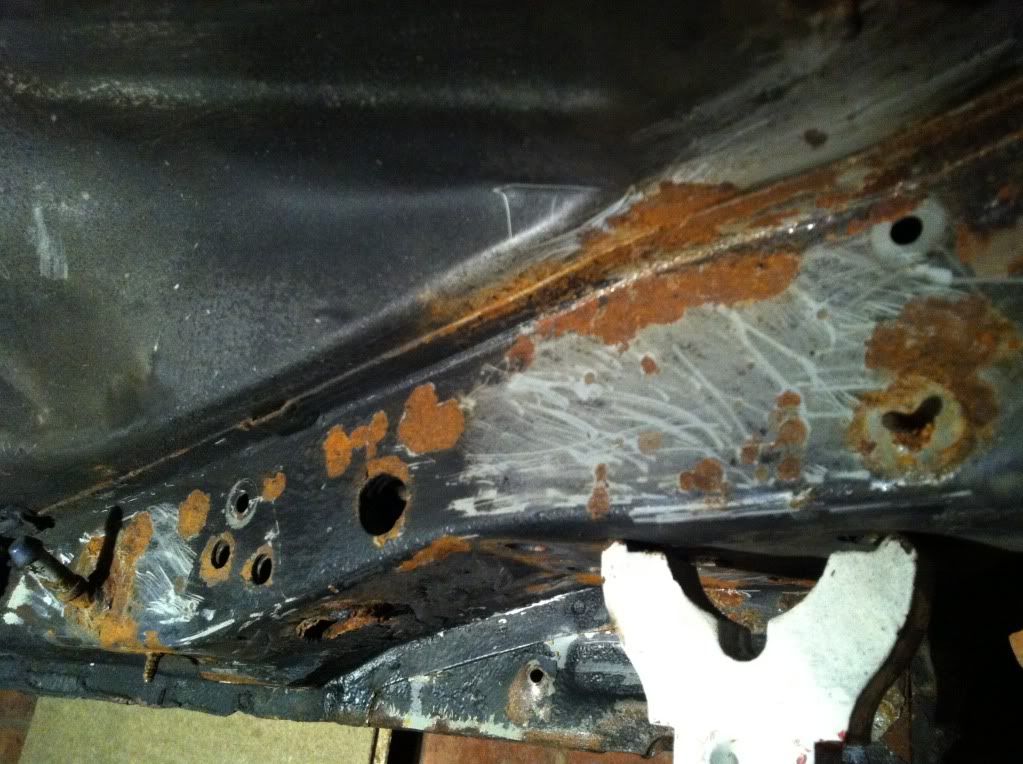
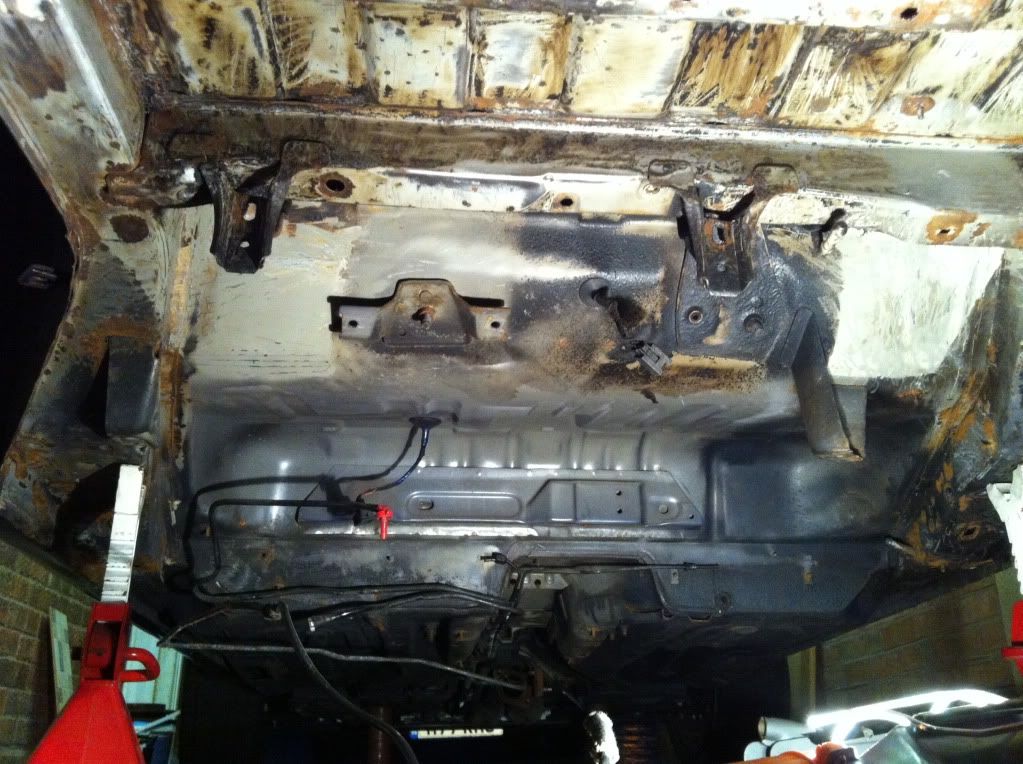
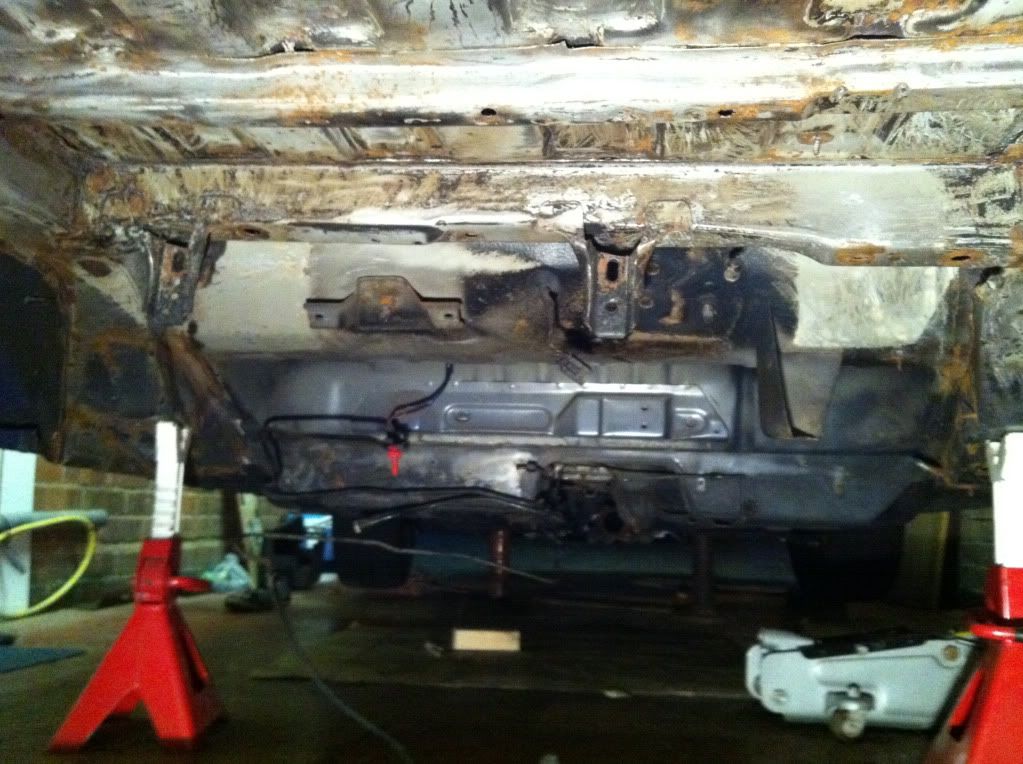
Basically it was fully stripped to bare metal, etch primed and painted inside and out. All the panels were correctly alligned, underneith it was stripped and unsealed along with the arches and sills. It has powder coated rear beam with new poly bushes, powdercoated wishbones with new bushes.
#401 has a load of new parts fitted a few months before I purchased it-
New rear ABS sensors
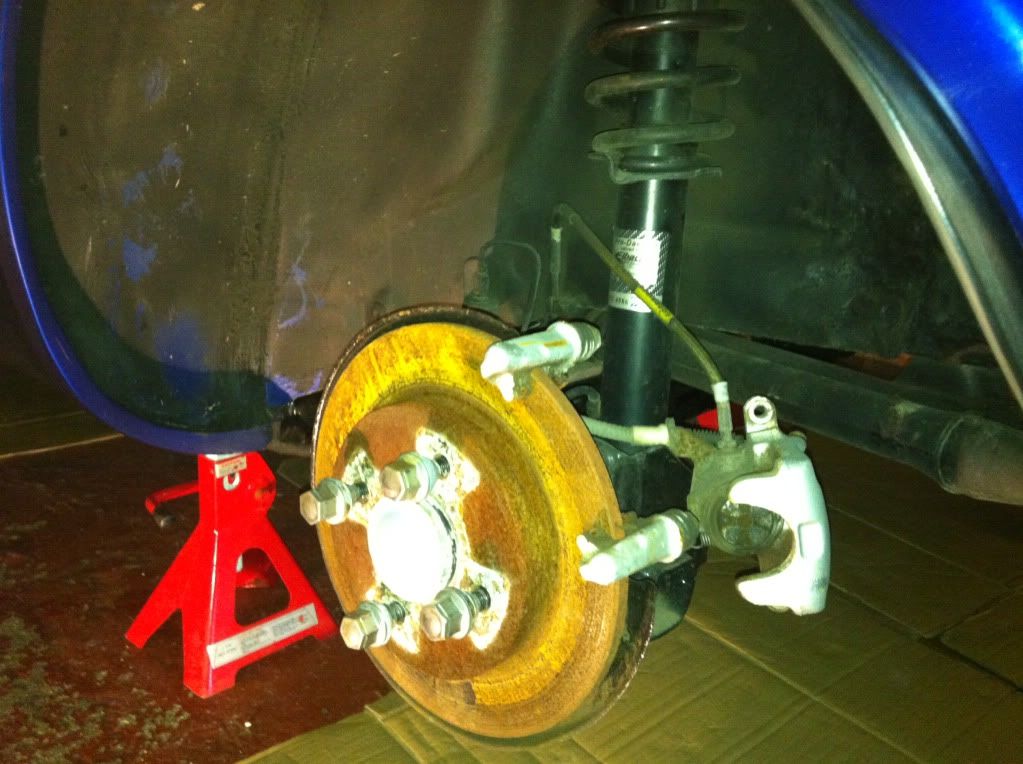
New hubs and bearings
Wishbones and bushes
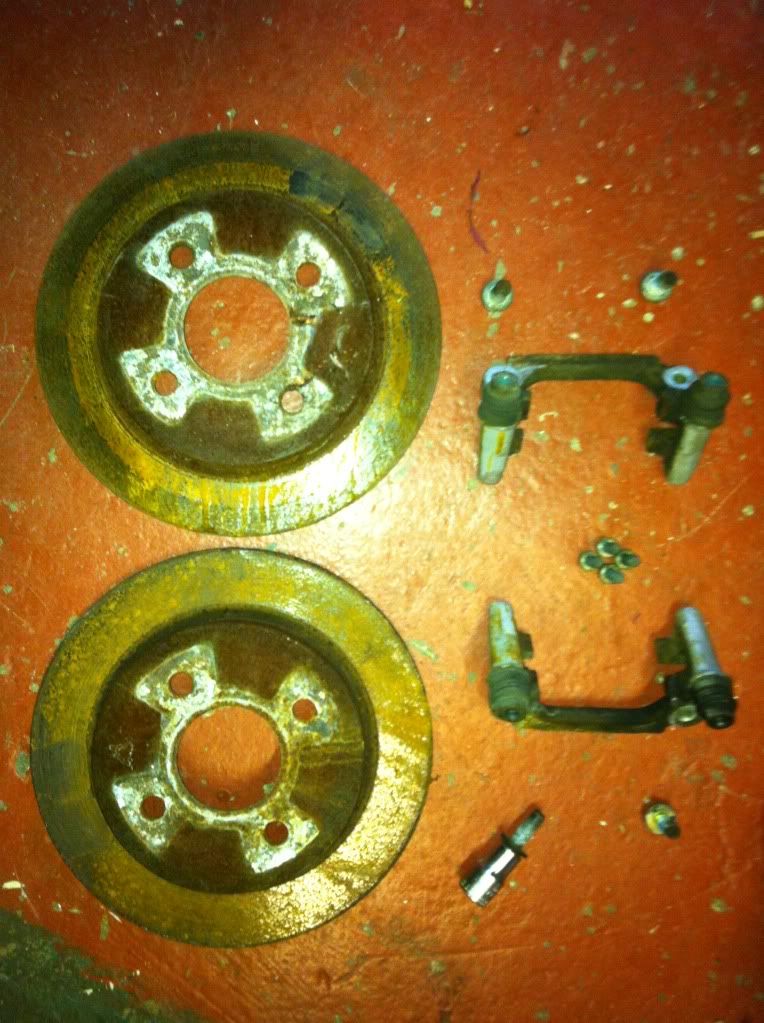
Rear brakes
CV boot rubbers
My main plans are-
Refurbish the wheels in factory silver
Replace Racing badges with new ones from Pumabuild
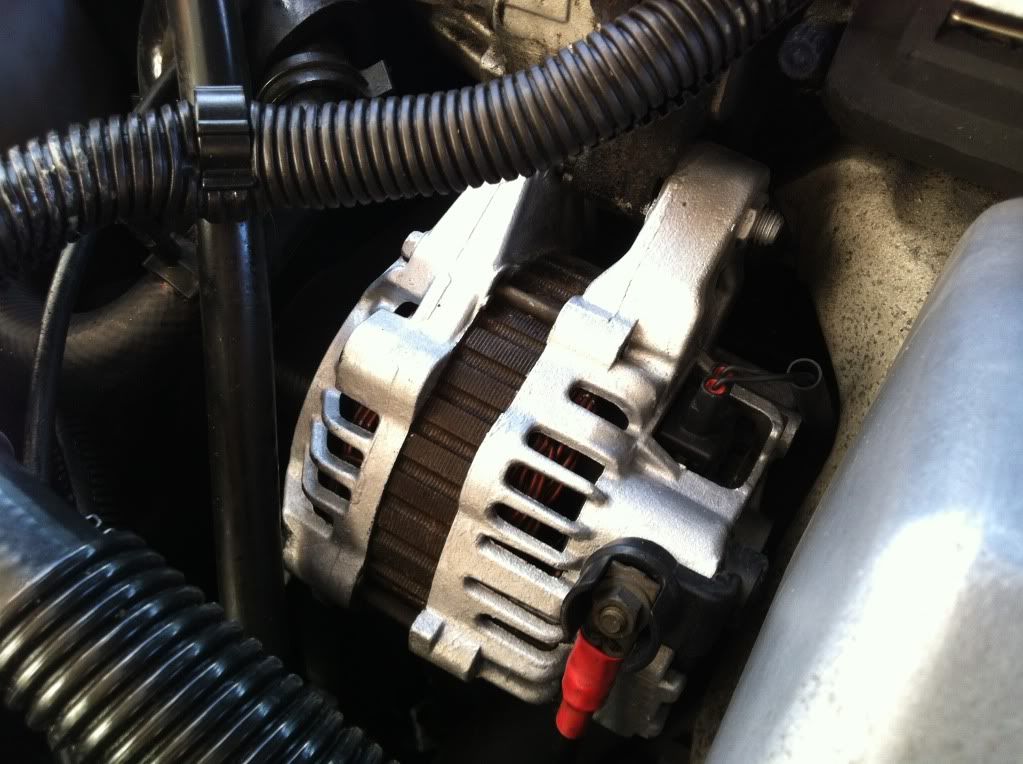
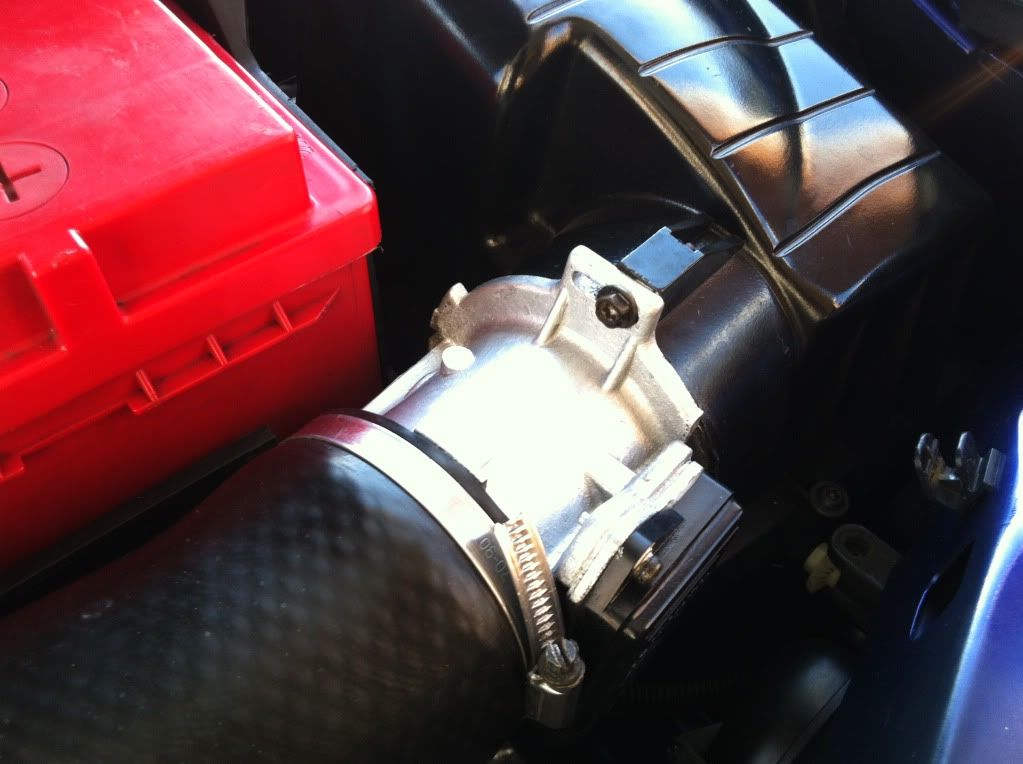
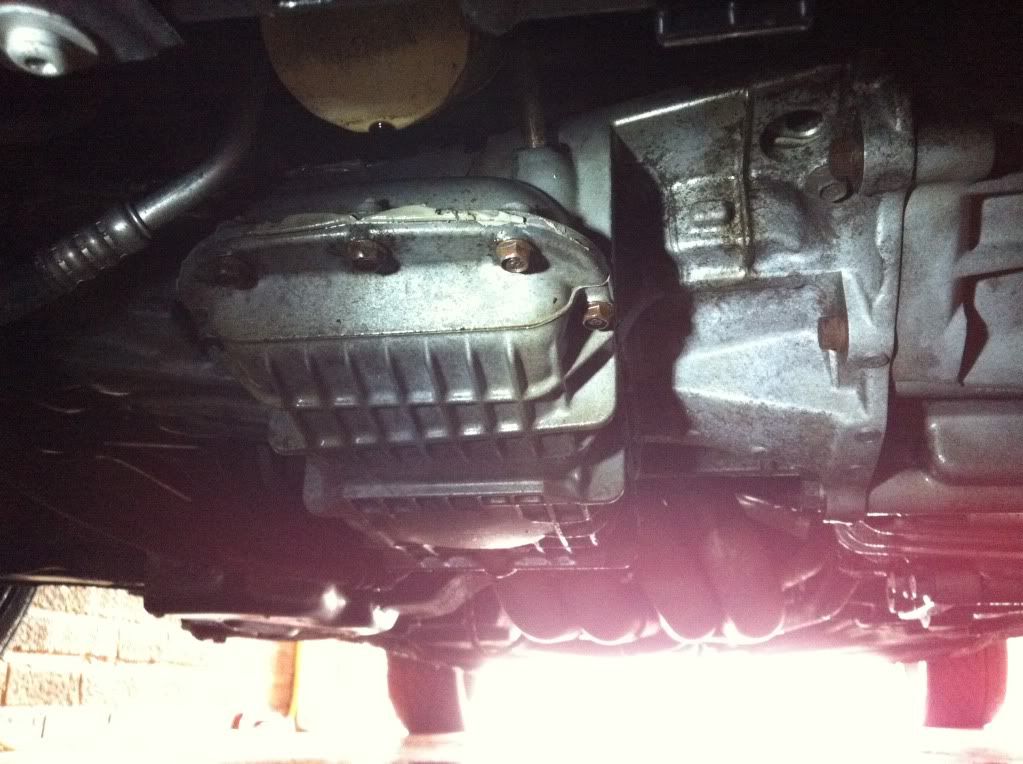
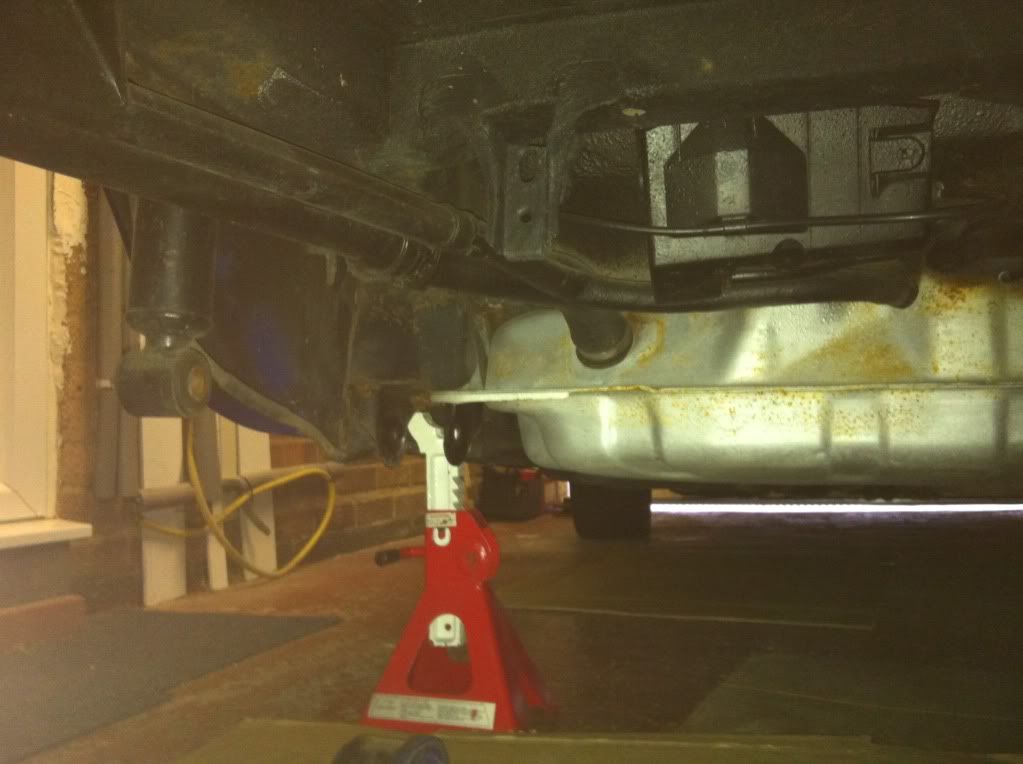
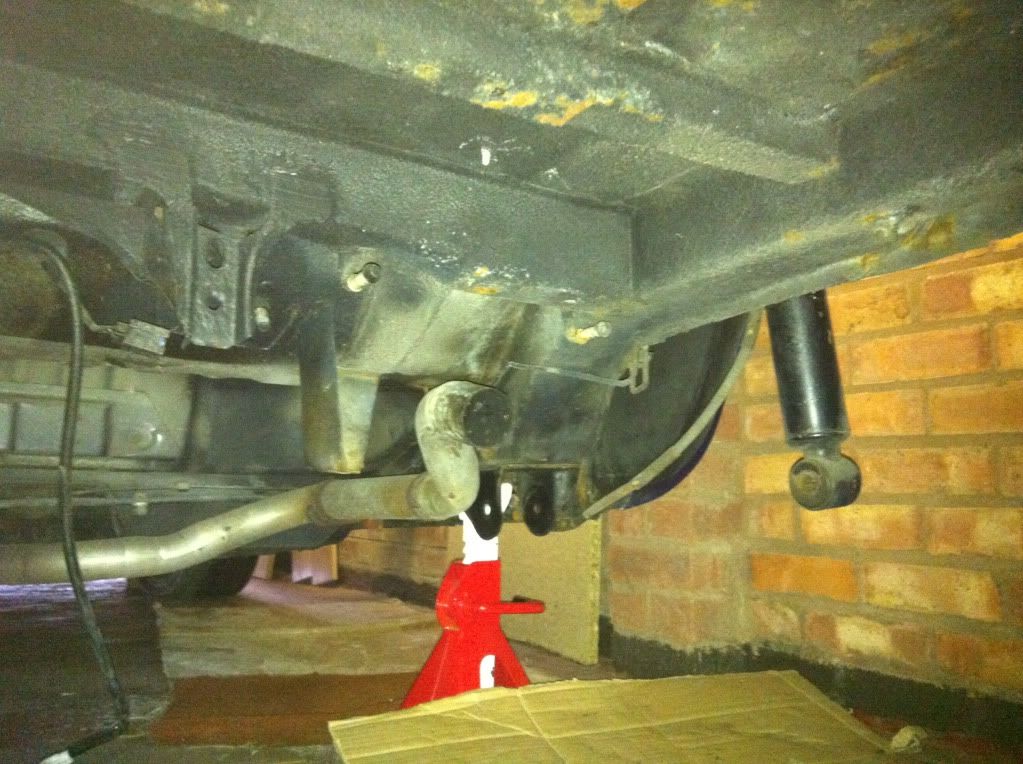
Clean and detail the egnine bay and underneith
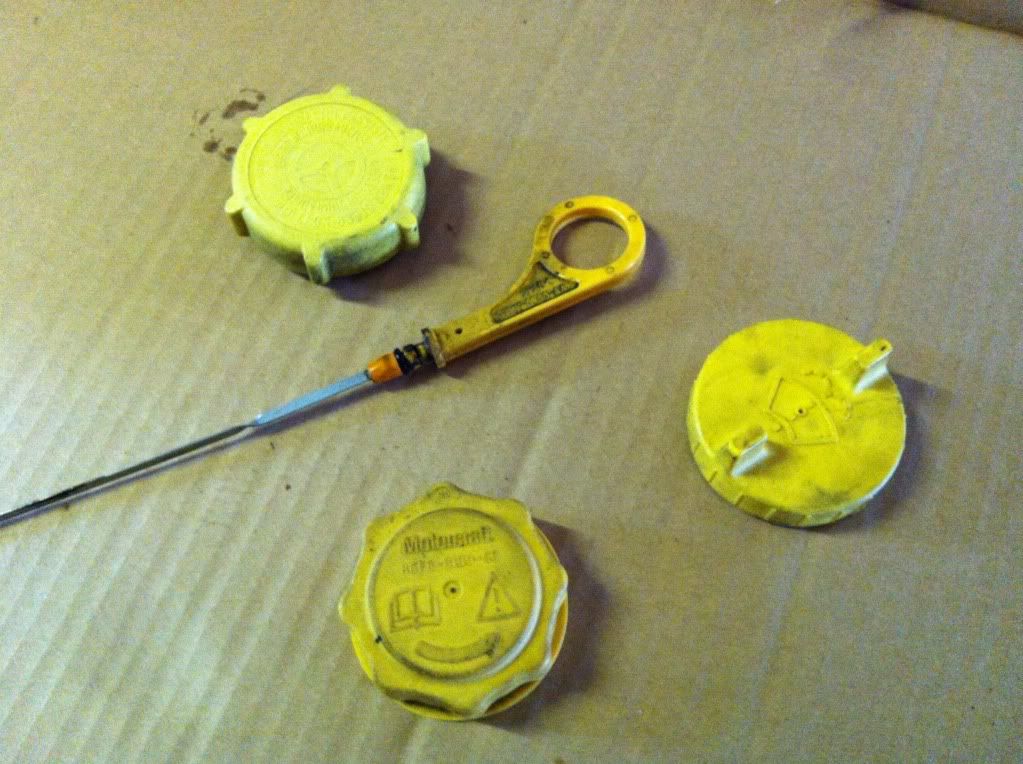
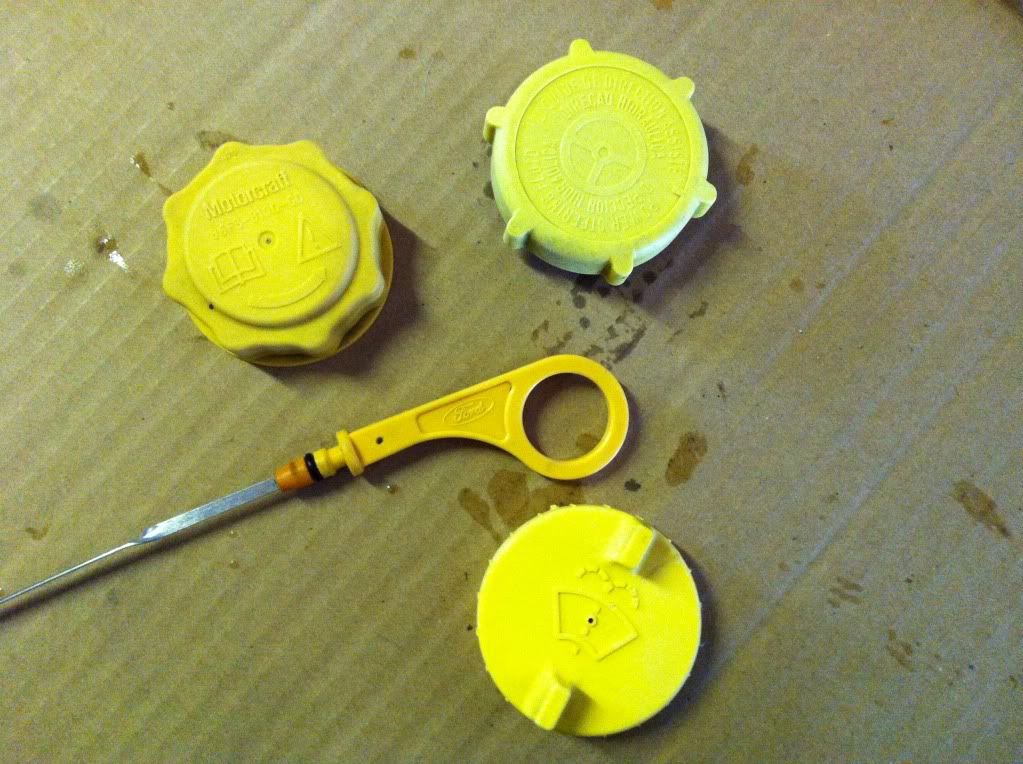
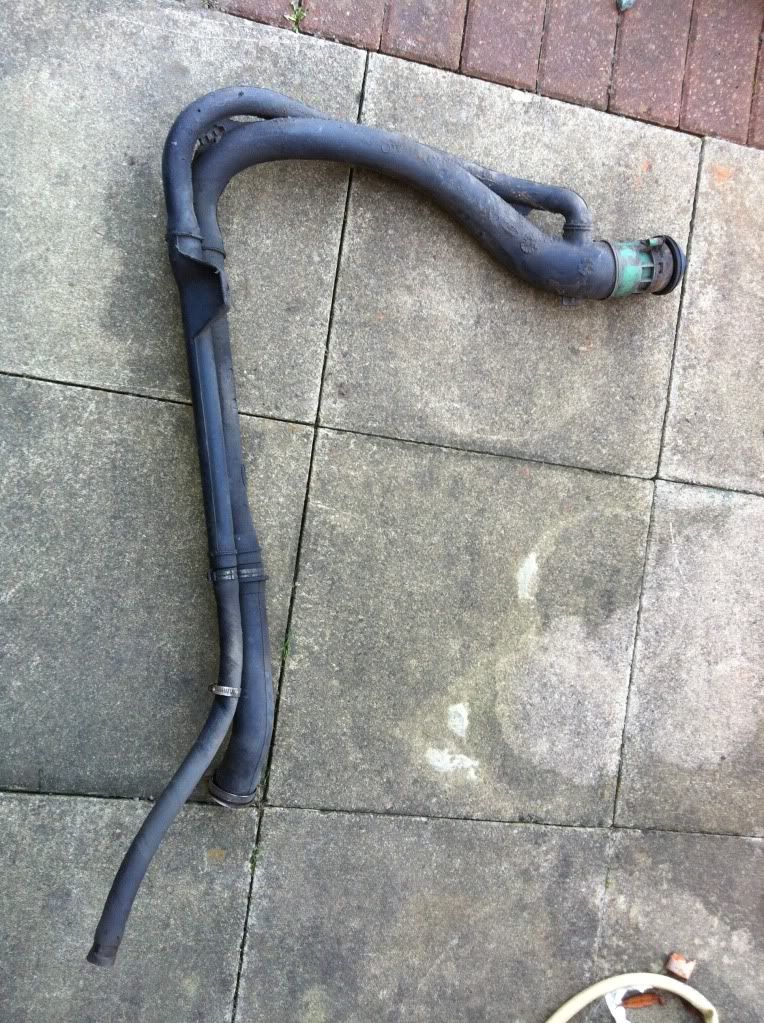
Replace any parts that require it
And generally enjoy it
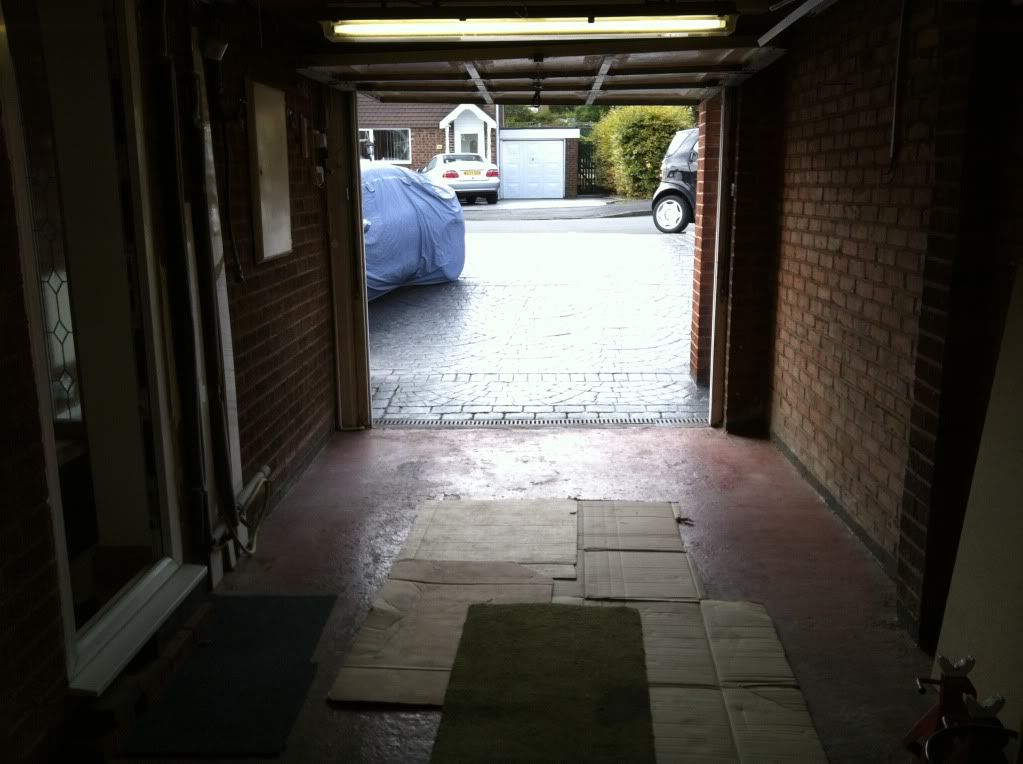
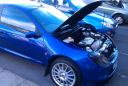
I have only got a couple of photos from when I first purchased the car-
Plenty of updates to come, thanks for looking, Alex
#2
Posted 22 September 2012 - 10:31 AM
Looks much fresher now-
As most of you know the Sparco seats are a nightmare for bobbling, purchase a lint remover off eBay and set to work shaving the seat lol!
Before-
And after-
#3
Posted 22 September 2012 - 10:32 AM
Gearbox-
Sump-
The powersteering, coolant, brake fluid caps and dip stick were looking tired and grubby. Gave them a good degreasing and washed with warm soapy water.
Before-
And after-
Got lots more planned for the coming months.
Hope you guys enoy reading.
Thanks, Alex
#4
Posted 22 September 2012 - 10:32 AM
So I whipped it off, wet sanded with 600 and 1200 grades before machine polishing it.
Before; milky and dull-
Wet sanded-
Machine polished-
The other fog light had the ford markings and e-markings on it which kept getting polish stuck in them. Decided to do the same with this one so it matched the other one.
Before; markings and lettering-
Wet sanded and smooth-
Done
More to come
Alex
#5
Posted 22 September 2012 - 06:21 PM
The coolant cap propbably could just replace it, the rubber seal can get poor after a while and our cars are old now, I replaced mine when I ahd the coolant changed at 10 years old.
#6
Posted 22 September 2012 - 08:24 PM
I followed the posts submitted by Jay on his resto work on #401. Very impressive bodywork skills and he seemed very particular on the paint finish, so congrats on what appears to be a good purchase...
Keep up the good work
#8
Posted 24 September 2012 - 08:35 AM
happy-kat, on 22 September 2012 - 06:21 PM, said:
The coolant cap propbably could just replace it, the rubber seal can get poor after a while and our cars are old now, I replaced mine when I ahd the coolant changed at 10 years old.
Yeah I noticed that, I have already purchased one Kat along with new coolant bottle and power steering reservoir
#9
Posted 13 October 2012 - 10:48 AM
Stupidly this will be one of the last things to go on the car after I have restored and protected the underneath of the car. But its one of the more expensive items on my to do list so I'm glad its ticked off.
More to come, Alex
#10
Posted 13 October 2012 - 01:12 PM
Just a quick warning to make sure your ss exhaust fits as mine from puma build hangs very low and looks as if the flanges were welded on wonky! Hits every speed bump on the road!
#11
Posted 13 October 2012 - 02:15 PM
#12
Posted 27 October 2012 - 09:11 AM
After some bribery and begging I got my dad to give up his garage for the winter so work on the Puma can begin.
The new home-
The plan is to completely underseal and paint the underside of the car to protect it for the future. Everything will be recondition, refurbished or replaced so hopefully the underside of the car will be just as good as the body and paint.
Im starting with the back end first and will work my forward over the coming months. Got the car in, back end up on axel stands and the rear wheels off.
Callipers and brake pads off, rear discs have seen better days
Rear discs, calliper carriers and pads removed-
Had an arguement with one of the carrier bolts... I won (13mm bolt with a 12mm socket bit hammered on)
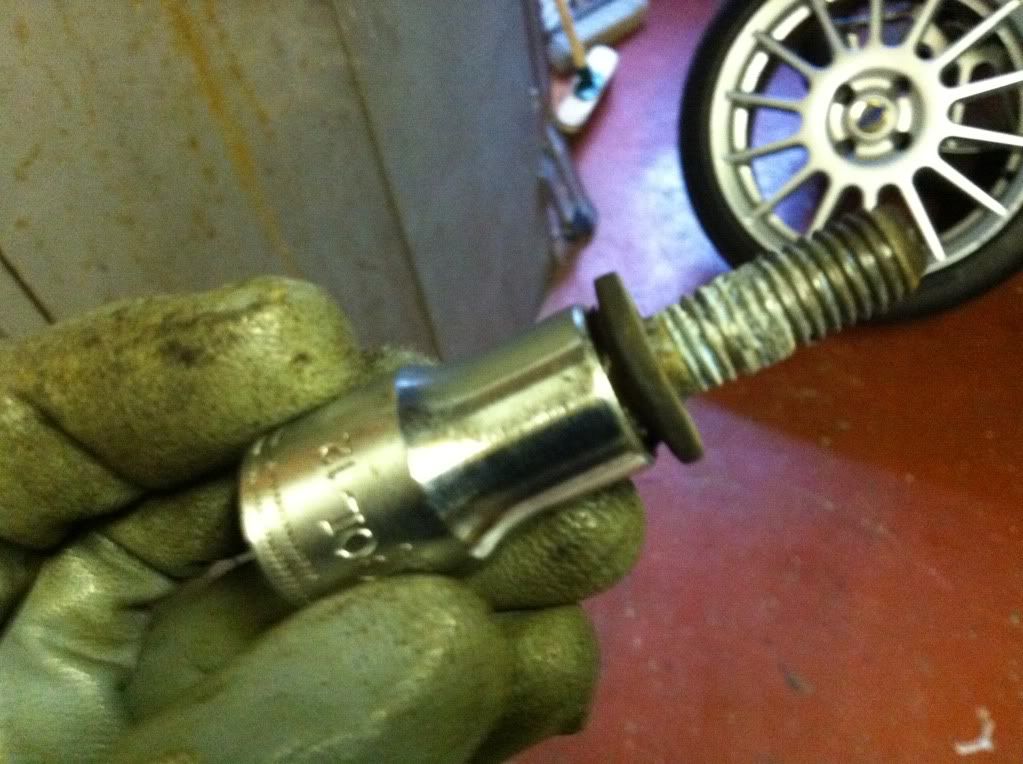
The boot floor is showing some small signs of surface rust but it was protected well by Jay (previous owner) and has been stone guarded and sealed. Will be sanding this back before priming with red oxide or zinc primer and sealing with Epoxy Mastic paint.
Rear axel beam removed-
Still got the fuel tank, fuel lines, exhaust and heat sheilds to remove. But made a good start
This post has been edited by Fatttty: 27 October 2012 - 09:13 AM
#13
Posted 02 November 2012 - 03:04 PM
Removed the fuel tank-
Exhaust back box removed-
Drained the brake fluid and removed the brake lines from the rear end of the car-
Just a few of the old clips and clasps from the handbrake cable and brake lines. All these will be replaced with new Ford items hopefully
Hoping to get some more hours in over the weekend so more updates to come
Thanks, Alex
#15
Posted 03 November 2012 - 09:23 AM
you'll be surprised how much the bolts are that secure the rear beam...think ford ordered a new batch of them.. £3-4 each from memory..
nice to change the brake lines tho... change the pipe that feeds the petrol fume intake/inlet system..makes a surprising difference
Chris
Denso Iridium Plugs
Helix Clutch
Mobil 1
#16
Posted 03 November 2012 - 09:56 AM
eldoodarino, on 03 November 2012 - 09:23 AM, said:
you'll be surprised how much the bolts are that secure the rear beam...think ford ordered a new batch of them.. £3-4 each from memory..
nice to change the brake lines tho... change the pipe that feeds the petrol fume intake/inlet system..makes a surprising difference
Chris
Cheers Chris, I'm going to have the bolts stripped and plated rather than buying new. Will be buying new clips for handbrake cables and brake lines etc. Hadn't considered changing the fuel inlet system will look into that though now
I will be in touch with you in the new year about recondition my alcons.
Alex
#17
Posted 03 November 2012 - 03:23 PM
Currently.
BMW M3. www.tremonagarage.com
#19
Posted 12 November 2012 - 04:52 PM
Theres still a little bit more to do, and a few small patches of surface rust that need grinding down but I'm pleased with the progress, its slow going but will be worth it in the end.
Excuse the photos its a bit difficult to make out what some of them are!
Boot floor area-
NS chassis leg, pretty much done all old paint removed and the rust patches have been pretty much ground out-
OS chassis leg, still needs the remaining paint and sealant removing and a few patches of surface rust to sort still-
Looking down the car from the rear, you can see the boot floor and where the fuel tank should be. The light grey paint near the back is actually the original underbody colour. Debating on painting it that colour or perhaps the body colour-
Removed the rear suspension struts it preparation for sanding the rear wheel arches, the rear struts look pretty much brand new and having checked the fronts they look the same. Really pleased with the condition. Also the original Eiback stickers are present and in good condition which is a bonus
Struts after a quick wipe over-
More to come this week, hoping to finalise the prep on the boot floor and hopefully get the arches ready for stonechip painting.
Alex
#20
Posted 12 November 2012 - 09:44 PM
Current mile muncher: 2014(64) Ford Mondeo 2.2 TDCI 200 Titanium X Sport - Frozen White
Previous: 2009(09) Ford Mondeo 2.0 TDCI | 2008(08) Mk7 Ford Fiesta TDCI Zetec S | 1999(T) Rover 420 | 1997(.R) Rover 620 TD | 1995(M) Mk3 Ford Fiesta Si
First car: 1990(H) Mk3 Ford Fiesta Popular Plus!