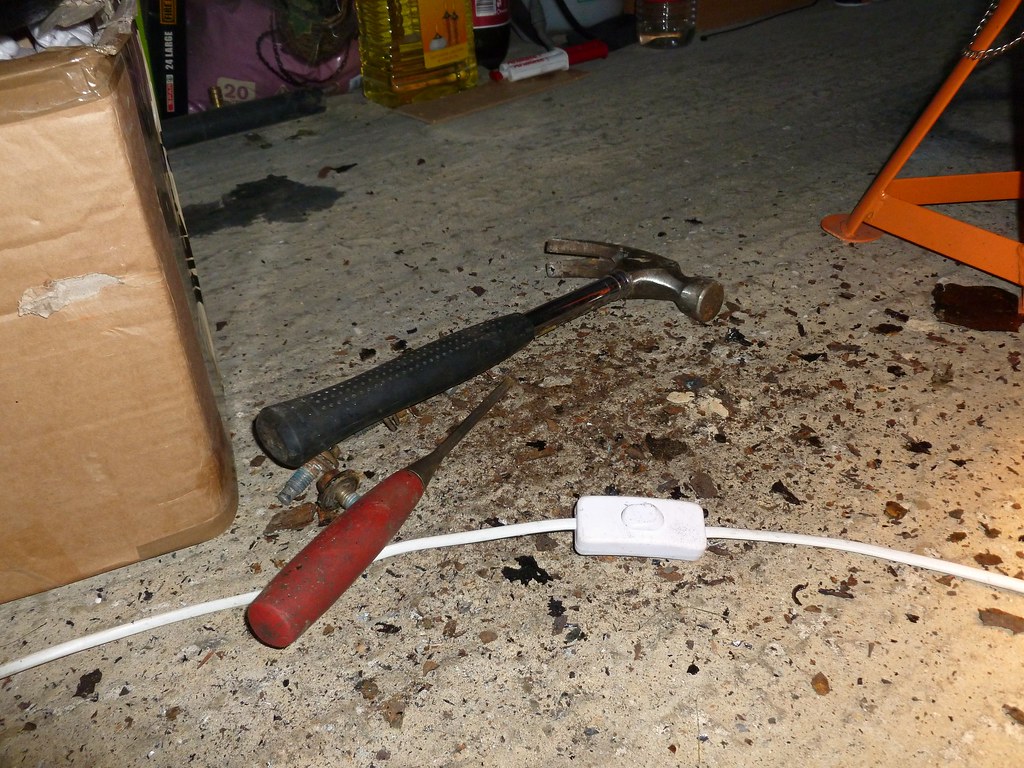
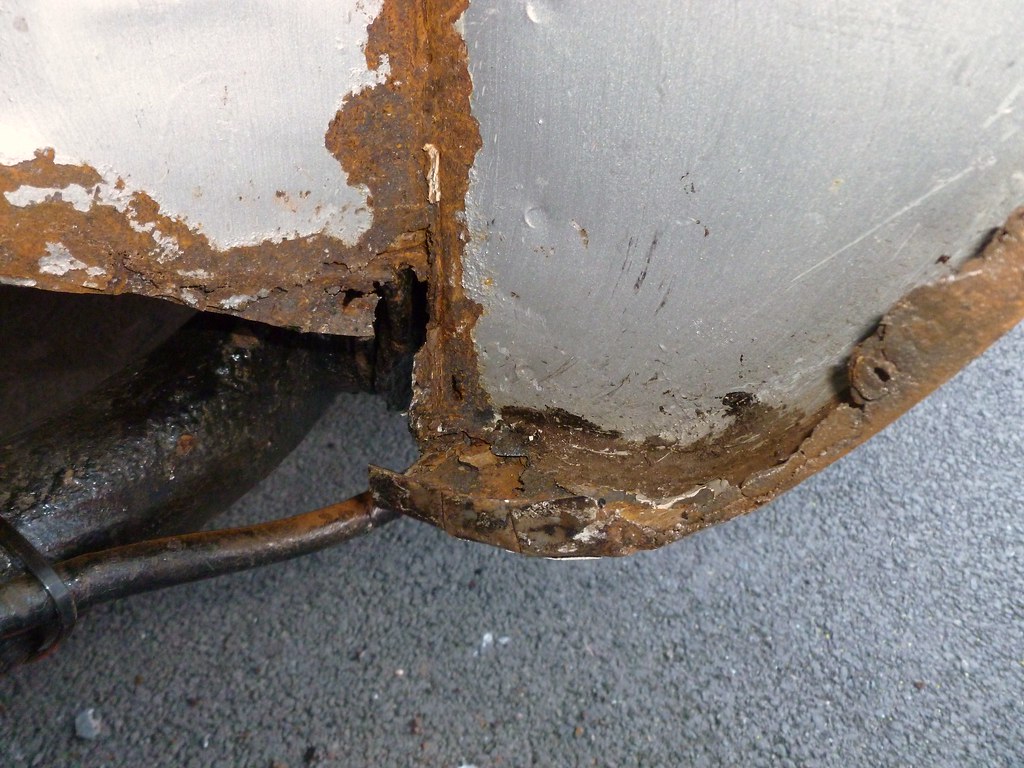
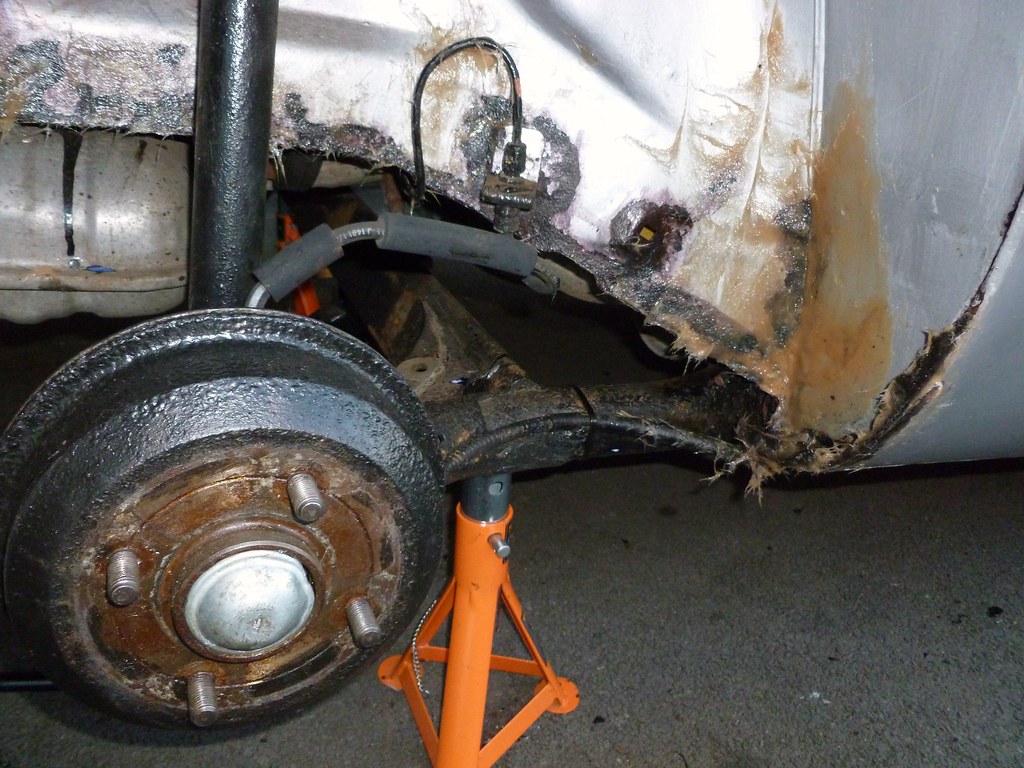
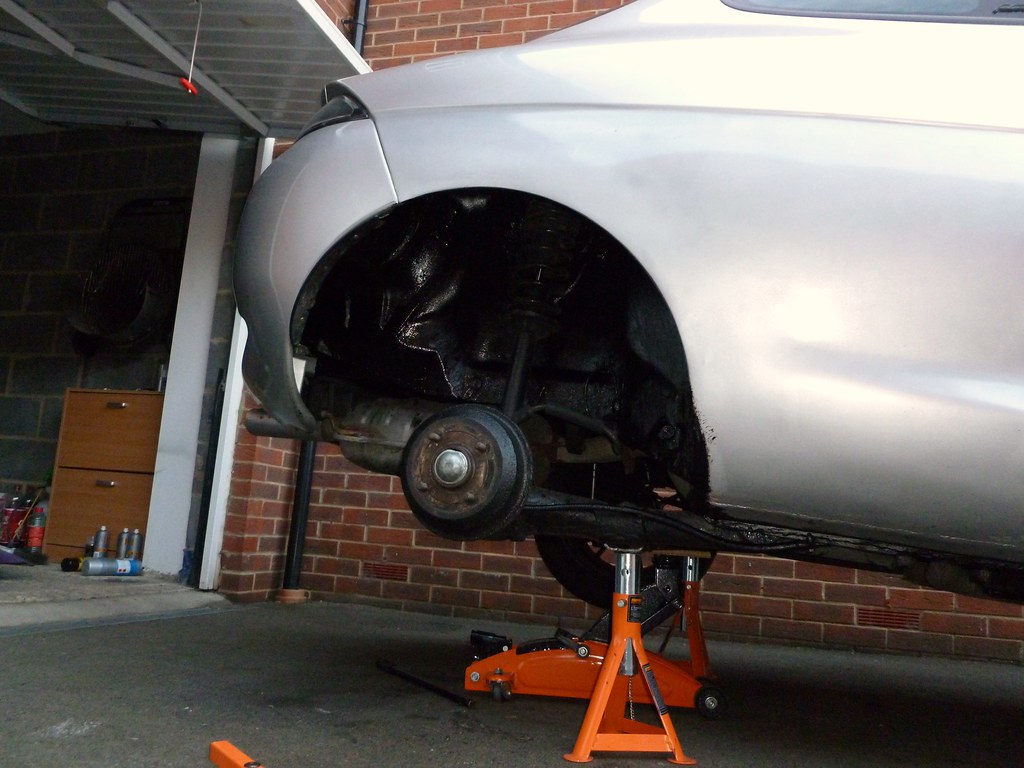
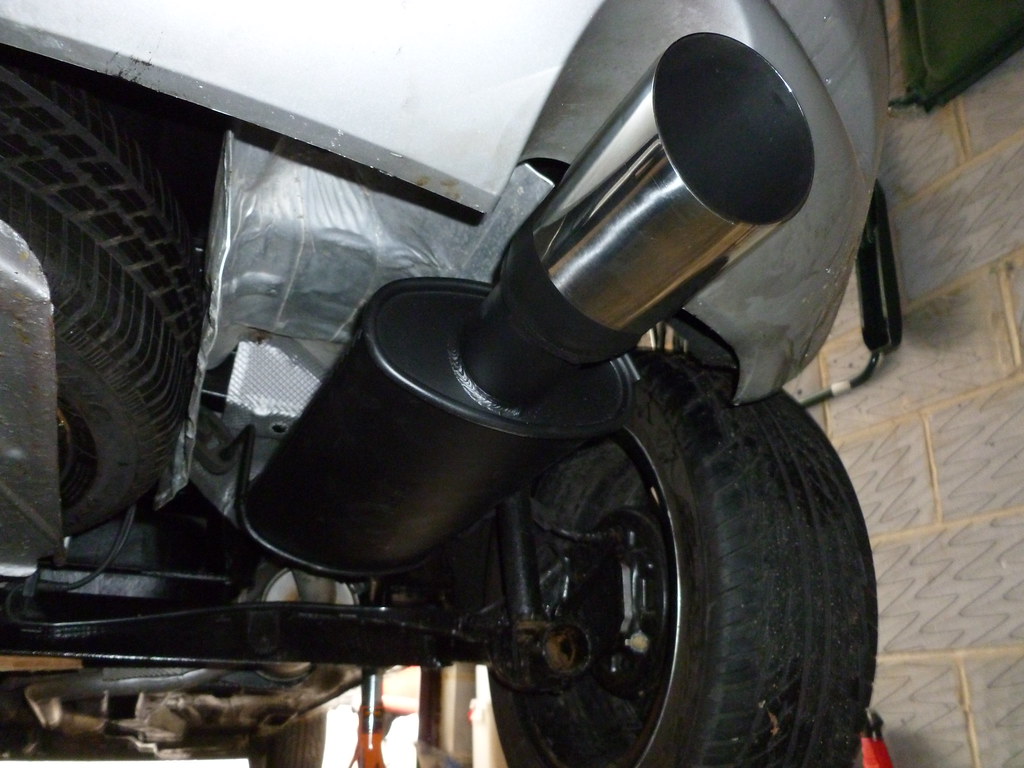
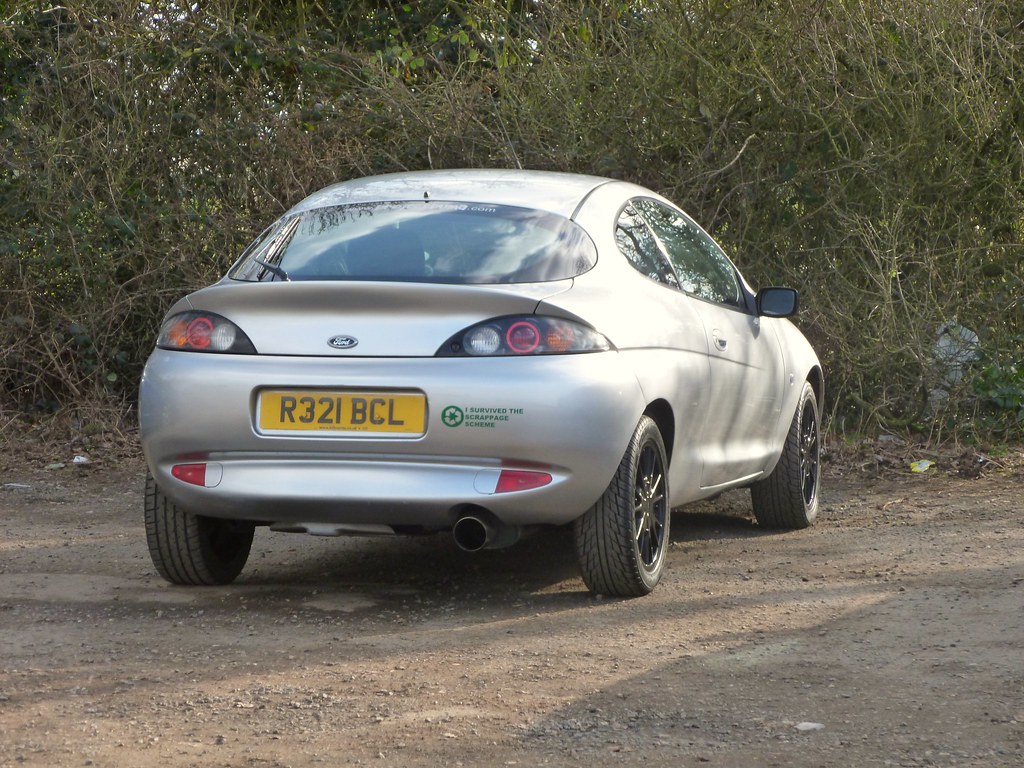
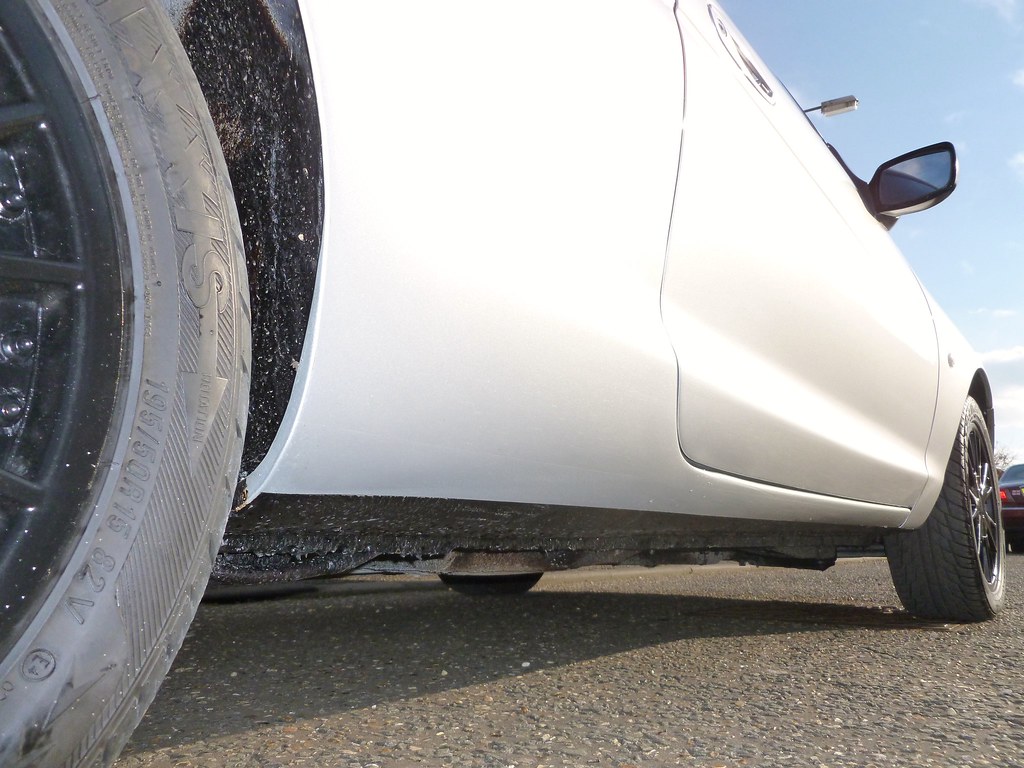
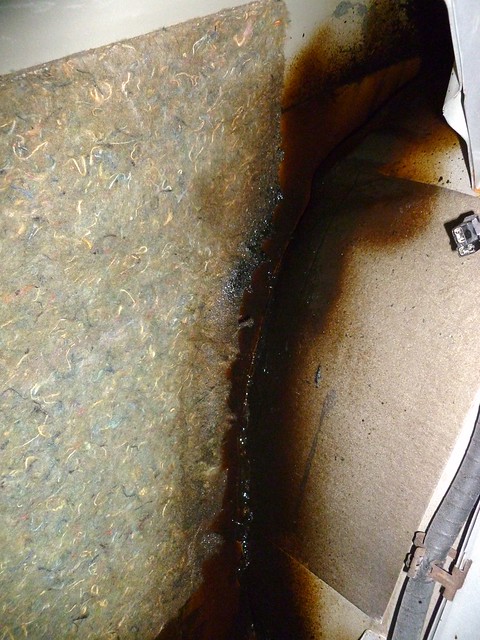
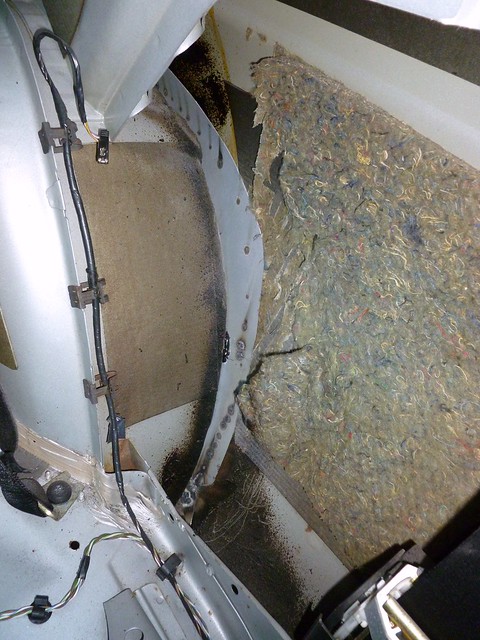
The car has finally has had its rear arches repaired. I removed the rear trims to add some anti corrosive wax, interesting to see how the arches have repaired from the inside, metal has been added to the inner skin, as these were also badly corroded.
Drivers side:
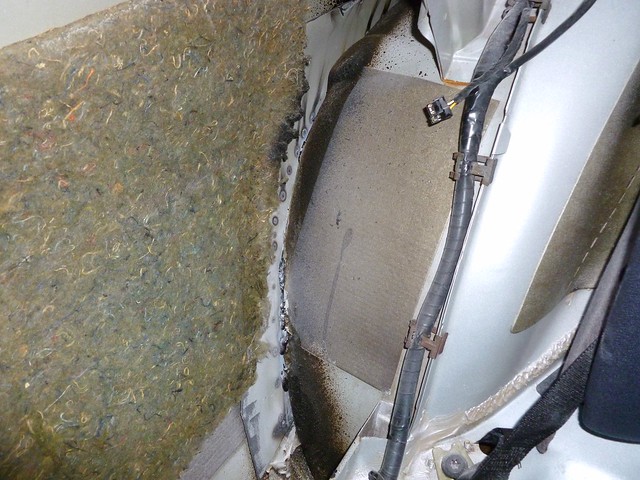 002
002 by
slayllian1, on Flickr
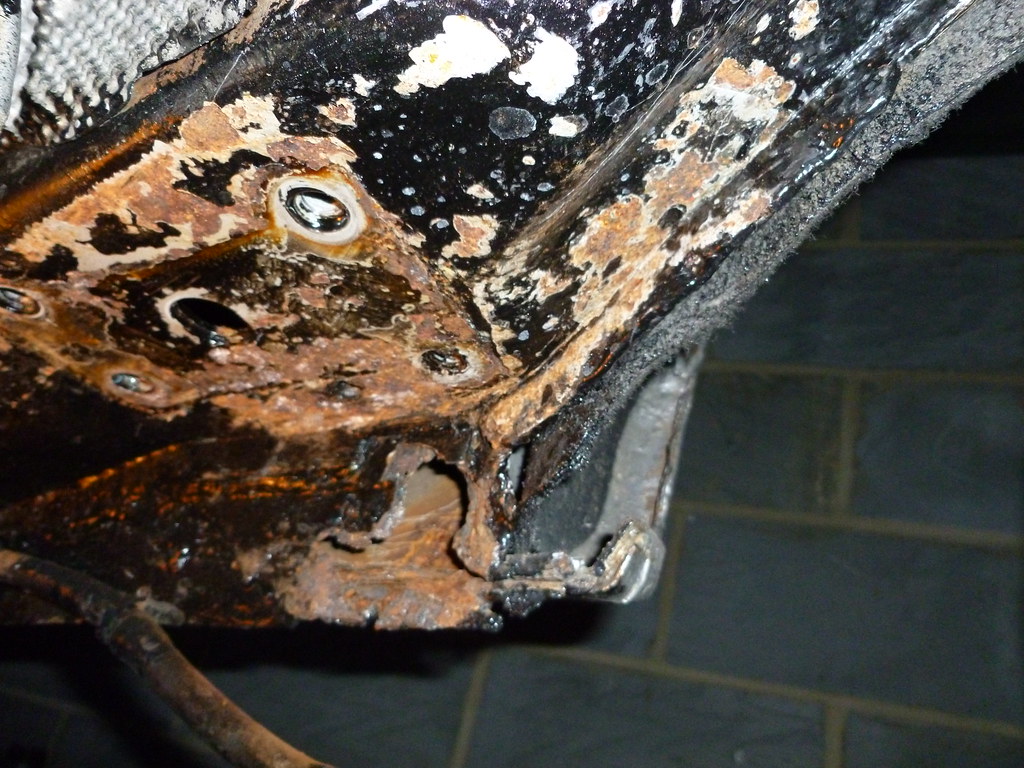
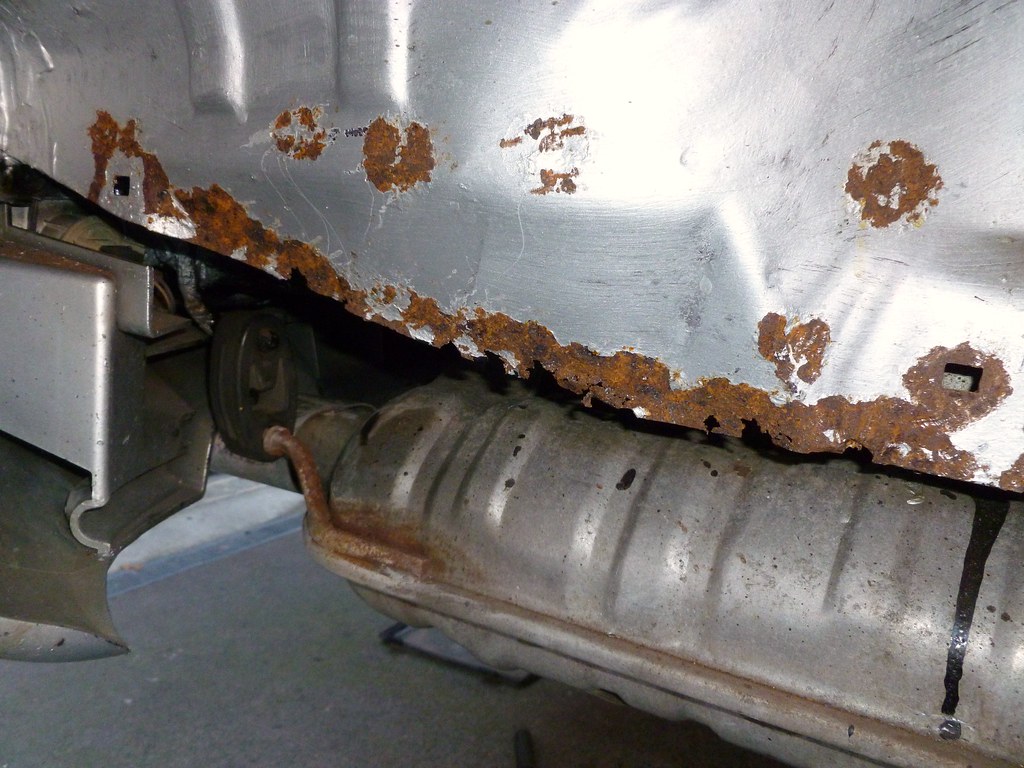
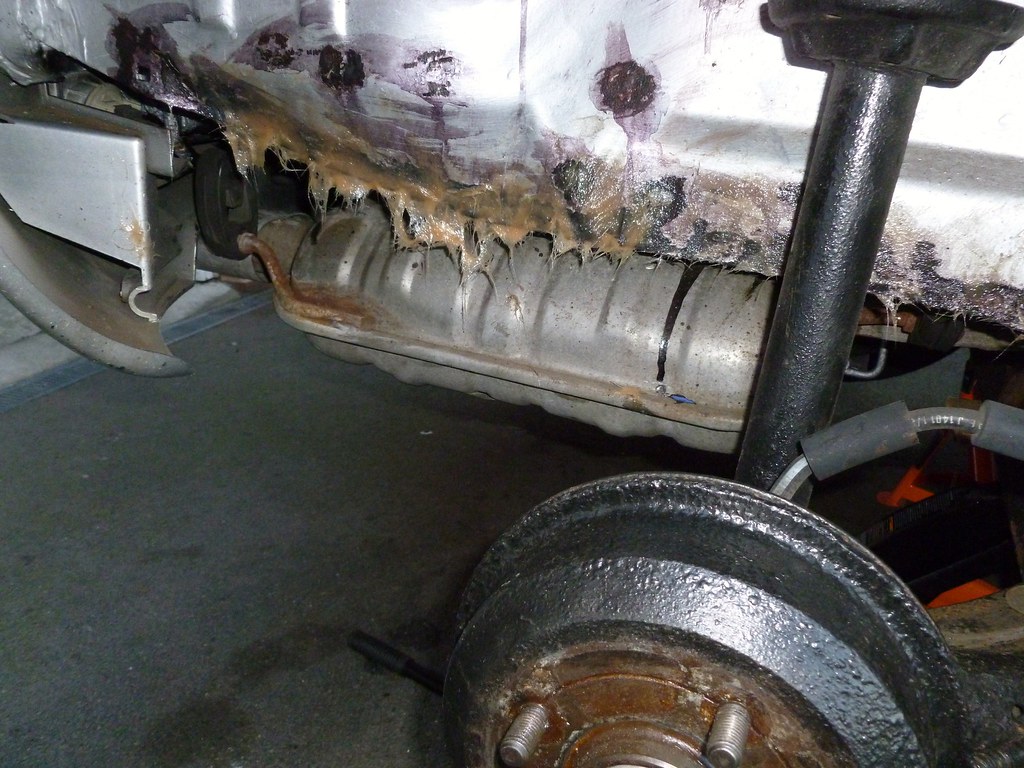
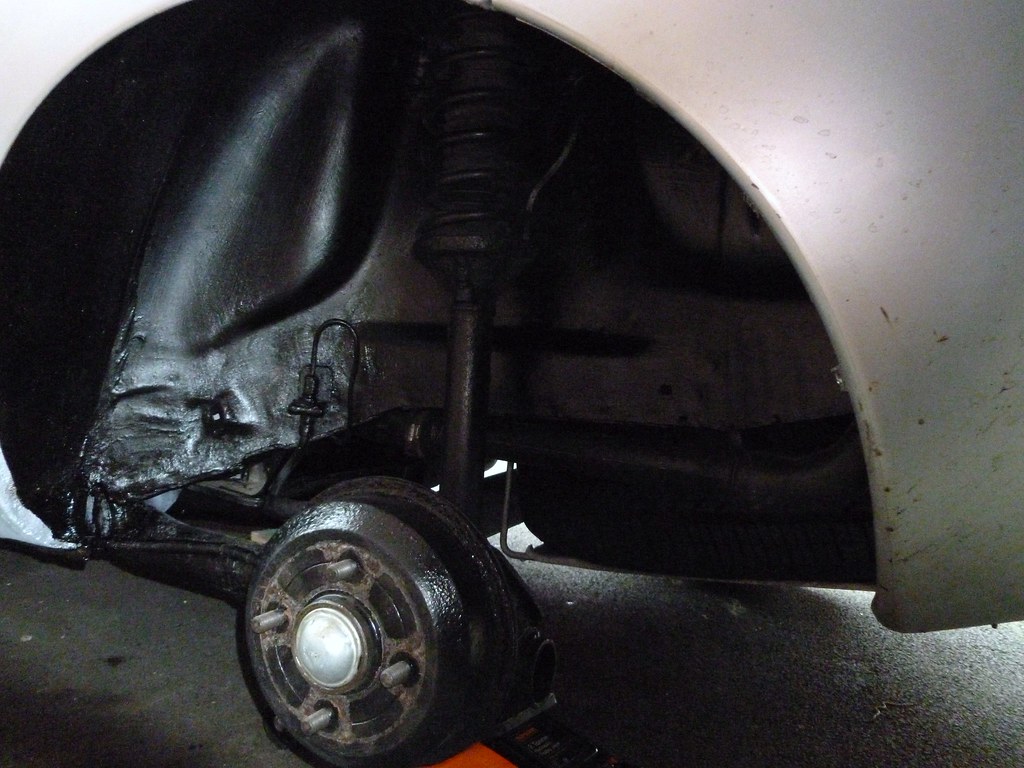
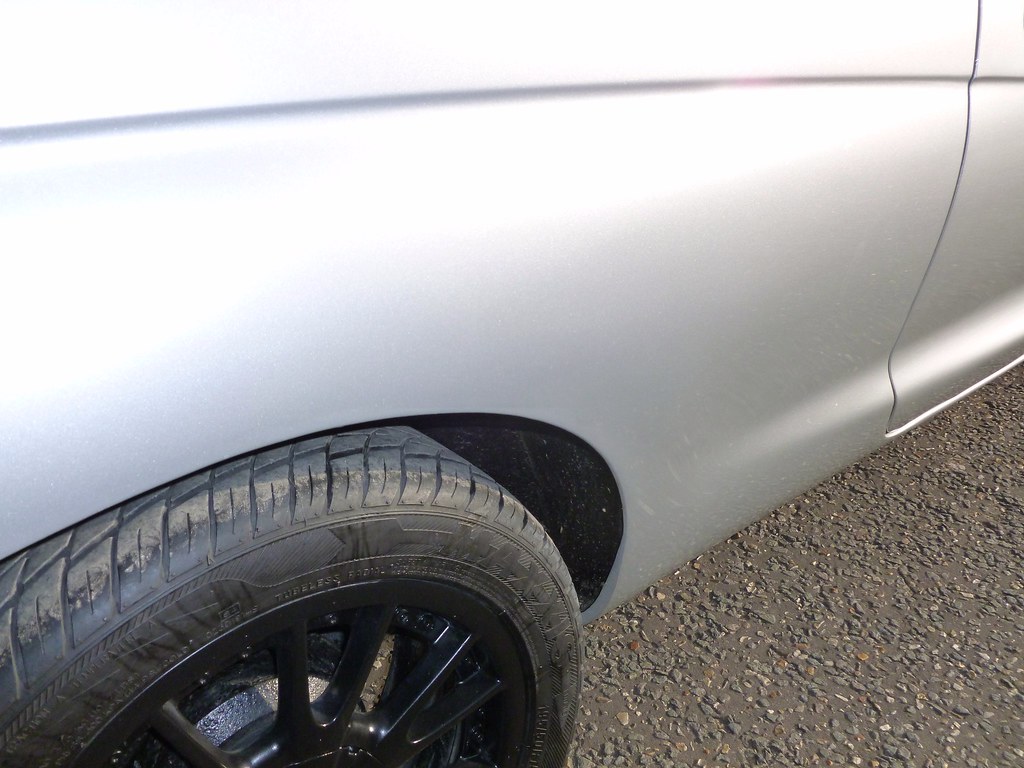
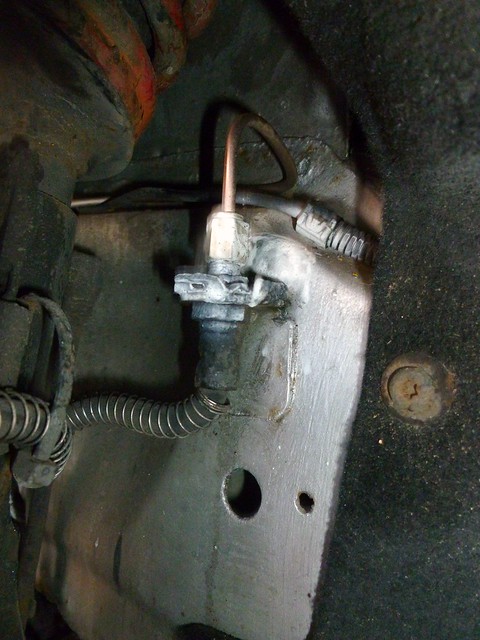
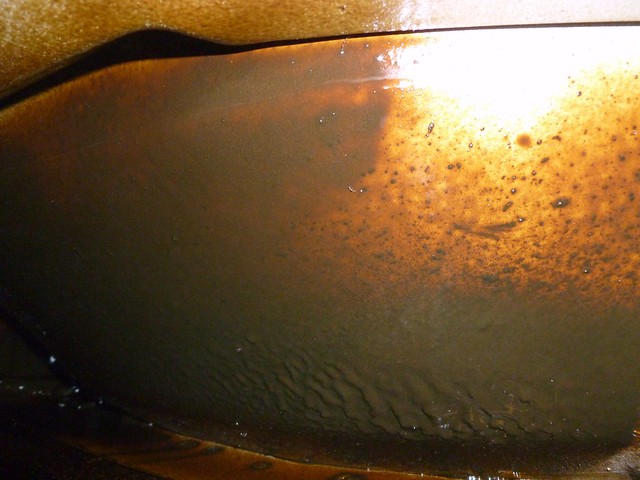
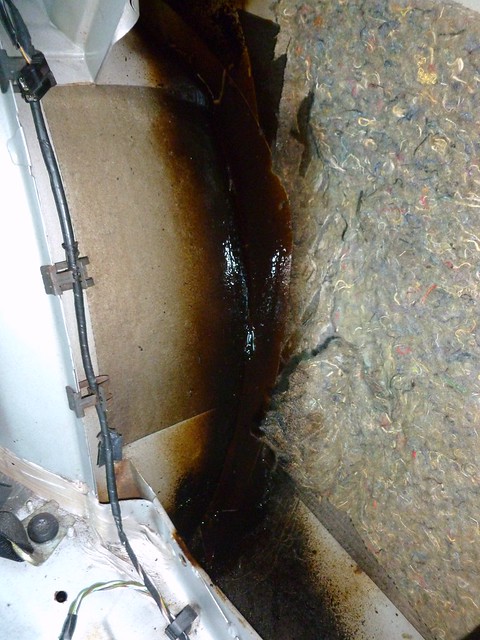
Above drivers side inner arch:
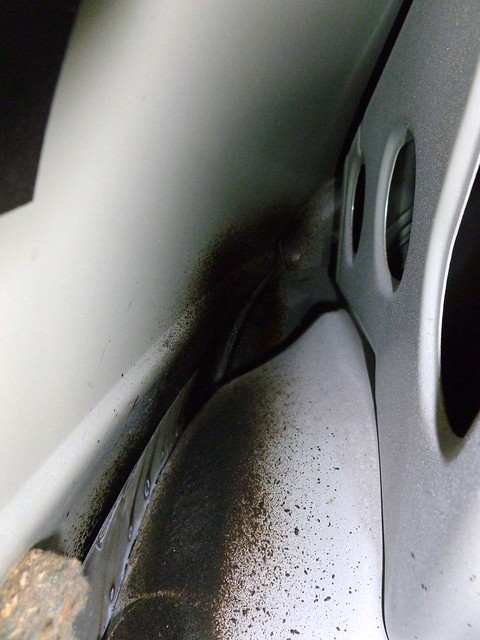 003
003 by
slayllian1, on Flickr
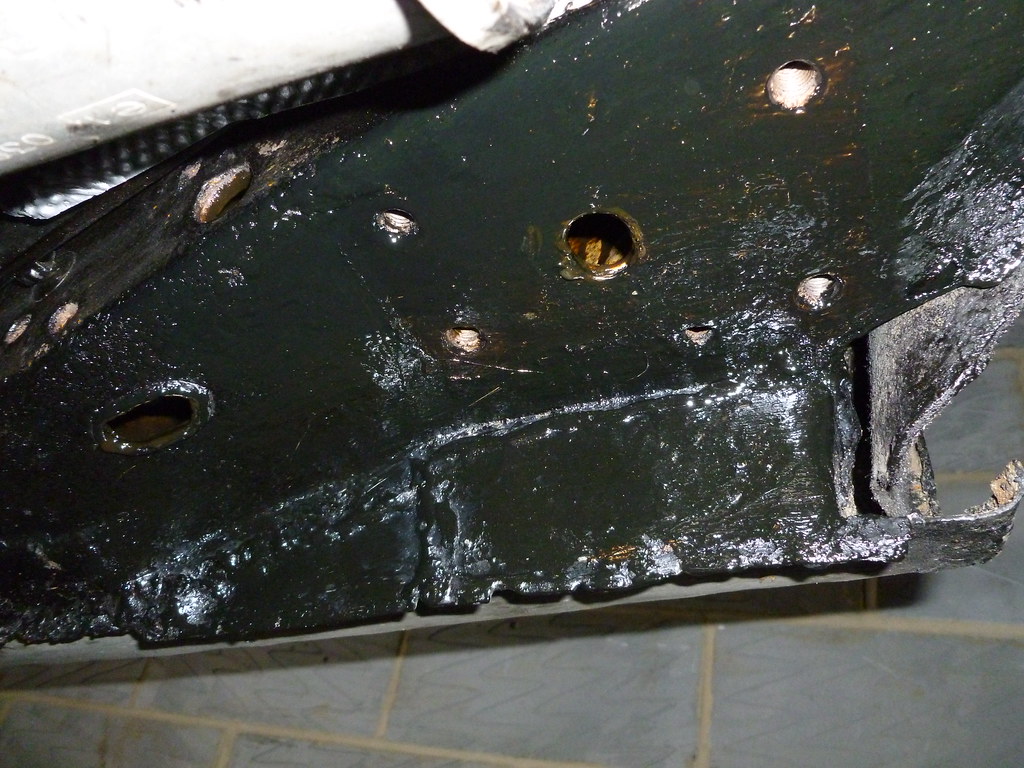
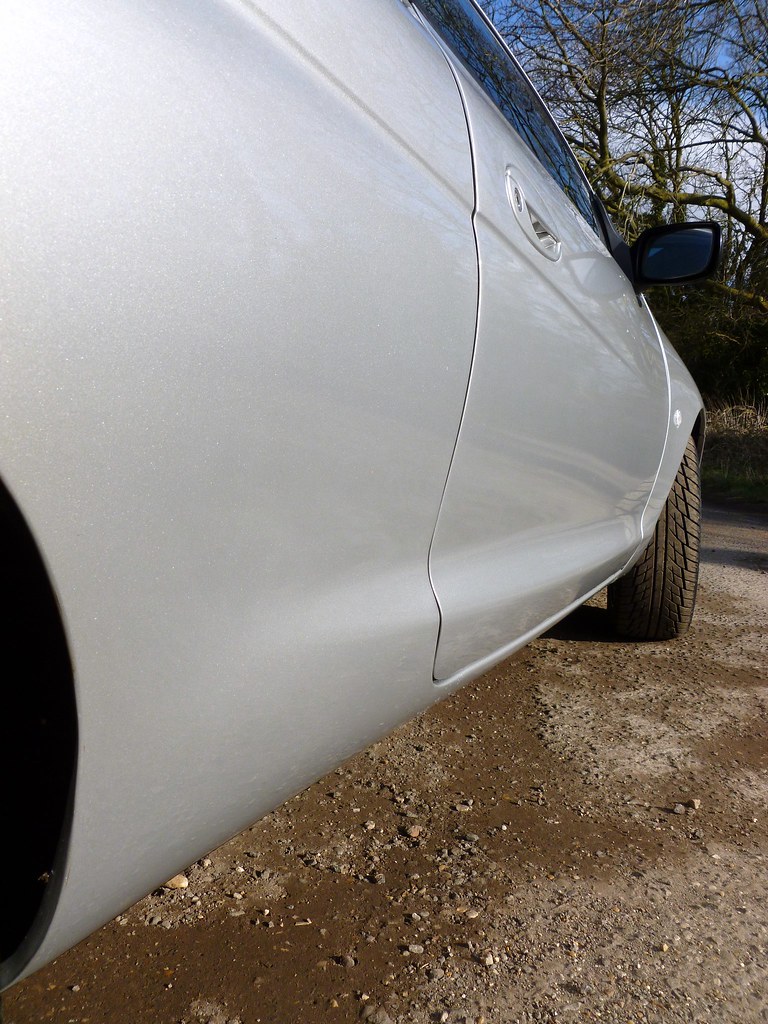
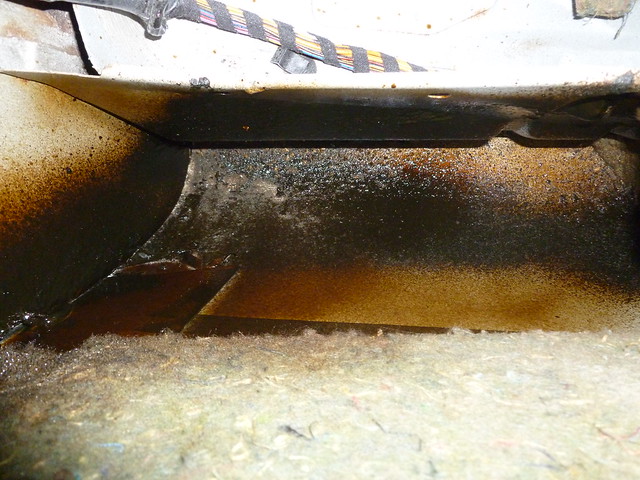
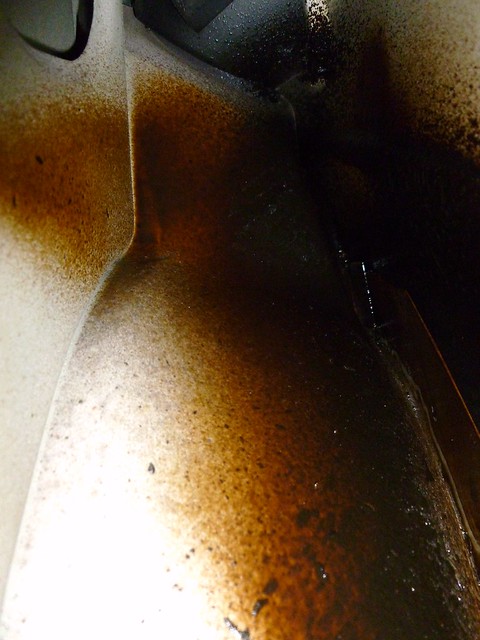
Drivers side sill:
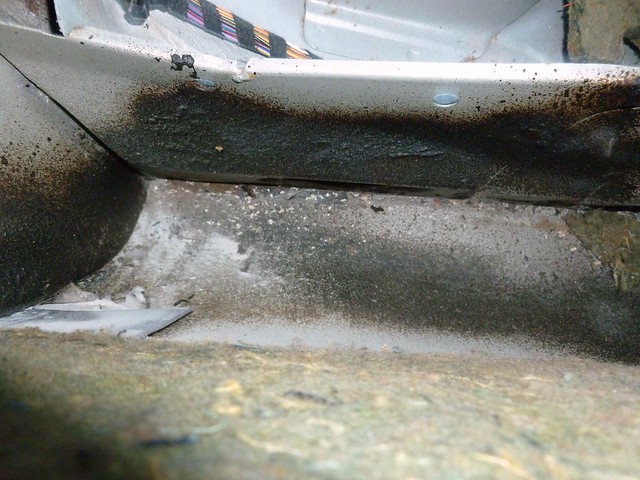 004
004 by
slayllian1, on Flickr
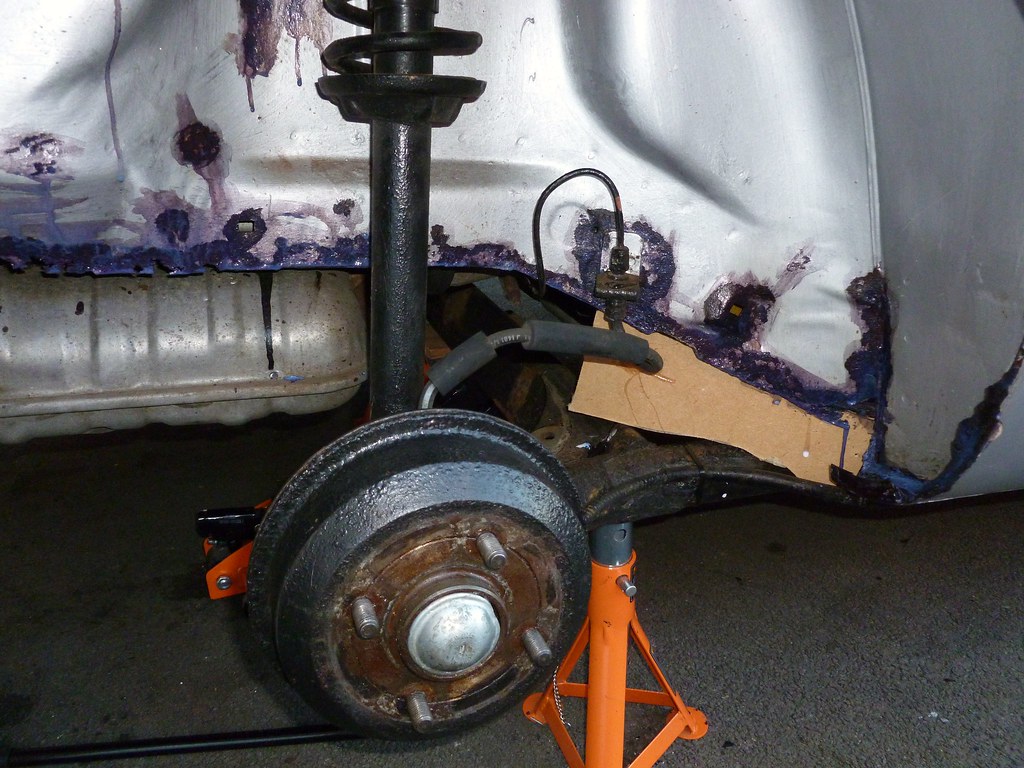
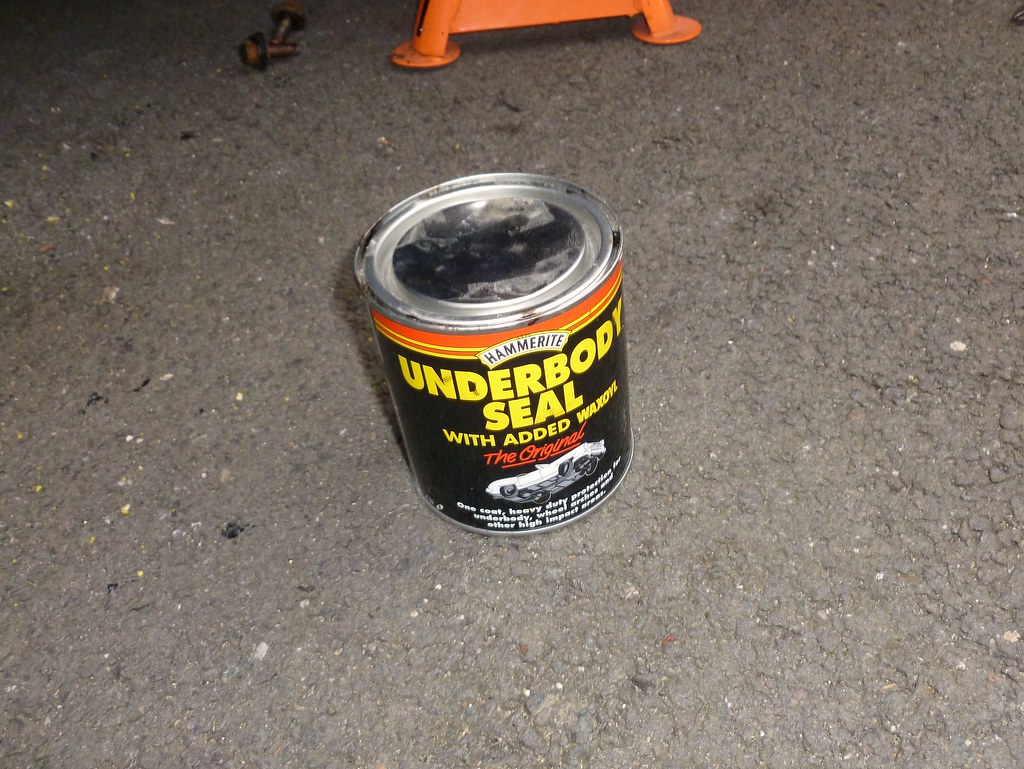
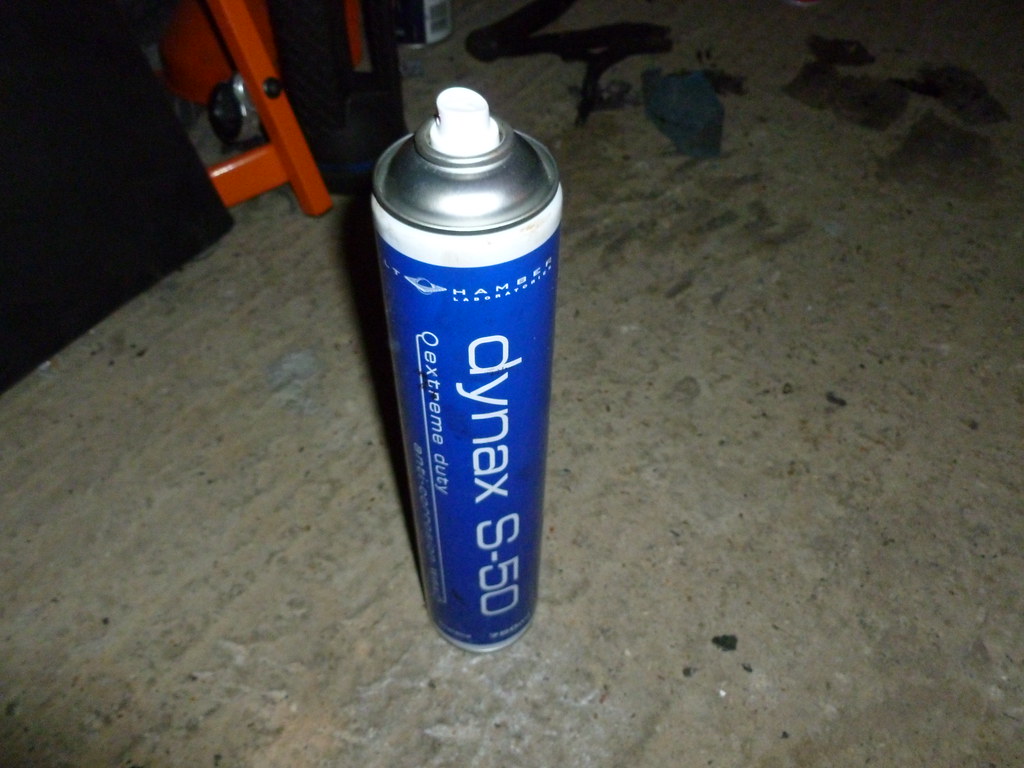
Added built-hamber anti corrosive wax:
 010
010 by
slayllian1, on Flickr
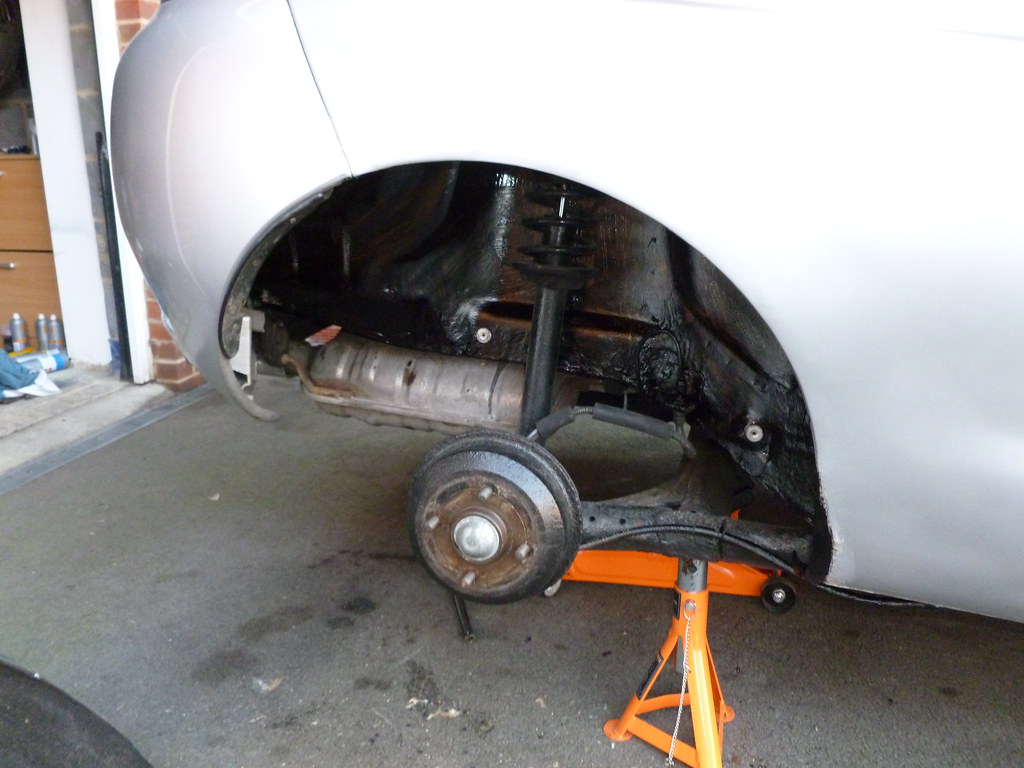
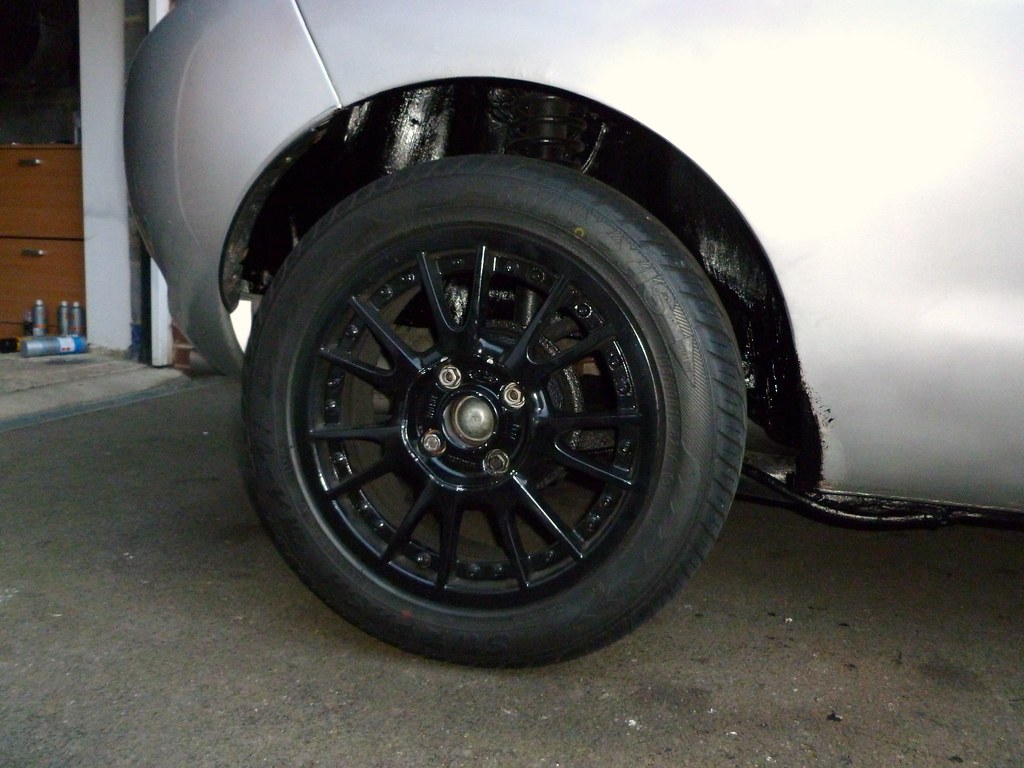
Above wheel arch:
 009
009 by
slayllian1, on Flickr
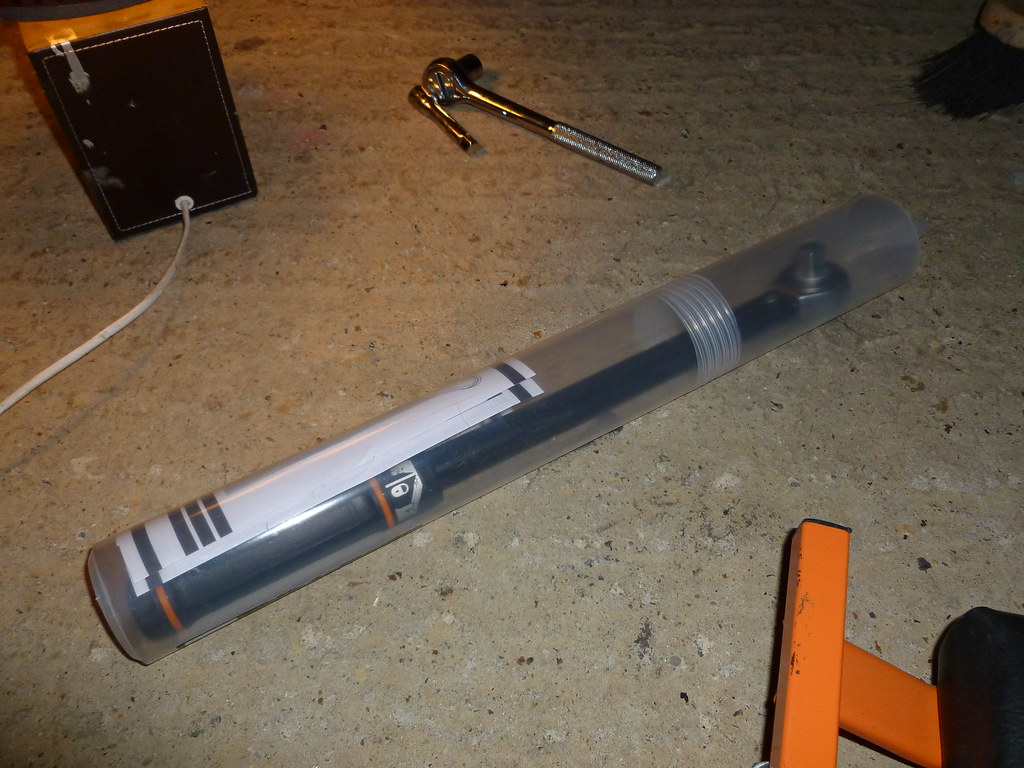
I ran out of wax, but will be getting more on order to finish off the sills:
 011
011 by
slayllian1, on Flickr
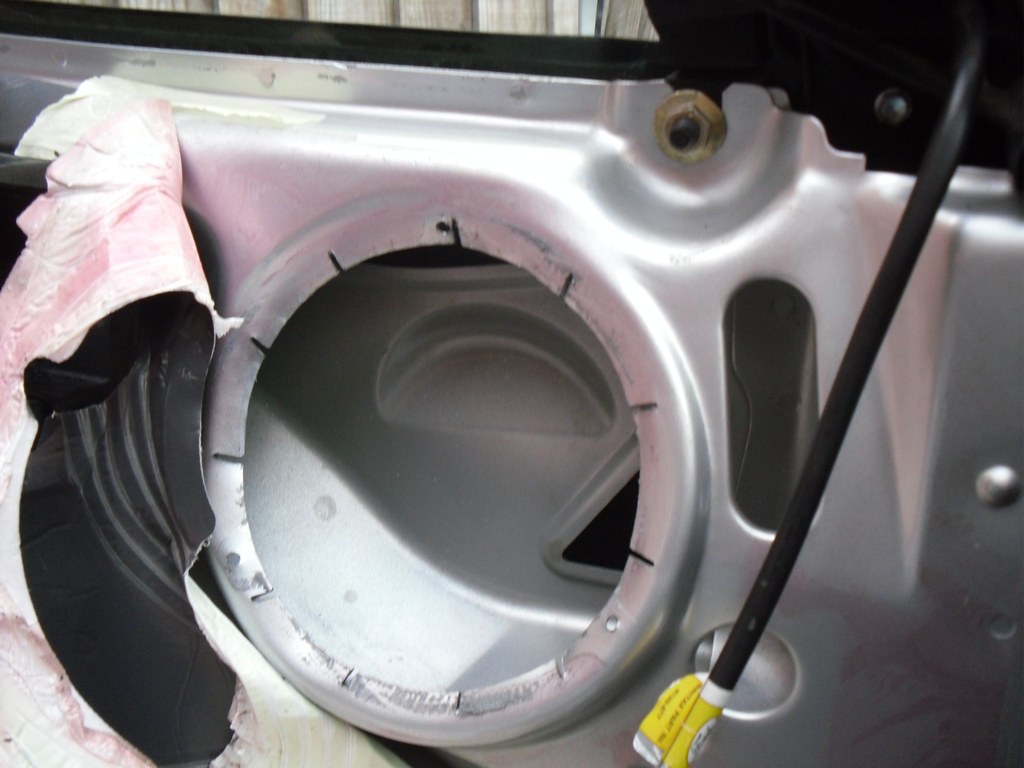
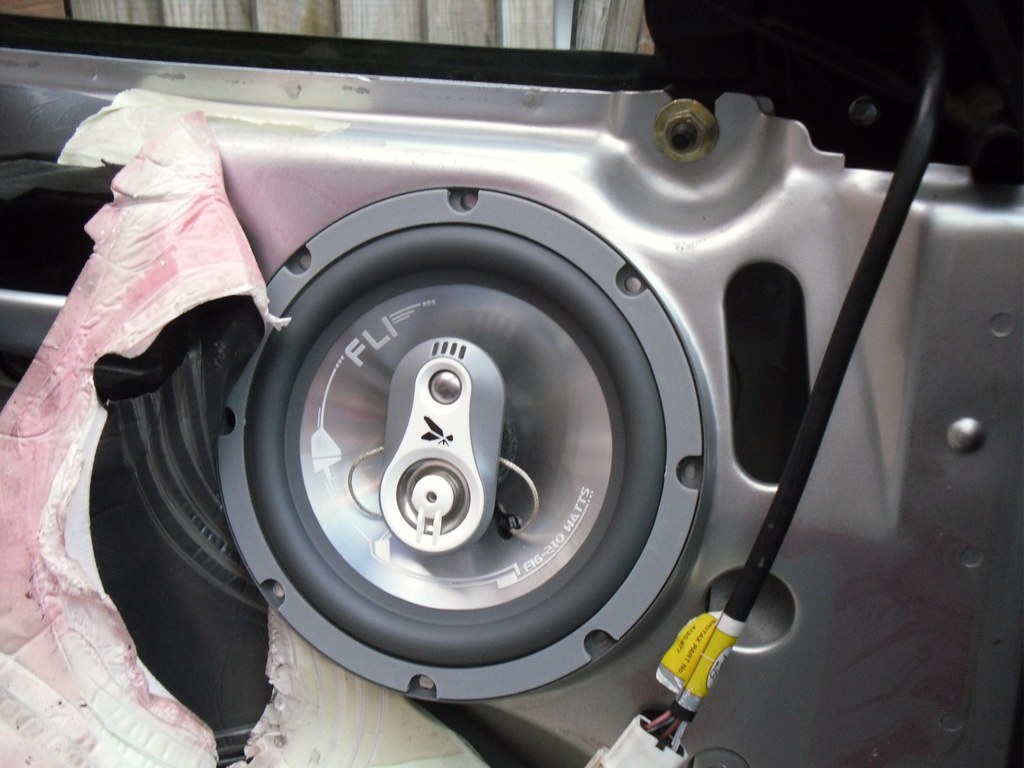
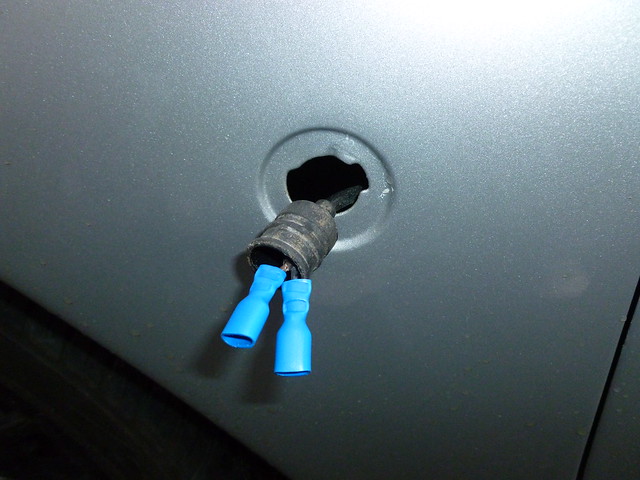
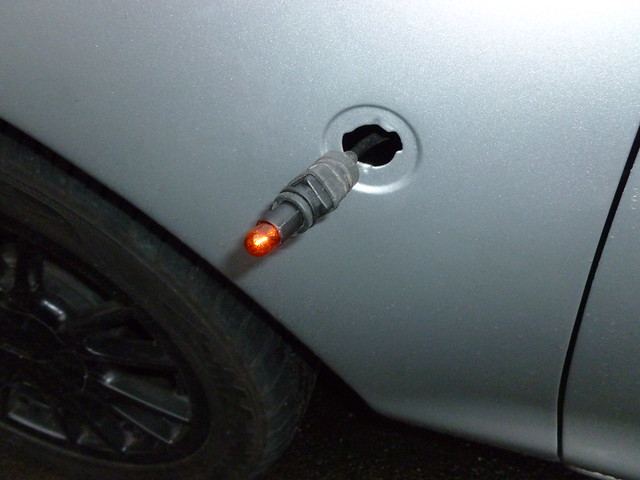
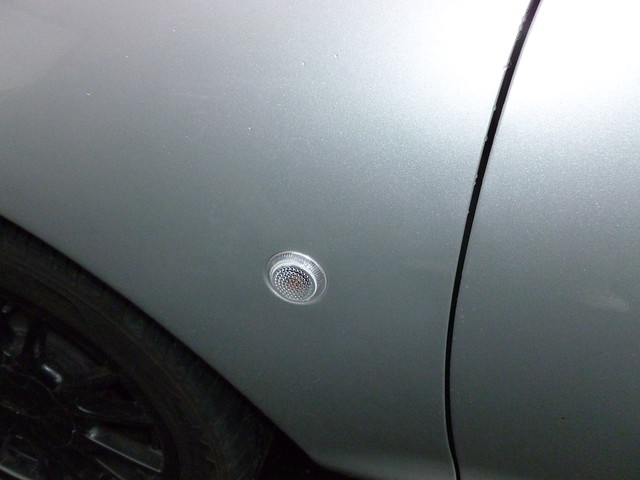
I then refitted the speaker housing and trim before proceeding to passenger side:
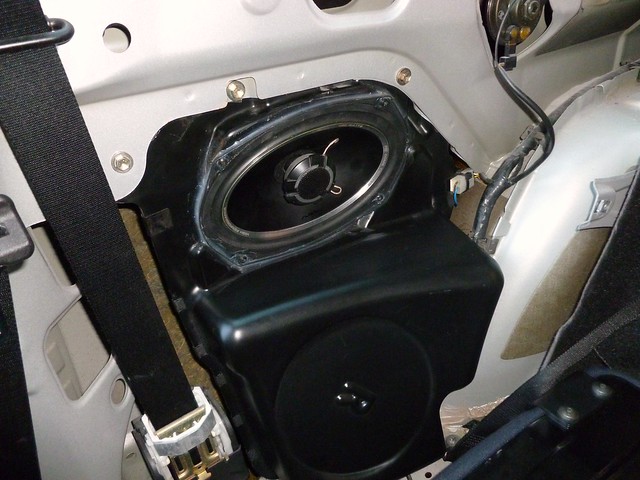 015
015 by
slayllian1, on Flickr
The passenger side has been repaired in the same way as the drivers side:
 023
023 by
slayllian1, on Flickr
Added wax to this side also:
 024
024 by
slayllian1, on Flickr
Above the inner passenger side:
 025
025 by
slayllian1, on Flickr
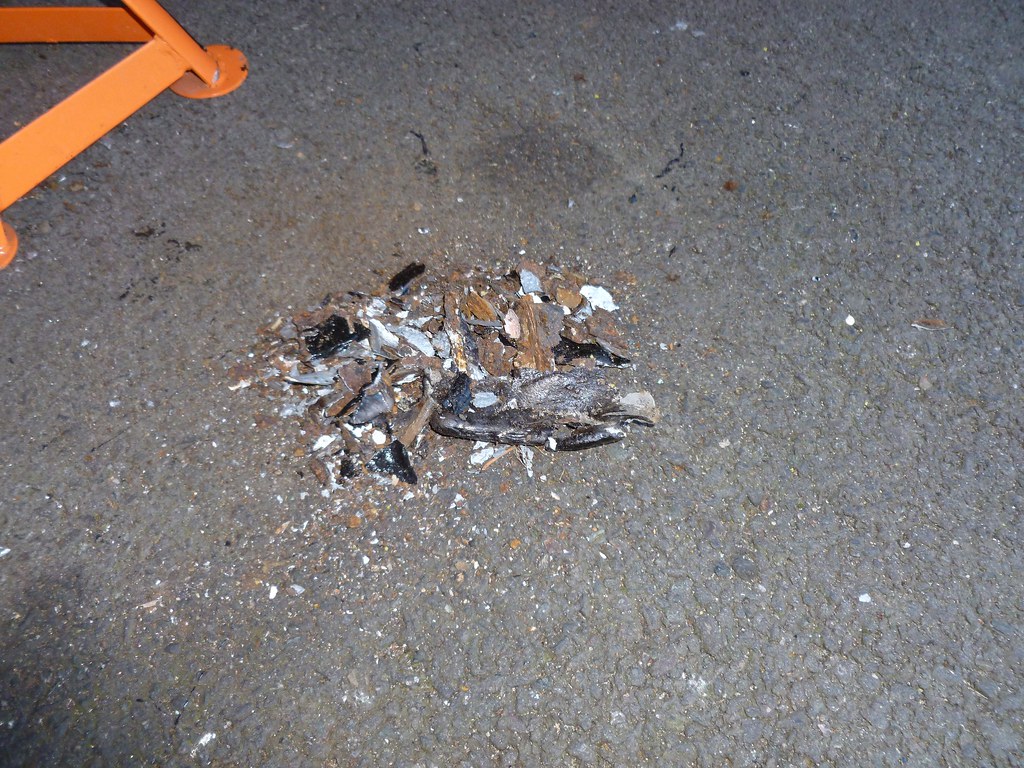
Seems to be some kind of rodent living in the sill. on closer inspection it turned out to be a piece of insulation

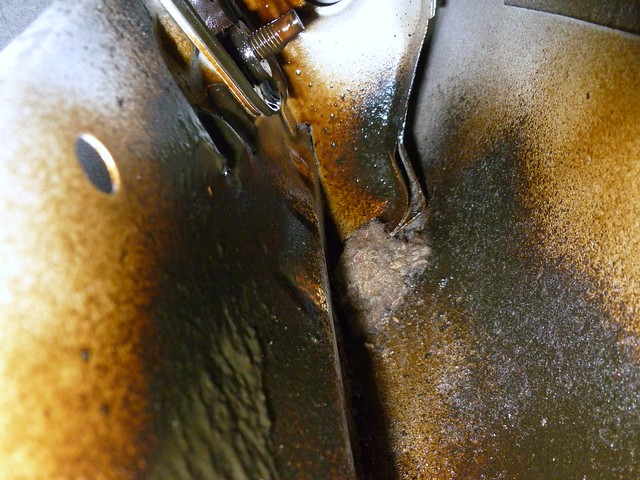 013
013 by
slayllian1, on Flickr
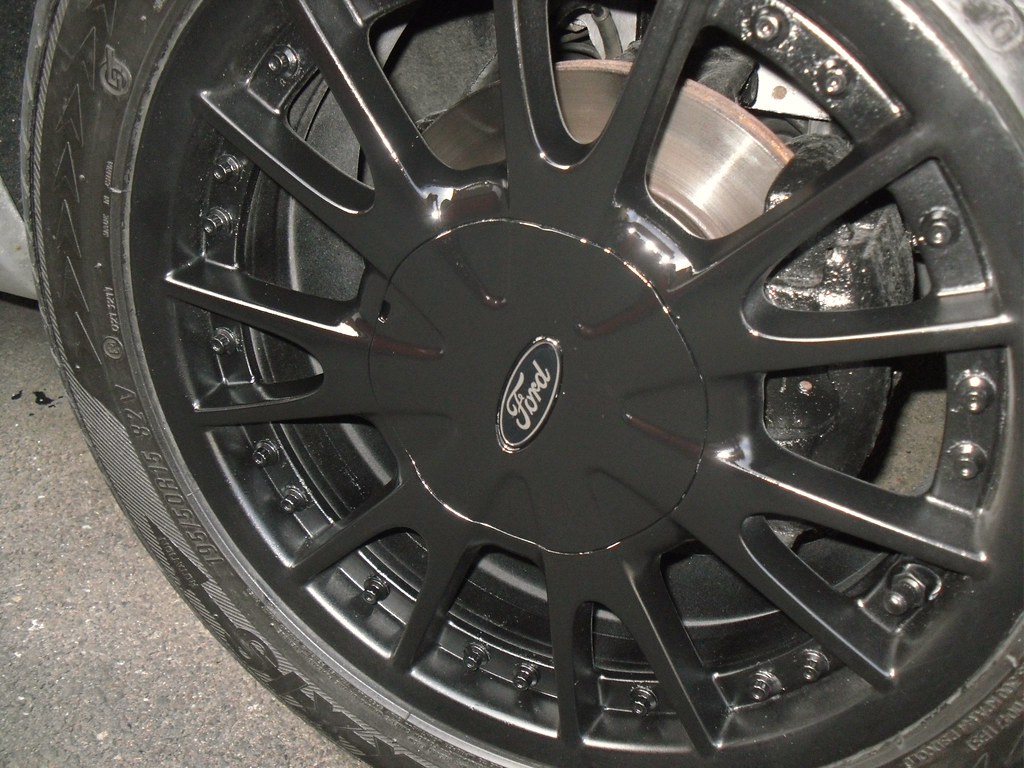
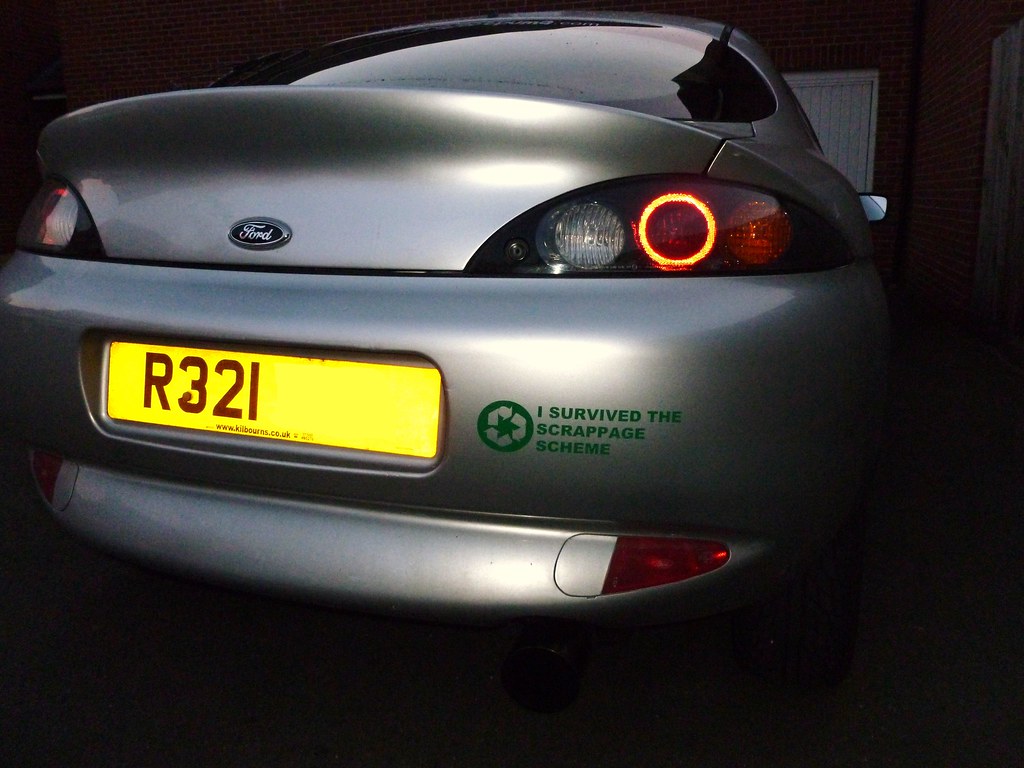
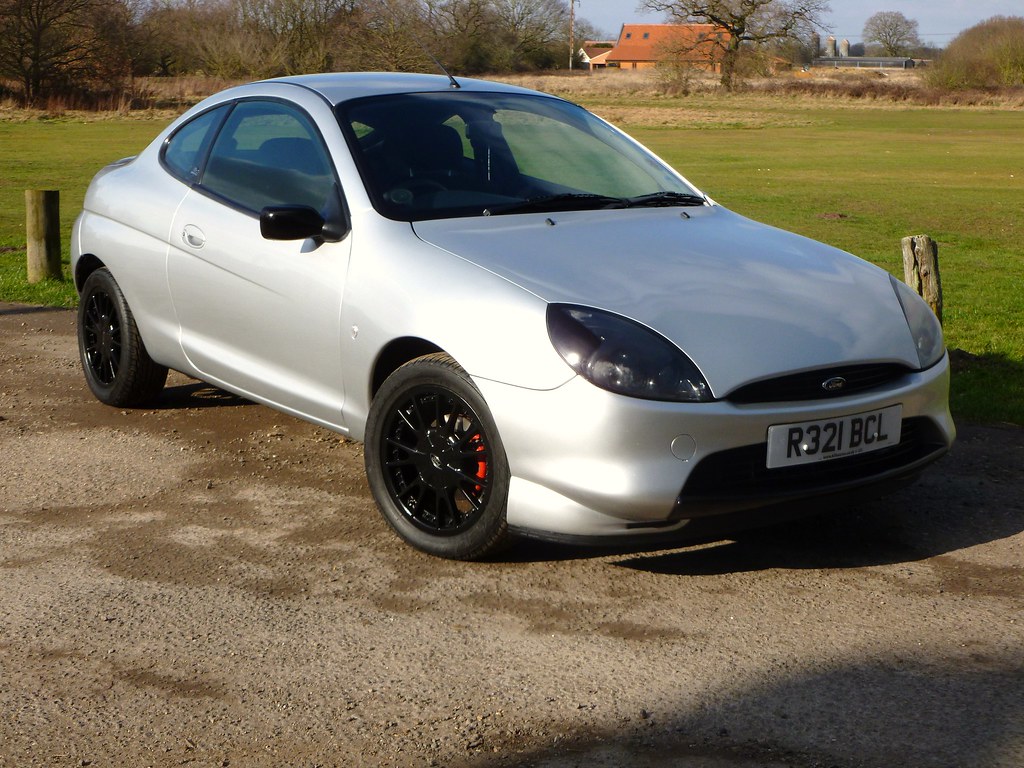
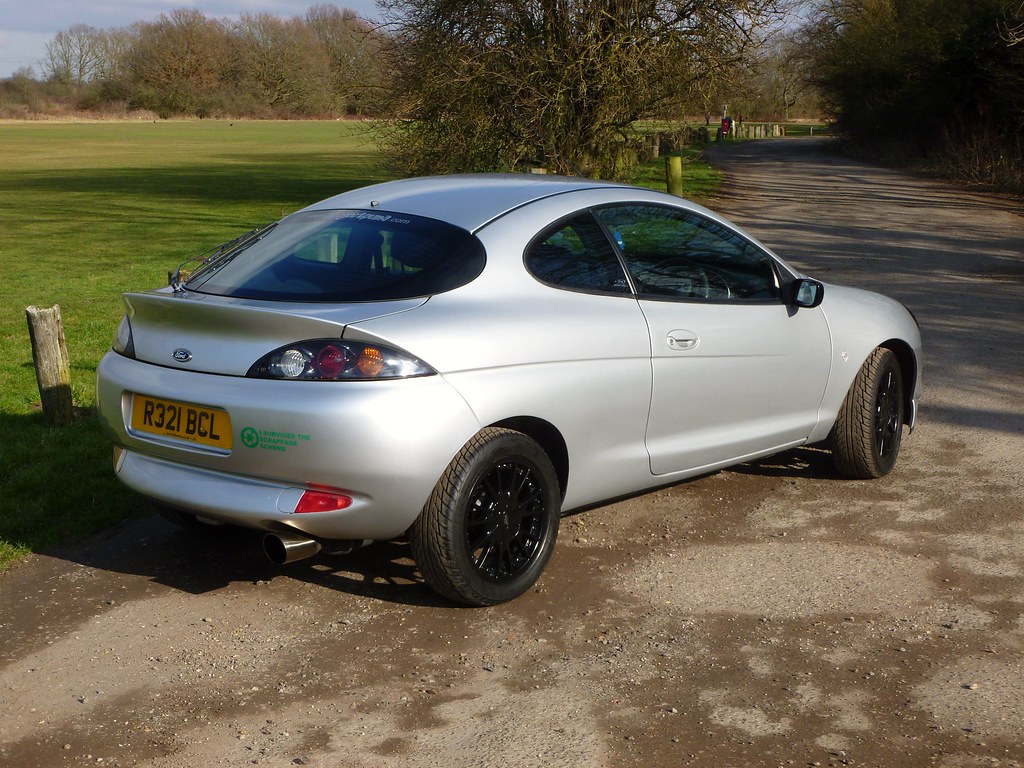
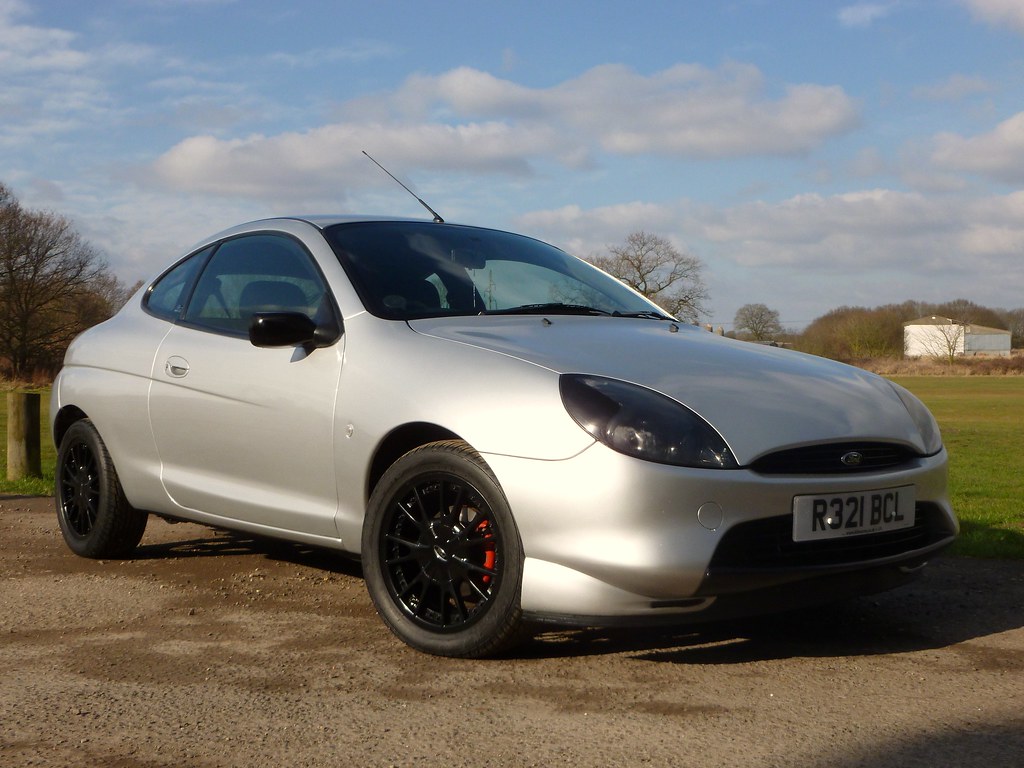
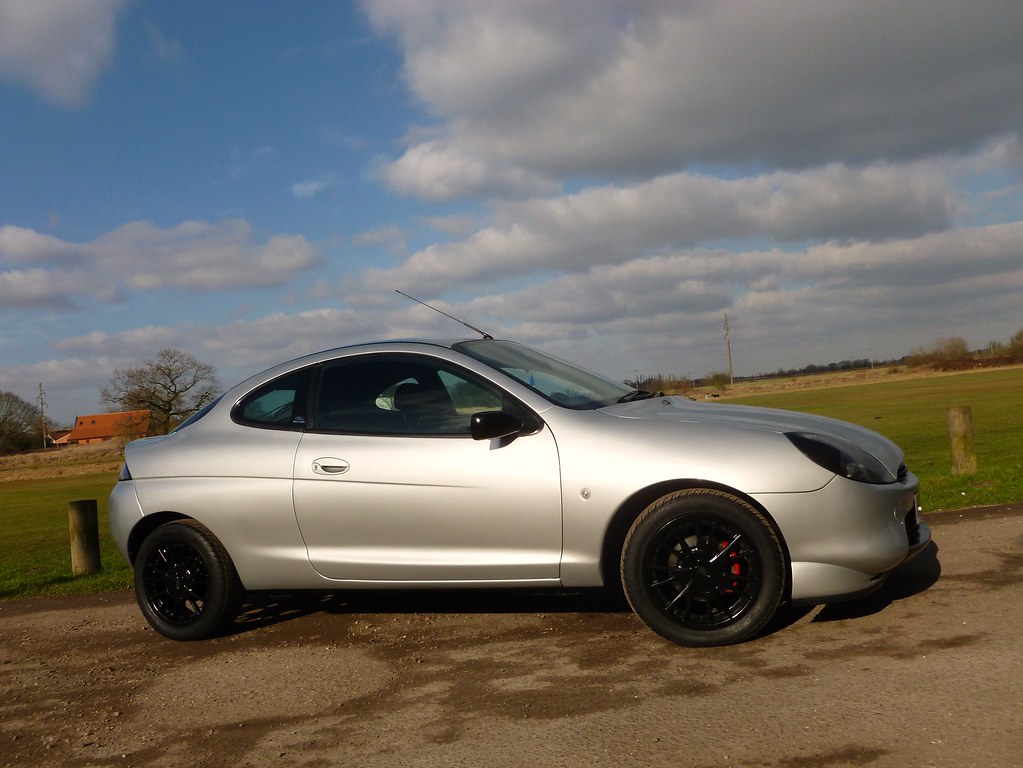
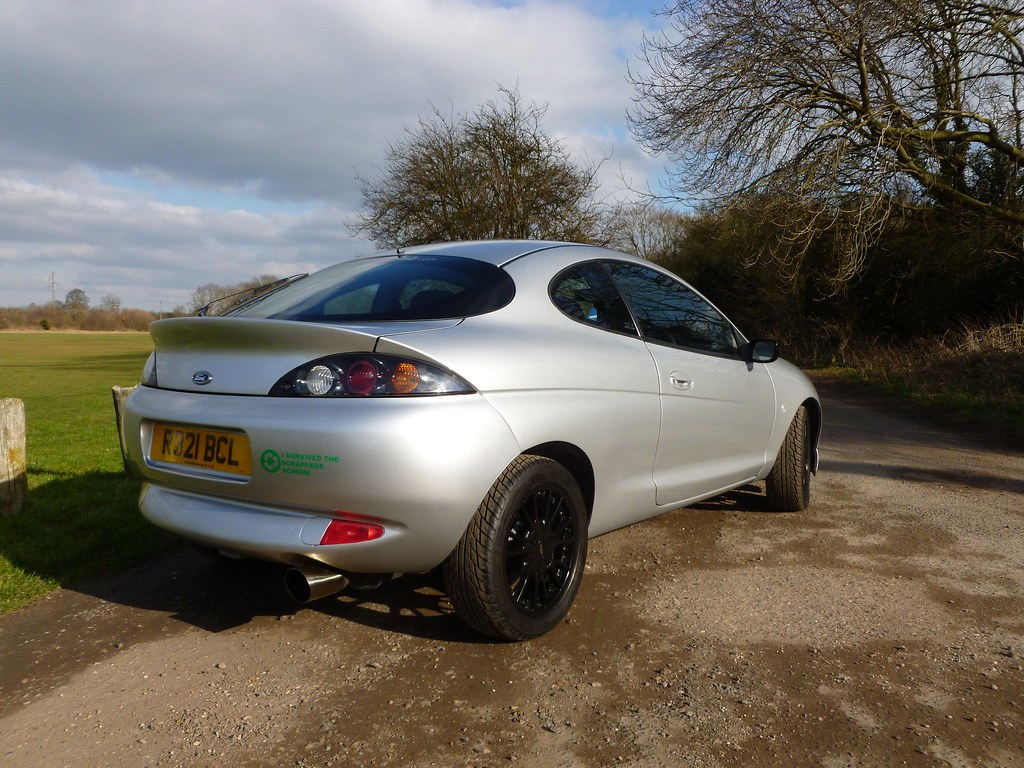
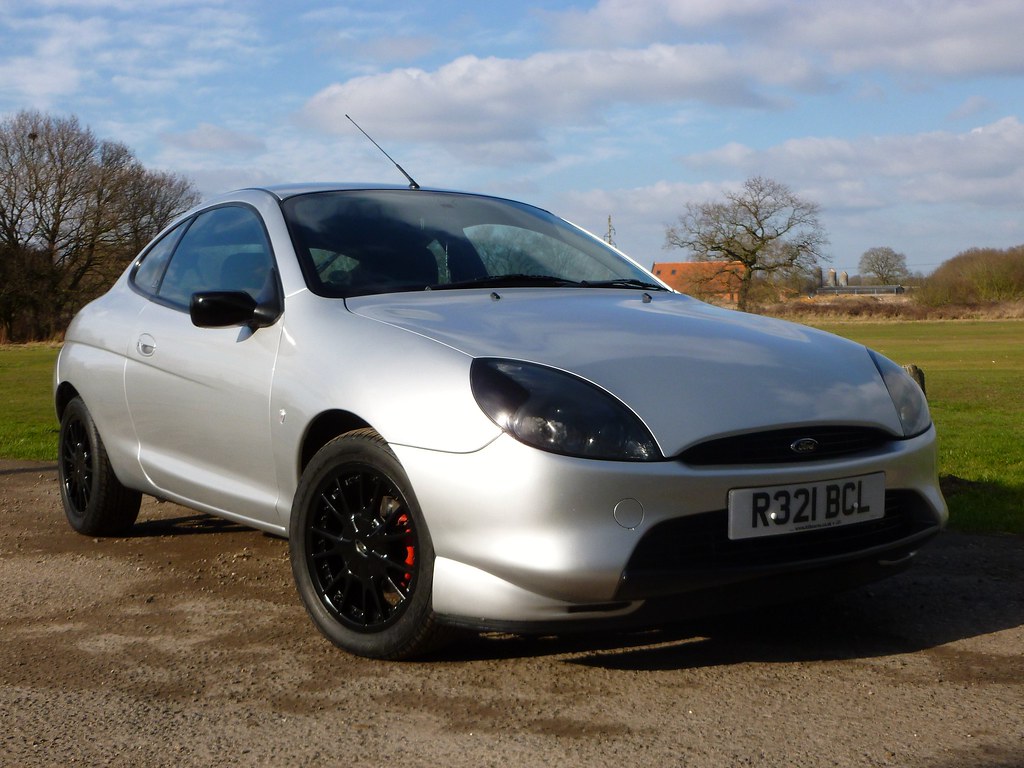
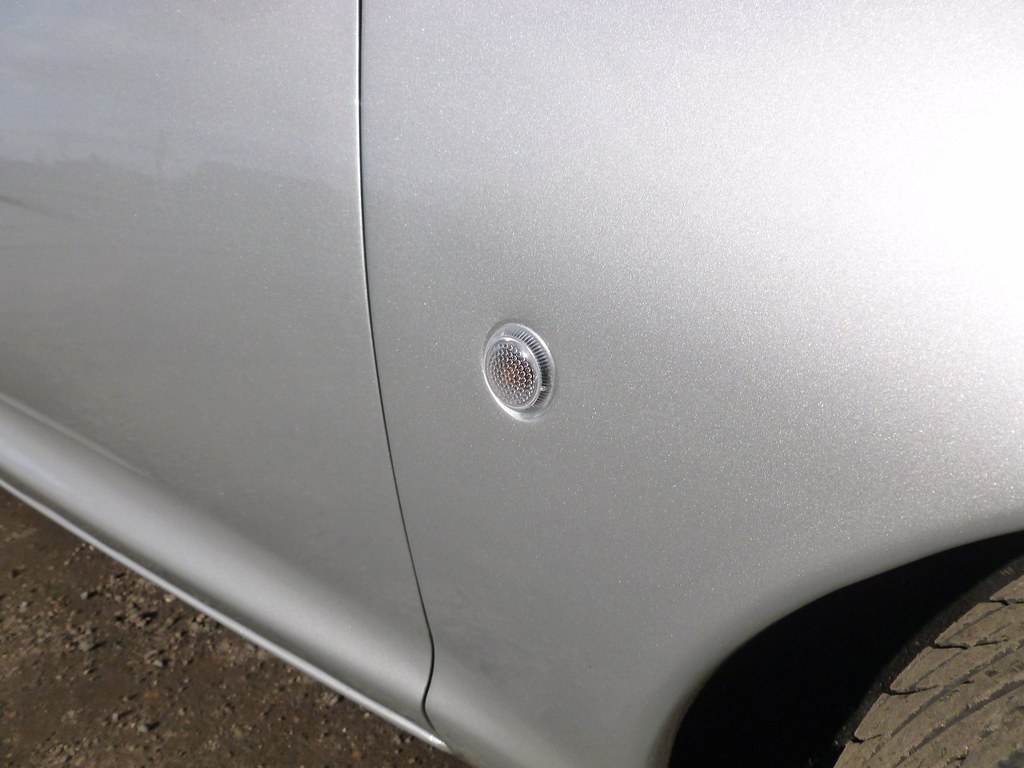
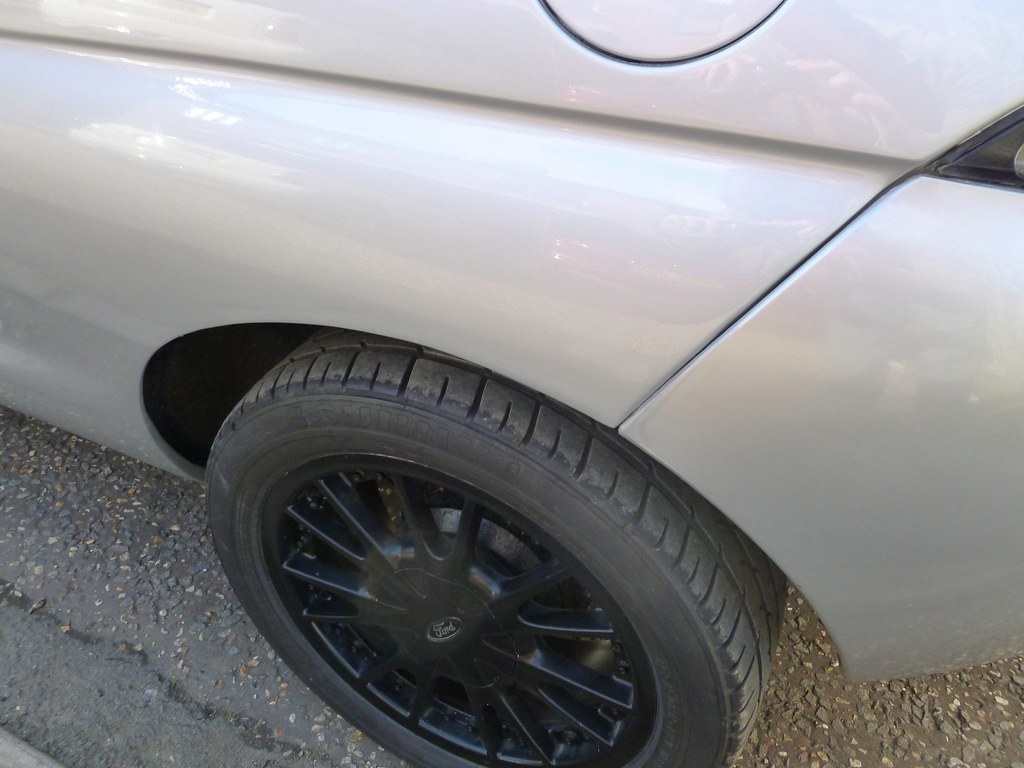
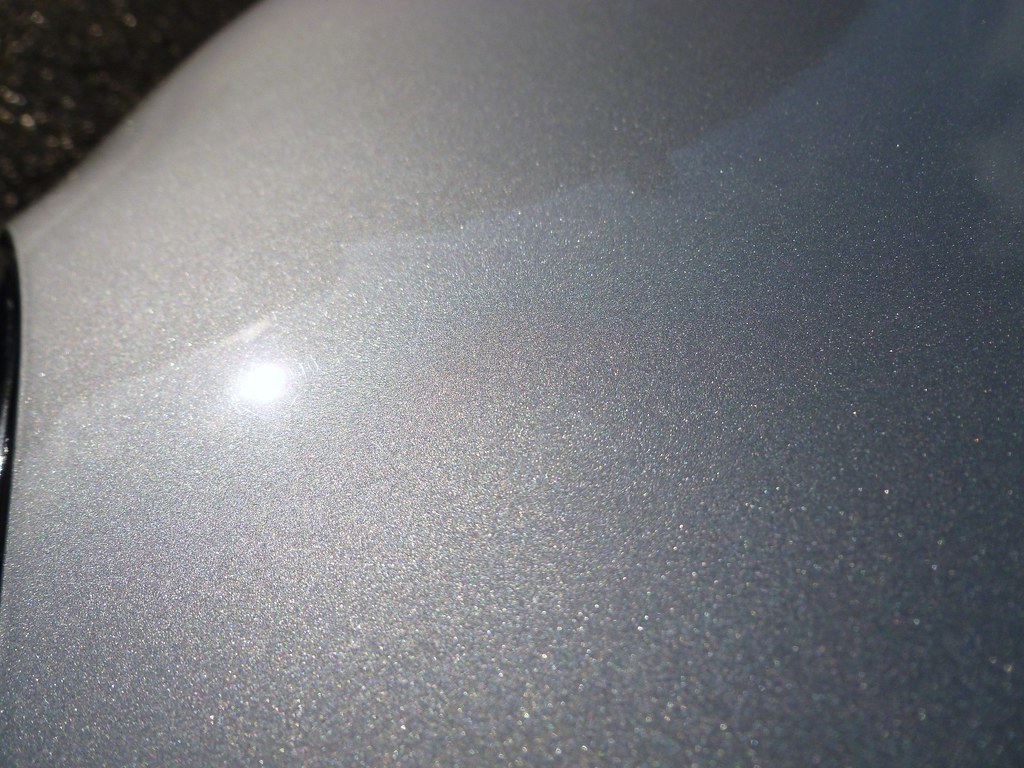
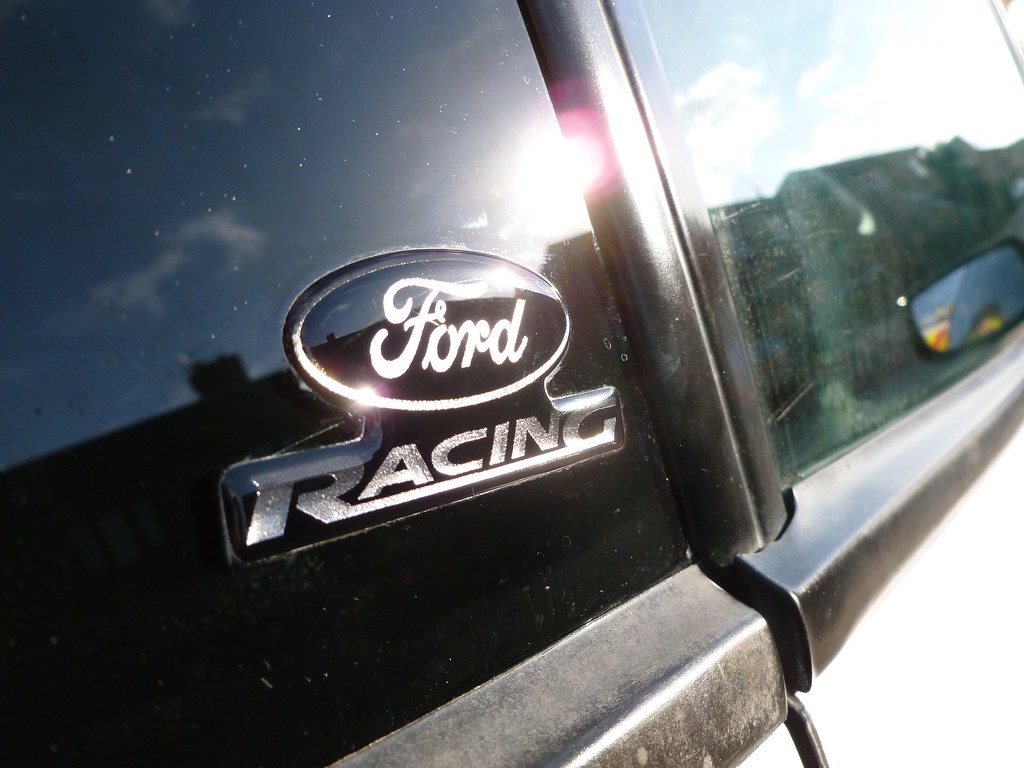
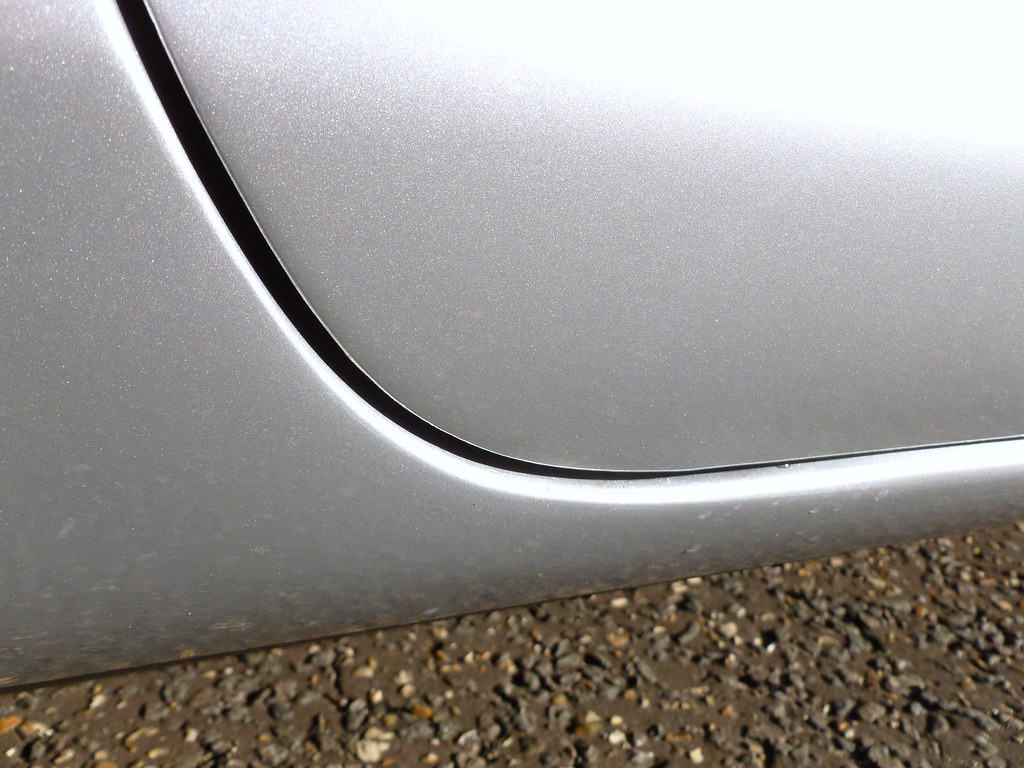
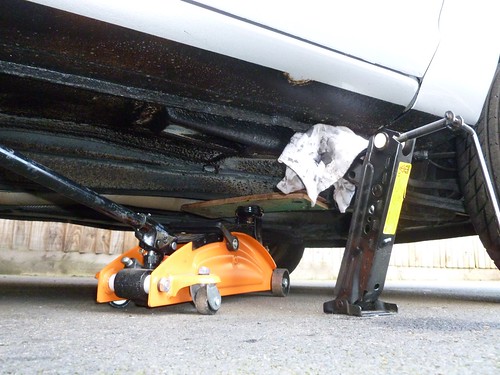
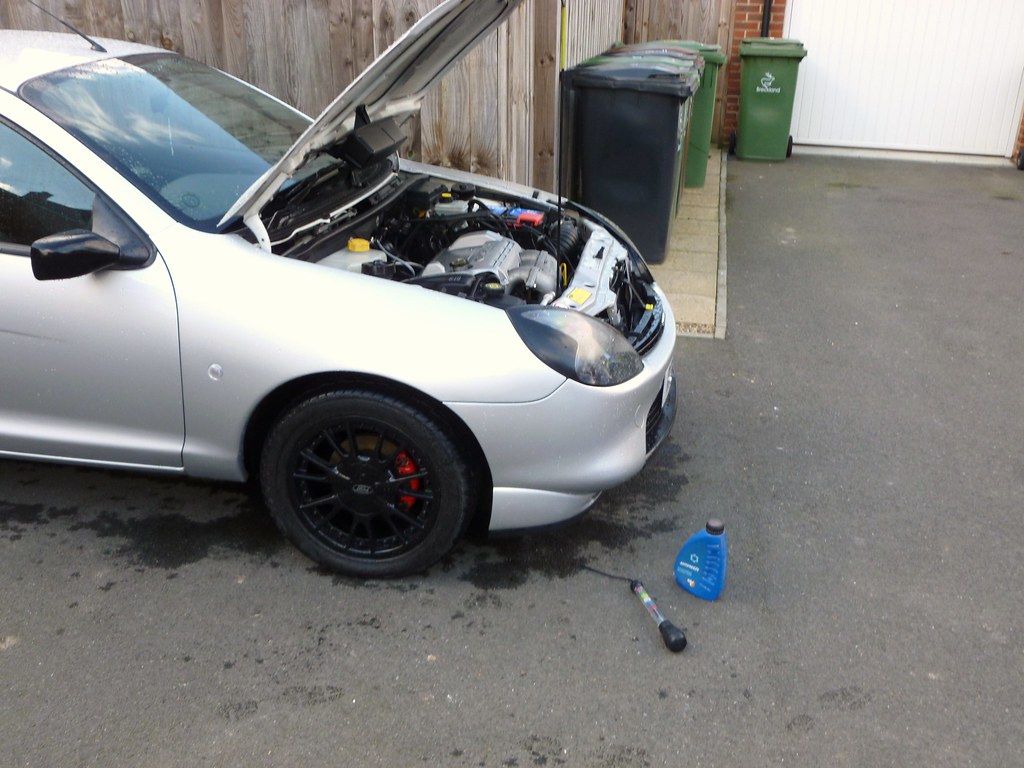
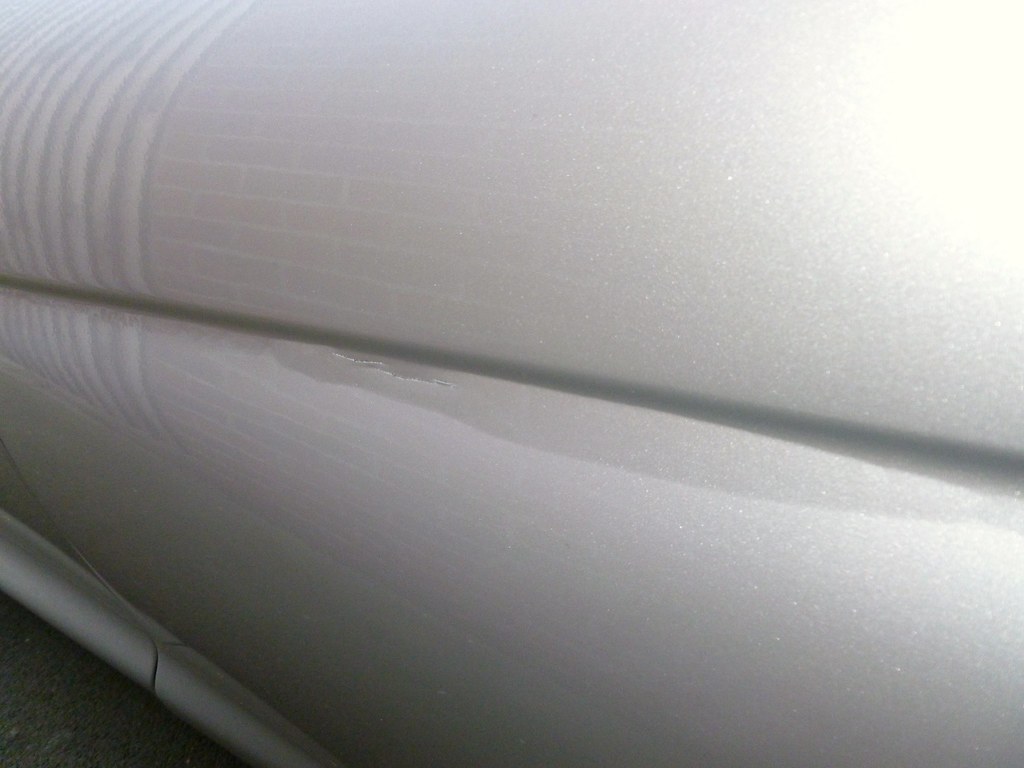
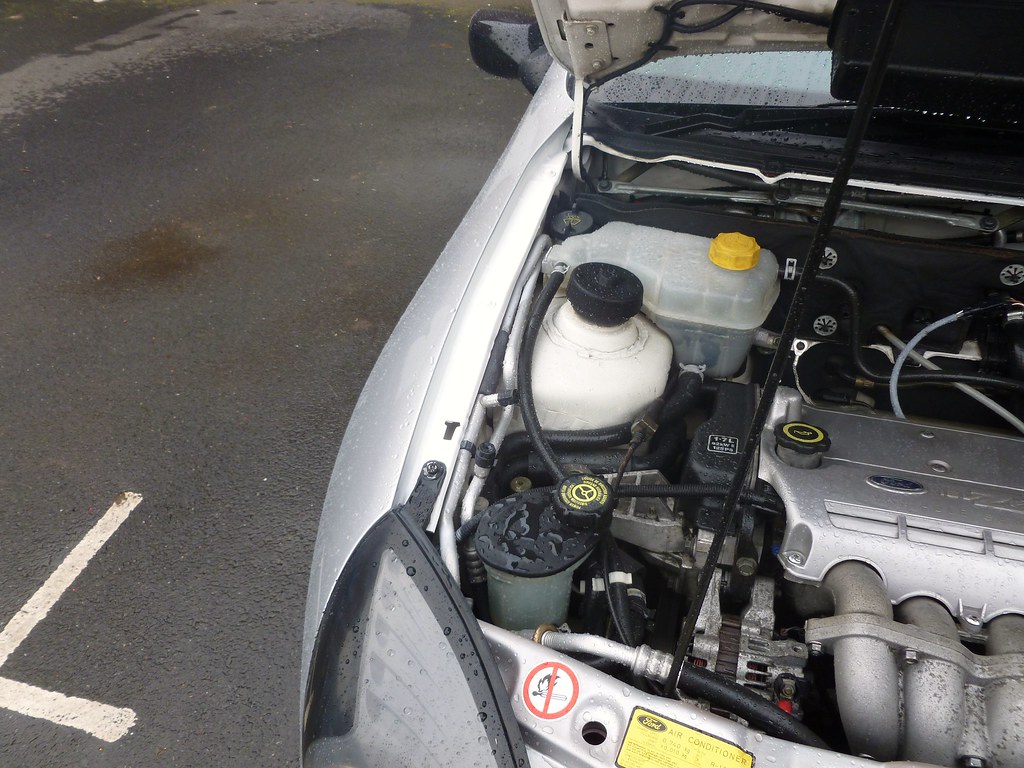
Washed the off the dust from the body shop and tried to get some better pictures, but once again the light was failing:
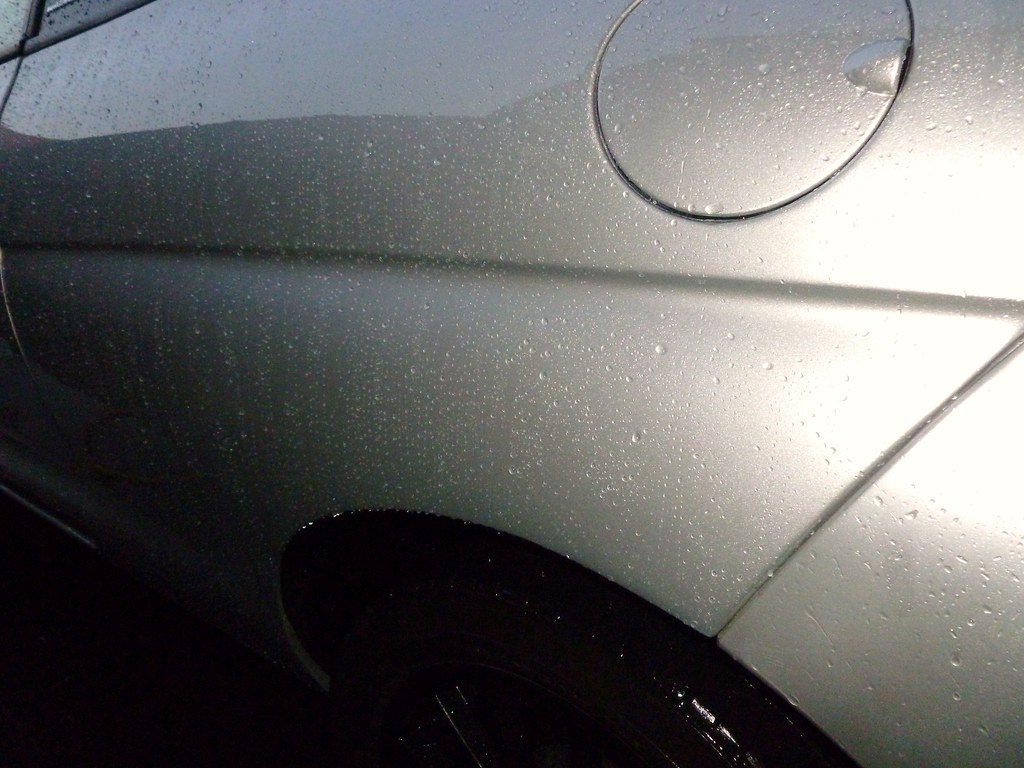 033
033 by
slayllian1, on Flickr
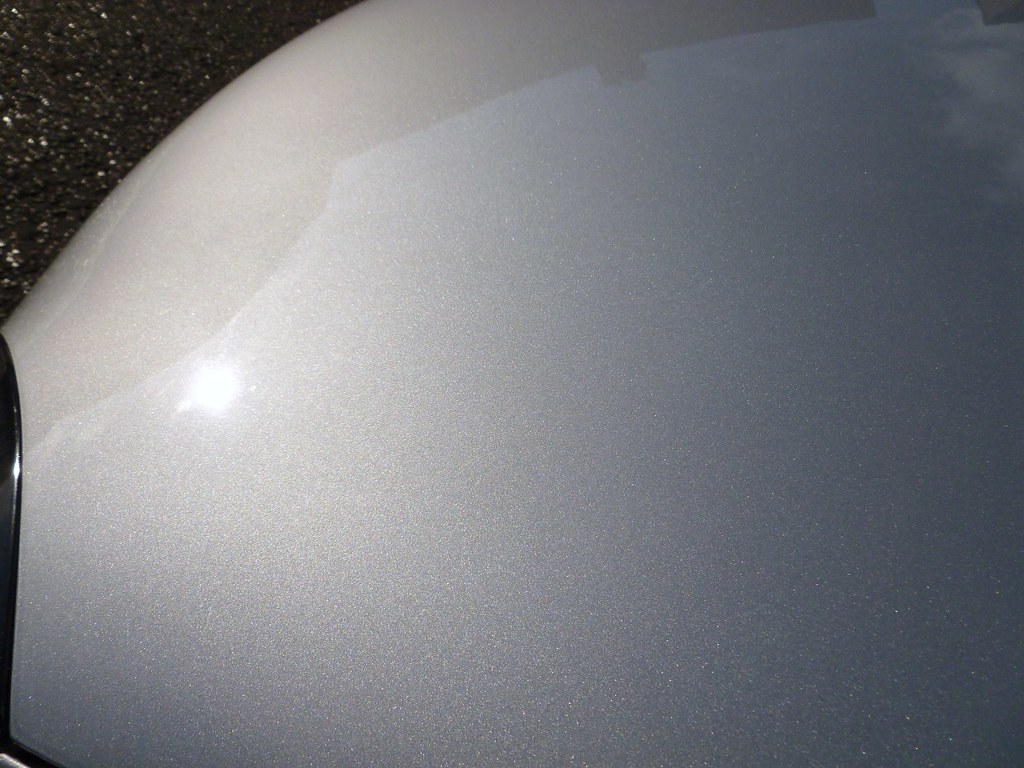
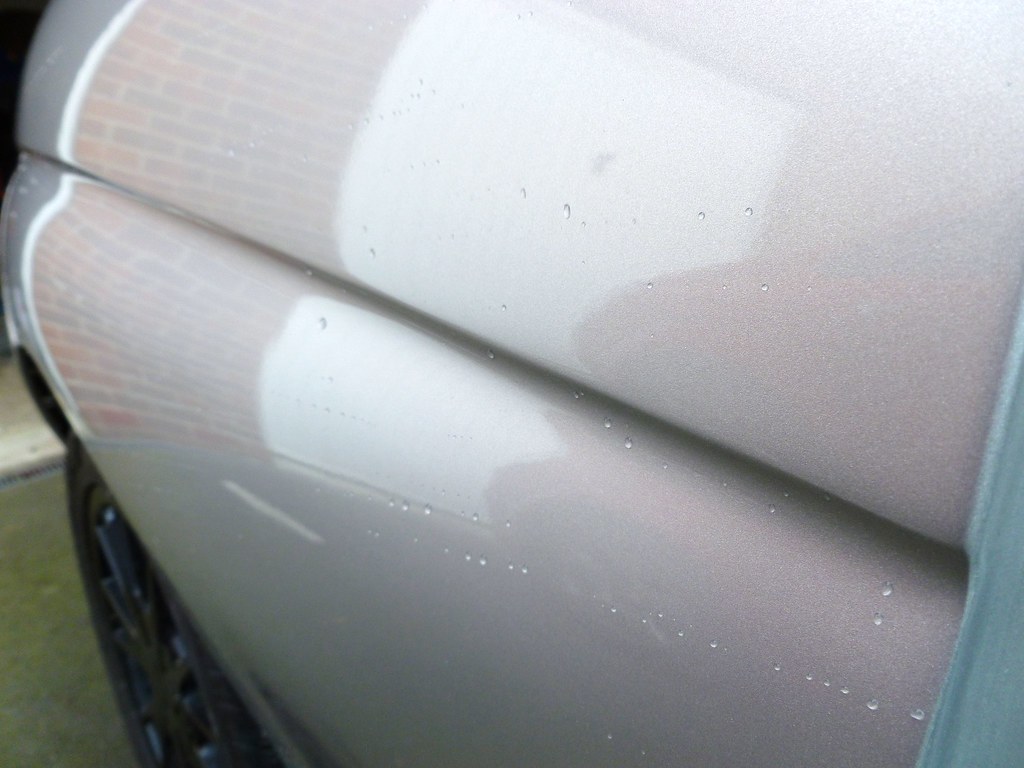
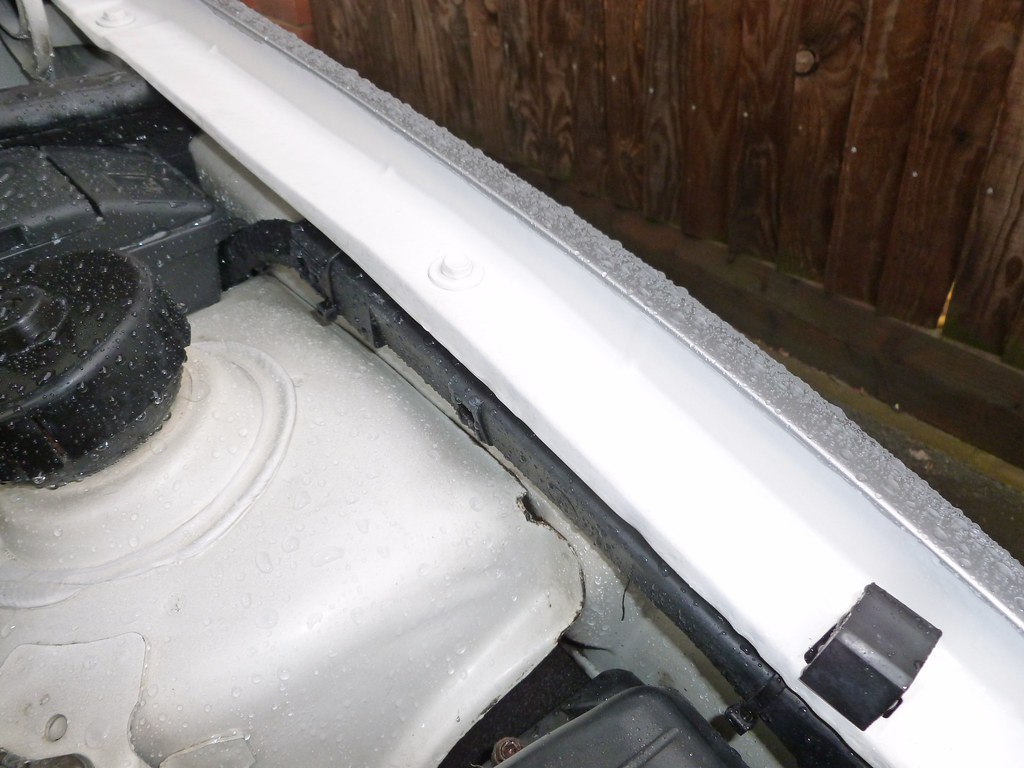
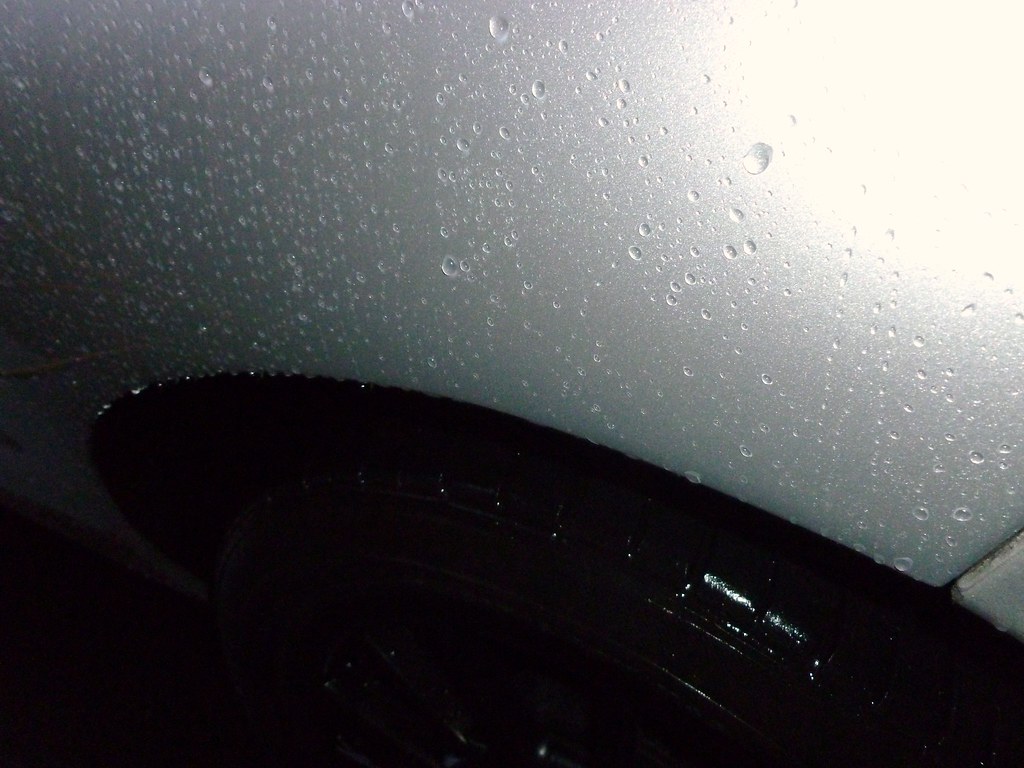 035
035 by
slayllian1, on Flickr
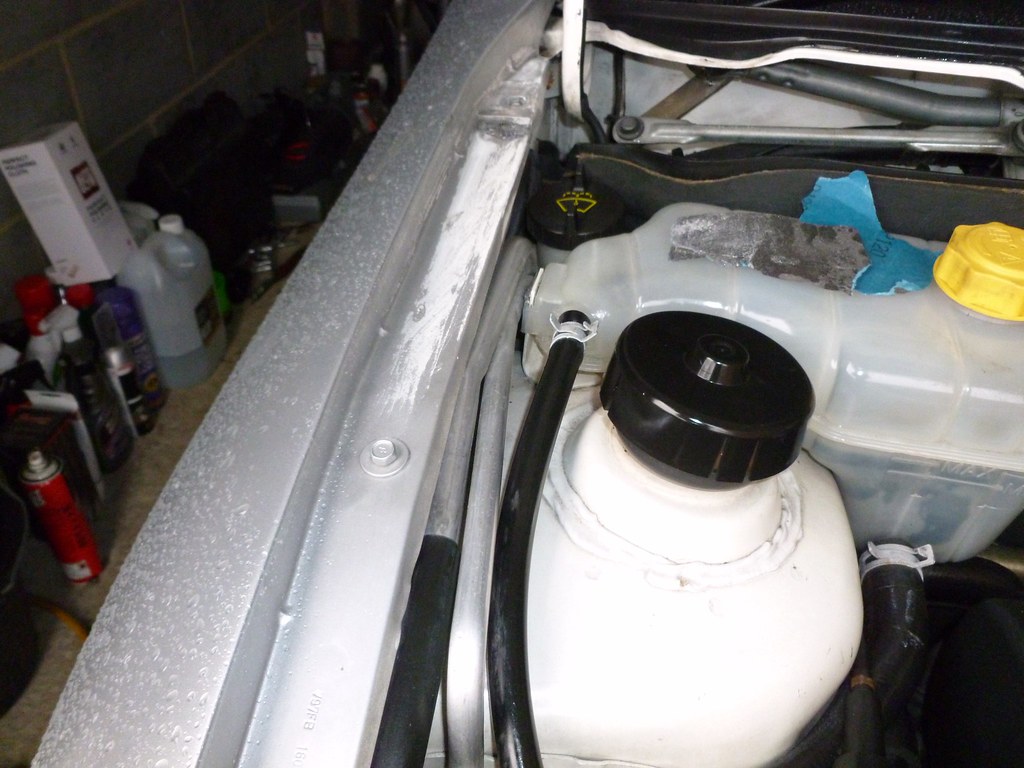
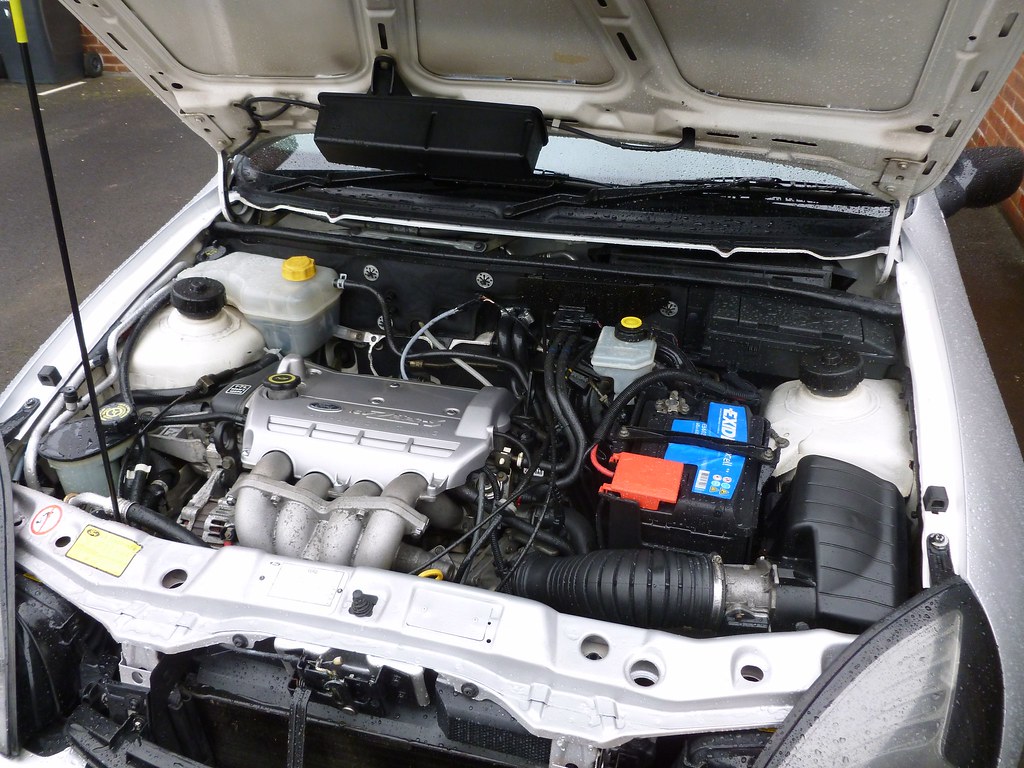
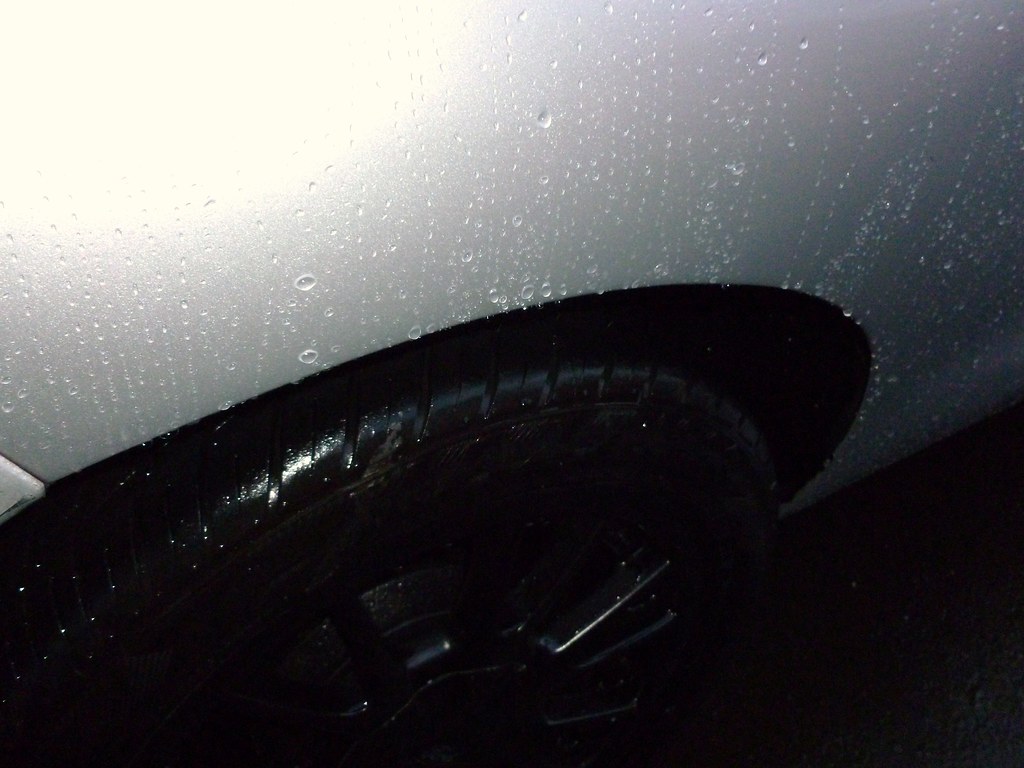 036
036 by
slayllian1, on Flickr

 Help
Help