Pumapeople: 1.7 Project, Slow But Steady - Pumapeople

Jump to content

  • 16 Pages +
  • « First
  • 10
  • 11
  • 12
  • 13
  • 14
  • Last »
  • You cannot start a new topic
  • You cannot reply to this topic

1.7 Project, Slow But Steady Rate Topic: -----

#221 User is offline   Kizza 

  • Group: Members
  • Posts: 705
  • Joined: 15-November 10

Posted 04 October 2012 - 10:06 PM

got some welding done tonight, not going to show pics of everything yet i want to wait until its all done before i let you all see the finished product. here are a couple of snap shots though :lol:

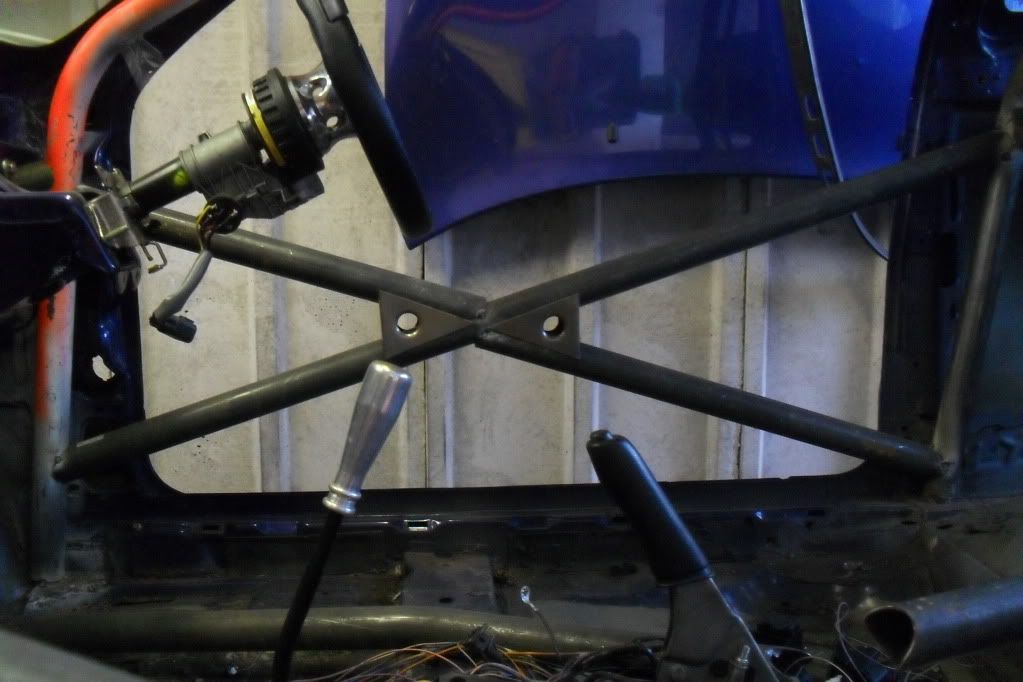
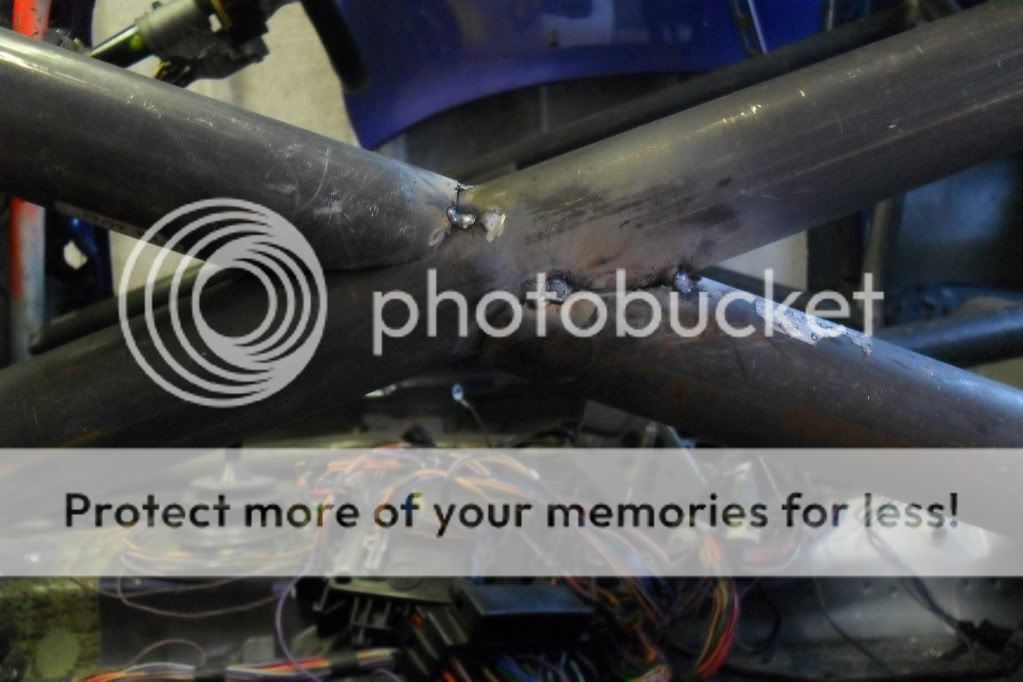
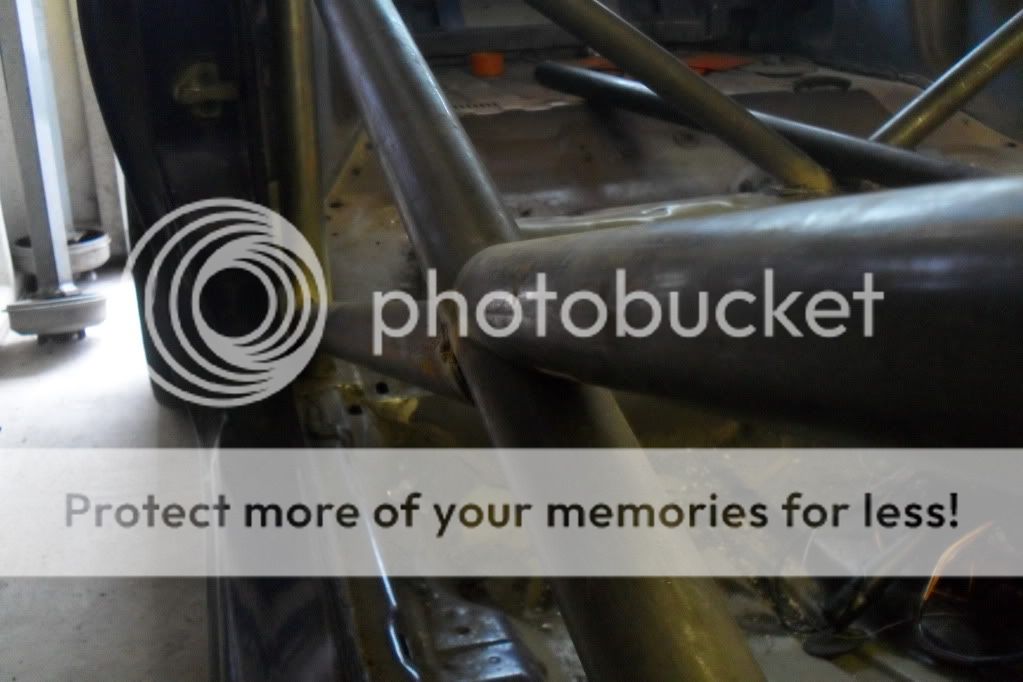
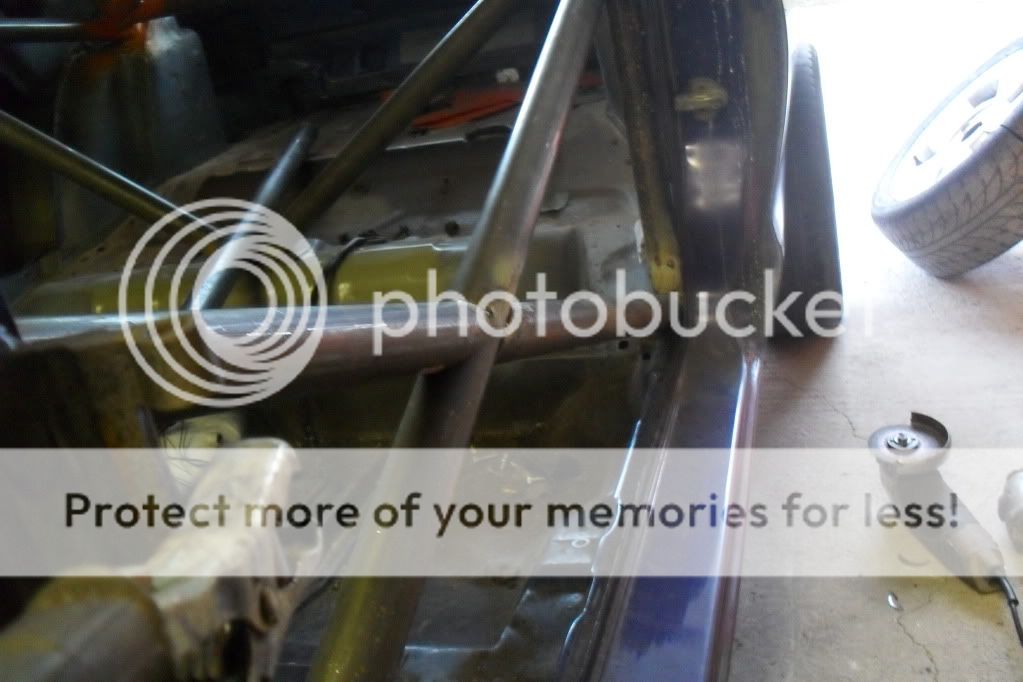
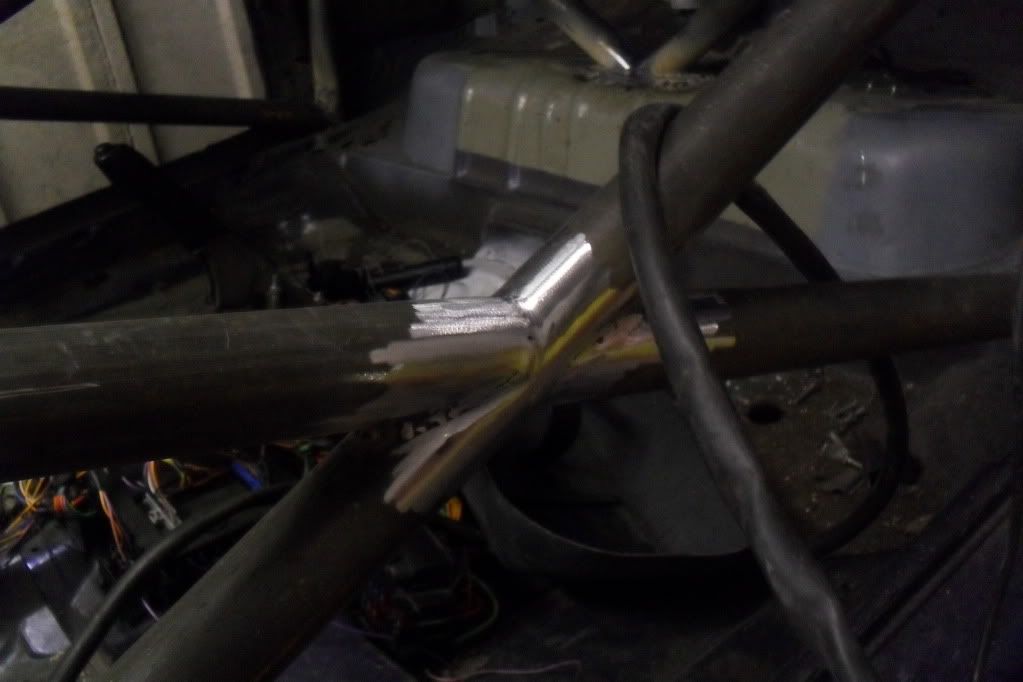
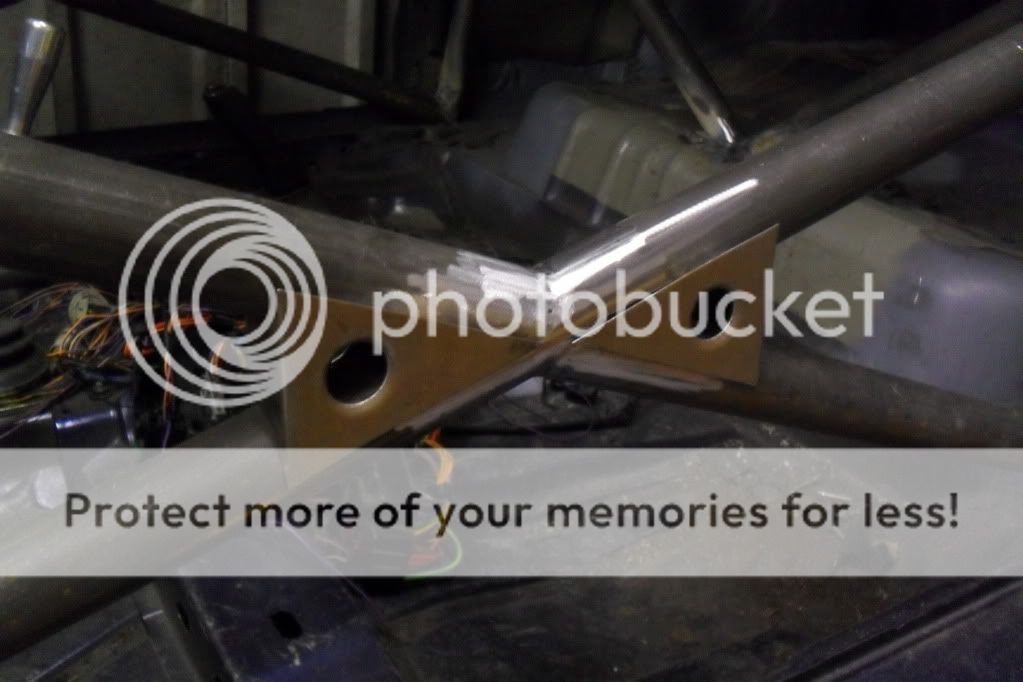
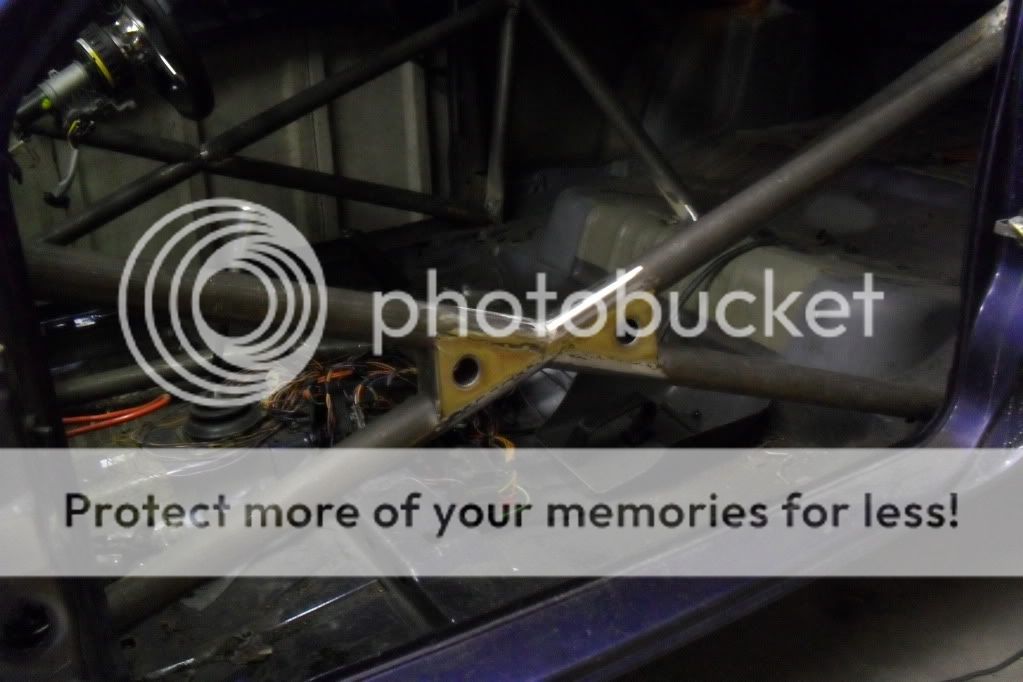
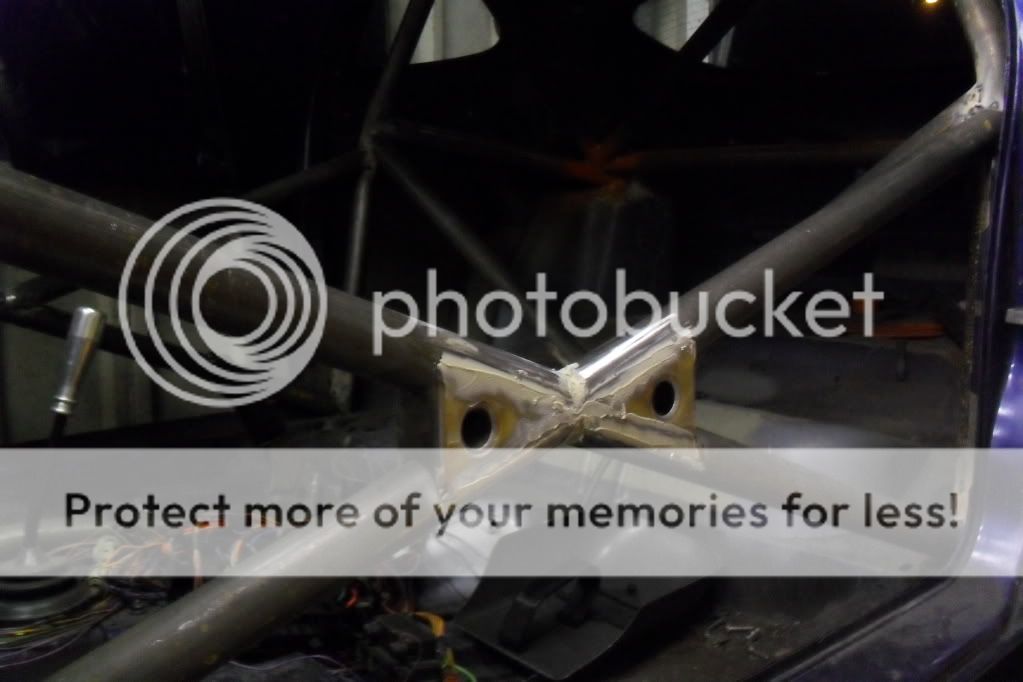
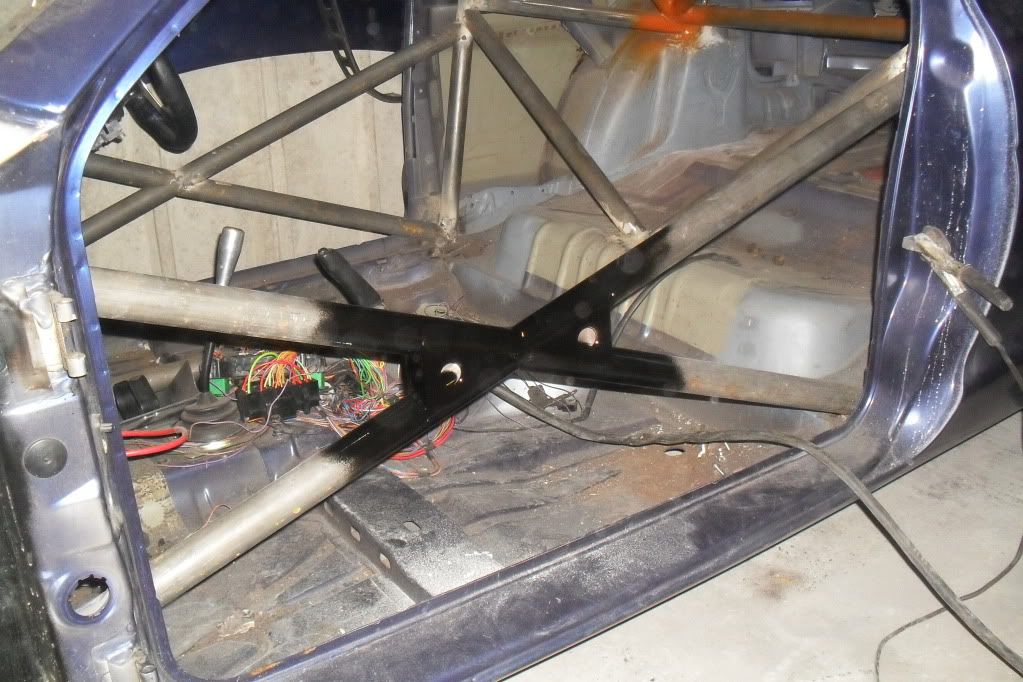
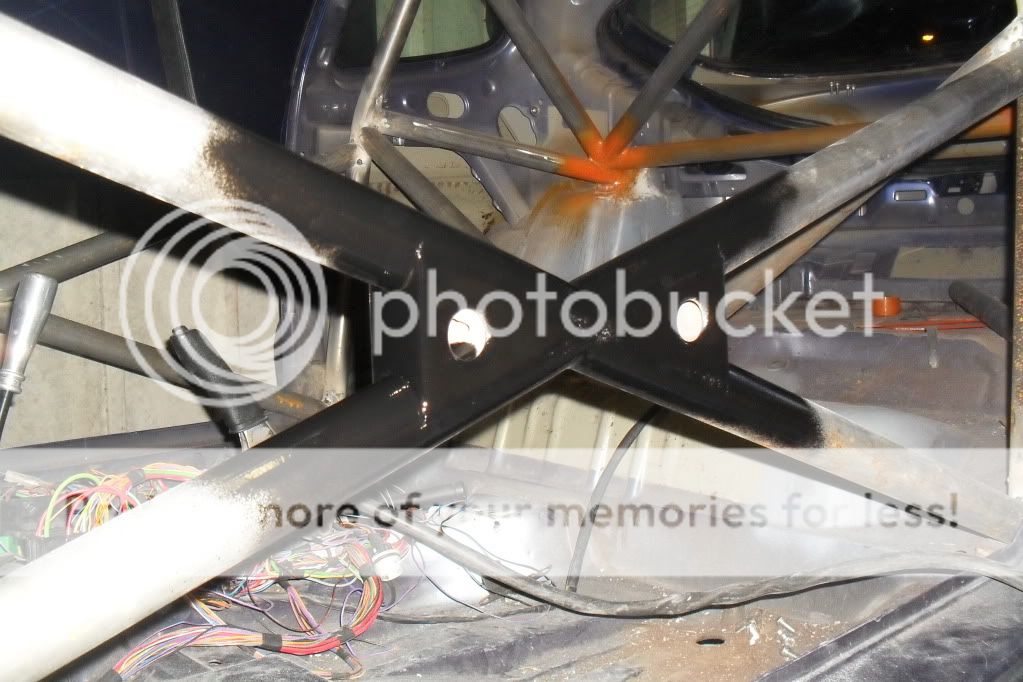
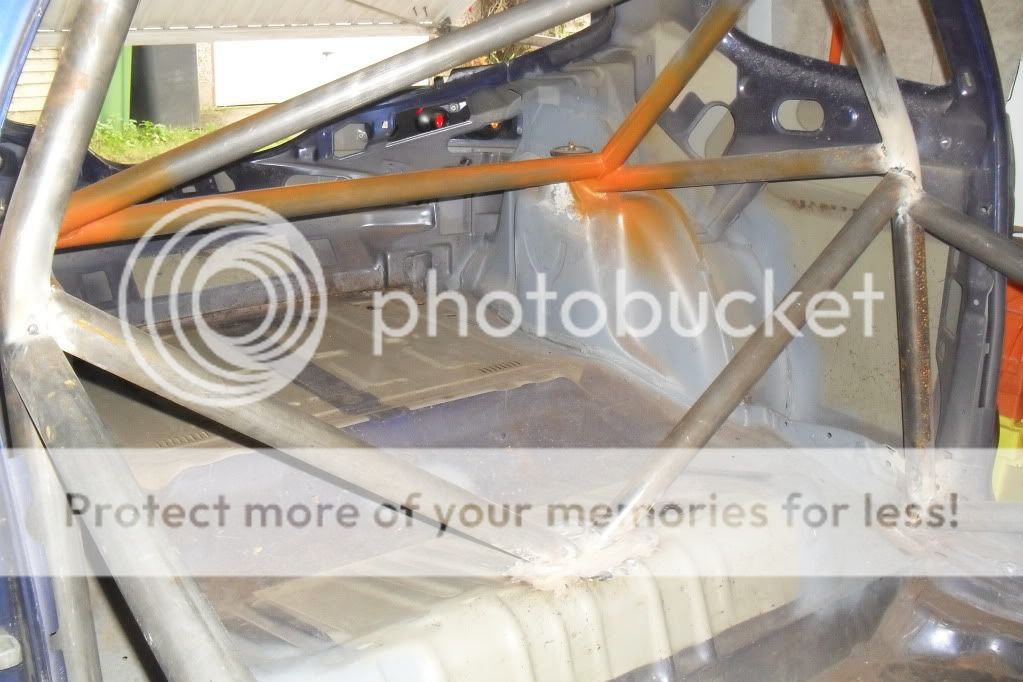
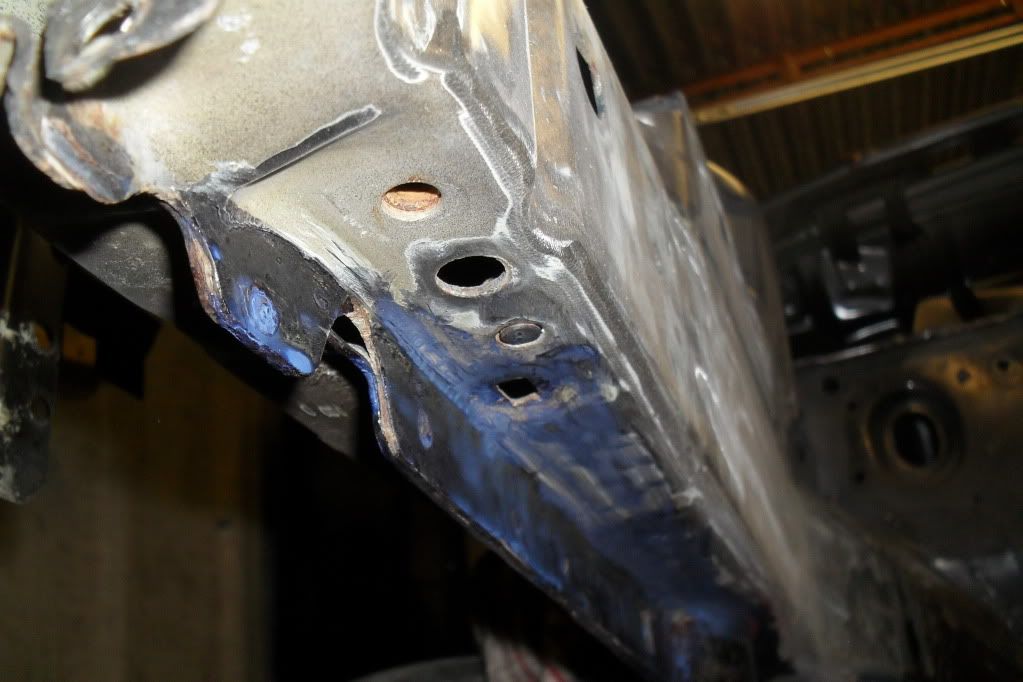
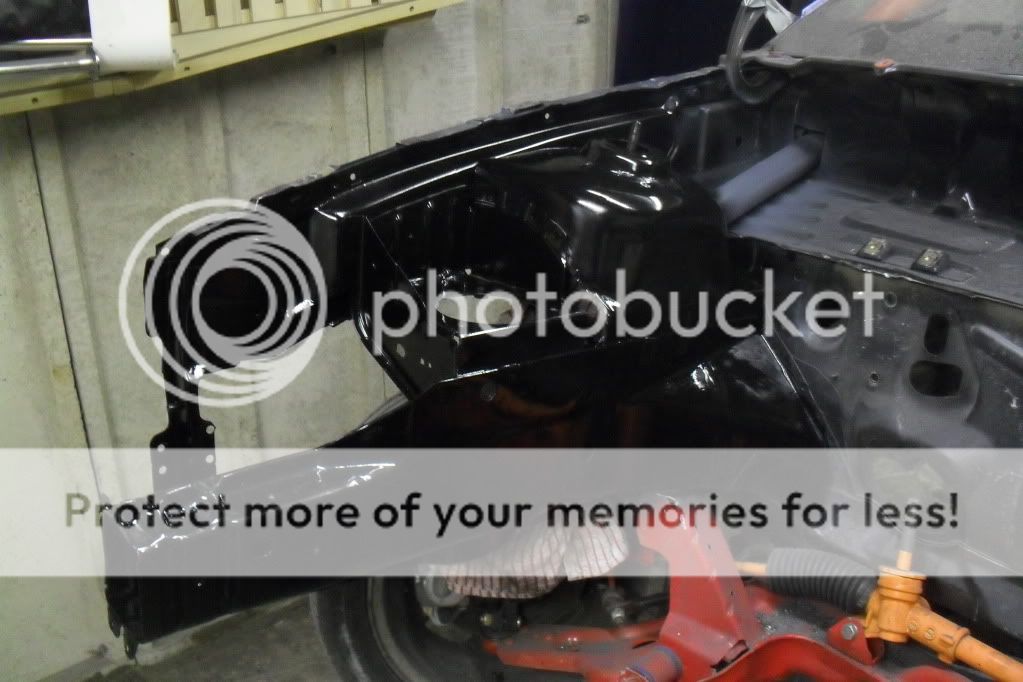
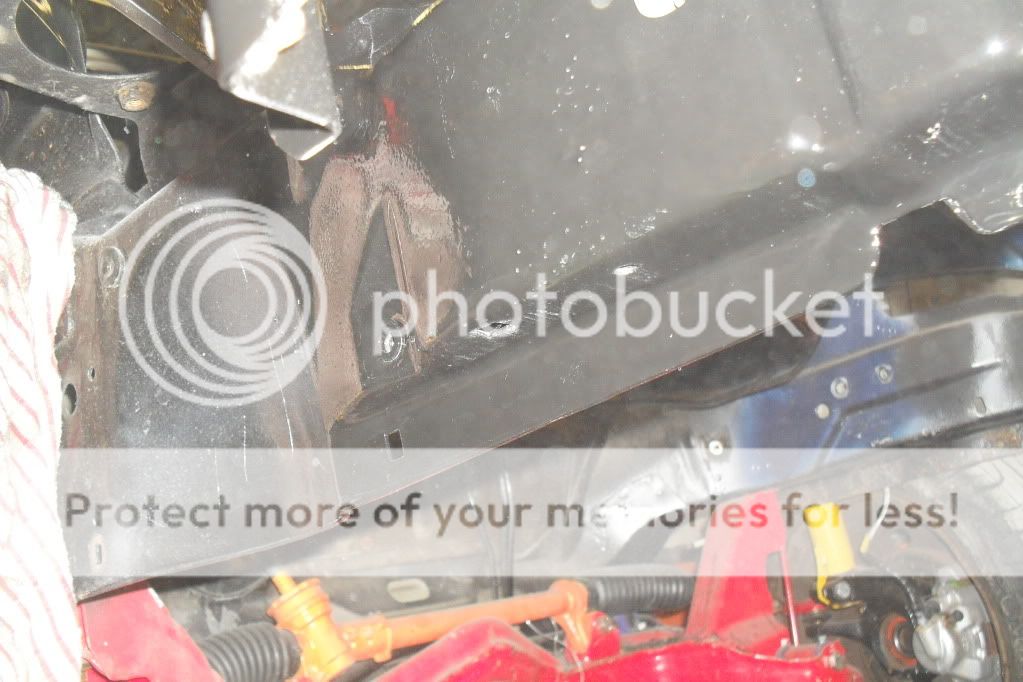
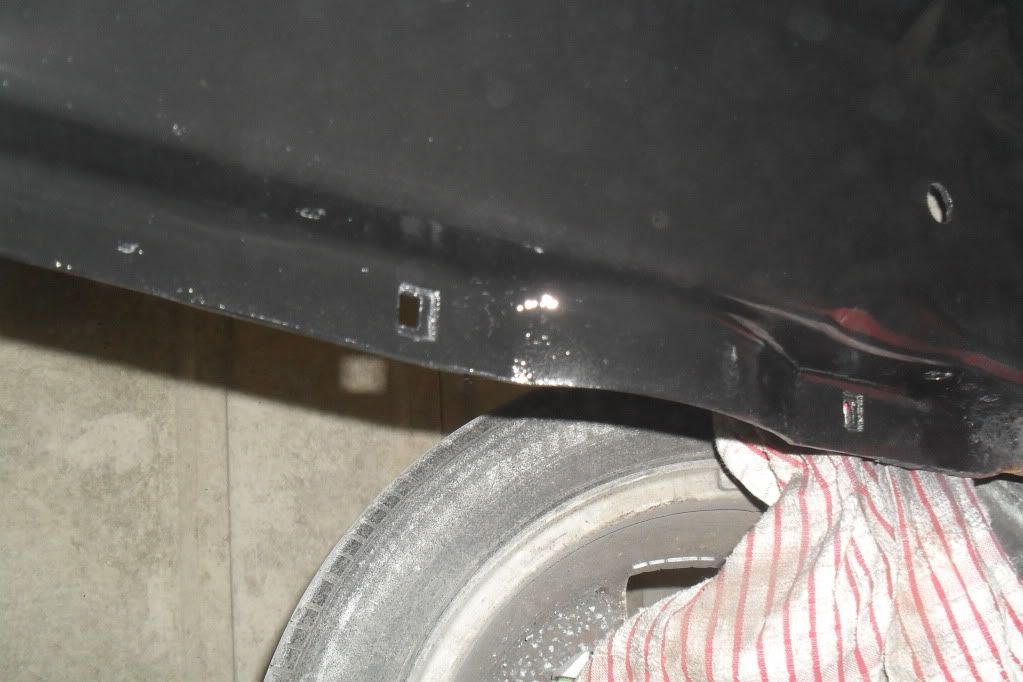
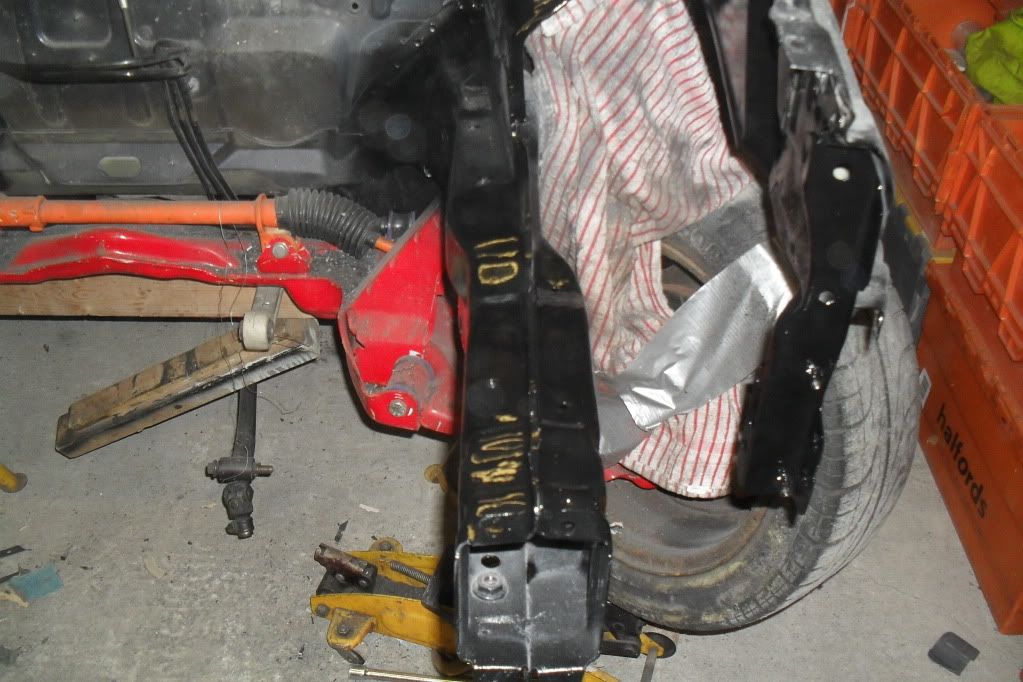
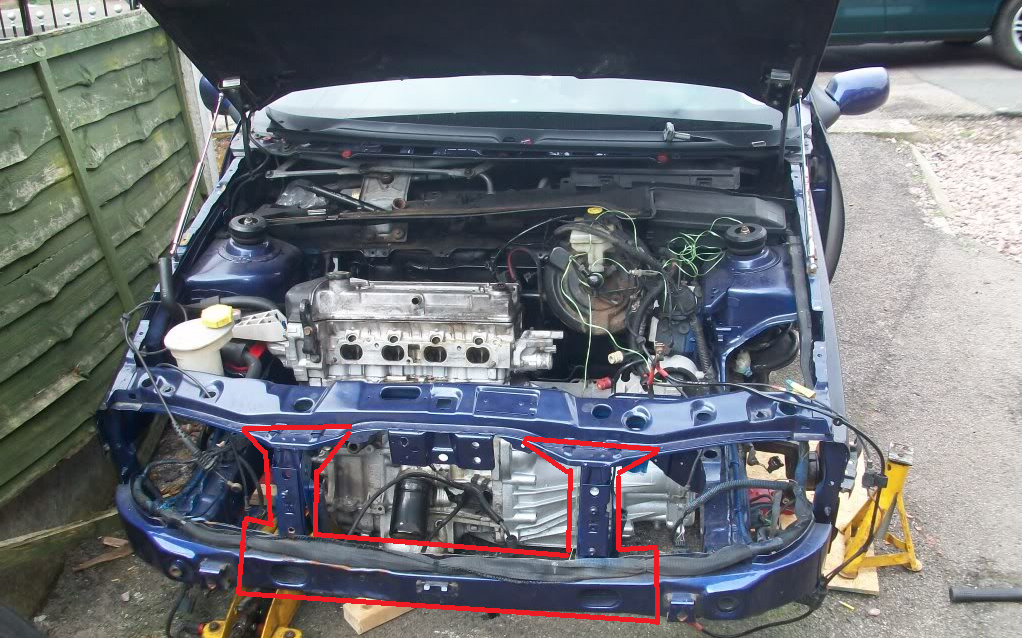
for starters i altered the door bars as advice from turby.

Posted Image

Posted Image

Posted Image

Posted Image

Posted Image

Posted Image

Posted Image

Posted Image

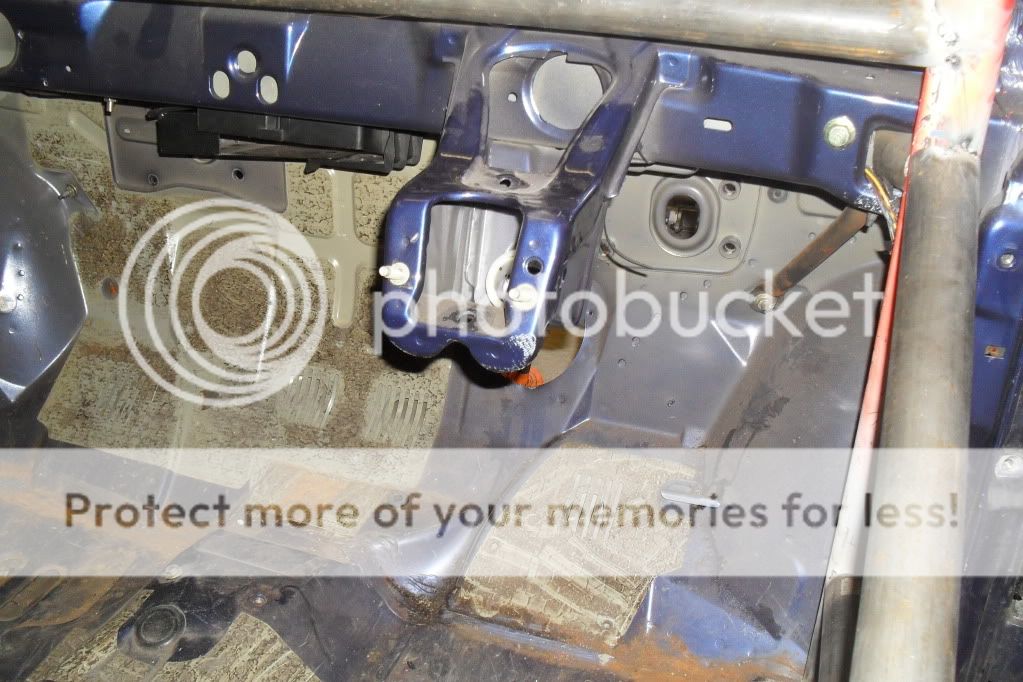
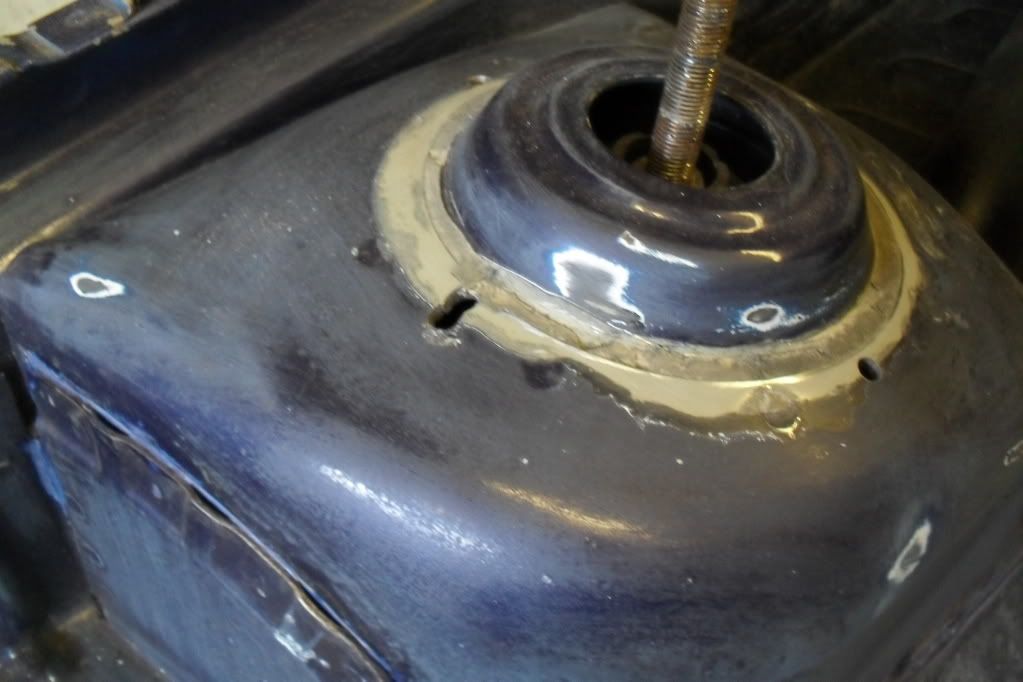
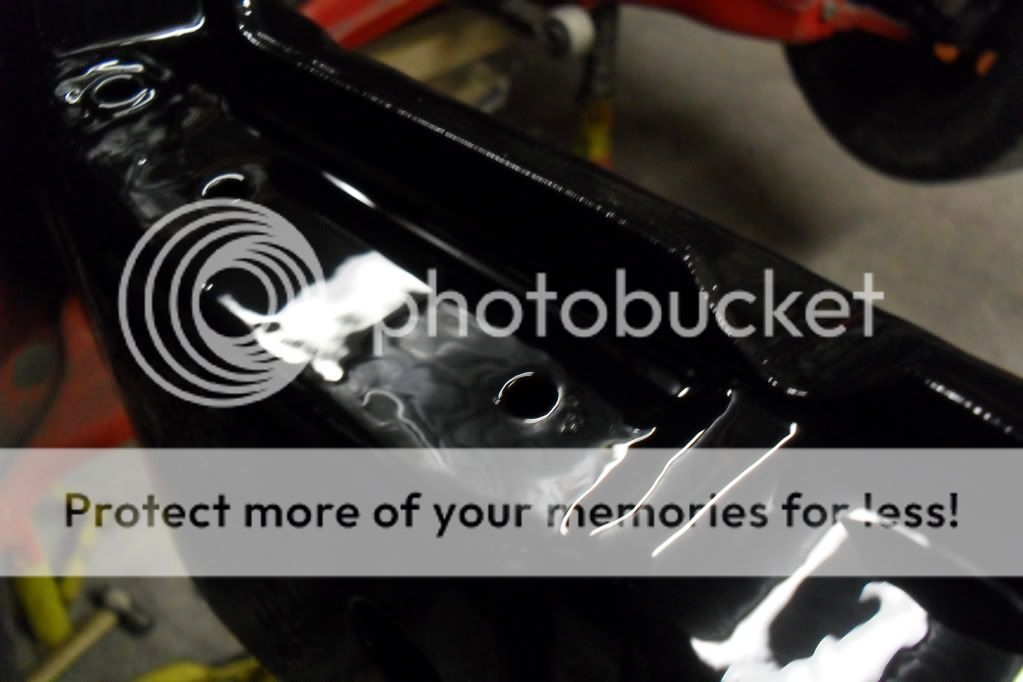
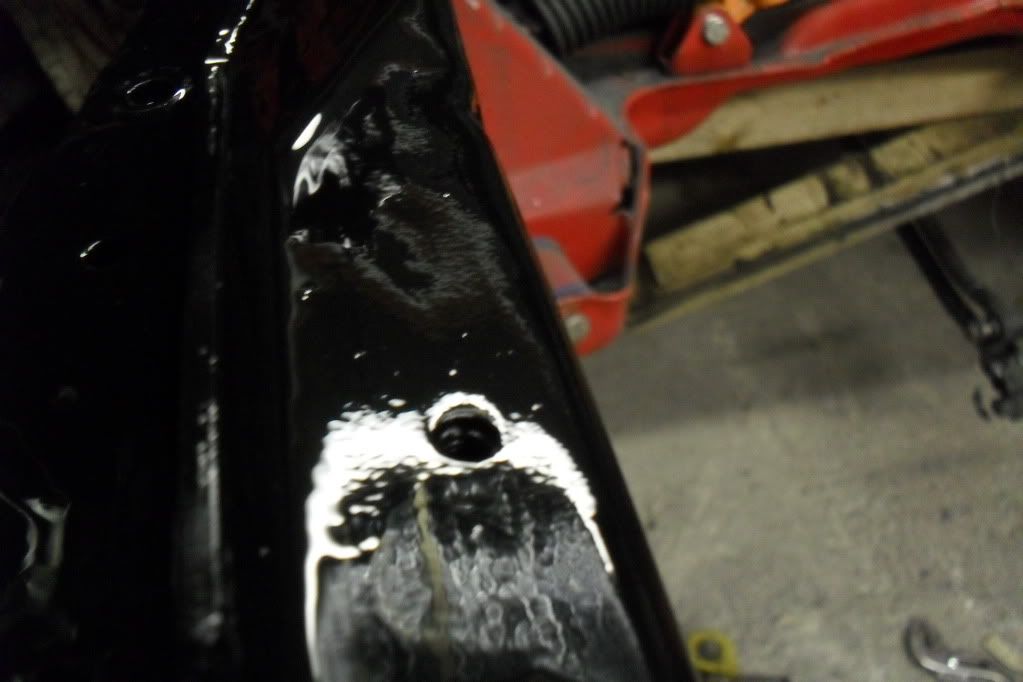
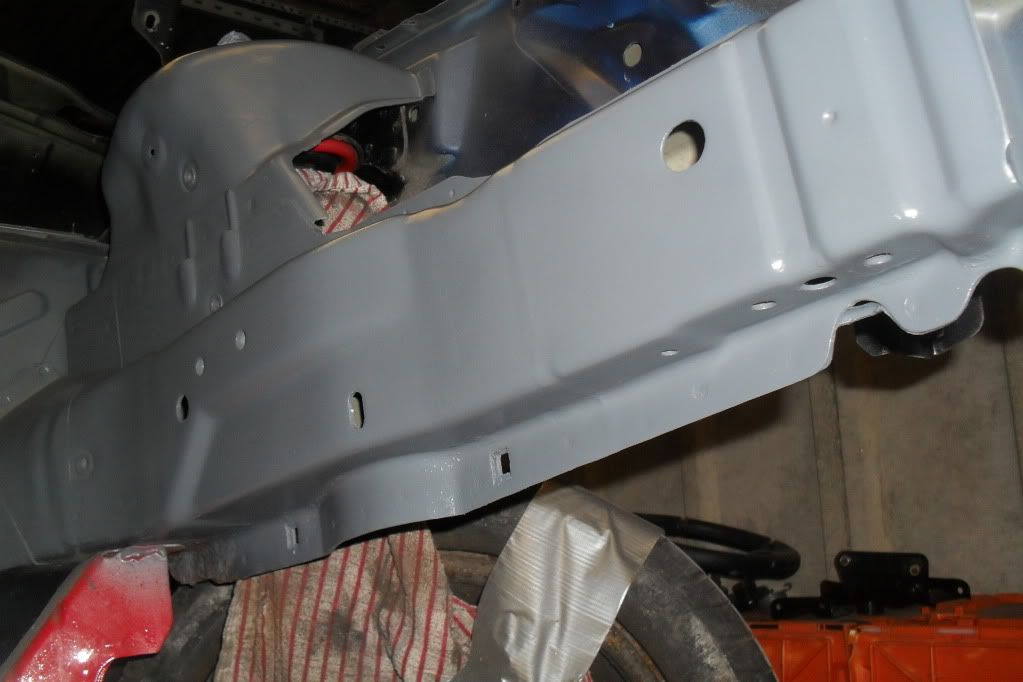
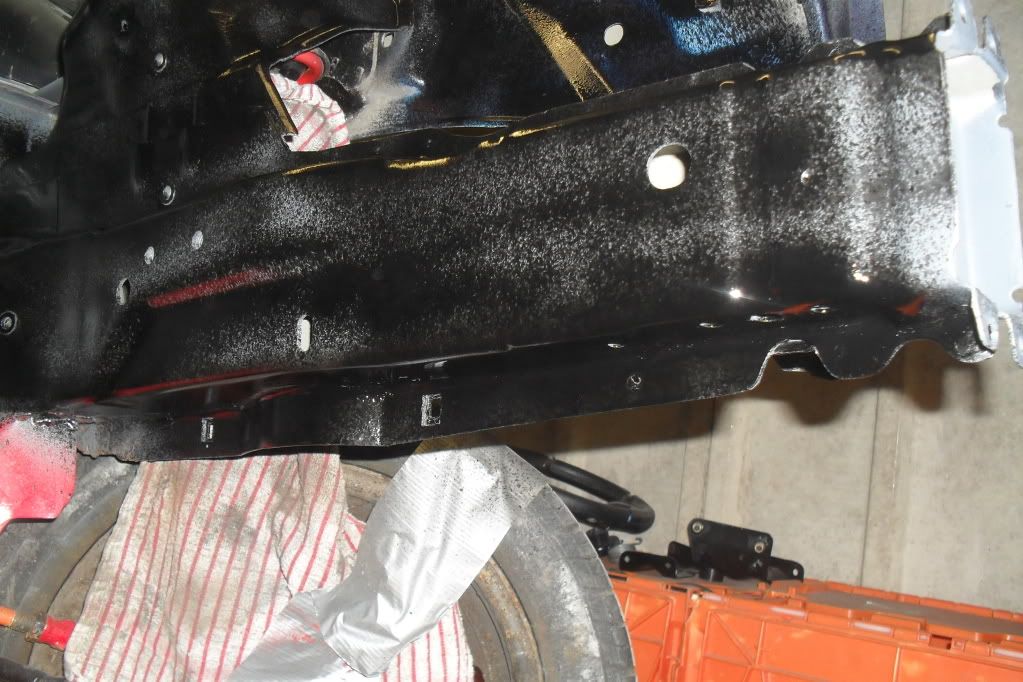
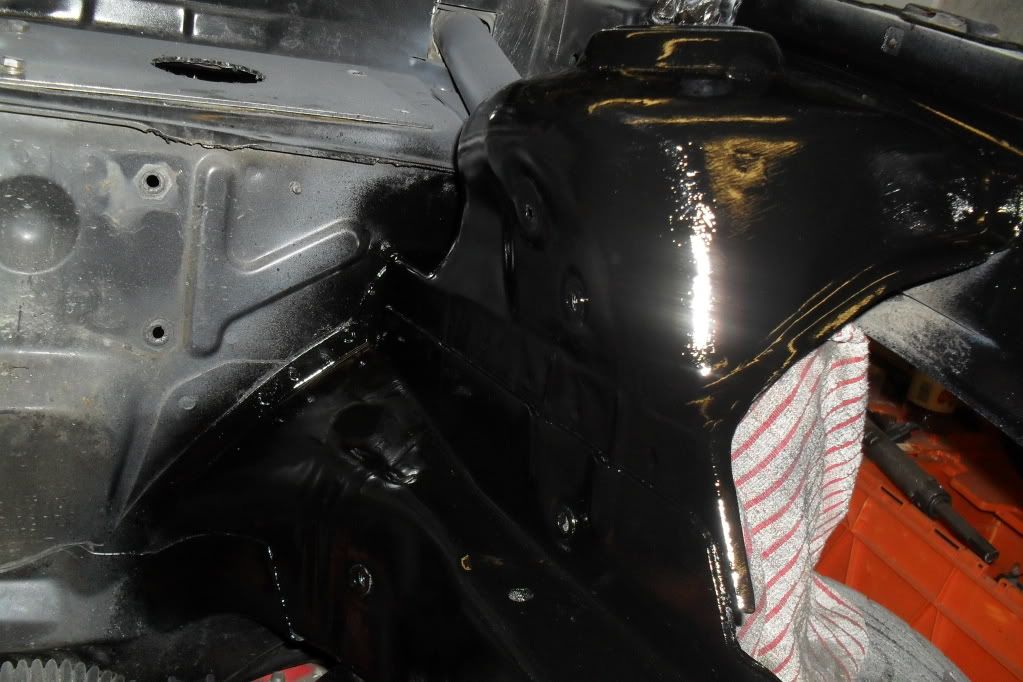
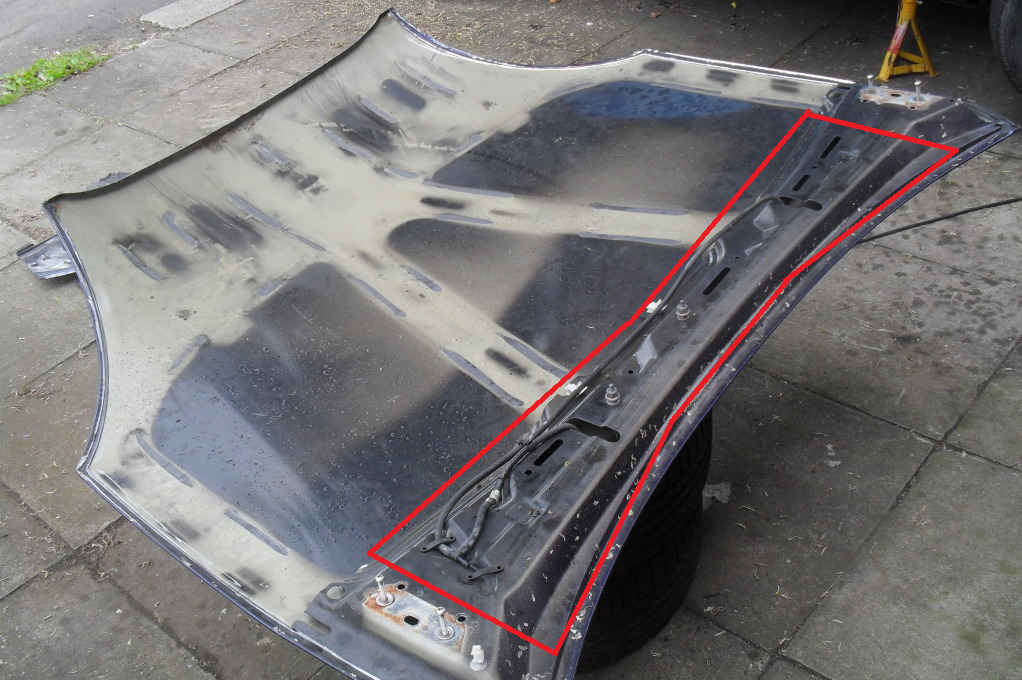
flexable seam filler B)

Posted Image

Posted Image

Posted Image

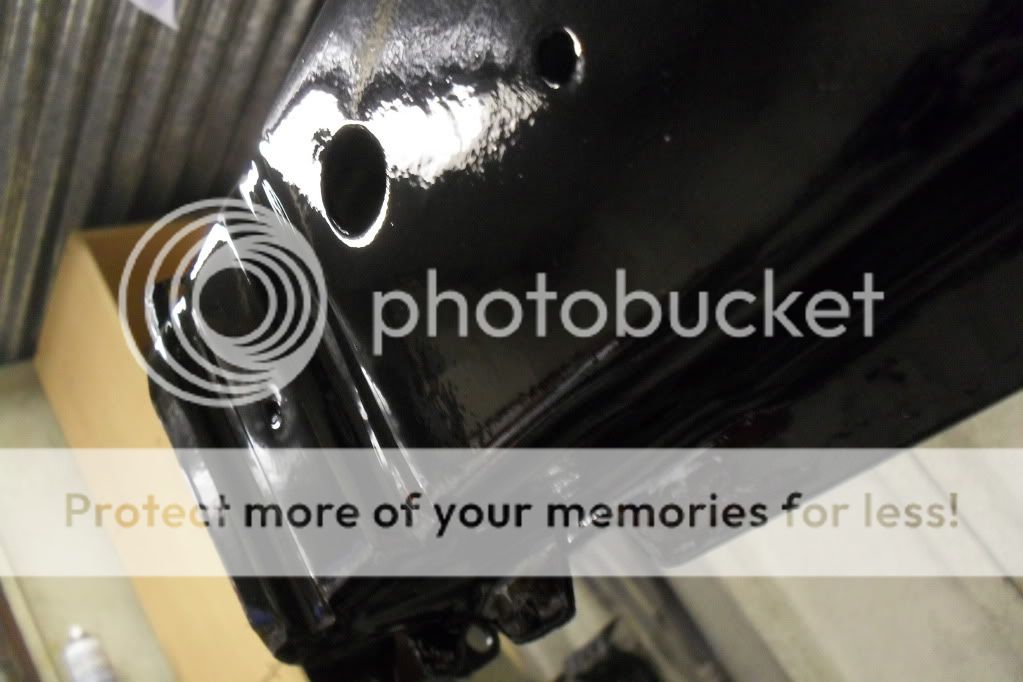
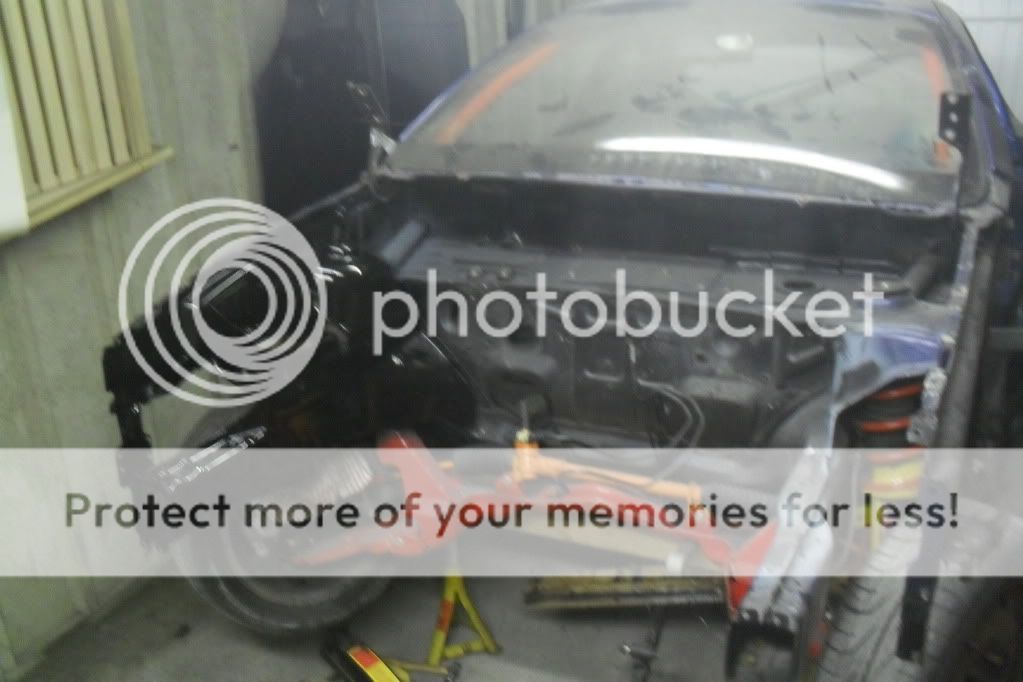
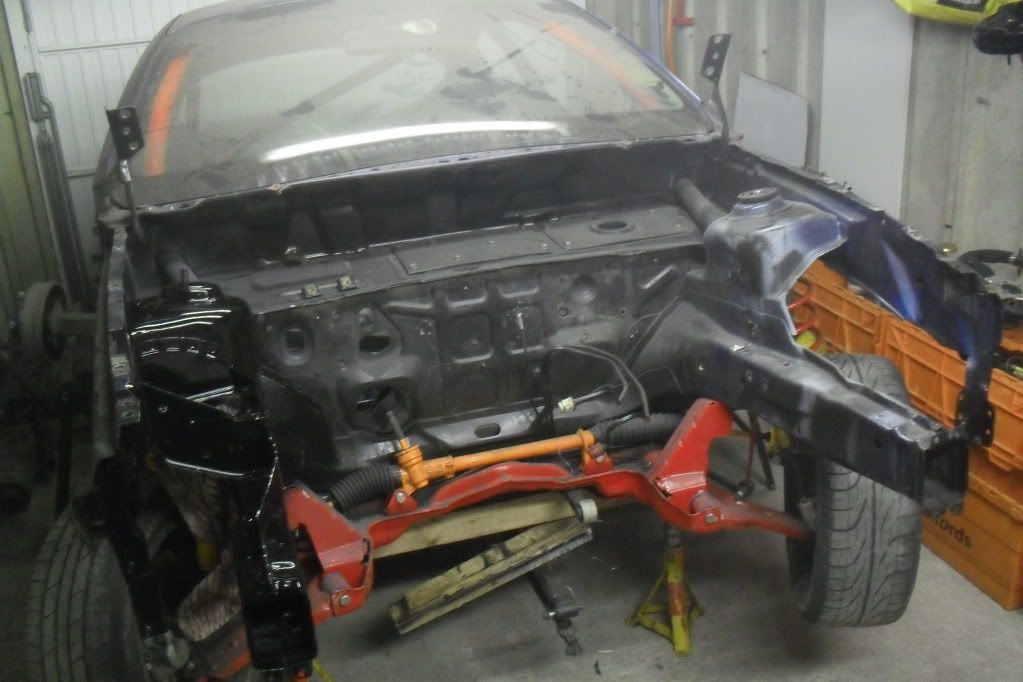
more than that has been done but il let you see that when its all done ;)


#222 User is offline   Kizza 

  • Group: Members
  • Posts: 705
  • Joined: 15-November 10

Posted 05 October 2012 - 12:58 PM

first post of the day, ive started to remove the engine. spent about an hour and half on it up to yet and probs got about 30 mins to an hour left to go. pics of removal.

Posted Image

Posted Image

Posted Image

removing the drive shaft, rear engine mount, gear leaver and exhaust.

Posted Image

Posted Image

repositioning for the otherside

Posted Image

Posted Image

nothing except the top engine mounts and gearbox pipe holding it in now

Posted Image

Posted Image

Posted Image

more to be done after dinner


#223 User is offline   Kizza 

  • Group: Members
  • Posts: 705
  • Joined: 15-November 10

Posted 05 October 2012 - 05:13 PM

well the engine is out now. only took about 30-40 mins after my dinner so i think about 2:15 to get it out. more pics

Posted Image

Posted Image

Posted Image

there she is looking like a scrapper hahahahah

Posted Image

Posted Image

first job on the list

Posted Image

Posted Image

i think i'll give the red bits another coat of paint

Posted Image

Posted Image

Posted Image

engines new home for a while

Posted Image

back in garage.

Posted Image


#224 User is offline   happy-kat 

  • Group: Admin
  • Posts: 21813
  • Joined: 10-February 03

Posted 05 October 2012 - 07:48 PM

That appeared quick work :)
Does the oil in the engine go sort of sticky and aged when it is left bare to dry?
searching is fruitful | I'm a sponge not a mechanic | please do try that if stuck with a Puma problem whilst waiting for a reply | For the Puma fan this read 'The Inside Story Book' is very nice to own sometimes still seen for sale

#225 User is offline   Kizza 

  • Group: Members
  • Posts: 705
  • Joined: 15-November 10

Posted 05 October 2012 - 09:36 PM

no ive just left it in the engine, its done about 1,000 miles so not loads and its just like not starting it for a while. if i do any work to the engine i will drop itthen but other than that it should be ok ^_^

just uploading more pics now for another post of things done back soon. :lol:


#226 User is offline   Kizza 

  • Group: Members
  • Posts: 705
  • Joined: 15-November 10

Posted 05 October 2012 - 09:53 PM

spent another hour on the car tonight when the missus was watching corri. sorted!

not done lots but anything is better than nothing

removed the throttle cable

Posted Image

cut away even more useless bits of metal from on the car

Posted Image

Posted Image

Posted Image

removed

Posted Image

Posted Image

Posted Image

run out of welding wire now but got the welding under the bonnet done first

Posted Image

cleaned up

Posted Image

as always more to be done tomorow


#227 User is offline   Kizza 

  • Group: Members
  • Posts: 705
  • Joined: 15-November 10

Posted 06 October 2012 - 05:12 PM

getting more of the engine bay sorte now, ground, sanded and painted the roll cage bars to stop them rusting.

Posted Image

Posted Image

then i cracked on with removing the brake servo and abs pump.

Posted Image

Posted Image

Posted Image

Posted Image

Posted Image

Posted Image

Posted Image

Posted Image

Posted Image

Posted Image

Posted Image

anybody want to buy an abs pump? open to offers


#228 User is offline   Kizza 

  • Group: Members
  • Posts: 705
  • Joined: 15-November 10

Posted 06 October 2012 - 08:12 PM

i started to remove the brake lines, i rounded over the front lines so no dirt gets in there before i fit the new lines.

Posted Image

Posted Image

Posted Image

looking less clutered after i removed the cluch pipes and brake lines.

Posted Image

i also dismantled the brake cylinder to see where it was leaking from, needed to know if i had to buy a new one.

i found a dodgy seal hmmm

Posted Image

so i removed the seal and cleaned it in the kitchen sink. before i cleaned it i blocked up the holes in the cylinder so they dont get any dirt in there

Posted Image

fitted to the servo again to stop dirt

Posted Image

im goin to need a new tank though its very shabby and the fitment to the cylinder is slightly damaged so dont want to chance it back on the car

Posted Image

here are some pics of the broken seal

Posted Image

Posted Image

Posted Image

other than ford are they for sale anywhere else?


#229 User is offline   Kizza 

  • Group: Members
  • Posts: 705
  • Joined: 15-November 10

Posted 12 October 2012 - 11:25 PM

update on the overhaul of the front end. i couldnt get any new seals from ford so iveused PTFE and some sealant to seal where it was leaking and seems like its been doing its job and its not critical to the function of the master cylinder but if it goes again i will buy a new one, ive also ground and sanded all the rust off the servo and cylinder, put rust killer on the areas effected then primed with etch primer and painted with gloss back followed by a couple of clear coats. ive also done the same with the rest of the braking mechanism. here are the pics.

before

Posted Image

after

Posted Image

Posted Image

Posted Image

Posted Image

Posted Image

ive been sorting out the common rust problem. pics of me sorting out the rust.

Posted Image

Posted Image

ive also removed the heat shield to get to see any possible rust that needs sorting.

Posted Image

also cleaned the inside of the car (it needed doing) looks alot cleaner now. ive also removed the steering column and the wiring loom until i need it again.

Posted Image

Posted Image

Posted Image

the bits removed

Posted Image

now on with the rust killing!!!

Posted Image

Posted Image

Posted Image

Posted Image

Posted Image

Posted Image

Posted Image

Posted Image

Posted Image

Posted Image

Posted Image

Posted Image

Posted Image

Posted Image

Posted Image

Posted Image

Posted Image

Posted Image

Posted Image

Posted Image

Posted Image

Posted Image

Posted Image

Posted Image

Posted Image

aftera coat of primer

Posted Image

after 2 coats

Posted Image

Posted Image

Posted Image

Posted Image

after 2 coats of black and 3 coats of clear

Posted Image

Posted Image

Posted Image

Posted Image

Posted Image

Posted Image

Posted Image

Posted Image

the other side

Posted Image

Posted Image

i will be starting the otherside tomorow


#230 User is offline   happy-kat 

  • Group: Admin
  • Posts: 21813
  • Joined: 10-February 03

Posted 13 October 2012 - 08:05 PM

That was the rust I found on mine but not as advanced as yours was looking.
Tidy job the finished result :)
searching is fruitful | I'm a sponge not a mechanic | please do try that if stuck with a Puma problem whilst waiting for a reply | For the Puma fan this read 'The Inside Story Book' is very nice to own sometimes still seen for sale

#231 User is offline   Kizza 

  • Group: Members
  • Posts: 705
  • Joined: 15-November 10

Posted 13 October 2012 - 10:29 PM

i was suprised myself on how bad the rust was. but once ive done the hole of the front end the car should last at least another 13 years hahaha i will upload more pics of the others side soon its only in primer at the moment.

#232 User is offline   Kizza 

  • Group: Members
  • Posts: 705
  • Joined: 15-November 10

Posted 14 October 2012 - 12:00 AM

ive not managed to finish the other side yet but here are some pice of the clean up. it wasnt as bad as the otherside so it hasnt taken as long. ive now run out of rust killer and primer so i will need to get some more when i can along with some underseal so i can finish off the rest of the engine bay ares once ive droped the subframe for repainting.

for starters here is a pic of the drivers side today once it was dry.

Posted Image

with the strut brace on

Posted Image

here are pics of the work done today

Posted Image

Posted Image

Posted Image

after more grinding and a coat of rust killer then followed by a couple of coats of primer

Posted Image

Posted Image

Posted Image

Posted Image

after the first light coat of glos black

Posted Image

Posted Image

Posted Image

Posted Image

Posted Image


the passenger side will be finished tomorow so i'll put up another update then.


much love people kieran


This post has been edited by Kizza: 14 October 2012 - 12:07 AM


#233 User is offline   Kizza 

  • Group: Members
  • Posts: 705
  • Joined: 15-November 10

Posted 14 October 2012 - 07:47 PM

well ive finished the other side now, pics after a couple of coats of glass black and a few coats of clear. pics.

Posted Image

Posted Image

Posted Image

Posted Image

Posted Image

Posted Image

when i can i'll drop the subframe and finish the bulk head the same as the chassic legs and give the subframe a coat of red followed be MANY coats of clear hahaha


#234 User is offline   Kizza 

  • Group: Members
  • Posts: 705
  • Joined: 15-November 10

Posted 15 October 2012 - 04:03 PM

more weight loss idea!!! would if be worth putting 2 more bonnet pins at the rear of the bonnet and remove the hinges along with the rest of the underside structure of the bonnet? would save more weight over the front end.

what do you think?

This post has been edited by Kizza: 15 October 2012 - 04:05 PM


#235 User is offline   happy-kat 

  • Group: Admin
  • Posts: 21813
  • Joined: 10-February 03

Posted 15 October 2012 - 05:35 PM

Think of the total pain in the rear to remove your bonnet each time you wanted to check the engine.
searching is fruitful | I'm a sponge not a mechanic | please do try that if stuck with a Puma problem whilst waiting for a reply | For the Puma fan this read 'The Inside Story Book' is very nice to own sometimes still seen for sale

#236 User is offline   Kizza 

  • Group: Members
  • Posts: 705
  • Joined: 15-November 10

Posted 15 October 2012 - 06:23 PM

good shout kat i didnt think of that it turns the simple task of opening the bonnet to a 2 man lifting joby. just thinking of other ways i can strip more weight out of the front end. ive got an idea, il post up in a couple of mins with it

#237 User is offline   Kizza 

  • Group: Members
  • Posts: 705
  • Joined: 15-November 10

Posted 15 October 2012 - 07:11 PM

upon looking at the bonnet i think i should beable to get more weight out of it and still open it as before.

pic

Posted Image

also ive had a look at the slam pannel and think i mite beable to cut out some of that aswell. its just a thought but would the front be strong enough with it having a top and bottom strut brace. also my slam is damaged and this would save me from getting another one.

Posted Image

maybe im just taking the weight loss a bit to far hahaha


#238 User is offline   happy-kat 

  • Group: Admin
  • Posts: 21813
  • Joined: 10-February 03

Posted 15 October 2012 - 07:46 PM

Just a tad :mellow: (not that I know just my thoughts)
Lighter wheels? Part of your longer term wieght saving.
searching is fruitful | I'm a sponge not a mechanic | please do try that if stuck with a Puma problem whilst waiting for a reply | For the Puma fan this read 'The Inside Story Book' is very nice to own sometimes still seen for sale

#239 User is offline   Kizza 

  • Group: Members
  • Posts: 705
  • Joined: 15-November 10

Posted 15 October 2012 - 07:58 PM

i would love lighter wheels but i cant aford them right now Posted Image 
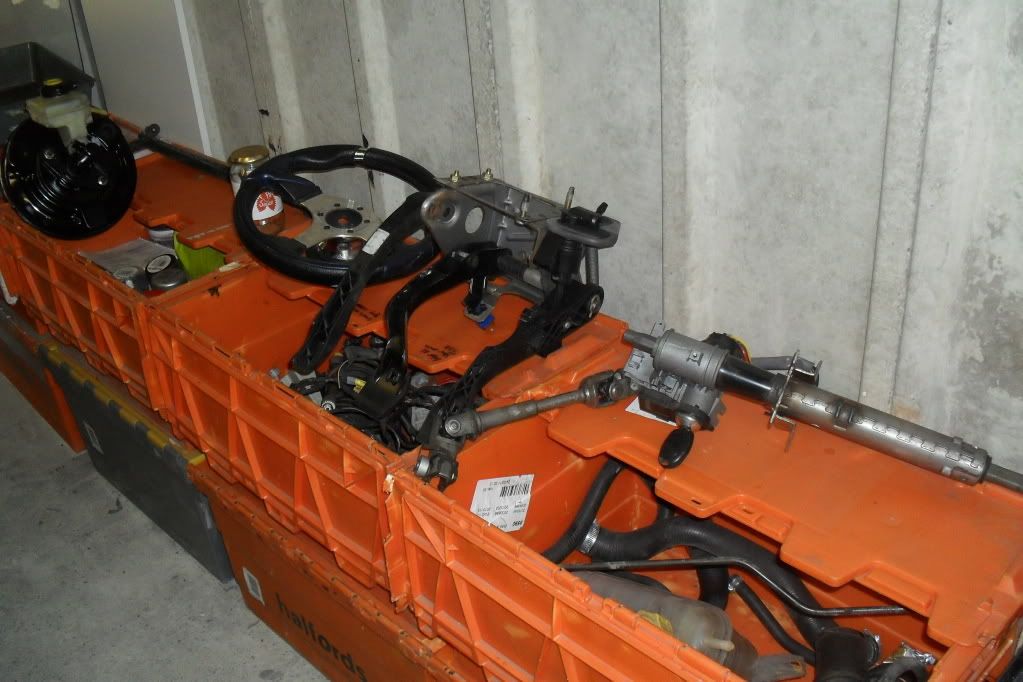
i gues i cant lightern the car anymore without buying lighter parts to replace things already on the car.

#240 User is offline   Turby 

  • View gallery
  • Group: Moderators
  • Posts: 2133
  • Joined: 11-February 03
  • Location:On a racetrack somewhere

Posted 16 October 2012 - 01:02 PM

You can save more weight by removing the big lumps of metal fitted to the top of each front strut...

I found with my steel bonnet lightened that much, it fluttered a lot at high speed (100 mph+)

All those parts you highlighted in red provide some degree of crash structure to the front of the car, all of which are useful if you have an impact even at 5 mph!

Get rid of those bonnet lifters and just use a wooden broom handle / dowel you keep handy... I've got a nice carbon tube in the Lotus ;)
A little knowledge is a dangerous thing (Alexander Pope - 1709)
Stop being spoon fed and GOOGLE it!

Share this topic:


  • 16 Pages +
  • « First
  • 10
  • 11
  • 12
  • 13
  • 14
  • Last »
  • You cannot start a new topic
  • You cannot reply to this topic