
 Help
Help


So thought id start one of these, taken loads of pics and done some work to mine so thought id share.
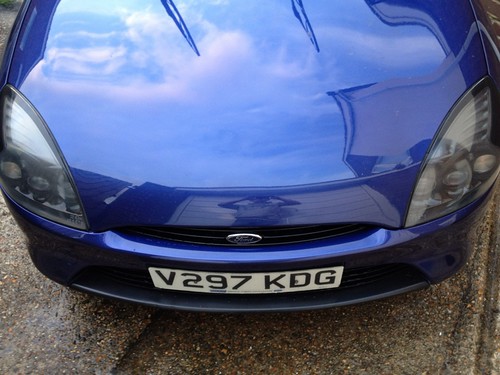
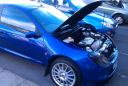
So this is what it looks like currently:
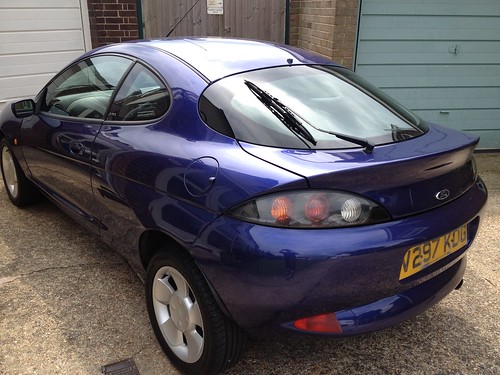
Project 1 001 by JPTipper, on Flickr

photo 2 by JPTipper, on Flickr

photo 1 by JPTipper, on Flickr
First thing i did was to put a iPod/iPhone compatible head unit in, this has bluetooth and a mic on a cable for handsfree and can also do the voicedial thingy which is nice, i also got a DIN adapter kit with pins, ISO adapter and ISO cage with a tray in the bottom, makes a change from just a blank piece of plastic!
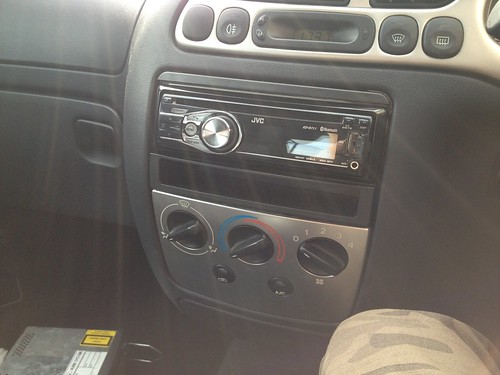
Project 1 003 by JPTipper, on Flickr
I then waxoyled the underneath of the boot floor where the spare wheel sits, as well as painted the spare wheel cage and the sparewheel steel (no pics of these, sorry :S )
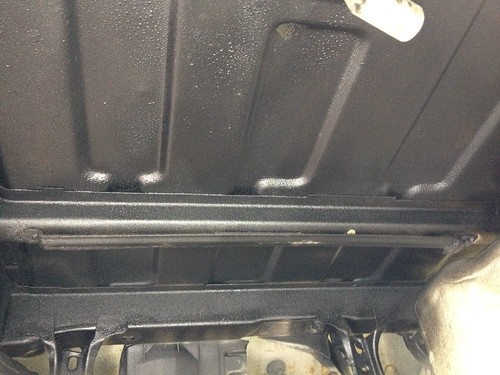
Project 1 004 by JPTipper, on Flickr
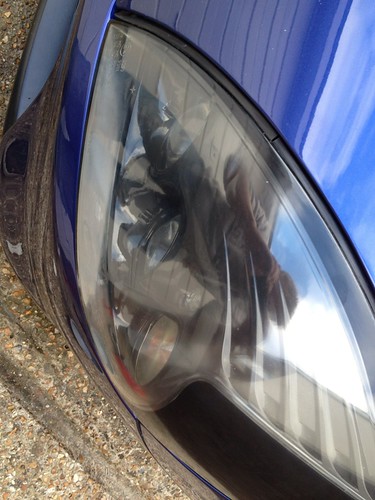
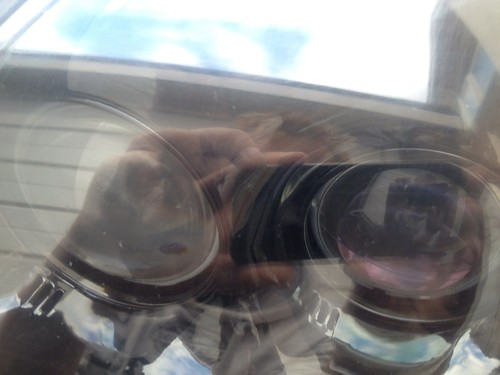
Then on a trip back from maidstone, theres a part of the M20 where there are no road lights whatsoever, i noticed this because i was having trouble seeing! (Though i know Puma headlights arent exactly brilliant) The reason:
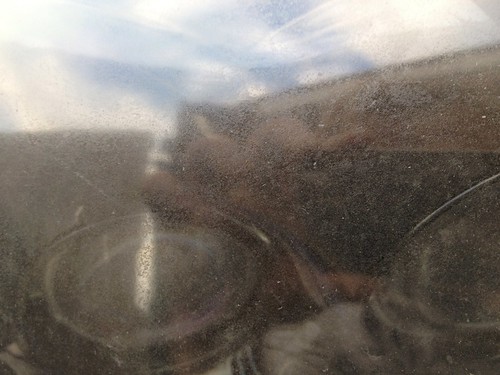
Untitled by JPTipper, on Flickr
So i went down halfrauds and bought a pack of various grades of wet n dry 600, 800 and 1200.
Items also required are:
- 1 Ford Puma with manky headlights
- Sponge
- Ice cream tub (or any water containing vessel)
- Wet n Dry various grades
- Masking Tape
- T-Cut
- Autoglym Colour Restorer (ACR)
- Super Resin Polish (SRP)
- Lacquer (***!!!make sure its safe for use on bare plastics!!!***)
- Take a ice cream tub (or container of your choice and fill it with water)
- Mask off your headlights or remove from car body completely
- Dip wet dry 600 (only a folded over 100x100mm square) in water and using horizontal and vertical strokes (alternate between every so often) start sanding your headlight plastic.
- After using 600, wash down headlight with wet sponge. I find it better to wash down the plastic dust off of the front bumper too as its a bugger to get off once baked on from the sun
- Repeat with 800 and finally 1200, using only horizontal and vertical strokes
After your wet n dry sanding, you headlights should look something like this, a nice consistent milky matt smooth to touch:

Untitled by JPTipper, on Flickr
Do a final wet wipe down and allow to dry before moving to next step:
For this you will need T-cut, ACR and the SRP
- Using the T-Cut, massage it into the headlight plastic so theres a nice even coating. Leave to dry.
- Apply T-cut to your electric buffer and using fairly even pressure begin to buff out the matt haze left by the wet n dry.
- Dont use too hard a pressure, you dont want flat spots.
- Repeat for the ACR and the SRP.
- Essentially what should happen is, the T-cut will do its job, the headlight will go glossy, move onto ACR, when the headlight goes glossy move onto SRP.
Untitled by JPTipper, on Flickr
Untitled by JPTipper, on Flickr
Then all you need to do is mask up the car and apply your plasticsafe clearcoat lacquer in 6-7 very light coats, allow to cure in a warm garage or airing cupboard (if you removed them from the car) and then they look like this:
Untitled by JPTipper, on Flickr
Lovely.
^^^Note: i take no responsibility for you cocking this up, its intended as a guide, rather than instructions. Do this at your own risk.^^^
Right, onto the next!
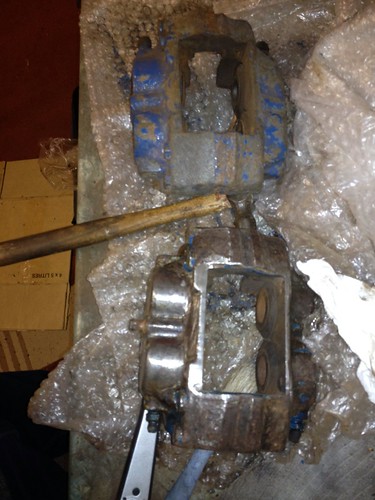
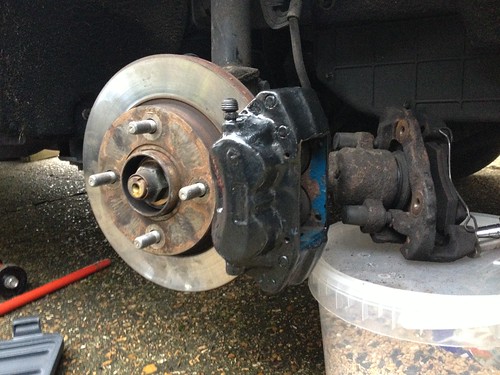
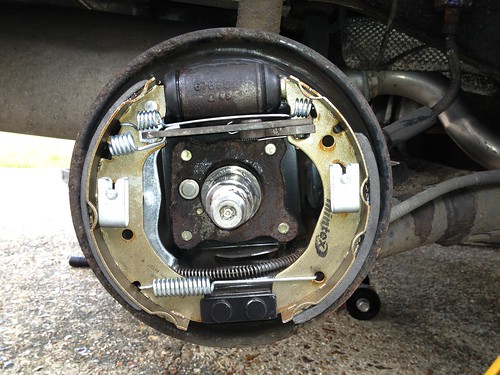
I fancied some better brakes after passing my MOT with no advisories and emissions so low you would think the car ran on water! so i have a trawl through Flea bay and found some of these beauties:
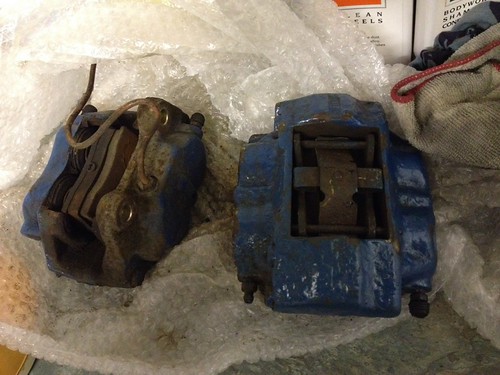
Untitled by JPTipper, on Flickr
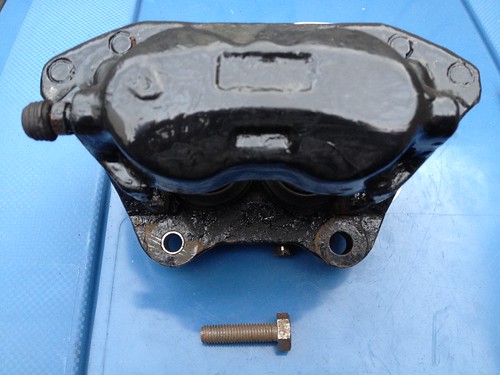
Cosworth 4 Pot calipers, with pads.
I didnt like the blueyness of them, plus they looked really manky so i first washed them down with some alloy wheel cleaner to get the brake dust off, then with a hammer i chipped off as much of the paint as i could before using a dremel with a coarse stone and a sanding wheel.

Untitled by JPTipper, on Flickr
Untitled by JPTipper, on Flickr
Then to make them loook nice, ive painted them, roughed them up a bit first so the paint would stick though
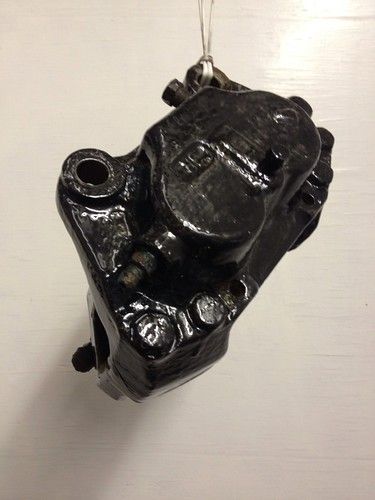
Untitled by JPTipper, on Flickr
Thats it for now chaps, a few things to do:
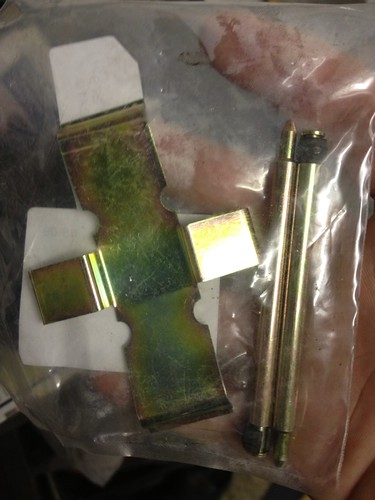
- Fit my cossie 4 pots w/braided hoses
- Put some better tyres on the front (my Nankang Ditchfinders are poop in the wet and squeal like a stuck pig in the dry)
- Waxoyl the rest of the underside of the car (preferably with a paintbrush, the aerosol goes EVERYWHERE
- Sort out my driverside arch, rusty is not the word
- the engine aux belt has a intermittent wibbly noise
- The bonnet was left with large amounts of bird poo on it by the previous owner for a considerable period of time, i need either to get it resprayed, or find one in better condition.
- Get the Eibach/ford lowering spring kit
- Lower strut brace
- Look into getting more power from the engine, probably some head work, cams, exhaust and a frp remap.
- New number plates
- Silly little bits like the parcel shelf rubber bump thingy and replace a missing boot lid mushroom.
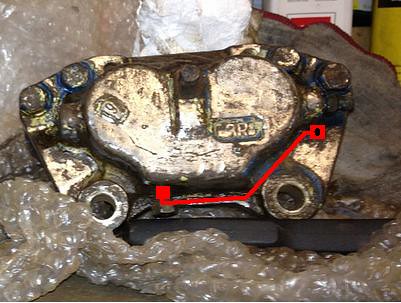
Oh before i go, does anyone know which way round the cossie 4 pots go? my instincts say bleed nipples downwards but my common sense says upwards to allow air bubbles to rise.
Anyway, Chars for now, More pics and bit n pieces to follow!
 />/>/>/>
This post has been edited by JPTipper: 03 December 2012 - 12:15 PM


 I love my Puma

 />
/>  />
/>  />
/> 

 />
/> 


